Dell Fingerprint Sensor Not Working: 3 Ways to Fix it
This error will no longer affect you at the end of this article
Key notes
- Logging in to Windows using the fingerprint reader is a quick and secure way, but for Dell XPS 13 users, the reader seems to be not working.
- First, try to reinstall the driver, in case it's corrupt.
- If you started facing the issue after installing a driver update, roll back to the previous version, or try the other methods here.

The fingerprint is probably one of the most convenient and secure sign-in options. Most laptops released in the last few years come with a scanner. But for some Dell users, the fingerprint reader is not working.
In this article, we will present how you can fix things when the Dell XPS fingerprint sensor is not working. Keep on reading!
Why my fingerprint sensor is not working Dell laptop?
Problems with the fingerprint reader generally arise due to issues with the driver, particularly after an update. Also, it could be a misconfigured BIOS or the current data set may have gone corrupt.
Moreover, our users reported other related issues, which can also be fixed by following the methods below. Some of the most common ones are the following:
- Dell XPS fingerprint reader not working after sleep – By attempting to reinstall the drivers, you can fix this particular issue.
- Windows 10 Dell XPS fingerprint reader not working – The solutions below can apply to Windows 10 and 11.
- Windows 11 Dell XPS fingerprint reader not working – You can try to update your OS to bring it up-to-date.
- Dell XPS 13 9380 fingerprint reader not working – Navigate to the BIOS Adjustments menu, ensure that Software Guard Extensions (SGX) is set to Software Controlled, then save the settings.
- Dell XPS 13 9370 fingerprint reader not working – Just like before, you should check your BIOS settings.
Fear not, as all of these cases are solvable, and the solutions are straightforward to apply.
Where is Dell XPS 13 fingerprint sensor?
You’ll find the fingerprint reader on the button that controls the power. You can place your finger on it to detect your fingerprint.
However, if it doesn’t work, you can follow the steps below to fix this issue. At the end of the article, we will provide even more potential solutions in case the error is still not solved. Follow along!
What do I do if Dell fingerprint sensor is not working?
1. Reinstall the driver
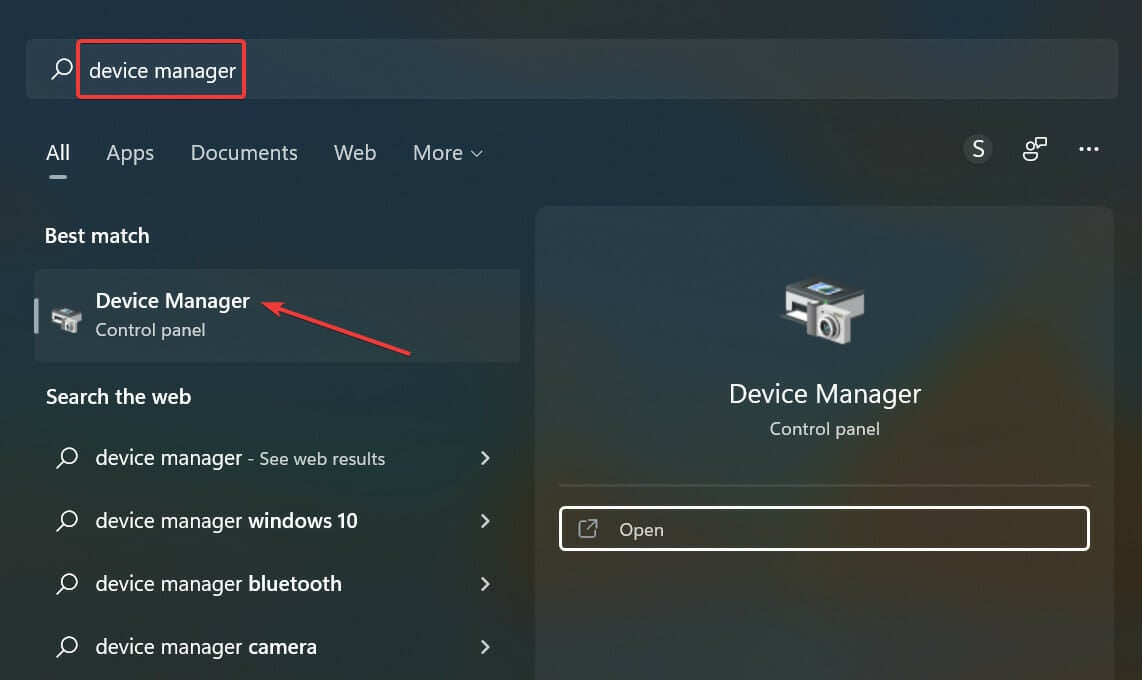
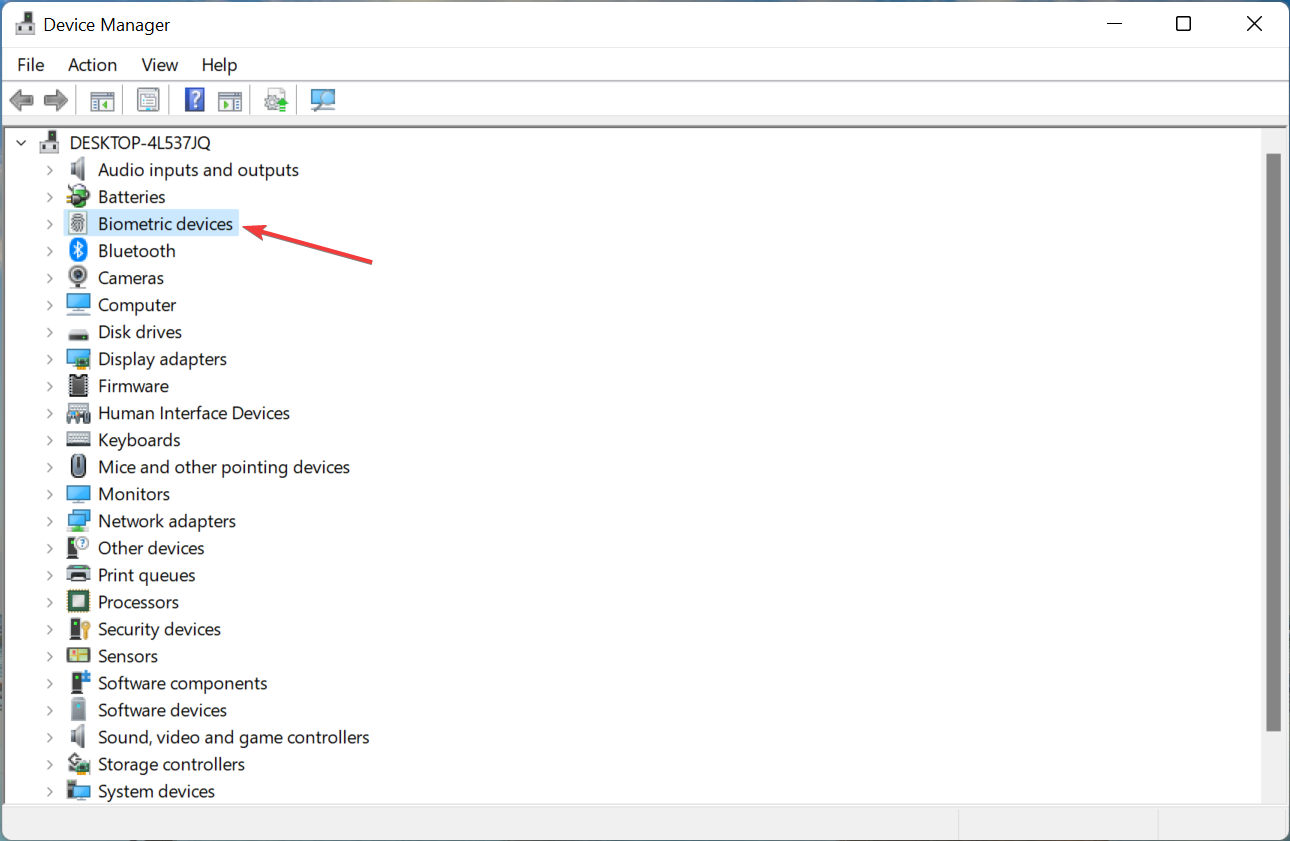
- Press Windows + S to launch the Search menu, enter Device Manager in the text field at the top, and click on the relevant search result.

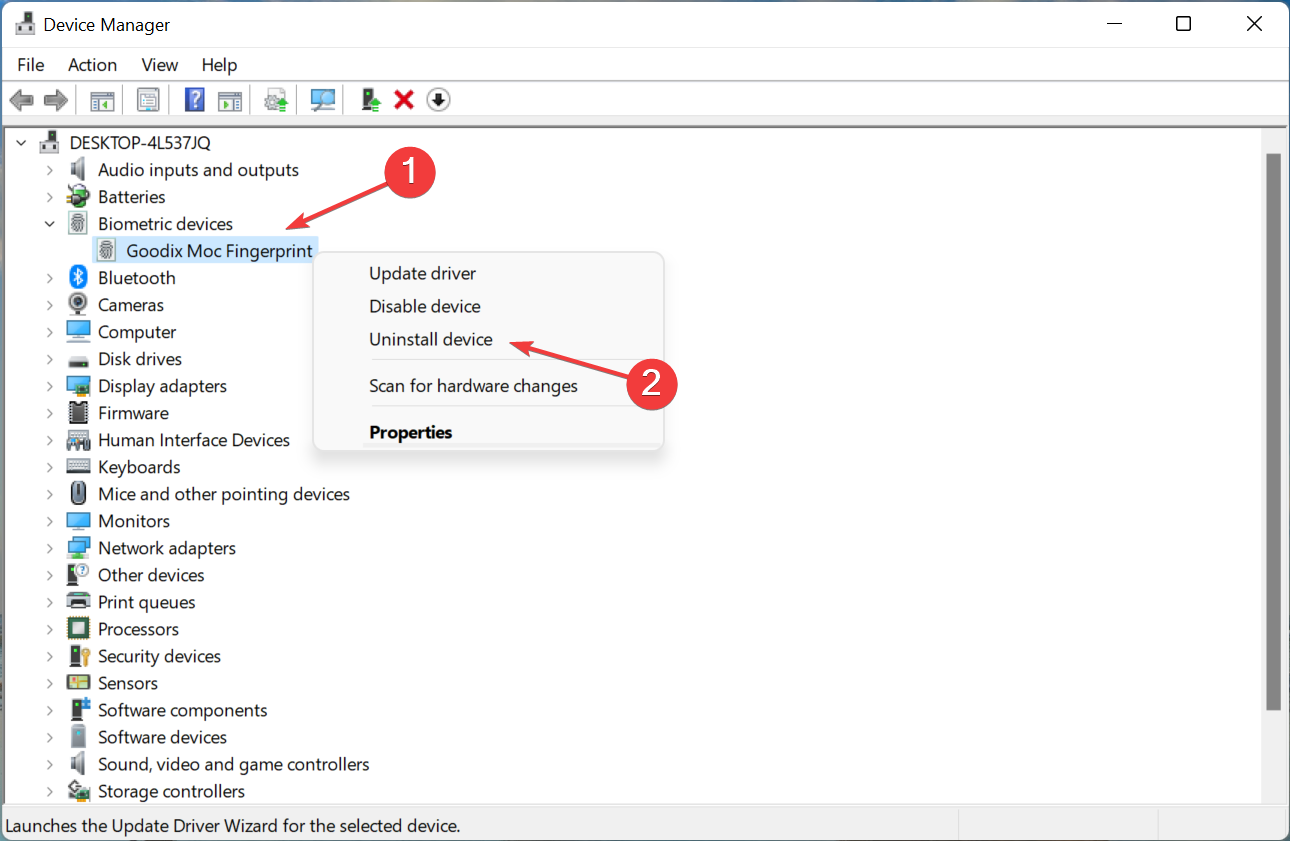
- Double-click on Biometric devices to expand and view the devices under it.

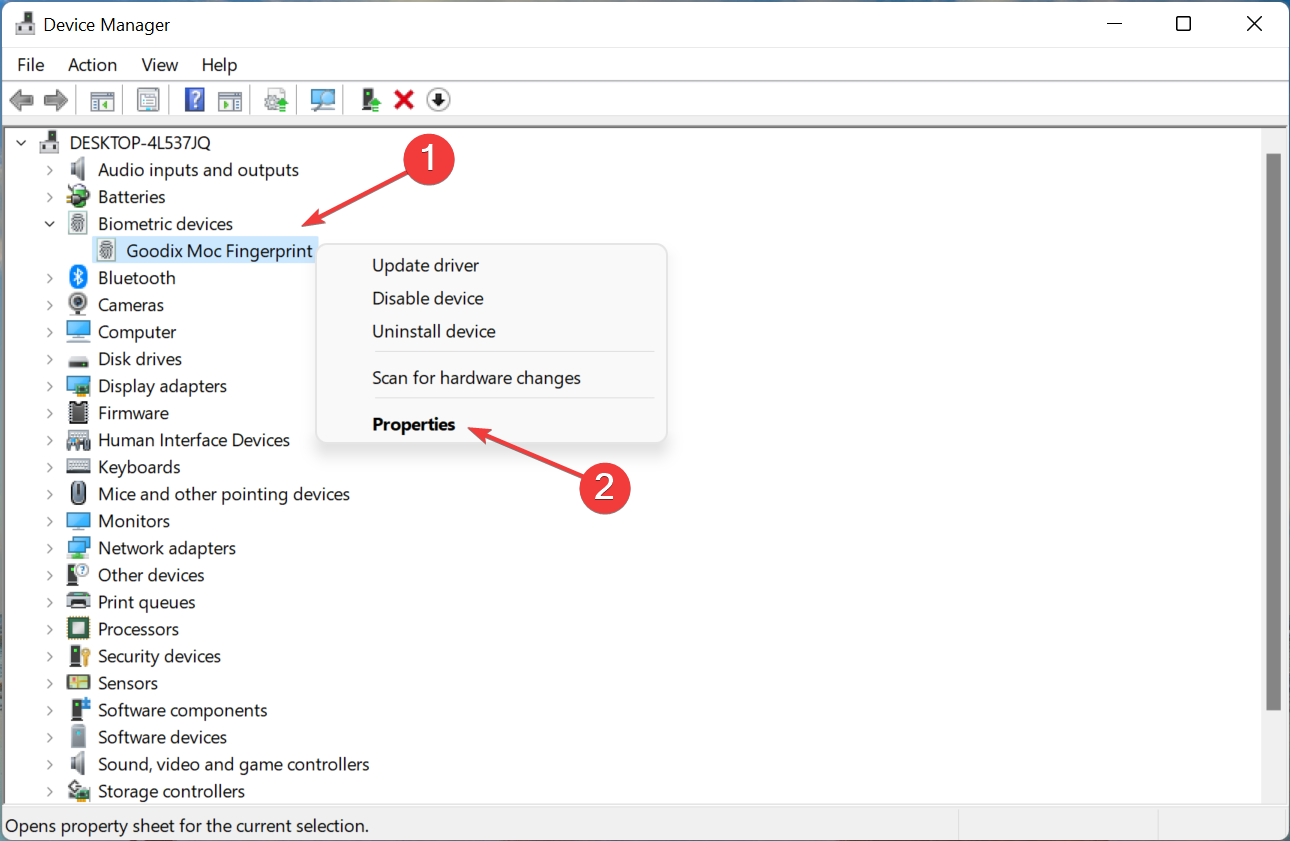
- Right-click on the fingerprint reader, and select Uninstall device from the context menu.

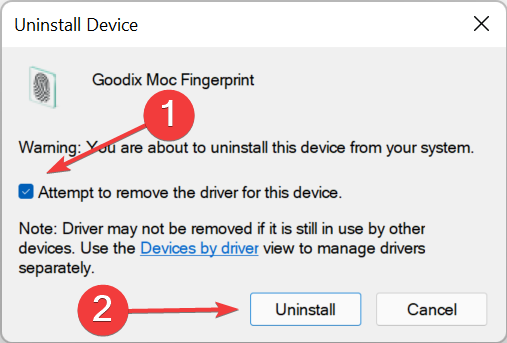
- Tick the checkbox for Attempt to remove the driver for this device, and click Uninstall at the bottom.

- Once done, restart the computer, and Windows will automatically install a fresh driver for the reader.
- If a fresh driver is not installed, open the Device Manager and click the Scan for hardware changes button.


A corrupt driver is a major issue and can cause the device to malfunction or stop working at all. Reinstalling the corrupt fingerprint reader driver did the trick for most users. To identify one, look for a warning sign near the corner of the device icon.
2. Roll back driver update
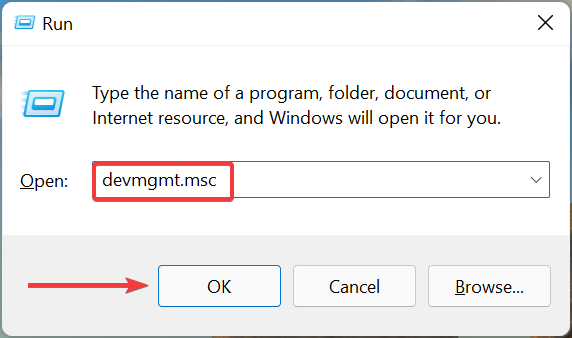
- Press Windows + R to launch the Run command, enter devmgmt.msc in the text field, and either click OK or hit Enter to launch the Device Manager.

- Next, double-click on Biometric devices.

- Right-click on the fingerprint reader, and select Properties from the context menu.

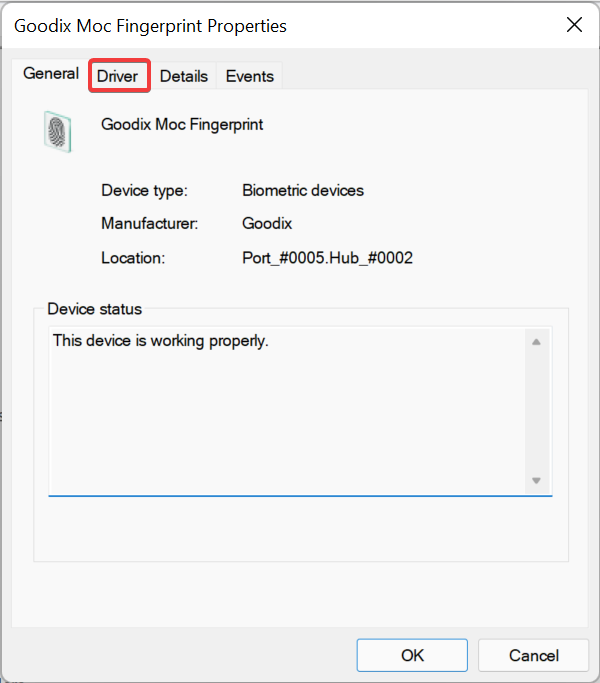
- Navigate to the Driver tab.

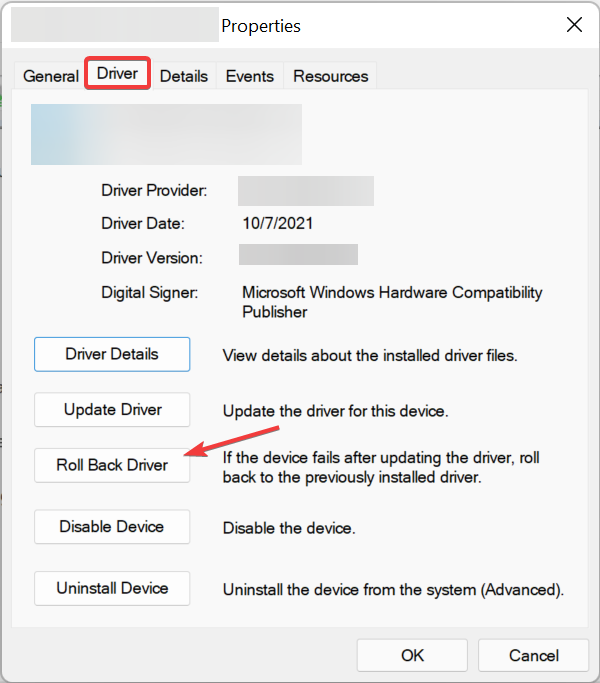
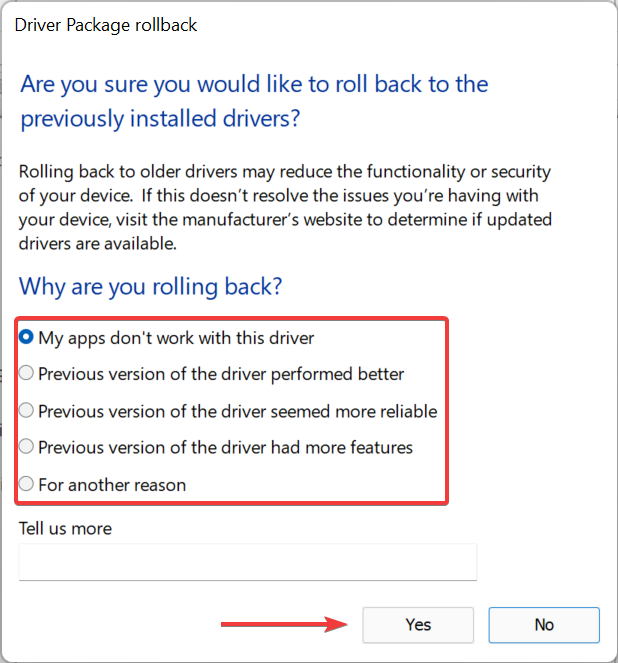
- Click on the Roll Back Driver button.

- Now, select a reason for rolling back the driver version, and click on Yes at the bottom.

- After the uninstall is complete, restart the computer for the changes to come into effect fully.
If you started encountering the problem after updating the driver, either manually or via Windows Update, reverting to the previous version should fix the fingerprint reader not working problem in Dell XPS.
Also, you can use a reliable third-party app to reduce the chances of encountering such errors by installing only the right drivers. We recommend Outbyte Driver Updater, a dedicated tool that will automatically update all the drivers and only install the best available version.

Outbyte Driver Updater
Update and repair any corrupted drivers with this great tool.3. Remove the current fingerprint and add a new one
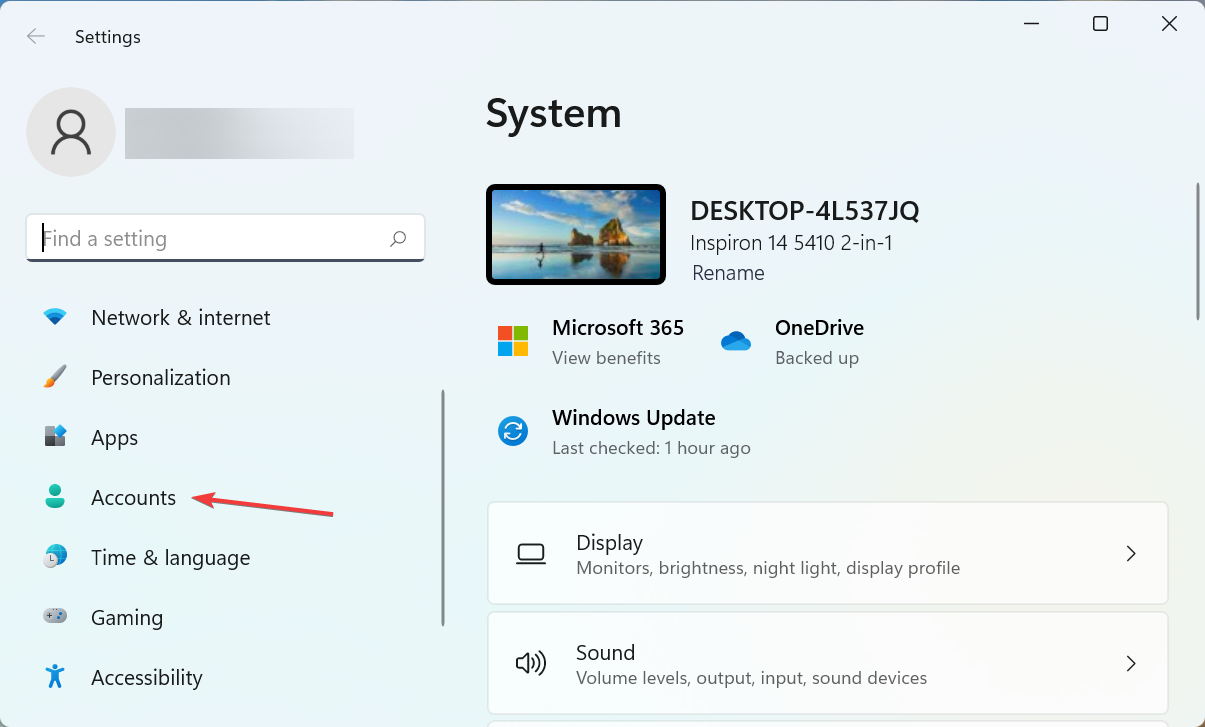
- Press Windows + I to launch Settings, and select Accounts from the tabs listed in the navigation pane on the left.

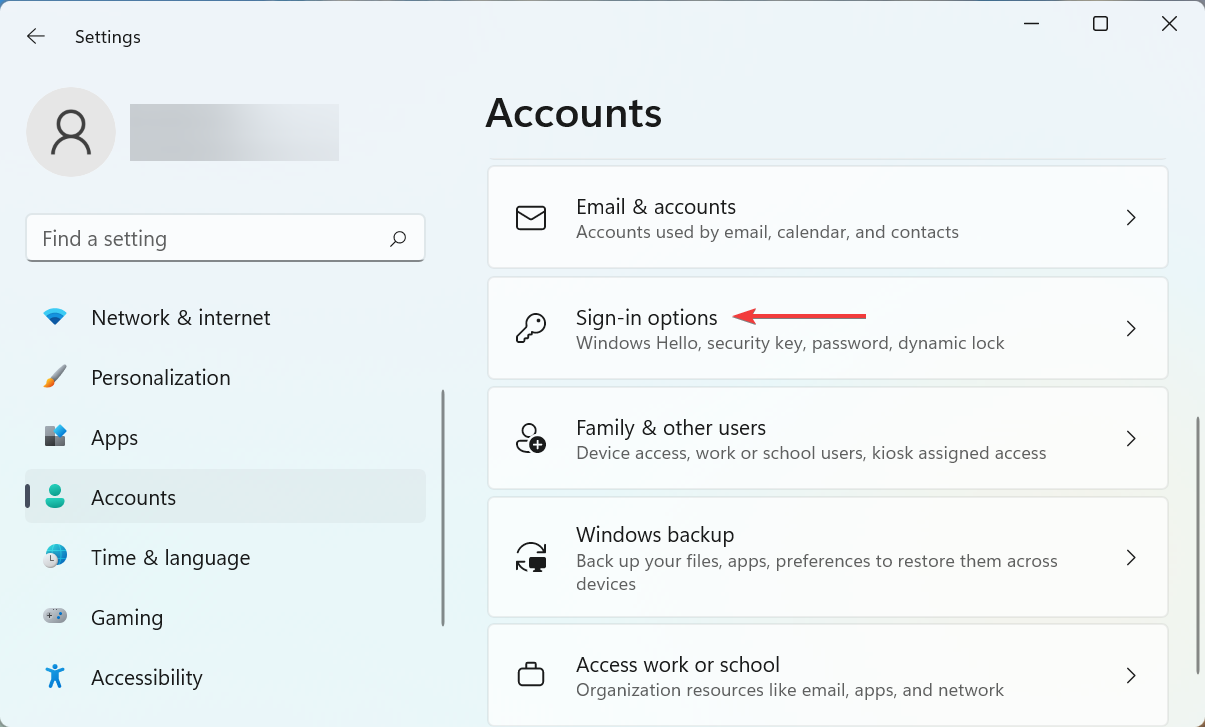
- Next, click on Sign-in options on the right.

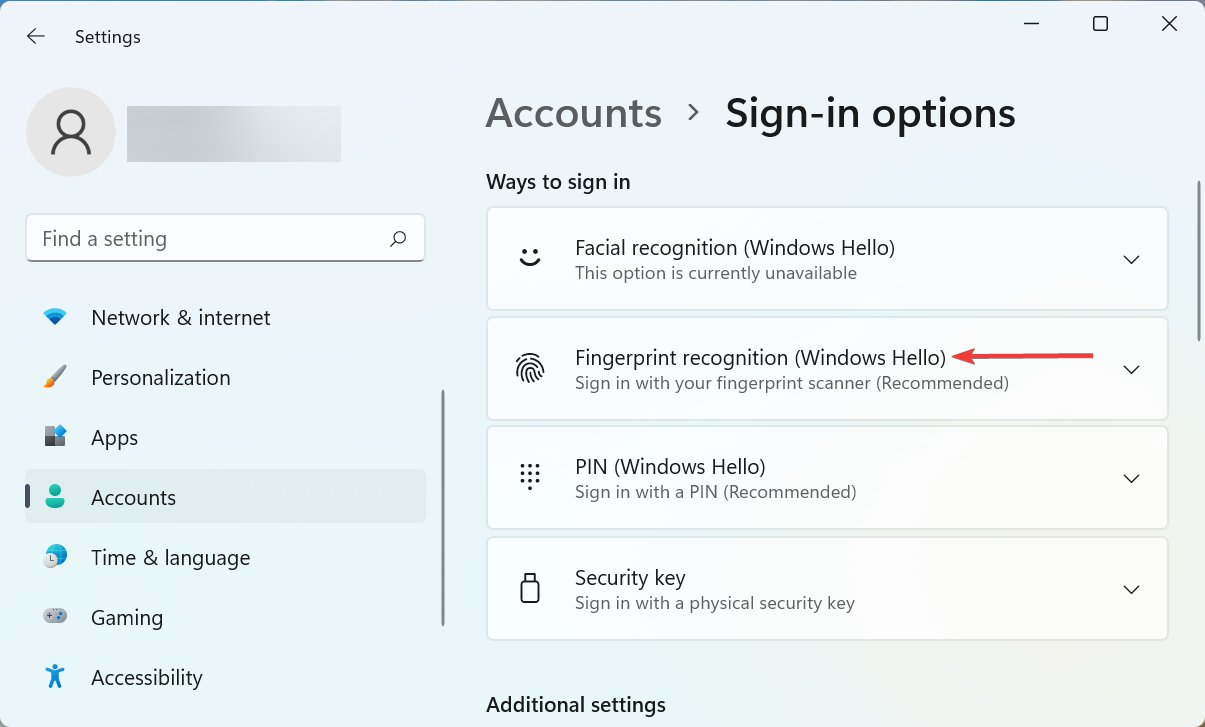
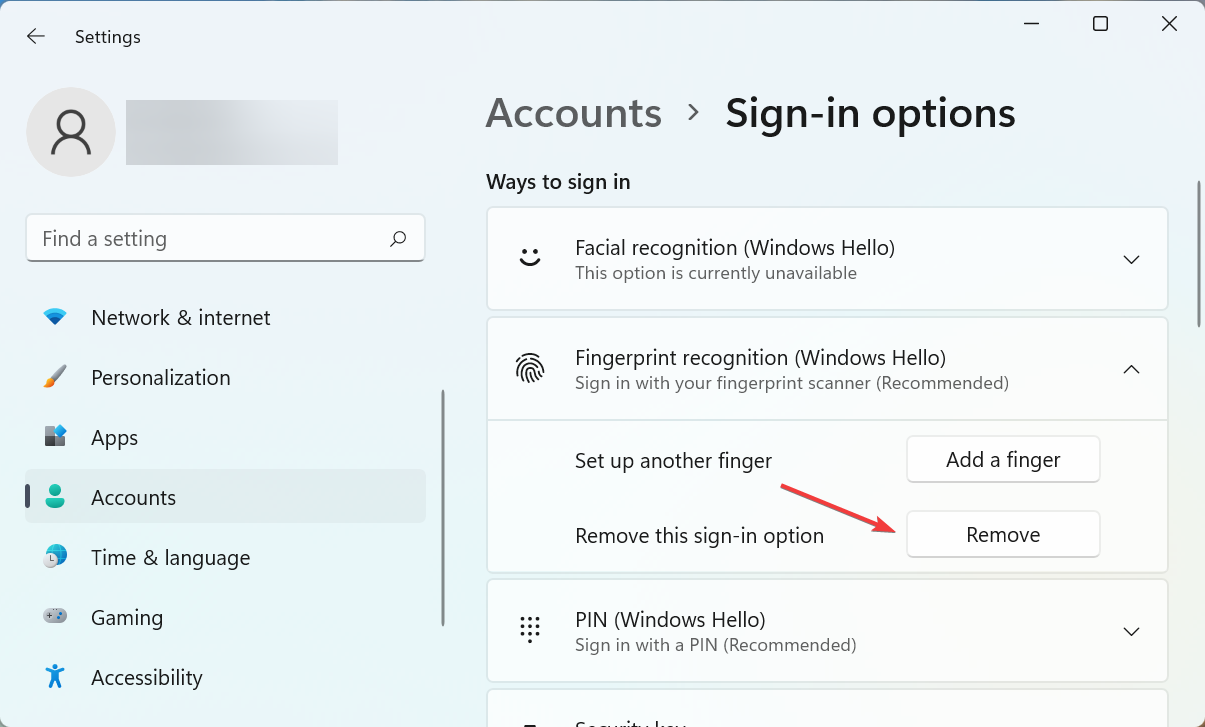
- Click on Fingerprint recognition (Windows Hello).

- Now, click the Remove button to delete the currently set fingerprint.

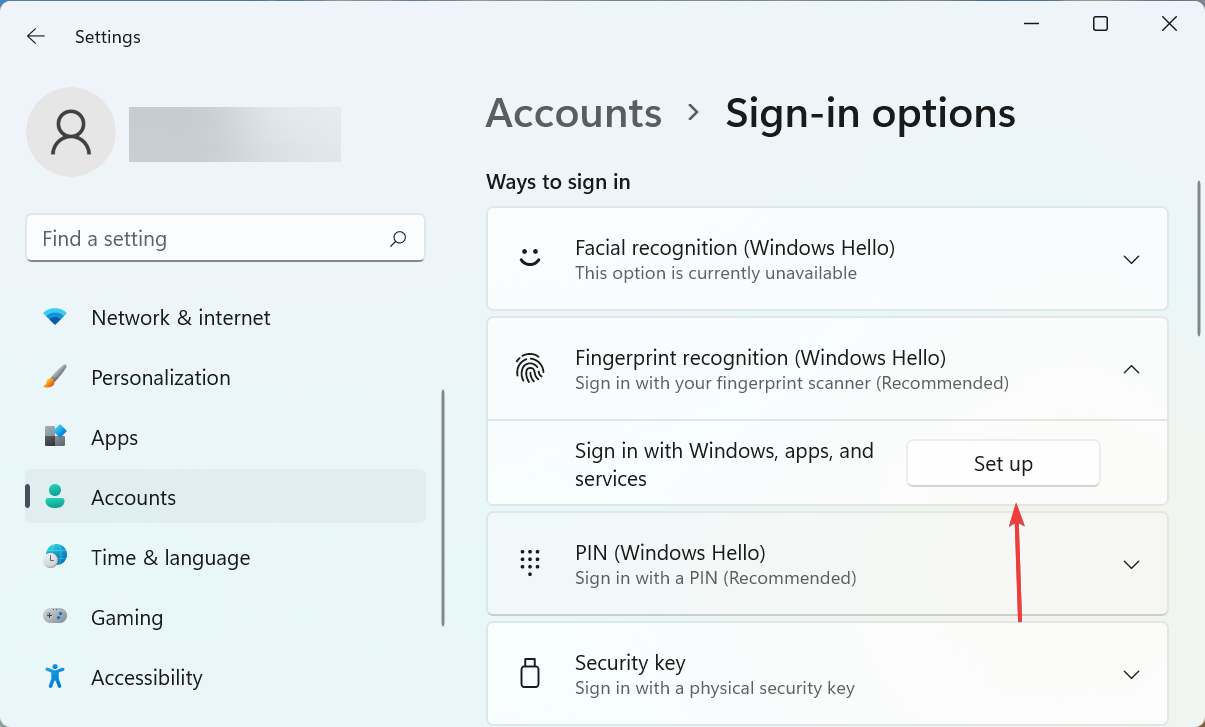
- Once done, click on Set up to add a new fingerprint.

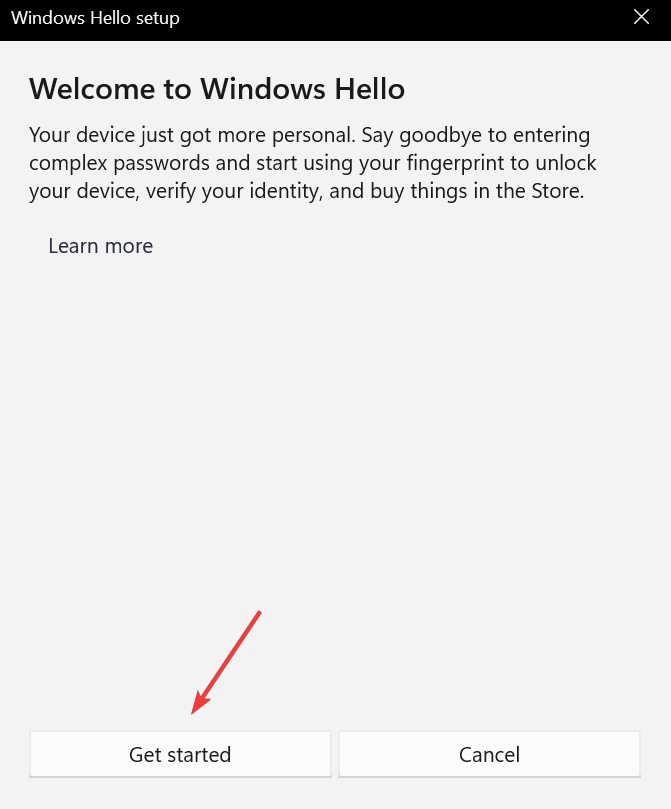
- Click on Get started and follow the on-screen instructions to complete the process.

If there are issues with the currently set fingerprint, it would appear as if the fingerprint reader in Dell XPS 13 is not working. So, remove the current one and add a new fingerprint instead.
These are all the ways you can fix the Dell XPS fingerprint reader not working issue and use it to log in to Windows from now on.
Why did my laptop fingerprint scanner stop working?
Your fingerprint reader will malfunction if the associated drivers are corrupted, out of date, or incompatible. Moreover, it may be that some system files are corrupted, which will prevent you from using the fingerprint reader.
Make sure your fingerprint reader has no potential hardware problems, such as scratches, dust, or grease on any of its components.
If these methods don’t work, which is highly unlikely, try some general troubleshooting to fix issues with the fingerprint sensor in Windows 11.
Also, you may perform a system restore since this can eliminate many issues and take your system back to a relatively healthy state.
If you have any other queries or know of a fix not listed here, drop a comment in the section below.
Read our disclosure page to find out how can you help Windows Report sustain the editorial team. Read more


Improve this guide


User forum
0 messages