Your DNS Server Might Be Unavailable Windows 11 [Fixed]
A simple yet effective fix is to restart your DNS services
Key notes
- DNS issues on Windows 11 can appear if you have problems with the cache, so clear it properly.
- Changing the network settings or your server can also help with this problem.
- To resolve such DNS issues, try disabling your antivirus temporarily or restarting your router.
Multiple components must work properly for your Windows 11 PC to connect to the Internet, including your network adapter and drivers.
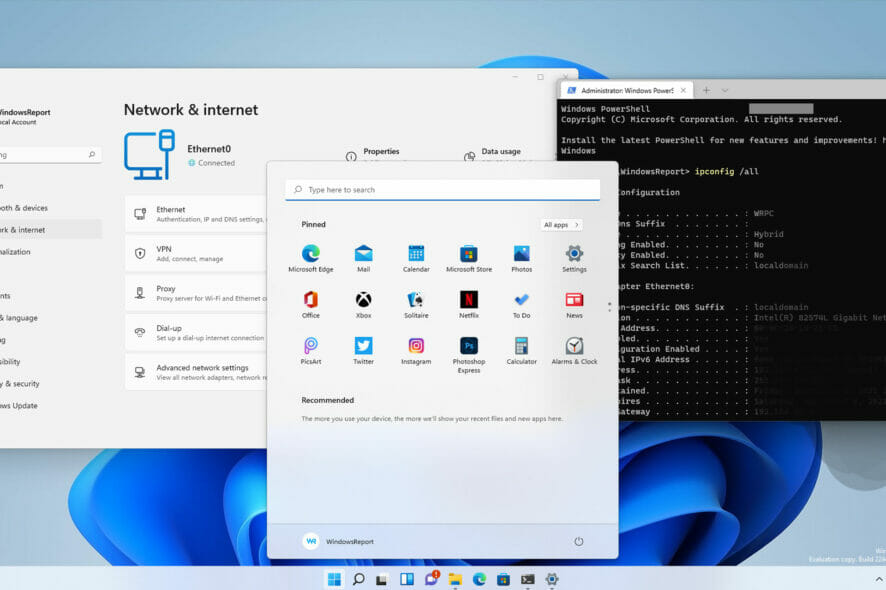
However, components such as DNS servers are crucial to access any website. Unfortunately, certain users face different DNS issues on Windows 11, such as:
- Your DNS server might be unavailable
- DNS server not responding
- DNS address cannot be found
When one of these Windows 11 DNS issues appears, you won’t be able to access any website, so you must fix it as soon as possible.
Why does my computer keep having DNS issues?
There are a series of factors for DNS issues on Windows 11. Below are some of the prominent ones:
- Antivirus interference: One of the notable causes of the DNS server not responding on the Windows 11 issue is the interference from your antivirus. This might be because the security software does not trust the website you are trying to visit. The solution here is to disable the antivirus.
- Problems with the proxy server: In some cases, issues with your proxy server might prevent you from connecting to the internet. The quick way out is to disable it.
- Issues with the network: If you are getting a DNS address that could not be found prompt on Windows 11, the problem might be with your internet connection. Running the built-in troubleshooter should clear up any glitches causing the problem.
How can I fix the DNS server unavailable error on Windows 11?
1. Use the built-in troubleshooter
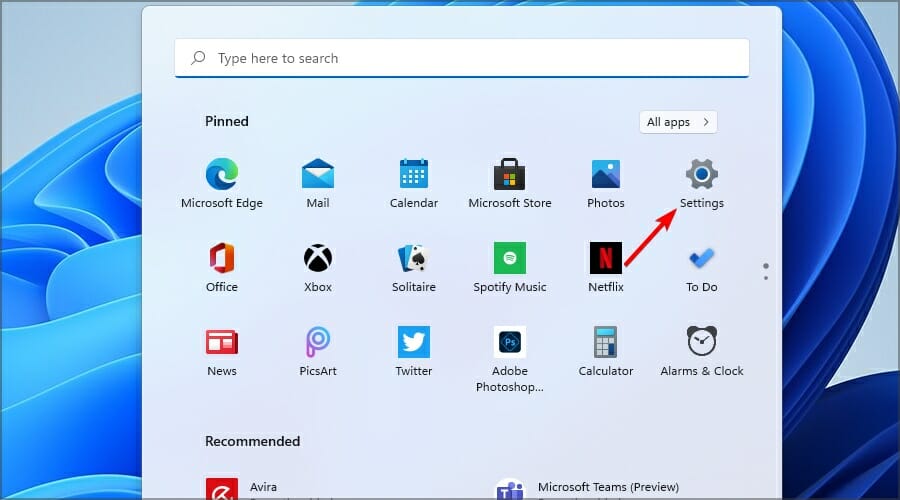
- Open the Start Menu and choose Settings.
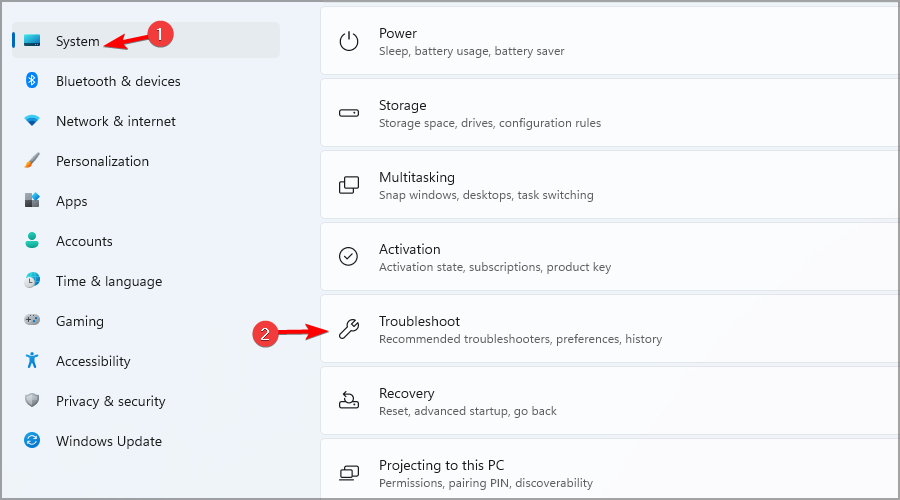
- In the left pane, go to System, and in the right pane, select Troubleshoot.
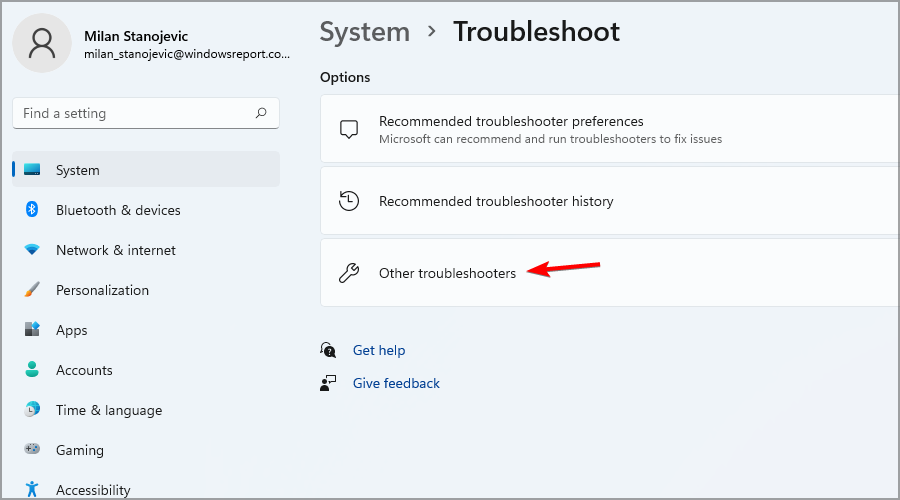
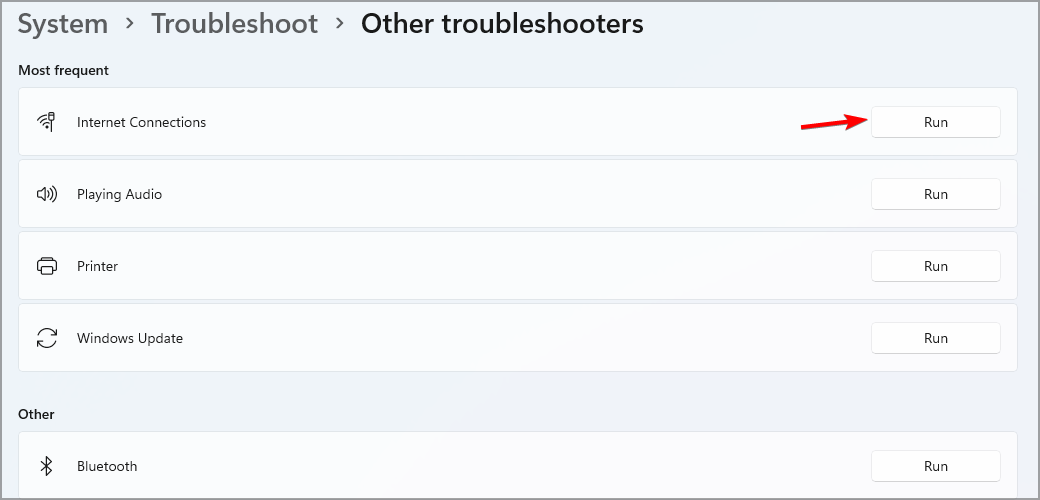
- Select Other troubleshooters.
- Click the Run button next to the Internet troubleshooter.
- Wait for the troubleshooting process to finish.
- If the problem persists, run the Network adapter and Incoming connections troubleshooters.

If you cannot open the Settings app, look at our article on what to do if the Settings app crashes for some quick solutions.
2. Use the command line
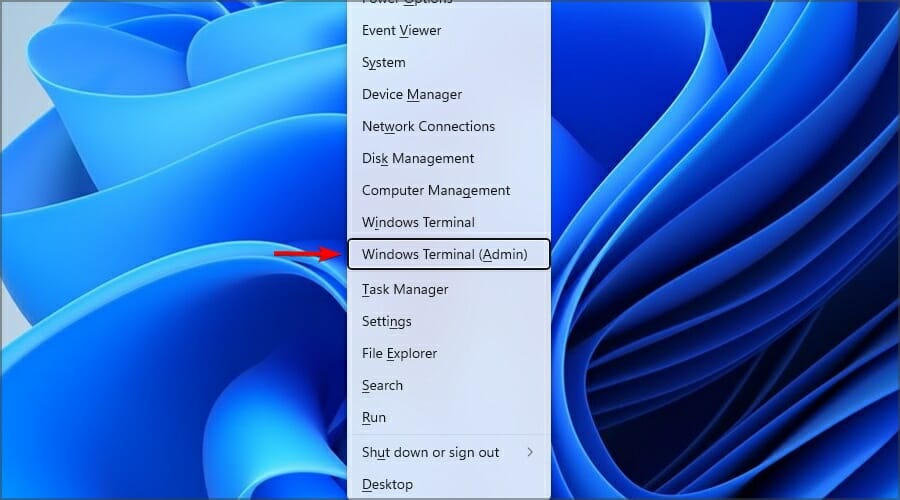
- Press the Windows key + X and select Windows Terminal (Admin) from the menu.
- Now run the following commands one by one:
ipconfig /flushdnsipconfig /releaseipconfig /renew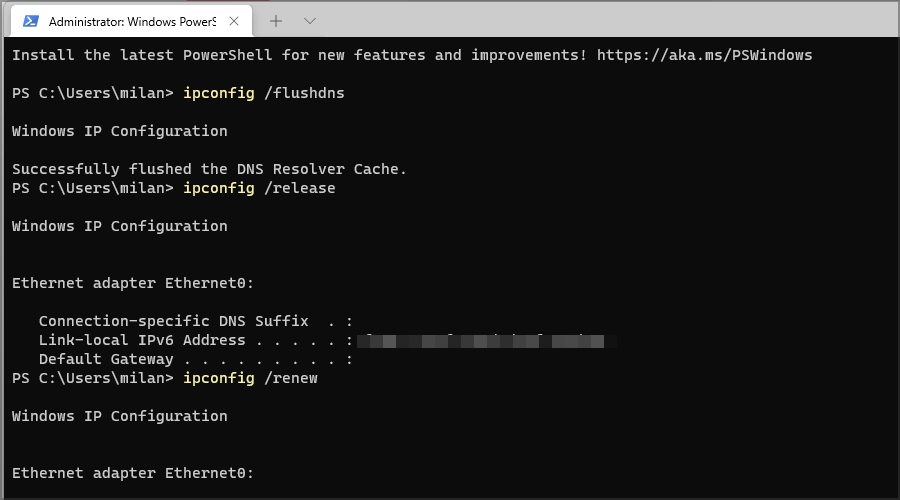
3. Change the DNS
- Click the Search icon in the Taskbar.
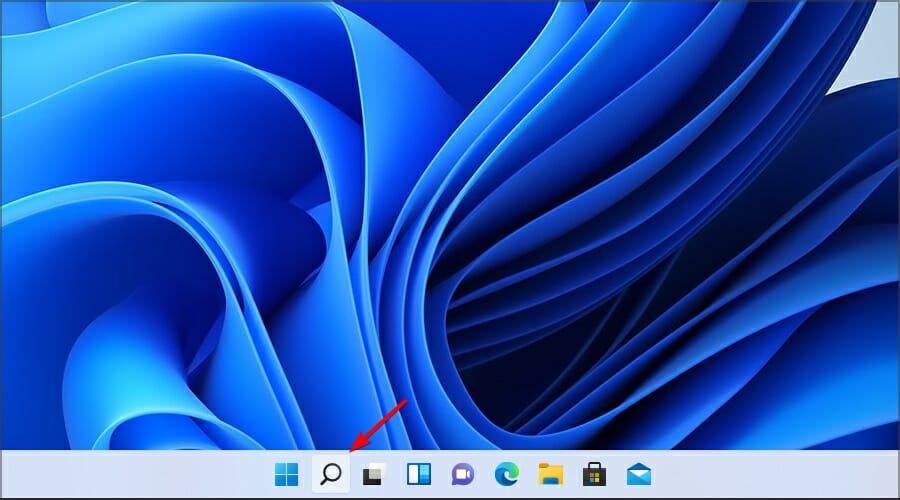
- Enter network connections and select View network connections.
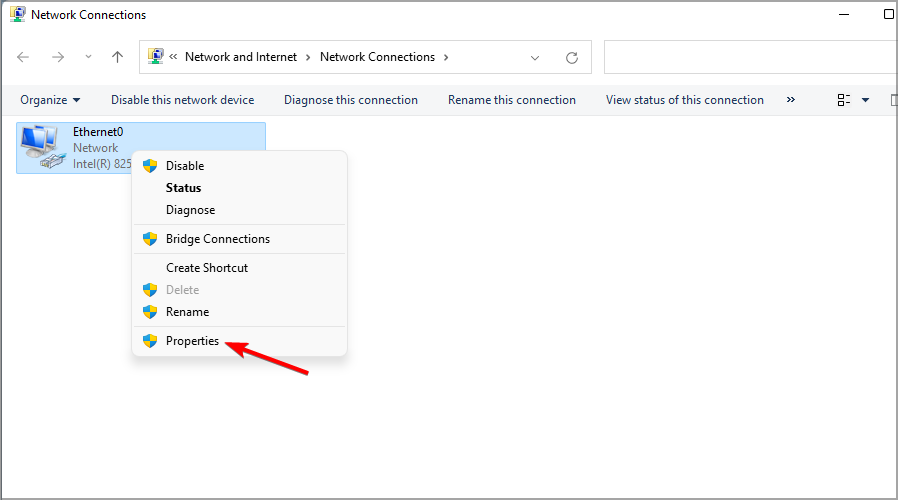
- Right-click your connection and select Properties.
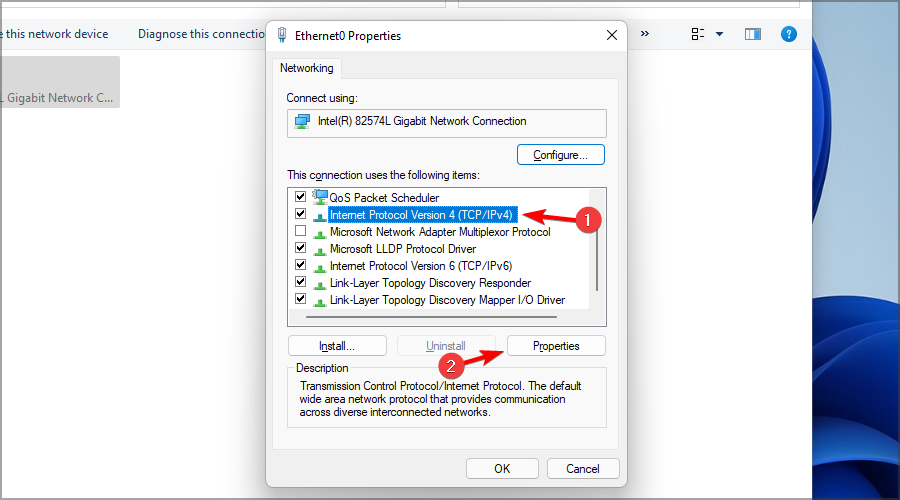
- Select Internet Protocol Version 4 (TCP/IPv4) and click on Properties.
- Now select Use the following DNS server addresses and set the following:
- Preferred DNS server: 8.8.8.8
- Alternate DNS server:8.8.4.4
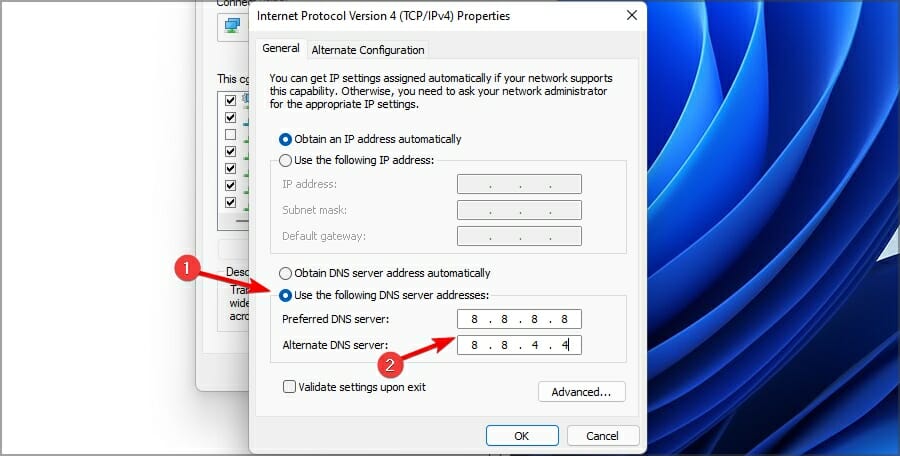
- Click OK to save changes.
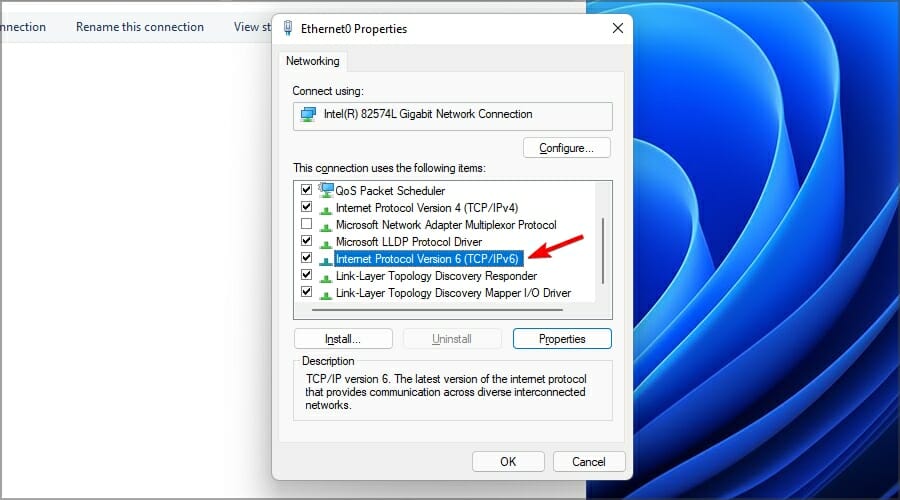
- Select Internet Protocol Version 6 (TCP/IPv4) and change the DNS server like in the previous steps.
If you’re having problems using the search feature, our Search bar not working guide will help you, so don’t hesitate to look closer.
4. Restart the DNS services
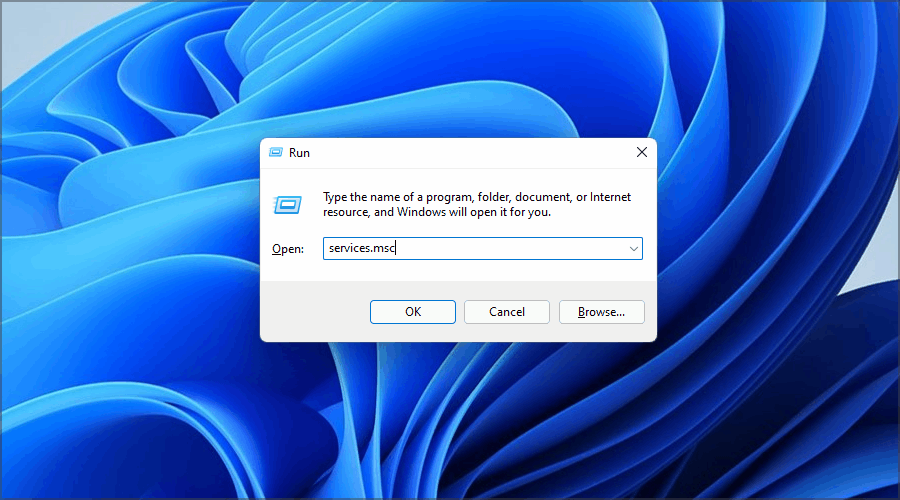
- Press the Windows key + R and enter services.msc. Next, press Enter or click OK.
- Locate the DHCP Client service, right-click, and choose Restart from the menu.
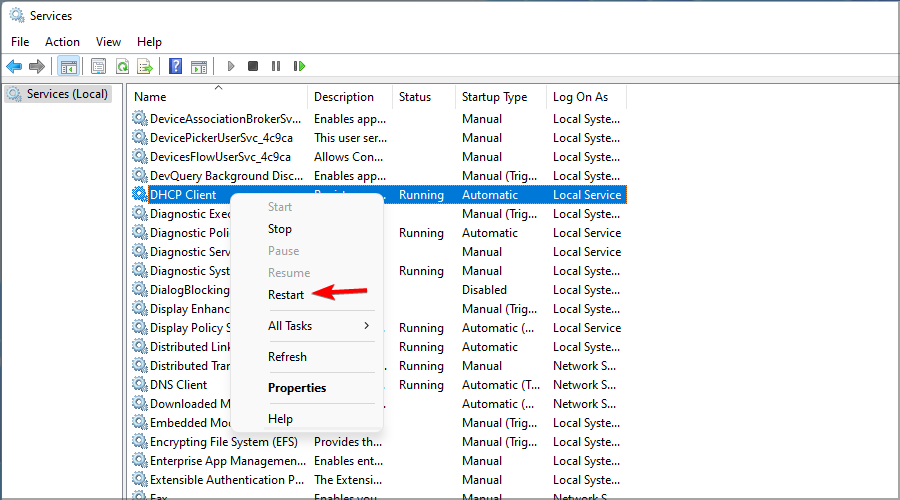
- Finally, right-click DNS Client service and choose Restart if available.
5. Disable the proxy
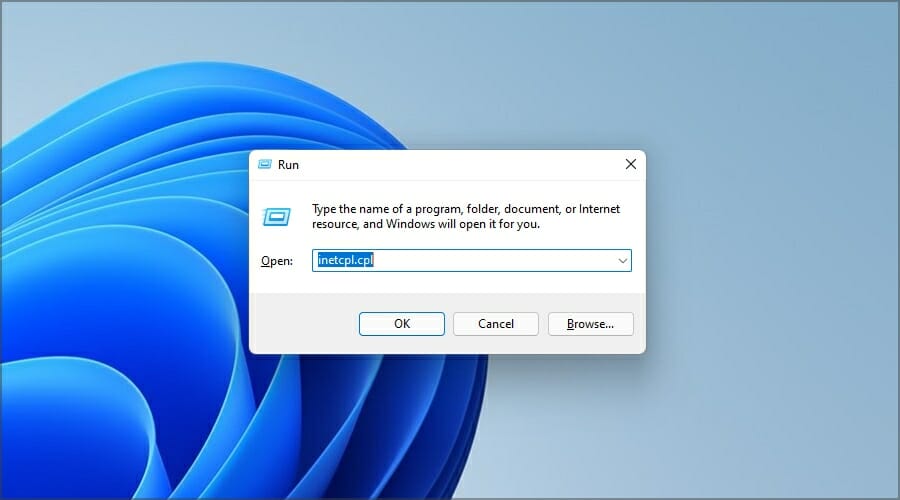
- Open the Run window by pressing Windows Key + R.
- Type inetcpl.cpl and press Enter.
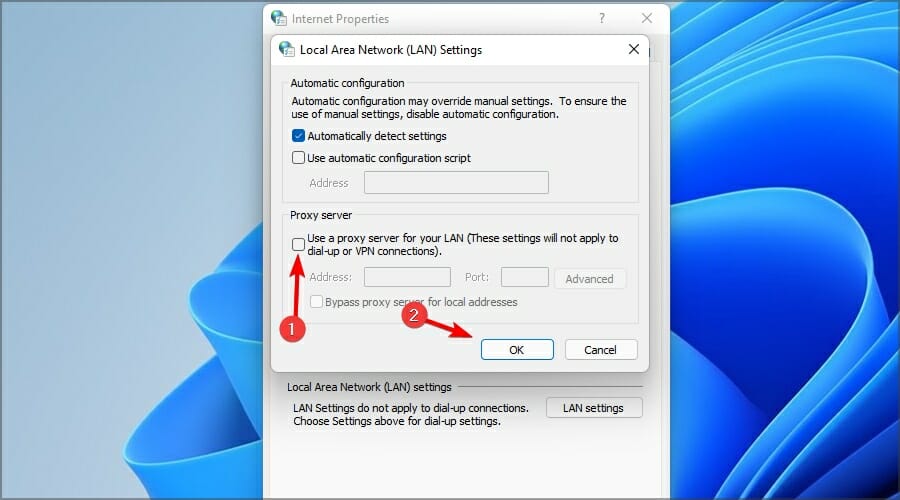
- Navigate to the Connections tab and click on LAN settings.

- Uncheck Use a proxy server for your LAN and click OK.
6. Disable your antivirus temporarily
- Locate your antivirus icon in the system tray.
- Right-click it and choose the option to turn off real-time protection.
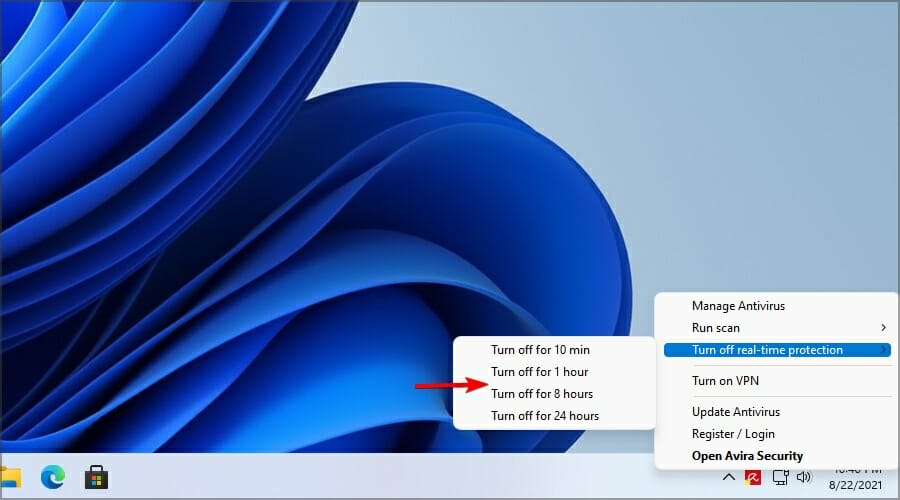
Once the antivirus software is disabled, check if the problem is still there. If the issue doesn’t appear, the antivirus configuration interferes with your network connection, so adjust it accordingly.
Alternatively, you can consider switching to a different antivirus compatible with Windows 11. Making an informed choice when it comes to protecting your PC can be difficult, considering the wide range of options available, so we’re sure you’ll find our top picks useful.
DNS issues such as the Your DNS server might be unavailable Windows 11 error will prevent you from browsing the web, and many reported that DNS problems are responsible for TypingClub not working. However, you can fix this problem in most cases simply by using the command line or changing the required network settings.
If you are facing DNS server issues after installing a Windows update, check our detailed guide on how to fix that too.
Feel free to let us know the solution that helped you fix this your DNS issues in Windows 11 in the comments below.
Read our disclosure page to find out how can you help Windows Report sustain the editorial team. Read more


Improve this guide


User forum
0 messages