Downloaded fonts not showing up in Silhouette Studio? Here's a quick fix
3 min. read
Updated on
Read our disclosure page to find out how can you help Windows Report sustain the editorial team. Read more
Key notes
- Silhouette Studio is a free design software that best serves crafters because of its integrations with Silhouette Machines.
- You can install every font on your computer into Silhouette Studio.
- If downloaded fonts are not showing up in Silhouette Studio, you need to go to local app data and install each font for all users.
- Font extras are a part of the font’s glyphs accessible inside Silhouette Studio’s Text Style panel.
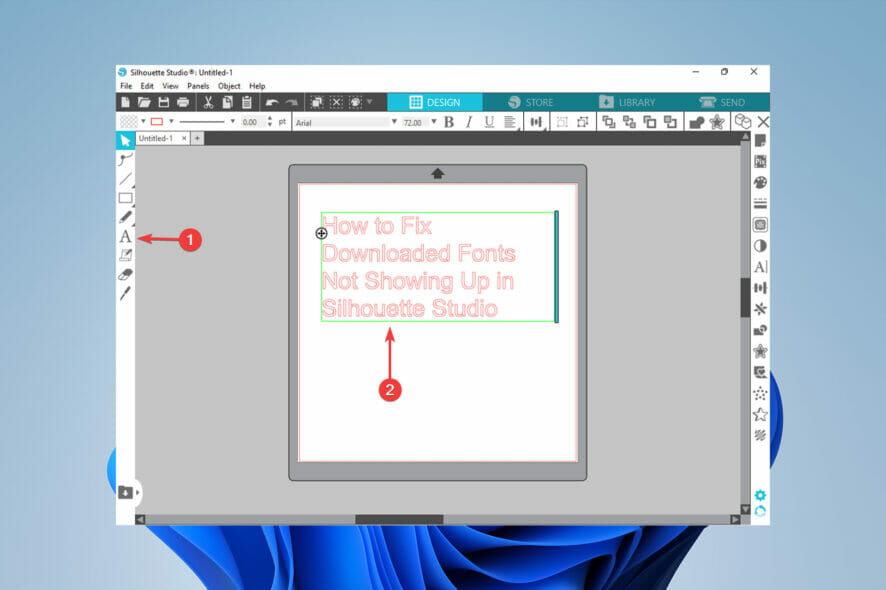
If you are a crafter, chances are you have faced downloaded fonts not showing up in Silhouette Studio. It is frustrating, but the good news is that it is easily fixable.
Silhouette Studio is a free design application that lets crafters and designers create craft projects. Due to easy integration with Silhouette cutting machines, crafters can easily bring their projects to life.
In this article, we will go over the steps you need to take to fix downloaded fonts not showing up in Silhouette Studio.
How can I install fonts in Silhouette Studio?
- First, make sure your Silhouette Studio is not open.
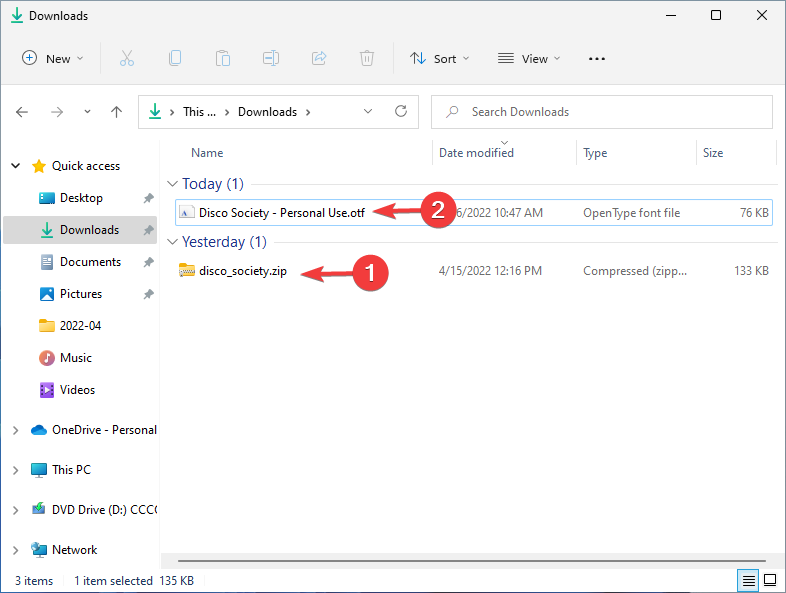
- Download your desired font to your computer then, unzip it.
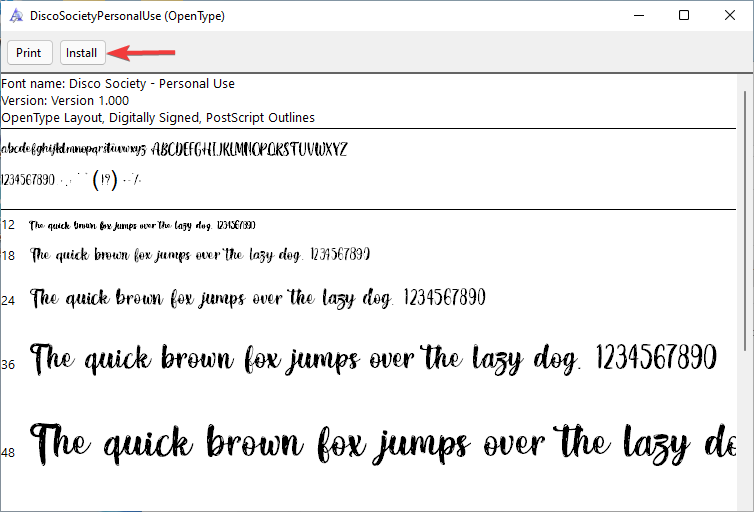
- Following that, find the OTF or TTF version of the font. Install it in your Windows Font Viewer or other font management software on your PC by double-clicking on it and choosing Install.
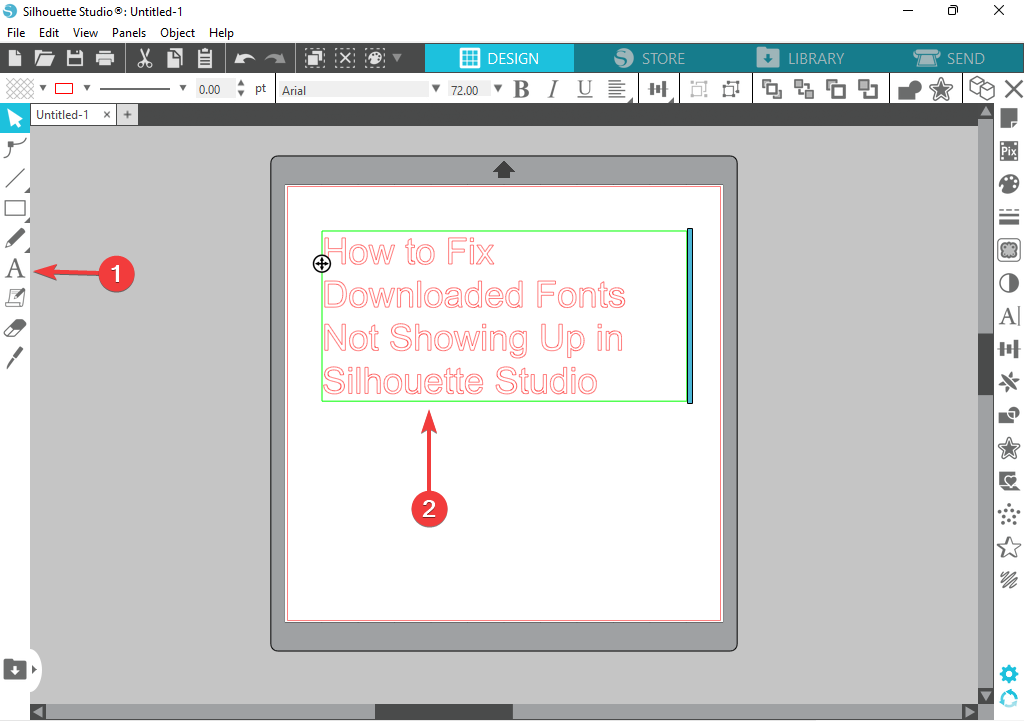
- Finally, type the name of the font into the font search box and click on it to change the font style.
Silhouette Studio can use any font that you have downloaded on your PC.
Check out this article if you’re having trouble with Silhouette Studio’s automatic update.
What can I do if downloaded fonts are not showing up in Silhouette Studio?
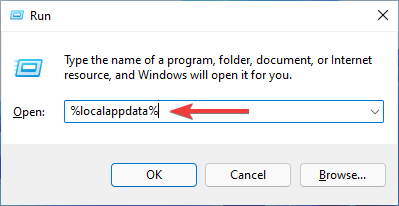
- Press Windows + R to open the Run dialog box.
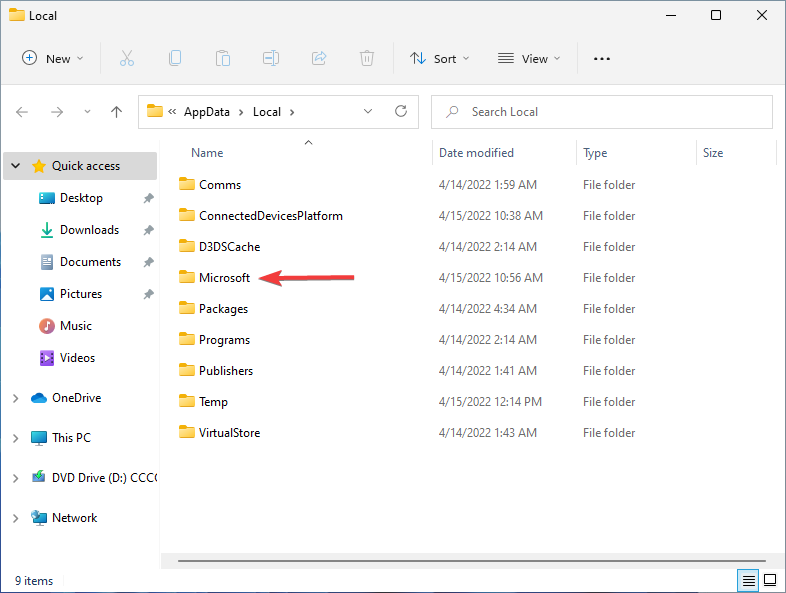
- Next, type %localappdata% into the dialog box and hit Enter.
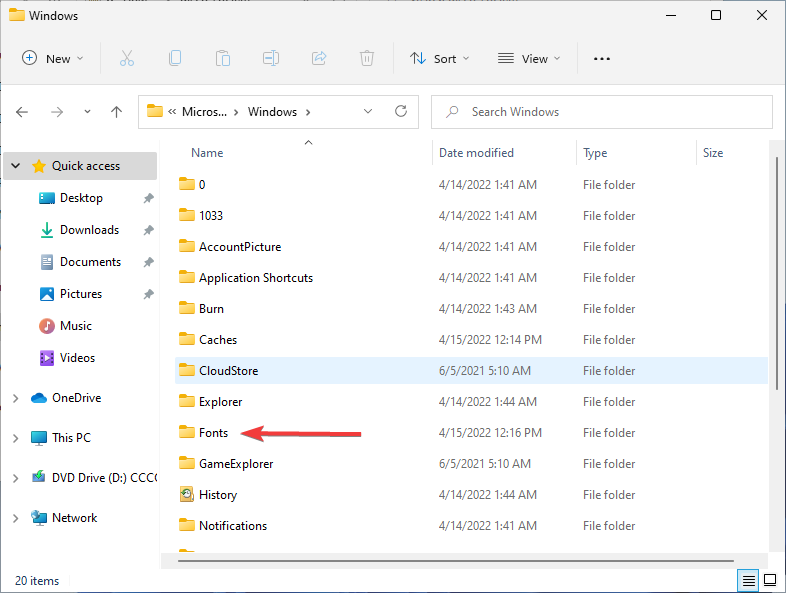
- Open the Microsoft folder.
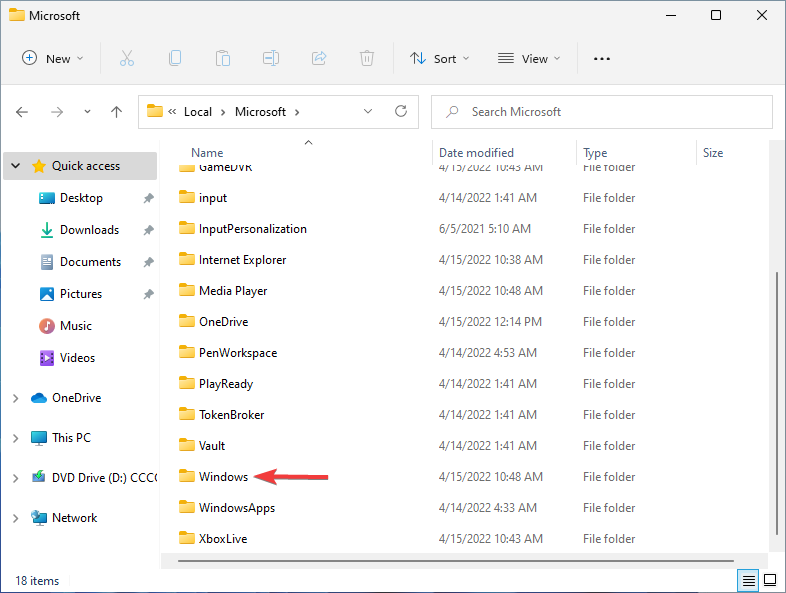
- Then, open the Windows folder.
- Afterwards, open the Fonts folder.
- Right-click on every font and choose the Install for All Users option.
This article may be useful if you’re getting the message that Silhouette Studio has encountered a problem and needs to quit.
How can I access glyphs manually in Silhouette Studio?
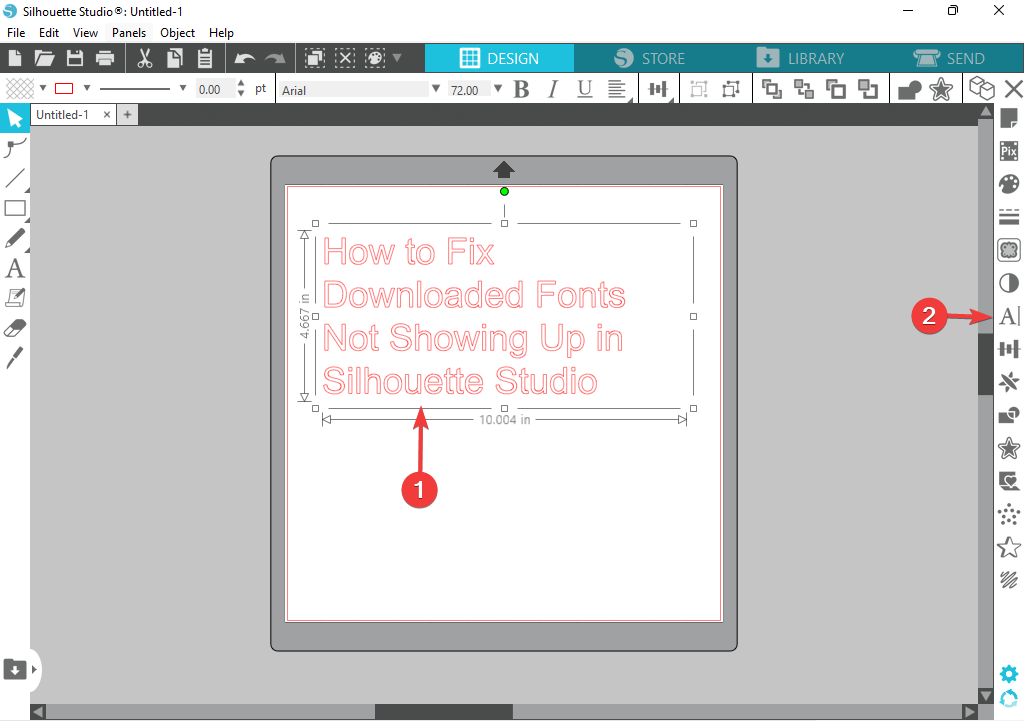
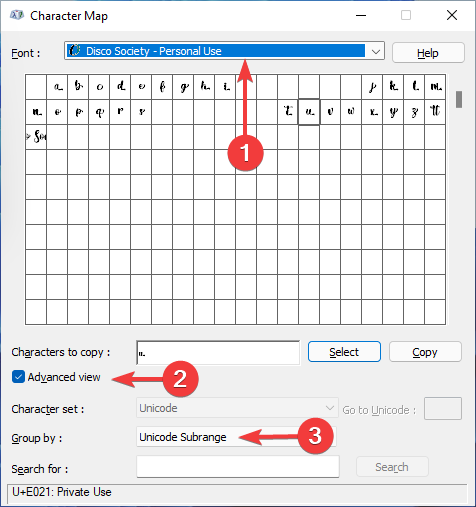
- Then, select the font you want to work with, check the box for Advanced View, and change the Group By to Unicode Subrange.
- Following that, choose Private User Characters. All those small characters are your glyphs. Clicking on them will bring up a larger preview.
- Click on the ones you want and one-by-one, click on Select. They will be present in the Characters to copy area.
- Click on the Copy button to copy these special glyphs to the clipboard.
- Then, go back to Silhouette Studio and paste the glyphs into the design area.
- Click on the little boxes like a normal font. Then, select the font you will use from the fonts available in the Text Style menu.
It is best to upgrade your Silhouette Studio at least to Designer Edition and run the V4.1 to access glyphs manually.
Font extras are covered in as a part of the font’s glyphs and you can access them directly within Silhouettes Studio’s Text Style panel.
Text styles are important for Silhouette Stadio users, and if you’re new to the program, you should understand the differences between Monogram Font and Monogram Cut File.
Monogram Cut Files are designs that cannot be altered by typing with your keyboard.
However, Monogram Fonts are font files that have access to multiple letters and can be modified by typing on the keyboard via the Text Tool.
If your Silhouette Studio software is running slow, this article could help.
Let us know if you were able to solve the issue, or if you have another way that could help the readers in resolving the problem in the comments section below.







User forum
0 messages