Follow these steps to enable rounded search corners in Windows 10 v1903
3 min. read
Updated on
Read our disclosure page to find out how can you help Windows Report sustain the editorial team Read more

The preview builds of Windows 10 April 2018 Update introduced the immersive search bar feature for the first time. Microsoft is now improving the search experience in the form of a search app.
Starting with the Windows 10 May 2019 Update, Microsoft revamped the search experience. The Immersive search bar has been restyled and now sports rounded corners.
Many people don’t have any idea that this feature is disabled by default in Windows 10.
However, your device should be running Windows 10 version 1903 (May 2019) in order to enable the hidden Immersive search bar.
This article lists some simple steps that you need to follow in order to get the new search experience ahead of its official release.
Before moving forward, it is recommended that you should back up your system. Remember, you can always use the backup to restore your system in case of any issues.
Steps to enable Immersive search with rounded corners in Windows 10
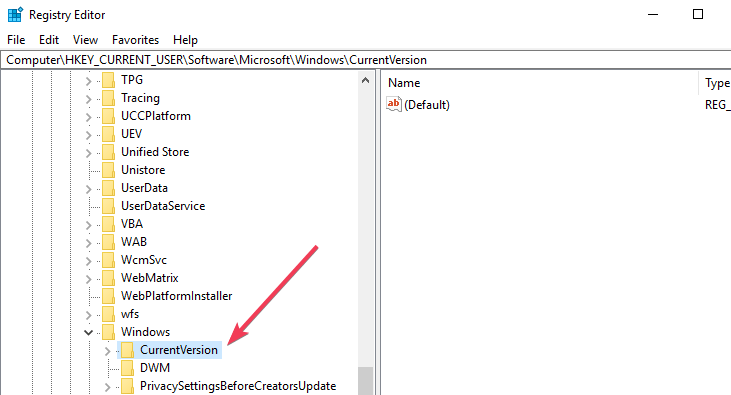
- Open Registry Editor and search for the following key:
HKEY_CURRENT_USER\Software\
Microsoft\Windows\CurrentVersion\Search - Now at this step, you need to create a new DWORD 32-bit Value. Navigate to the right pane and follow these steps: Right-click >> New >> DWORD Value (32-Bit). Set the name as ImmersiveSearch.
- Double-click the newly created DWORD and set its value to 1.
- Navigate to the following location in the Registry Editor:
HKEY_CURRENT_USER\Software\Microsoft\
Windows\CurrentVersion\Search\Flighting - Now right-click the Flighting folder and select New to create a subkey. Name the key “Override“. While creating new keys every time, you should make sure there are no blank spaces in the name of the key.
- In the end, select the new Override key and navigate to the right pane. Right-click and select New >> DWORD (32-bit) named “ImmersiveSearchFull“. Now change its default value to 1.
- Repeat the same process to create a new 32-bit DWORD named “CenterScreenRoundedCornerRadius“. Double-click CenterScreenRoundedCornerRadius to set its value to 9.
Finally, you should restart File Explorer from the Task Manager to activate the new feature.
Alternatively, you can also reboot your system. Once the reboot is done, you can navigate to the taskbar and click the search icon to activate search window.
If you observe closely, the new window does not include Cortana and features rounded corners.
It is worth mentioning that the UI makeover is a work in progress. Microsoft may take some time to completely make it available to production devices.
Do you find the new search experience useful? Share your thoughts in the comments section below.
RELATED ARTICLES YOU NEED TO CHECK OUT:

