Error 0xc1900223: How to Fix This Windows Update Issue
Check these solutions verified by our team and confirmed
3 min. read
Updated on
Read our disclosure page to find out how can you help Windows Report sustain the editorial team Read more
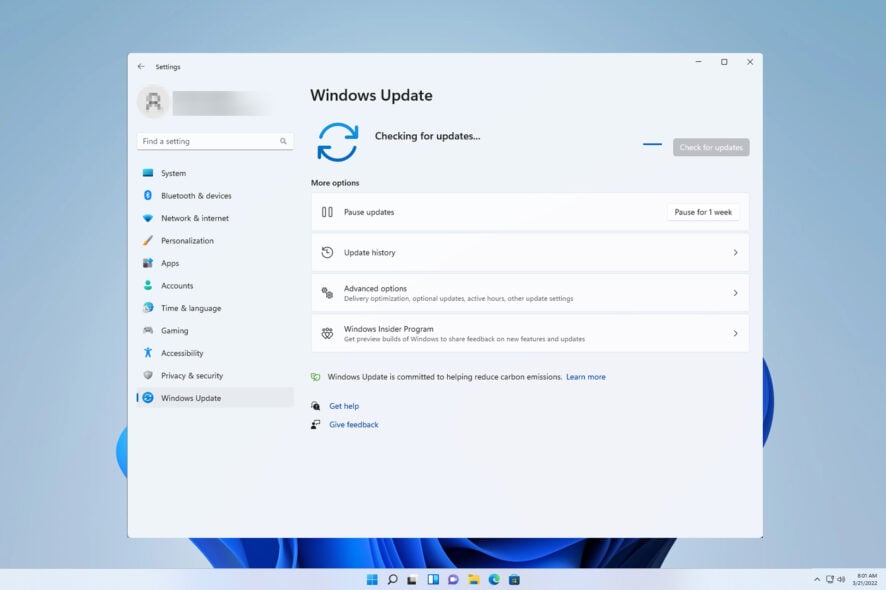
Error 0xc1900223 is a Windows Update issue that can arise on Windows 11 and 10. This can be a problem and result in Windows Update not working.
There isn’t any one specific cause for the 0xc1900223 update error but it’s mainly due to glitches with the update components or corrupted system files. We can’t exclude issues with the update service or network connection problems. Flushing the DNS can sometimes help with the latter.
How can I fix error 0xc1900223?
1. Open the Windows Update troubleshooter tool
- First, click Start, and the Settings app pinned to that button’s menu.
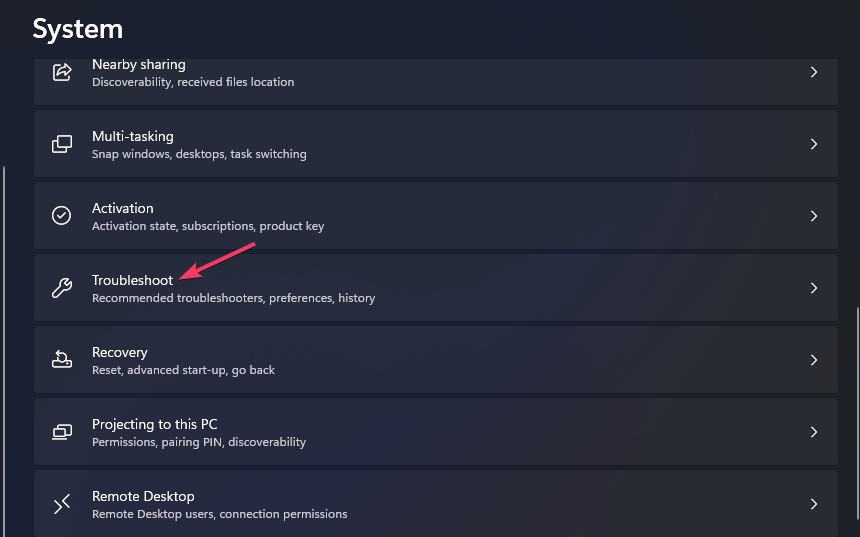
- Select the Troubleshoot Settings category.
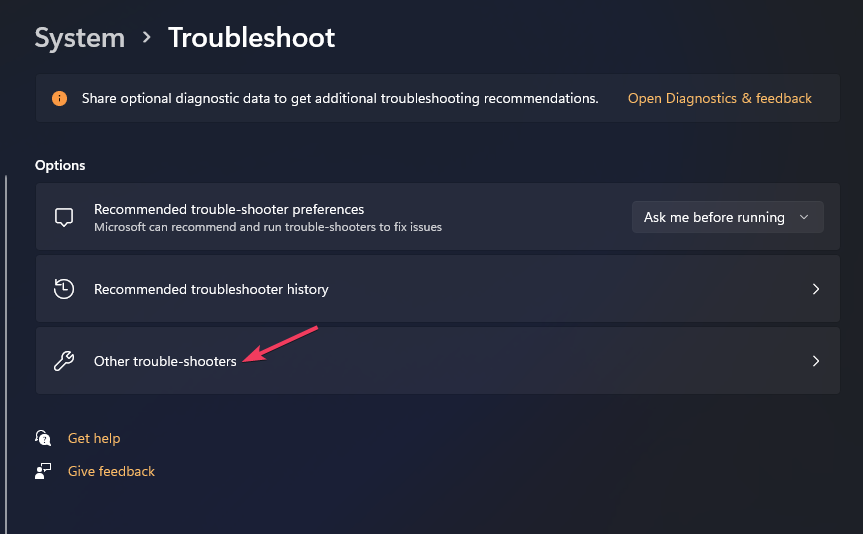
- Click the Other trouble-shooters box to view a list of repair tools.
- Select the Run option for opening Windows Update.
- Then wait for the Windows Update troubleshooter to detect issues and hopefully apply fixes. It will display a completed troubleshooting overview when it’s done.
2. Enable and Run the Windows Update service
- Open the Run command dialog by holding the Windows button on the keyboard and pressing R.
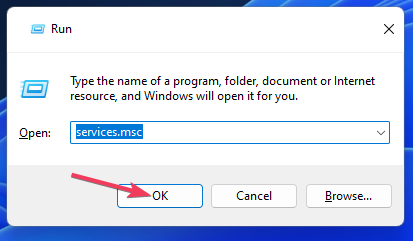
- Type in services.msc within Run’s text box.
- Select Run’s OK option to view Services.
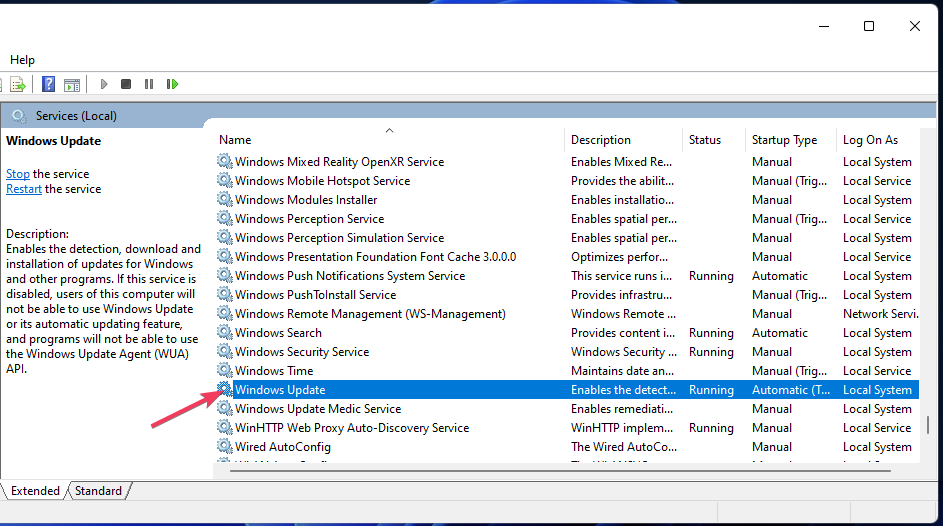
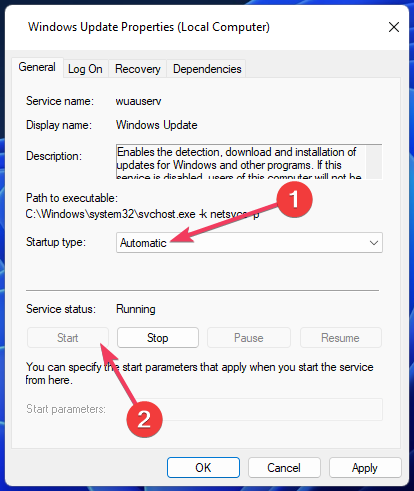
- Double-click the listed Windows Update service.
- Select Automatic for the service’s startup.
- Click Start to start Windows Update.
- Press Apply on the Windows Update Properties window.
After restarting the service, check if error 0xc1900223 is gone.
 NOTE
NOTE
3. Clear the DNS (Domain Name System)
- To view the search tool’s box, press the Windows and S keys simultaneously.
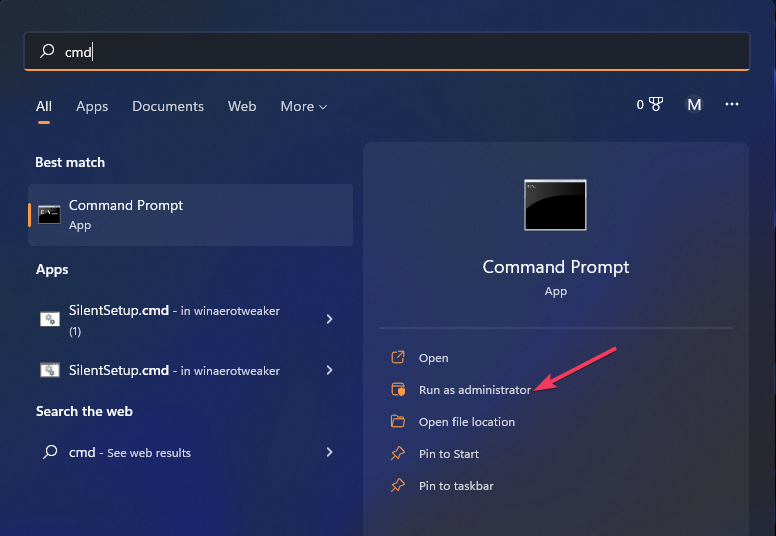
- Find Command Prompt by inputting the search phrase cmd.
- Click Command Prompt’s Run as administrator option on the right side of the search tool.
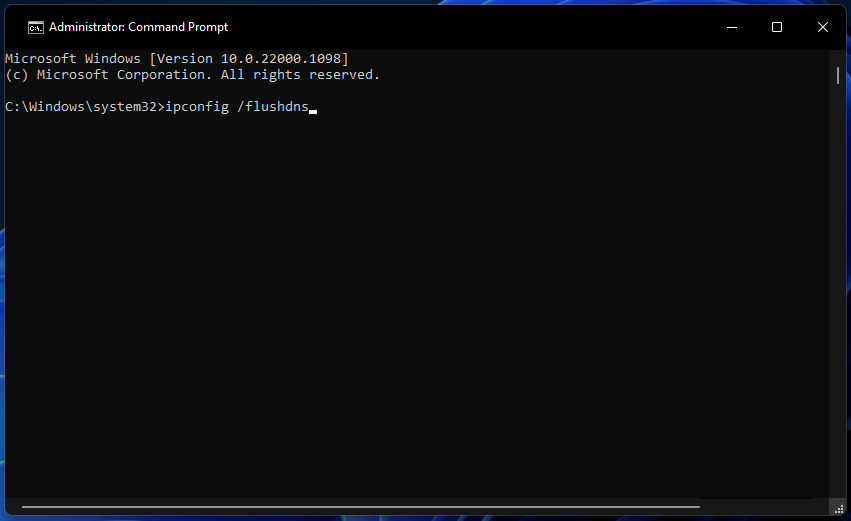
- Input this DNS flush command and press Return:
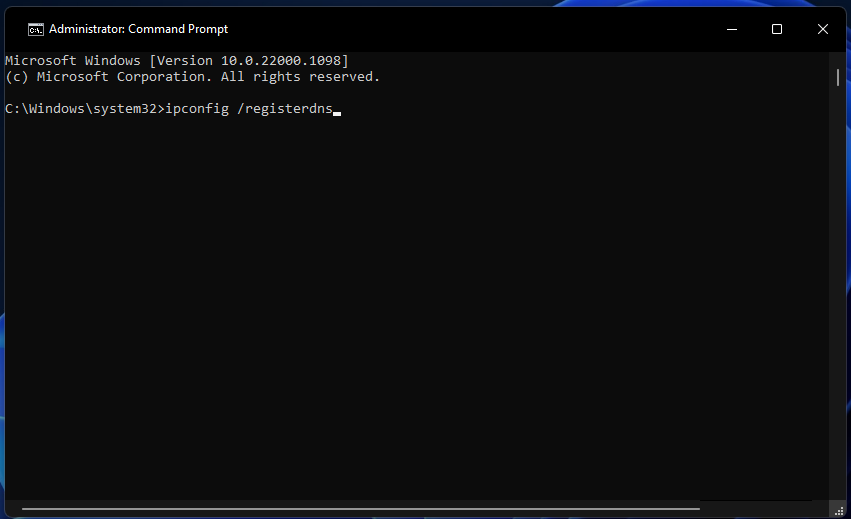
ipconfig /flushdns - Also, input these separate ipconfig commands and press Return after each one entered:
ipconfig /registerdns
ipconfig /release
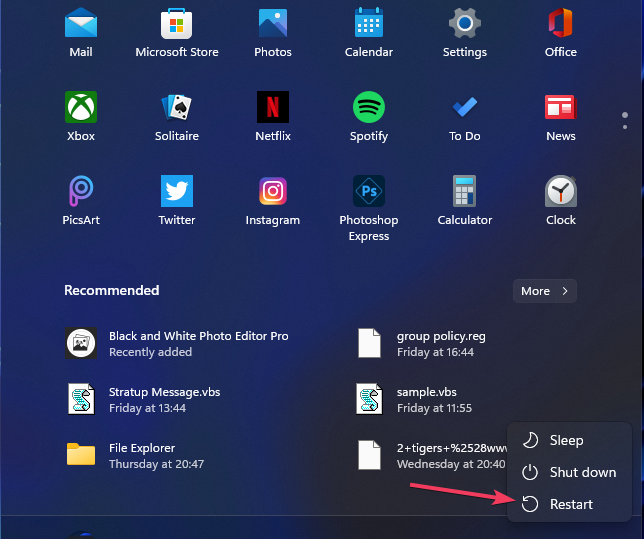
ipconfig /renew - Finally, restart your laptop or desktop by selecting Power and then Restart from Start menu options.
This is a simple method, but it can help with error 0xc1900223, so be sure to try it.
4. Run a scan with the System File Checker
- Open Command Prompt with administrative privileges.
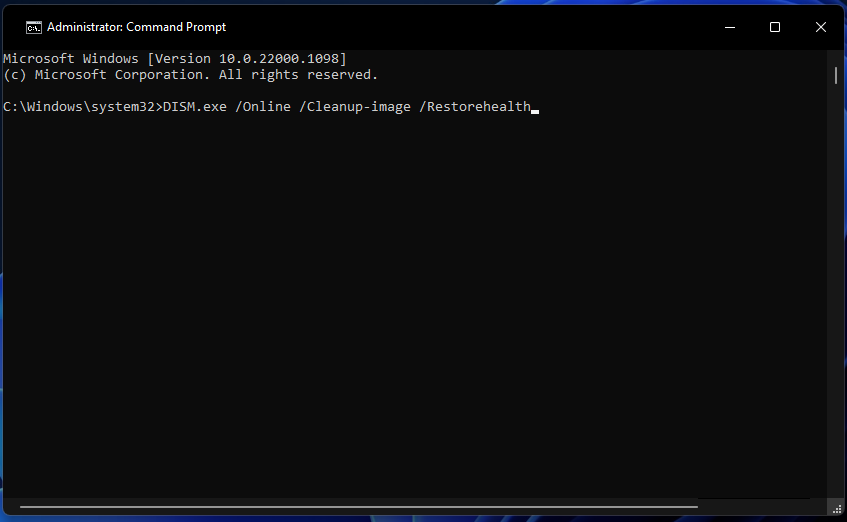
- First, execute this Deployment Image Servicing and Management command:
DISM.exe /Online /Cleanup-image /Restorehealth - Then type in this SFC utility command and press Return:
sfc /scannow - Wait for the SFC scan to finish and show an outcome message.
5. Rename the SoftwareDistribution and Catroot2 folders
- Open Command Prompt with administrative rights as outlined in method three.
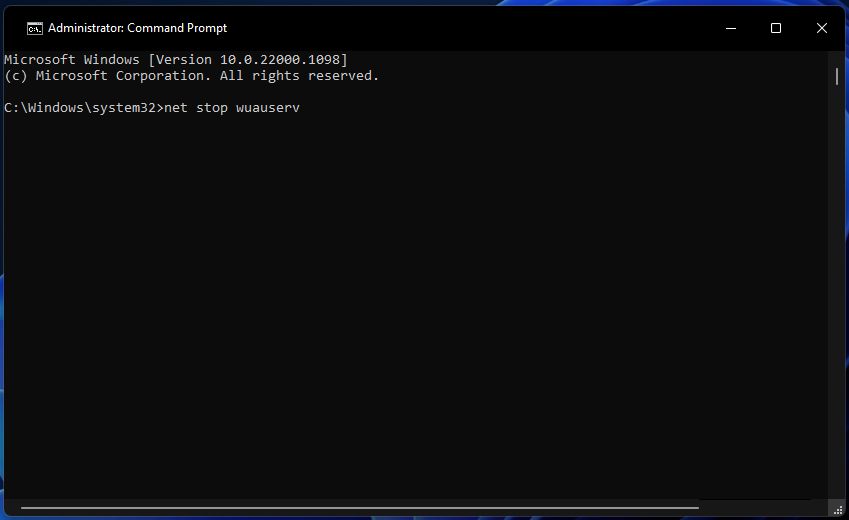
- Disable Windows Update components by executing the following separate commands:
net stop wuauserv
net stop cryptSvc
net stop bits
net stop msiserver - Next, rename SoftwareDistribution to SoftwareDistribution.old by executing this command:
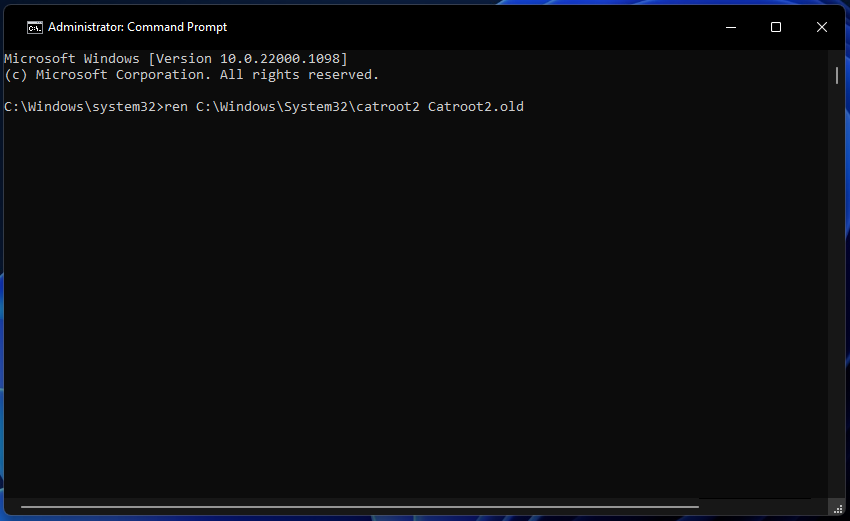
ren C:\Windows\SoftwareDistribution SoftwareDistribution.old - Input this rename command for the catroot2 folder and hit Enter:
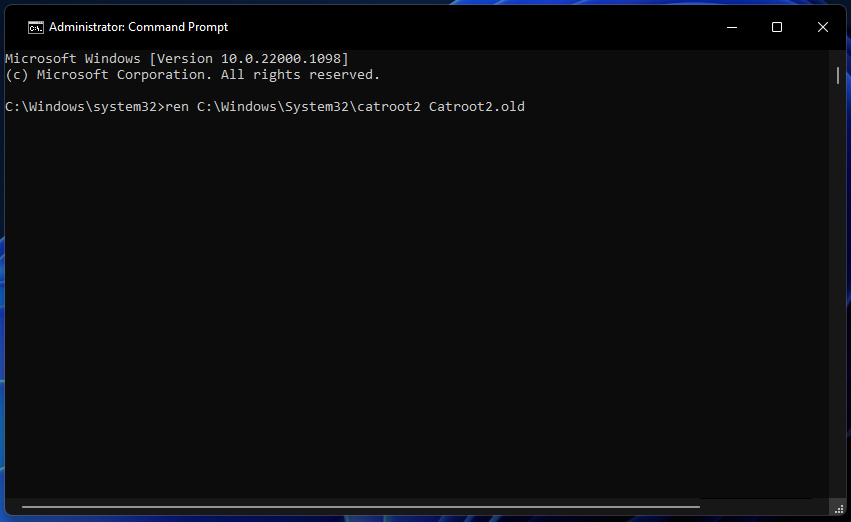
ren C:\Windows\System32\catroot2 Catroot2.old - Restart the stopped update components by inputting and executing these commands:
net start wuauserv
net start cryptSvc
net start bits
net start msiserver - Restart your PC after restarting the services.
So, that’s how you can get error 0xc1900223 fixed on Windows 11 PCs. We don’t promise those potential fixes for error 0xc1900223 will work for everyone, but they’re some of the more likely solutions.
There are also workarounds for error 0xc1900223. You can instead try installing updates by downloading them from the Microsoft Update Catalog. Or you can install a build update with the Media Creation Tool.
You can discuss error 0xc1900223 in the comments section below. Feel free to add any questions about fixing that error or even share other resolutions for it there.

