What Does The Accessibility: Investigate Error in Excel Mean & How to Fix It
First, check the warning and errors messages under Accessibility Assistant
![]() 7 min. read
7 min. read
![]() Published on
Published on
Share this article
Improve this guide
Read our disclosure page to find out how can you help Windows Report sustain the editorial team. Read more

If you see the Accessibility: Investigate error on your Excel workbook, it means there are issues in your workbook that need your attention. In this guide, we will discuss what Accessibility: Investigate error means and how to avoid getting it.
What is Accessibility: Investigate error in Excel?
Microsoft Excel, Word, and PowerPoint come with an Accessibility checker that shows you the accessibility issues with your documents. This ensures your content is easier for people with disabilities to read and write.
Therefore, it is also suggested that you run the Accessibility Checker before you share your document with others. If it says Accessibility: Good to go, you can save the document and share it as you like. However, if you see Accessibility: Investigate, this indicates that there are issues that you need to address.
How can I fix the Accessibility: Investigate error in Excel?
- To fix the Accessibility: Investigate error, click on it from the bottom pane to open the Accessibility Assistant.
- The inspection results are divided into categories like Color and Contrast, Media and Illustrations, Tables, Document Structure, and Document Access.

- You can go through each category to check where the issues are, expand the category with a number beside it, or press the Tab key to move between categories with issues, and press Enter to view the error and possible fixes.
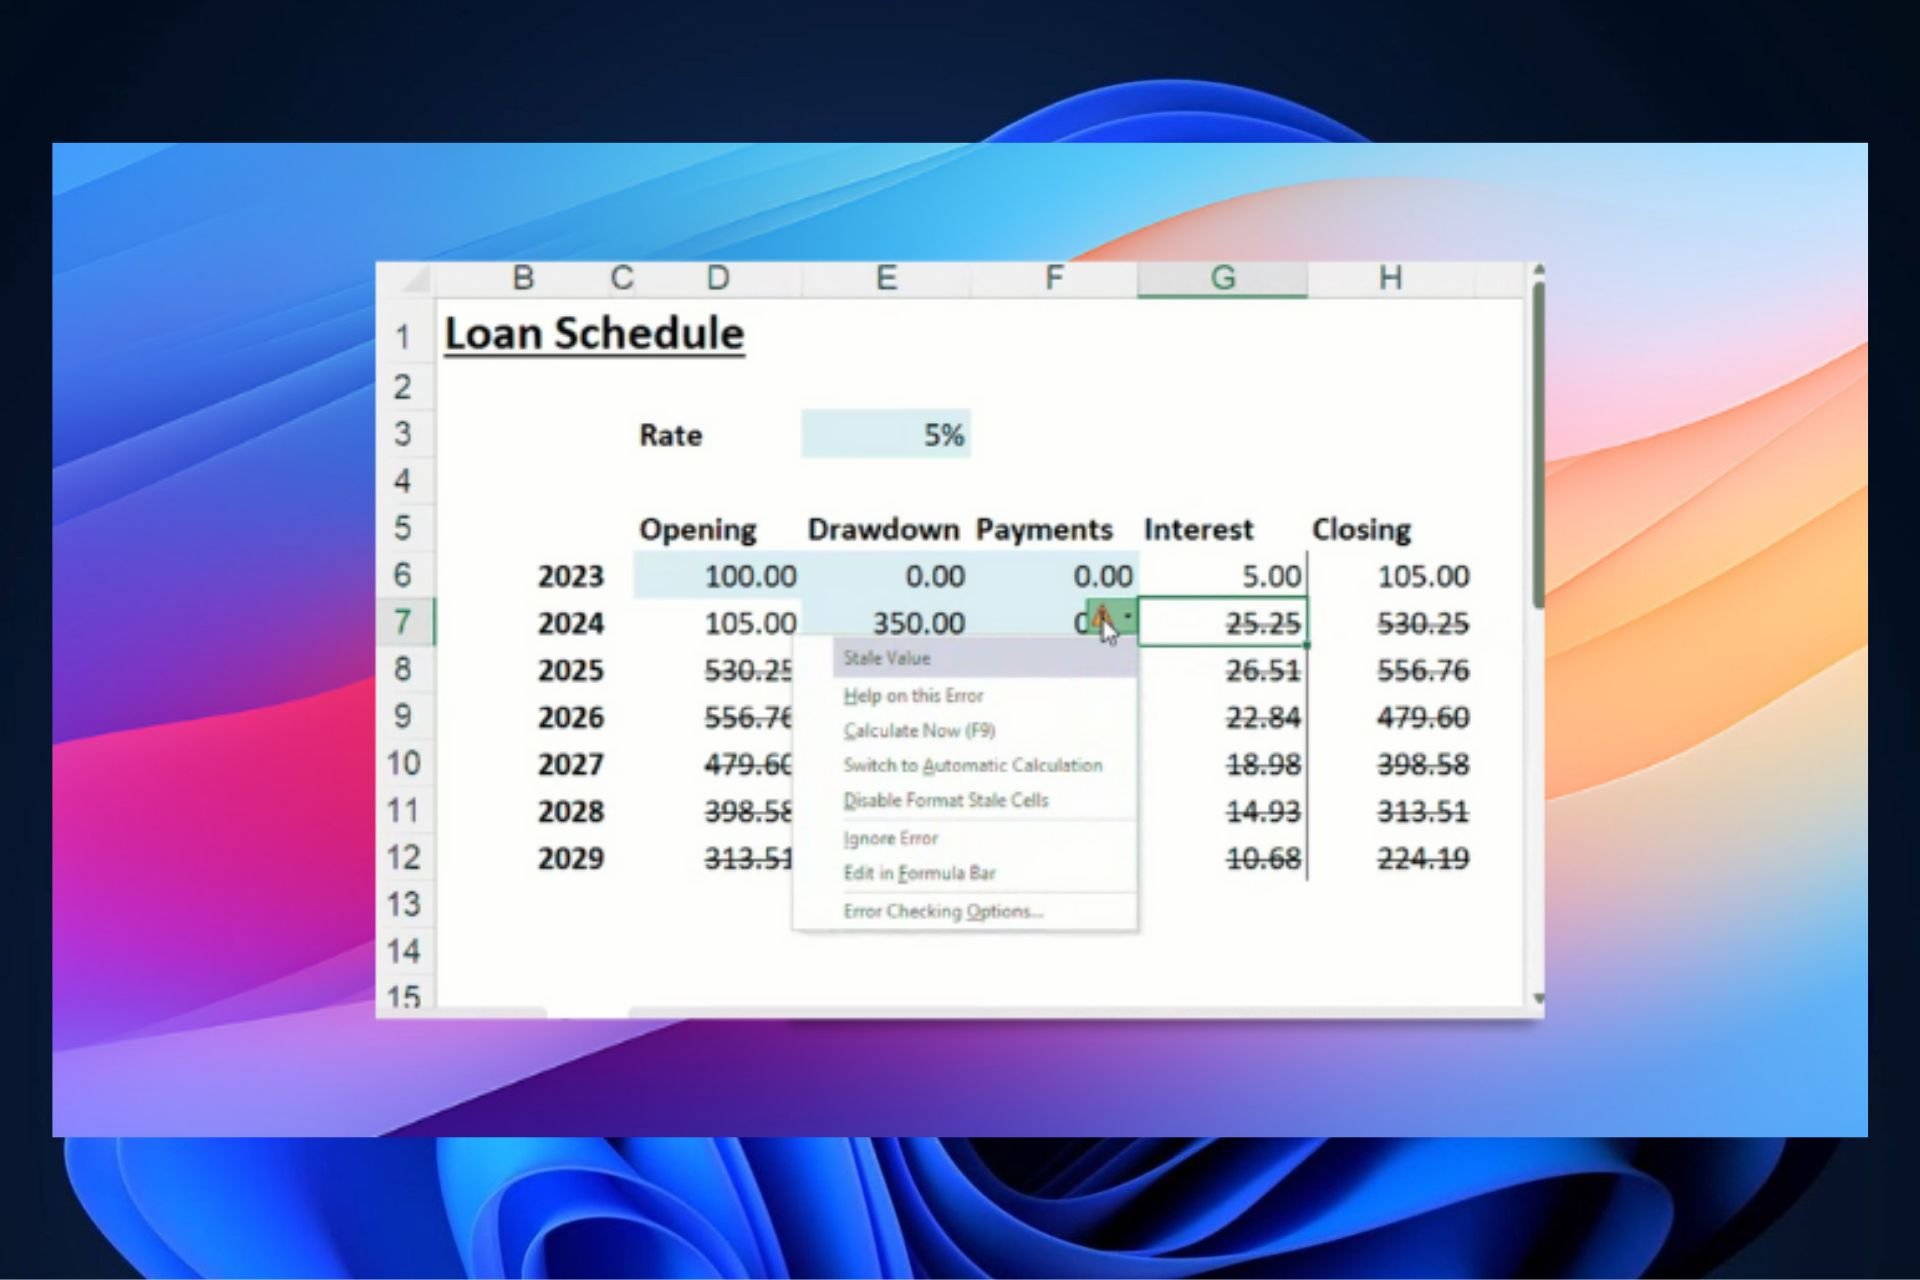
- Once you have located the error, click it to see the description. It will take you to the area of the document where the problem is and suggest steps to fix it within the Accessibility Assistant. For example, in my workbook, I found issues under Media and Illustrations> Missing alt text; when I clicked it, it navigated me to an image with the problem and asked me to enter the image description to fix it.

- If multiple errors exist in the same sub-category, you can use the arrow buttons next to it to check and resolve them.


If you want to learn more about the issue and the importance of fixing it, choose the Learning Tip link from the bottom of each drill-down pane.
What are the Accessibility best practices with Excel?
1. Avoid common accessibility issues
Choosing low-contrast colors and missing alternative text can reduce your document’s accessibility. To fix it or avoid such issues, go to Review> under Accessibility> select Check Accessibility > Check Accessibility from the drop-down menu.
It will flag issues detected in your sheet and remind you in the status bar. You can make the changes to ensure the spreadsheet is readable for everyone.
2. Use a simple table structure
If you want a table with data only, use a simple table structure and specify the column header information. You can use the Accessibility Checker to ensure no split cells, merged cells, or nested tables. Furthermore, you can also scan your tables visually to spot blank rows and columns.
In addition, you should always specify column header information and format the table using styles that make the data stand out, as this will help the reader identify rows and columns.
While creating a table, you should avoid blank cells, columns, and rows; if you see any of these, delete them. However, if you can’t avoid a blank cell, column, or row, you should consider mentioning that it is blank.
3. Add text to cell A1
Make sure there is text in cell A1 on every sheet of your workbook, especially if you have a table on it. You can add the title of the table in the cell.
If your sheet is long or complex, you can use cell A1 to add instructions or an overview, which can help people understand what is being presented in your worksheet. The instructional text should match the background color.
4. Add alt text with visuals
Visual content includes SmartArt graphics, charts, ink, shapes, pictures, groups, pivot charts, embedded objects, and videos.
Alt text is vital with visual content for those who can’t see the screen to understand what’s important in visual content as it describes the image and mentions its intent.
While writing the visual content, you should ensure that the content and purpose of the image are conveyed concisely and unambiguously.
5. Add meaningful hyperlink text and ScreenTips
Once the workbook is complete, you should visually scan it to ensure that the hyperlink text makes sense as standalone information and provides accurate information about the destination target. For example, you should avoid using link texts like Click here,” “See this page,” “Go here,” or “Learn more. Instead, it would be best if you mentioned the full title of the destination page.
This can benefit those who use screen readers to scan a list of links. You can also use ScreenTips, which appears when you hover the cursor over text or images that include a hyperlink.
6. Use sufficient contrast for text and background colors
Once you are done with the workbook, you can go through the text in your spreadsheet to find the one that’s hard to read or to distinguish from the background.
If the workbook is long, you can use the Accessibility Checker to find insufficient color contrast. The high contrast between text and background ensures that people can see and use the content easily without slowing their reading speed. For example, white and black schemes make it easier for people who are colorblind to distinguish text and shapes.
You can reduce the reading load and use familiar sans serif fonts such as Arial or Calibri. However, you should avoid using all Capital letters, excessive italics, or underlines. Furthermore, for headings, use bold or larger font.
7. Create accessible charts
You should consider adding charts to your worksheets as they make complex information easier to understand. To make the charts accessible, use clear and descriptive language for the chart elements, including data labels and axis titles, and make their formatting easier.
Choose the chart element you want to format, then select the Format tab. Under the Current Selection group, select Format Selection. Now, choose the formatting options to improve the chart element.
8. Give different names to all worksheets, and delete blank worksheets
You can use the Accessibility Checker to ensure all the workbooks with content have a descriptive name and no blank sheets. To delete blank sheets, right-click on them and choose Delete.
This can be helpful for screen readers, as the sheet names provide information about the content on the worksheet and help users navigate through it. By default, the Sheet names are Sheet1, Sheet2, and Sheet 3; you can double-click them and rename them according to your preferences.
9. Name cells and ranges
Before sharing the workbook with anyone, visually scan it to check which cells and ranges need a name. This will help screen reader users quickly identify the purpose of cells and ranges in Excel worksheets.
You can use the Go To command (press Ctrl+G) to open a window; it will help people navigate in sheets.
By keeping these things in mind, you can easily ensure that you don’t encounter the Accessibility: Investigate error in Excel.
Remember always to run the Accessibility Checker to ensure that navigating the spreadsheet using a screen reader like Narrator is easy. We have a detailed guide for you to learn about Narrator settings in Windows 10 and 11. You can also check out this guide to find how New Narrator command gives you a summary of the webpage you’re on.
If you can’t turn off Windows 11 Narrator, you might have to get full permissions for the narrator.exe file, disable its execution, or rename it.
In case you want to learn more about Accessibility Assistant on 365 apps and how it can help you make your content better, we have a separate guide for you.
If you have any questions or suggestions about the Accessibility: Investigate error in Excel, please mention them in the comments section below. We’re happy to help!


User forum
0 messages