'File Could Not Be Found' Error in Excel: How To Fix
To fix this issue begin with checking the file's location ✅
Key notes
- Any user can encounter issues while working in Excel, and one of them is the Excel file not found.
- The simplest workaround for this would be to simply rename the file or folder's name.
- Another intuitive way to solve the Excel file cannot be found error is to move your file to another folder.
- If nothing works, make sure you disable the add-ins on your spreadsheet files.
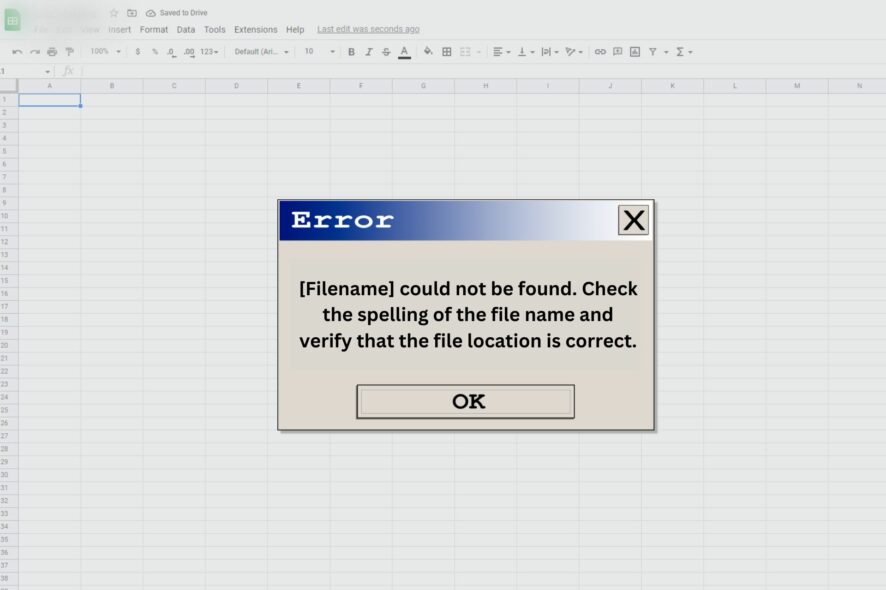
Some Excel users have queried how they can fix an Excel file could not be found error on the Microsoft forum. The error message states:
[filename] could not be found. Check the spelling of the file name and verify that the file location is correct.
That error message pops when those users try to open an Excel file within the software or click an XLS spreadsheet file to start the application. The issue arises for Excel 2007 and 2010 versions.
How to fix ‘[filename] could not be found. Check the spelling of the file name and verify that the file location is correct.’ ?
To fix this error, you will need to determine the cause of the problem and take appropriate action.
- Check the file’s location: Make sure that the file is still in the location where you expect it to be. If the file has been moved or deleted, you must find the new location or restore the file.
- Check the file name: Make sure that the file name is spelled correctly and that the extension is correct. If the file name or extension is incorrect, you will need to rename the file or change the extension to match the actual format of the file.
- Check the file path: If the file is located on a network drive or a remote server, ensure that the file path is correct and that you have the necessary permissions to access the file.
1. Edit the file and folder titles
- Open the folder that includes the spreadsheet the Excel file could not be found error arises for.
- Right-click the spreadsheet file you need to fix the error for and select the Rename option.
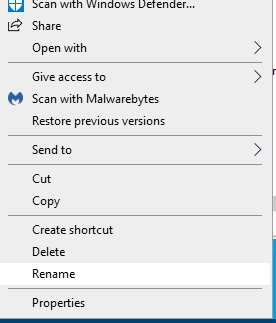
- Enter a shorter file title for the spreadsheet document.
- In addition, edit the spreadsheet file’s folder title by right-clicking it and selecting Rename.
- Input a shorter title for the folder, and press the Enter key.
If the folder’s path includes numerous subfolders, try shorting their folder titles by selecting the Rename option as outlined above.
2. Move the file to an alternative folder path
- Alternatively, try moving the Excel file the error arises for to a different folder.
- To do so, open File Explorer.
- Select the Excel spreadsheet to move.
- Click the Move to button in the snapshot directly below.

- Select a folder to move the file to on the menu.
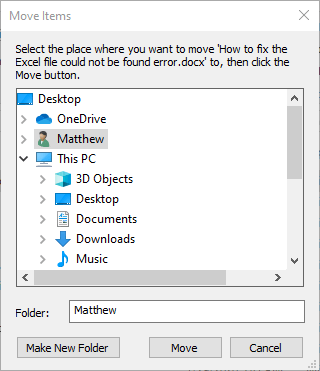
- Alternatively, click Choose Location to open the window below.
- You can select an alternative folder path from there.
- You can select an alternative folder path from there.
- Click the Move button.
- Click OK to exit the Move Items window.
3. Edit the registry
- If the Excel file could not be found error arises when you launch the application, try this registry fix.
- Right-click the Start button in Windows 10 and select Run.
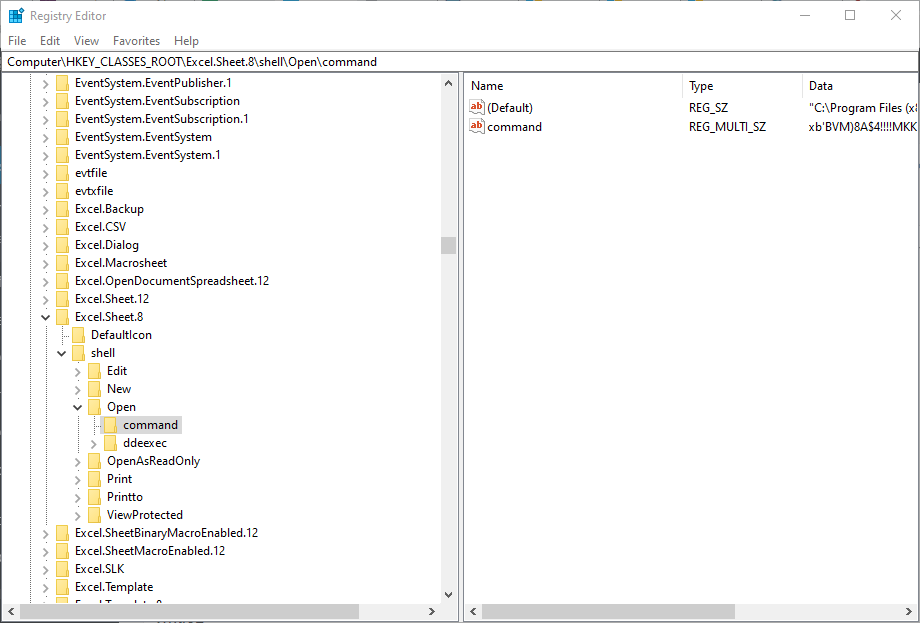
- Enter regedit in Run and press Return to open the Registry Editor.
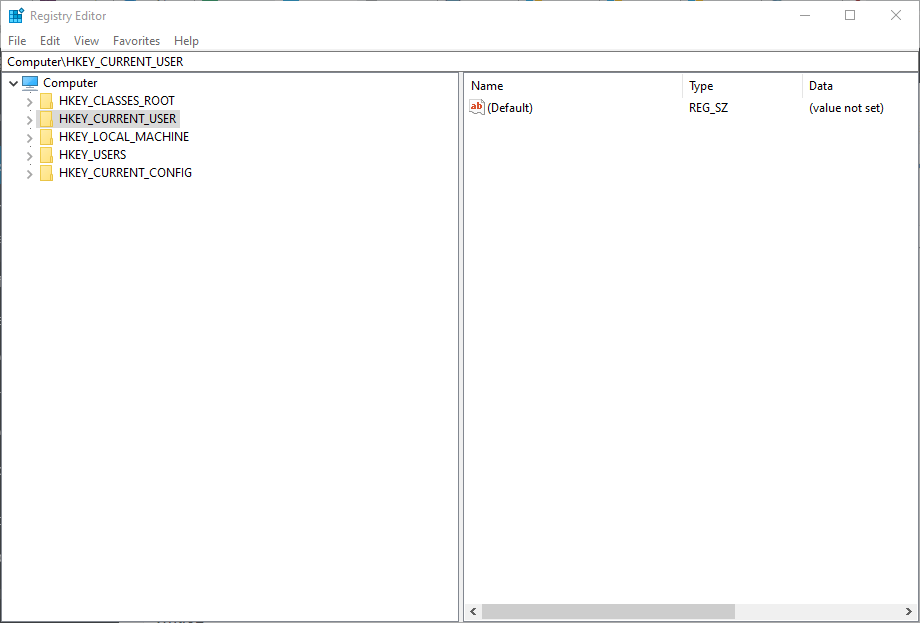
- Open this registry key path:
- HKEY_CLASSES_ROOT > Excel.Sheet.8 > shell > Open > command.
- HKEY_CLASSES_ROOT > Excel.Sheet.8 > shell > Open > command.
- Double-click (Default) on the right pane to open its Edit String window.
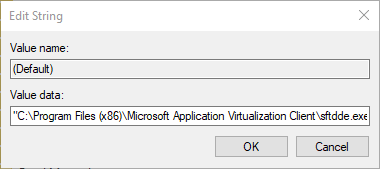
- Erase %1 from the end of the string in the Value data box.
- The Value data string should then be:
- C:\PROGRAM FILES\MICROSOFT OFFICE\OFFICE\EXCEL.EXE
- The Value data string should then be:
- Click OK to close the Edit String window.
4. Deactivate Excel add-ins
- The file could not be found error can also be due to an XLA add-in file.
- To deactivate Excel’s add-ins, click the File tab in the application.
- Select Options to open the Excel Options window.
- Click the Add-ins tab on that window.
- Select Excel Add-ins on the drop-down menu.
- Click the Go button.
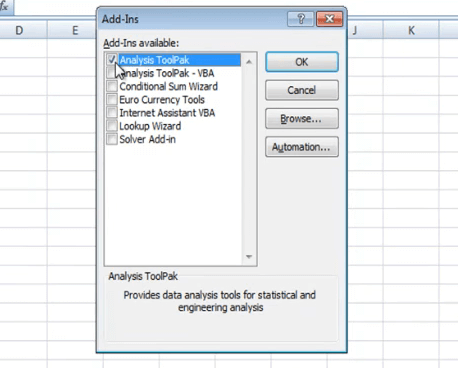
- Deselect the add-in checkboxes on the Add-in window to deactivate them.
- Select the OK option to exit the window.
While disabling an add-in, you can quickly add the ones you want to use to avoid the #NAME errors in Excel; read this to learn more.
Those are resolutions users have confirmed fixed the Excel file could not be found error for them.
Users who have fixed the same error message using other methods can share their alternative fixes below.
Read our disclosure page to find out how can you help Windows Report sustain the editorial team. Read more


Improve this guide


User forum
1 messages