Fix: Failed to Unlock with This Recovery Key BitLocker Error
Take a closer look at our confirmed solutions
4 min. read
Updated on
Read our disclosure page to find out how can you help Windows Report sustain the editorial team. Read more
Key notes
- One of the best ways to take care of your privacy and security is by using software that encrypts your data. BitLocker is used to encrypt an entire volume and is integrated with the operating system
- To read encrypted data, a recovery key is needed. If the key is lost or somehow damaged, then Windows starts throwing out errors. The steps in the article help you fix this.

BitLocker happens to be one of the best security features of Windows 10. It encrypts the data on your disk, thereby preventing others from eavesdropping on it.
That said, all the positives can quickly turn against you if you happen to lose the BitLocker key, or if something of the sort goes wrong.
But fret not, for here are some ways an order can be enforced in the chaos in the face of the usual Failed to unlock with this recovery key error message, the one most common message to have with BitLocker-related issues. And it is easy too.
How can I fix the Failed to unlock with this recovery key error?
- Under Active Directory Users and Computers, search for the container where your computer is located.
- Click on the container.
- Right-click on the computer, and in the menu that appears, click on ‘Properties’ to launch the Properties dialog box.
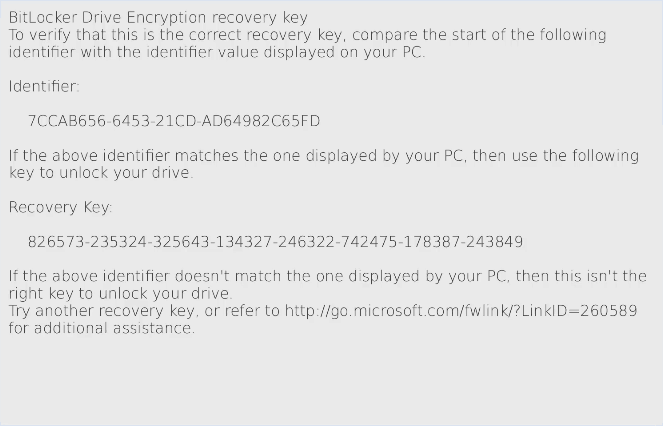
- Here, click on the BitLocker Recovery tab. This will let you see the BitLocker recovery passwords applicable to the specific computer.
The next step for you to do will be to copy the recovery passwords for the computer:
- Repeat steps 1 – 4 as described above to reach the section where the BitLocker recovery passwords are stored, that is the BitLocker Recovery tab within the Properties dialog box.
- In the BitLocker Recovery tab right-click on the BitLocker recovery password that you want to copy. From the menu that appears, click on Copy Details.
- Paste the copied text to a destination location (using either the key combo CTRL+V or right-click -> Paste. The destination again can be any text file, spreadsheet, and such.
So there you have it, the all-important recovery key to unlock your PC.
Access the computer as an administrator
However, just in case the above does not help sort your issue, like when the key fails to unlock the PC, here is another way to crack the situation. You need to have access to the computer as an administrator to perform the following. Here are the steps:
- Launch Control Panel. (You can simply ask Cortana to do that for you if you are not sure how to.)
- Click on System and Security.
- Click on BitLocker Drive Encryption. This will launch the BitLocker configuration panel.
- Select the drive that you want the BitLocker Drive Encryption to be turned off for and click on the Turn Off BitLocker tab.
- There is going to be a message flashed on the display informing you that the drive will be decrypted, and that it is going to take some time. Click on Decrypt the drive to start the decryption process. BitLocker will be turned off for the particular drive.
If you have lost the admin privileges
Things get messy once you have lost admin access to the PC. That said, there is still a way out. This would require access to another instance of Windows though.
- Start the PC but be prepared to press on Shift + F10 when the setup screen appears. A command line shows up.
- Here find out how the system drive has been set up, or which drive letter is assigned to a specific drive. You can do so using the following command: DISKPART> list volume
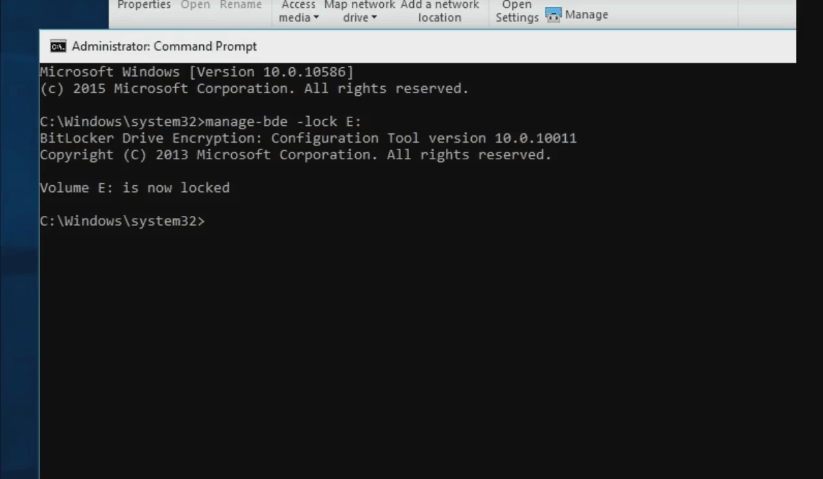
- Once you are sure which drive you have been locked out of (or wish to decrypt), use the following manage-bde command to decrypt the drive:
manage-bde -unlock C: -RecoveryPassword BITLOCKER-RECOVERY-KEY
Here ‘C’ refers to the system drive letter.
In case you want to keep your BitLocker key handy, the easiest way is to learn all about getting back the BitLocker Recovery Key through CMD; read this guide to learn more.
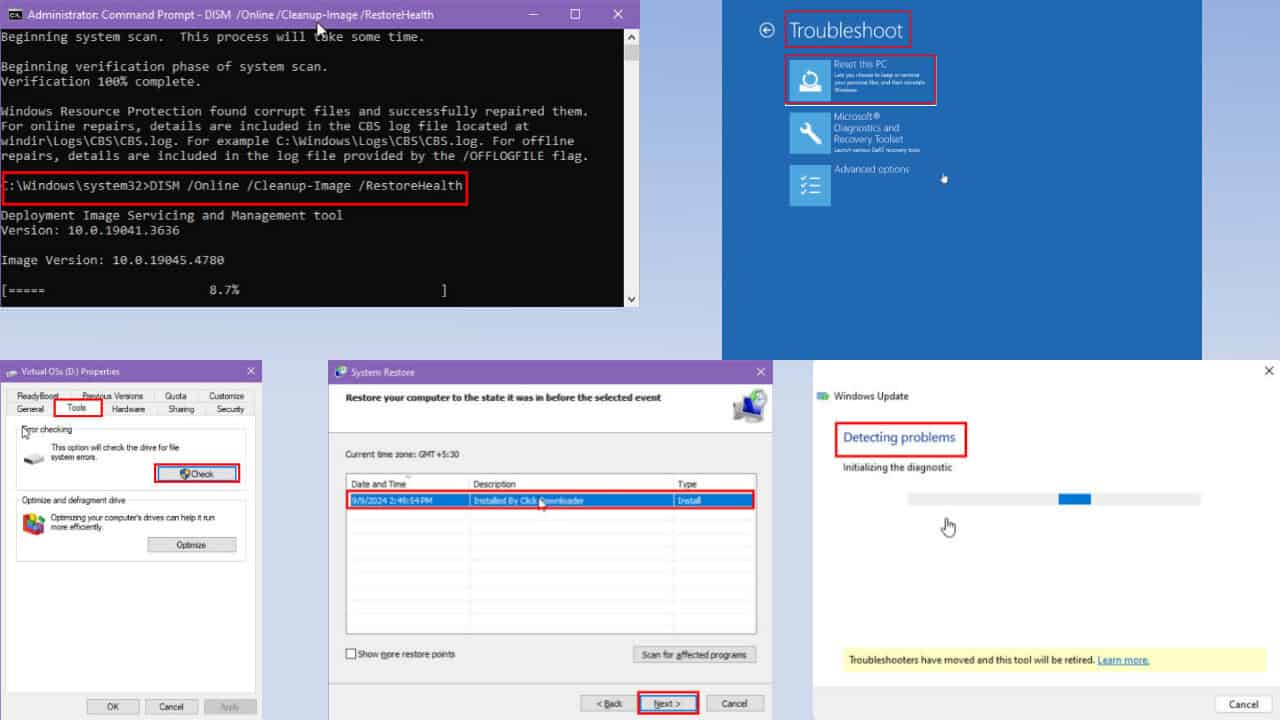
However, in the unfortunate scenario of the above steps not working as well, you will be left with no option but to reset your PC or do a backup.



User forum
0 messages