Files Won't Delete on Windows 11? 4 Ways to Force Erase Them
You can force delete files using certain commands in the CMD
If you can’t delete your files on Windows 11, this guide is for you. Many users complained about the same thing, but today we’ll show you how to permanently remove any file from your PC.
Just follow the steps below to get rid of them ASAP.
First of all, let’s clear some things out:
Why is my PC not letting me delete files?
- It can occur if you’re not the file owner or your user account doesn’t have appropriate access rights.
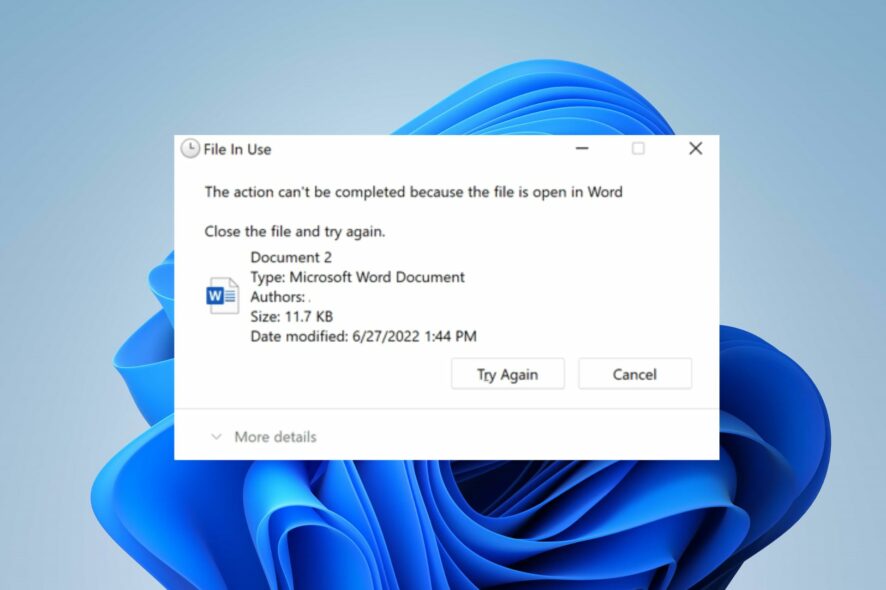
- The file might be used by another program or process, preventing it from being deleted.
- The operating system or a third-party program may lock the file or folder.
- If your computer’s file system is corrupted, it can cause issues with file deletion.
- The file or folder may enable the read-only attribute, restricting modifications and deletions.
- Windows protects some system files and folders to prevent accidental deletion, causing the restriction.
- If the file name exceeds the maximum allowed path length, you may have trouble deleting it.
- Antivirus or security software can interfere with file deletion if it has strict access controls.
What can I do if files won’t delete on Windows 11?
Before proceeding with any advanced troubleshooting steps, we recommend you observe the following preliminary checks:
- Restart your computer to resolve temporary issues affecting the file deletion.
- Turn off background processes using the file and prevent it from being deleted.
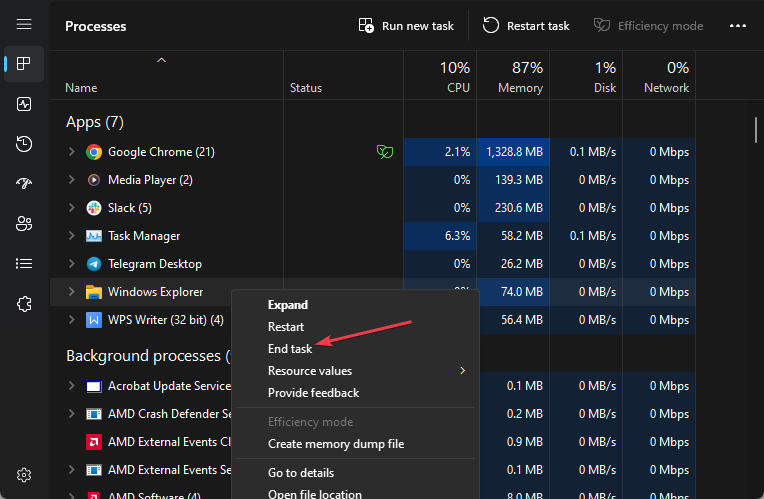
1. Close and restart File Explorer
- Right-click the Windows button and click on Task Manager from the list menu.
- Navigate to the Processes tab. Find Windows Explorer, right-click on it, and select End Task from the drop-down menu.
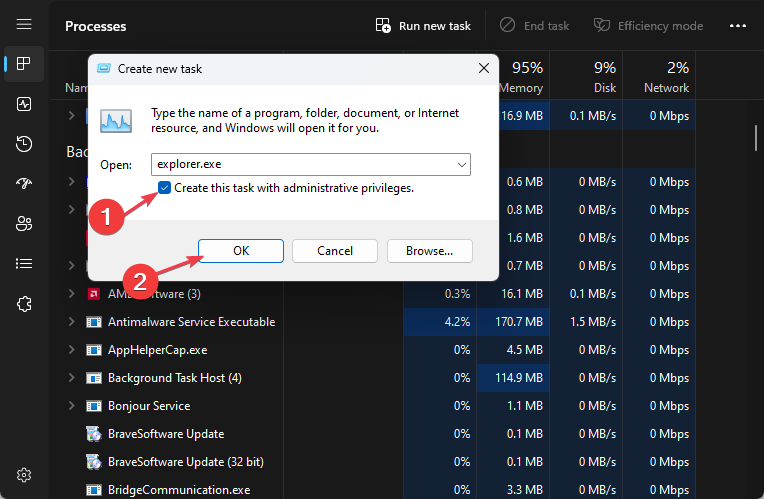
- Click on Run new task.

- Type explorer.exe and press Enter to restart File Explorer.
- Attempt to delete the files again and check if the issue persists.
Restarting File Explorer will resolve any locks or malfunctions causing it to be unable to delete files.
2. Get complete control over the file
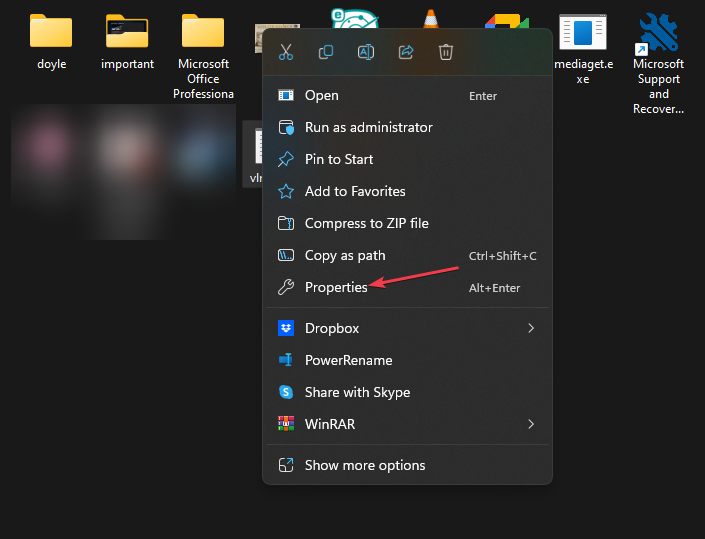
- Right-click the file you want to delete and select Properties from the drop-down menu.
- Go to the Security tab and ensure your user account has the necessary permissions to delete the file.
- If not, click on Edit to adjust the permissions.
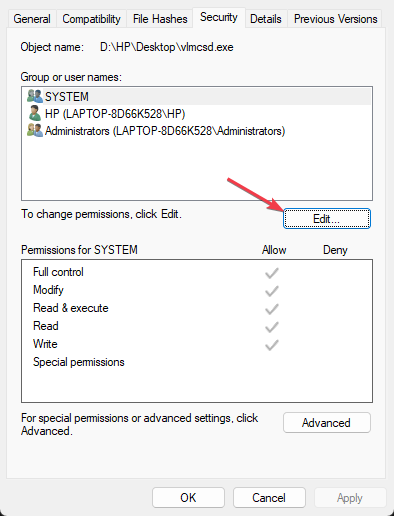
- In the new window, give your account full control.
The above steps will help assign enough rights to alter the file if you don’t have the necessary permissions to delete the files.
Check our guide about ways to reset permissions on Windows 11 if you can’t get around the steps above.
3. Use Command Prompt to force delete the file
- Locate the file path of the file in File Explorer and copy it.
- Left-click the Start button, type Command Prompt, and click the Run as administrator option.
- Click Yes on the User Account Control (UAC) prompt.
- Navigate to the file location using the following command and path: e.g.,
cd C:Pathtofile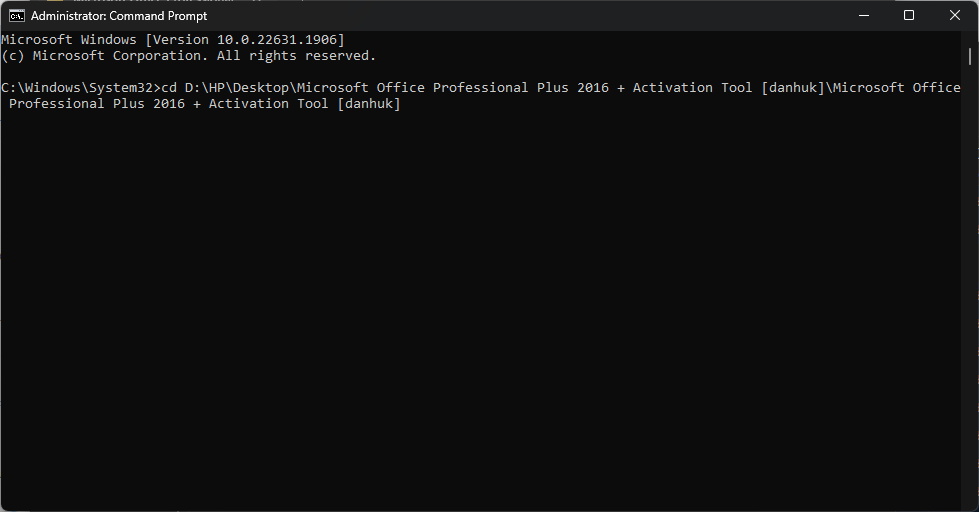
- Once in the correct directory, type the following and press Enter:
del /f filename.extension
- Replace filename.extension with the actual name of the file you want to delete.
The /f flag forces deletion without prompting for confirmation. It runs the file deletion process without any permission or security access.
4. Delete files in Safe Mode
- Press the Win key + R to open the Run Command window. Type cmd and press enter to open Command Prompt.
- Type the following in the Command Prompt and press Enter:
bcedit / set {current} safeboot minimal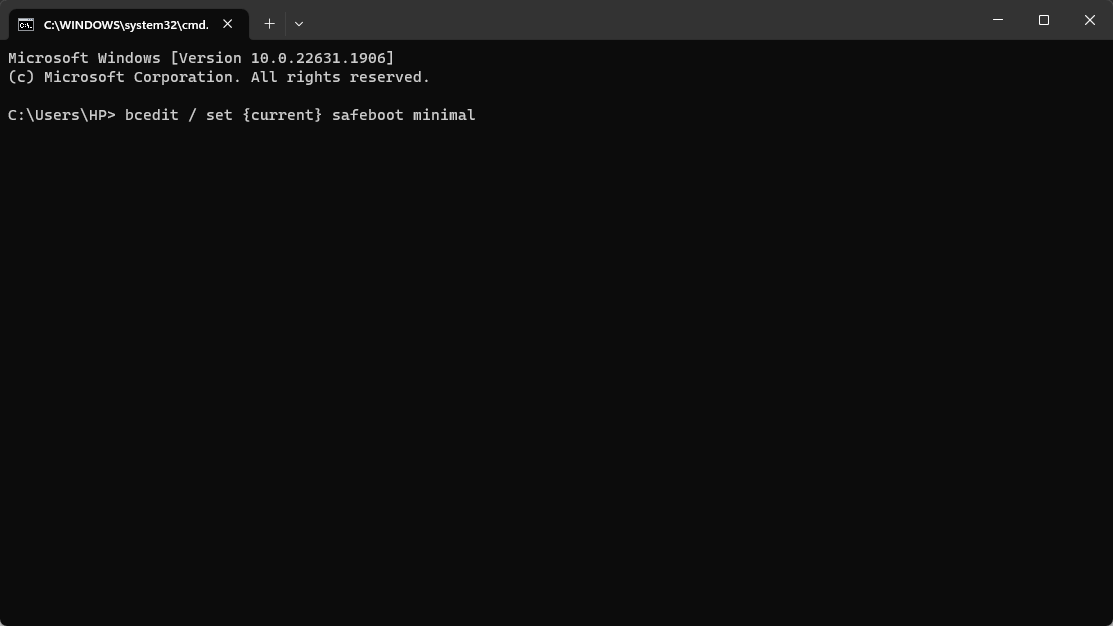
- Wait for your PC to restart and show the Safe Mode.
- Once in Safe Mode, navigate to the file location and try deleting it.
5. Check file permissions
- Navigate to the file you want to delete.
- Right-click the file and select Properties from the context menu.
- Click the Security tab at the top of the Properties window.

- Select your user account from the list.
- Check if Full control is allowed under the Permissions section.

- If it is not, Click the Edit button to modify permissions.

- In the Permissions window, check the box next to Full control for your user account.
- Click Apply to save changes.

Safe Mode starts Windows with minimal drivers and processes, which can help bypass any issues preventing file deletion.
You can read our guide on what to do if Safe Mode is not working on Windows 11.
In conclusion, you can check our article about how to fix File Explorer freezing or not responding on Windows 11.
Feel free to leave your questions and suggestions in the comments section below.
Read our disclosure page to find out how can you help Windows Report sustain the editorial team. Read more


Improve this guide


User forum
0 messages