Error 0x8024001e in Windows Update [Solved]
Restarting Windows Update service can help fix this problem

When attempting to update Windows, you might encounter the error 0x8024001e, preventing system updates and application updates. This article provides troubleshooting steps to resolve this issue.
What is error 0x8024001e?
I’ve encountered error 0x8024001e, usually due to conflicts and restrictions, such as third-party antivirus interference or missing DLL files. This error can prevent Windows from installing updates successfully
How do I fix error code 0x8024001e?
Before moving on to more complex troubleshooting solutions, check your Internet connection and ensure it’s working. You can also try removing your third-party antivirus software.
1. Fix or replace missing DLL files
Missing .dll files can lead to system and update errors. Using an automated repair tool can scan your computer, identify missing or mismatched .dll files, and restore them to resolve the issue.
2. Restart the Windows Update service & replace SoftwareDistribution
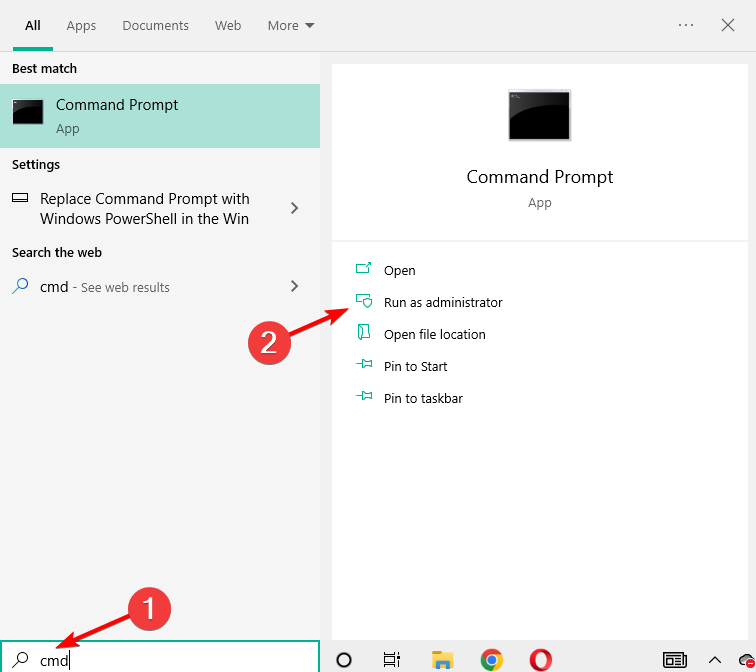
- Press the Windows key, type cmd, and select Run as administrator.
- Type the following command, then press Enter to restart the Windows Update service and replace the Software Distribution folder:
net stop wuauservrename c:\windows\SoftwareDistribution softwaredistribution.oldnet start wuauserv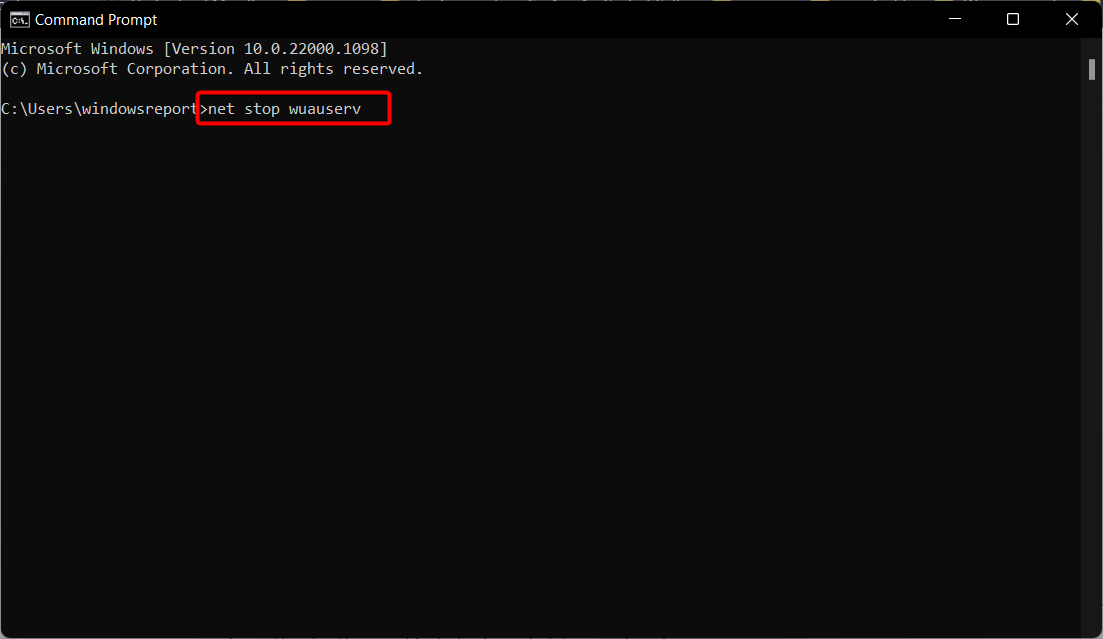
- Restart your computer afterward to see if the error has been resolved.
These steps can also help if the Windows Update service is not running on your PC.
3. Use the Update Assistant
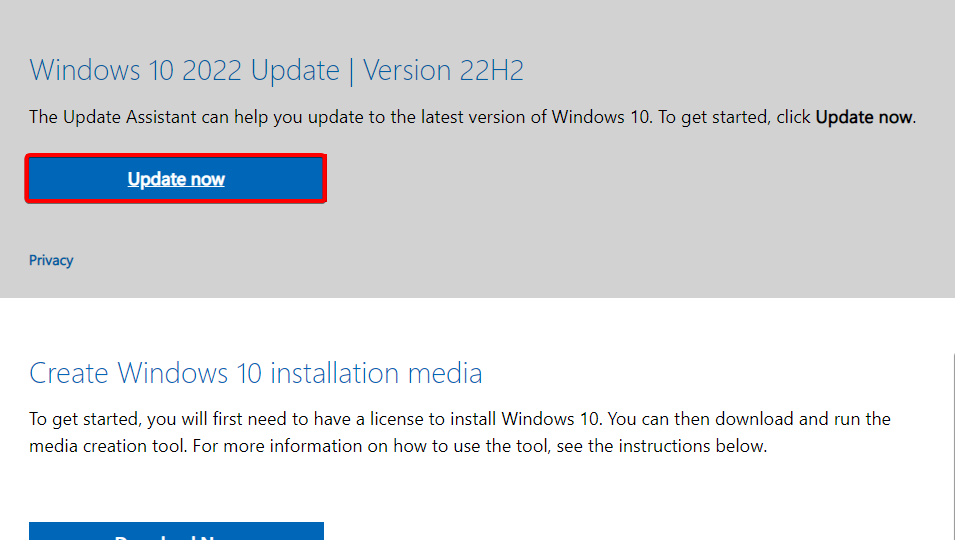
- Go to Microsoft’s official page and click Update now under the Windows 10 update.
- Double-click the file downloaded to run the Update Assistant, then click the Update now button.
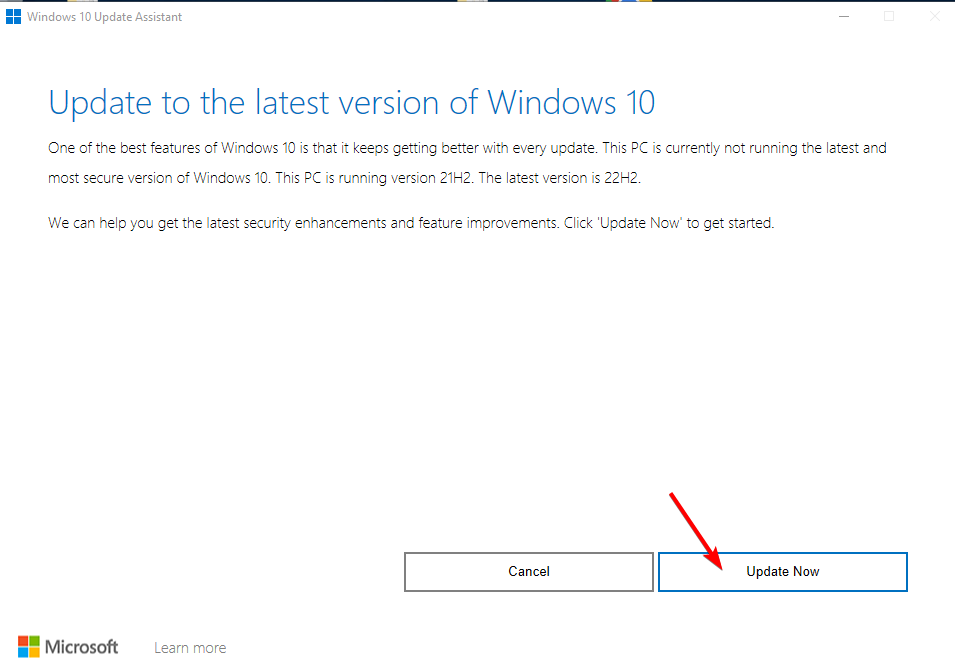
- Follow the prompts to update your system.
4. Perform a clean boot then update your OS
1. Press Windows then enter msconfig in the search box and press Enter.

2. Find the Services tab, and tick the Hide all Microsoft services box, then select Disable all.

3. Navigate to the Startup tab then click Open Task Manager.

4. Select any startup program you think might be interfering then choose Disable.

5. Close Task Manager, click OK in the System Configuration window, and reboot your PC.

6. Next, press Windows + I to open the Settings app and select Update & Security.
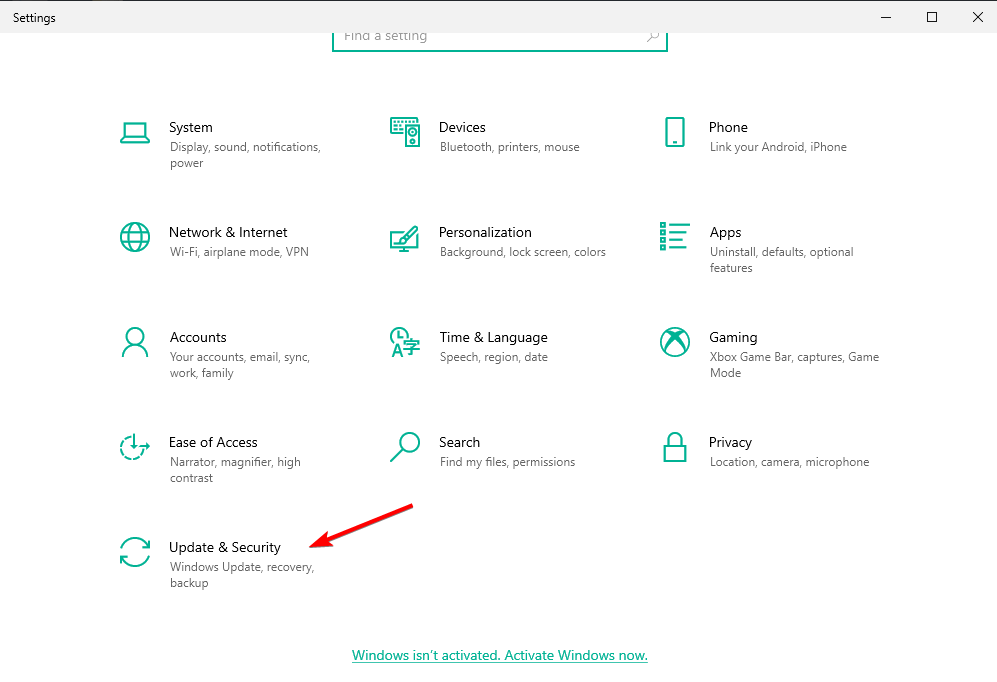
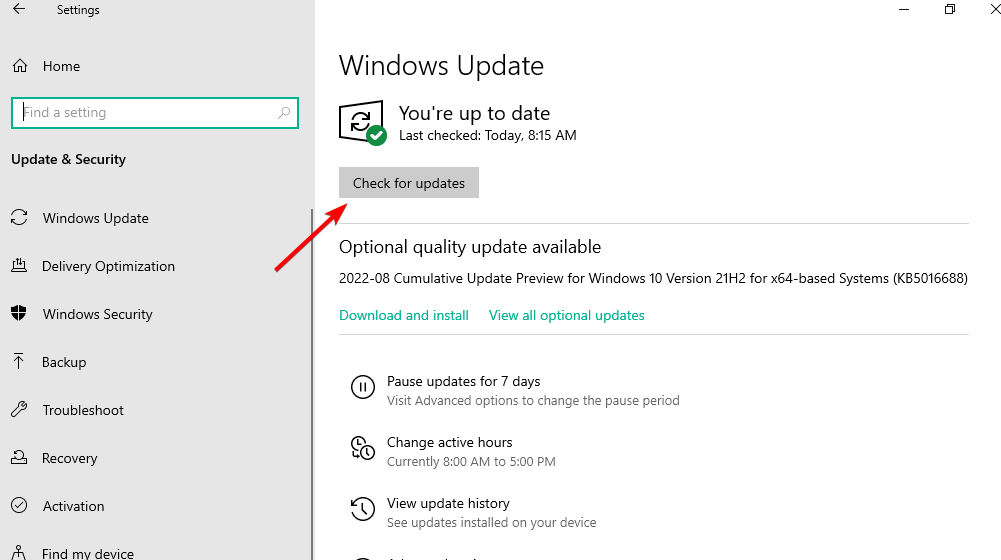
7. And lastly, click the Check for updates button in order to install the OS updates that you need.
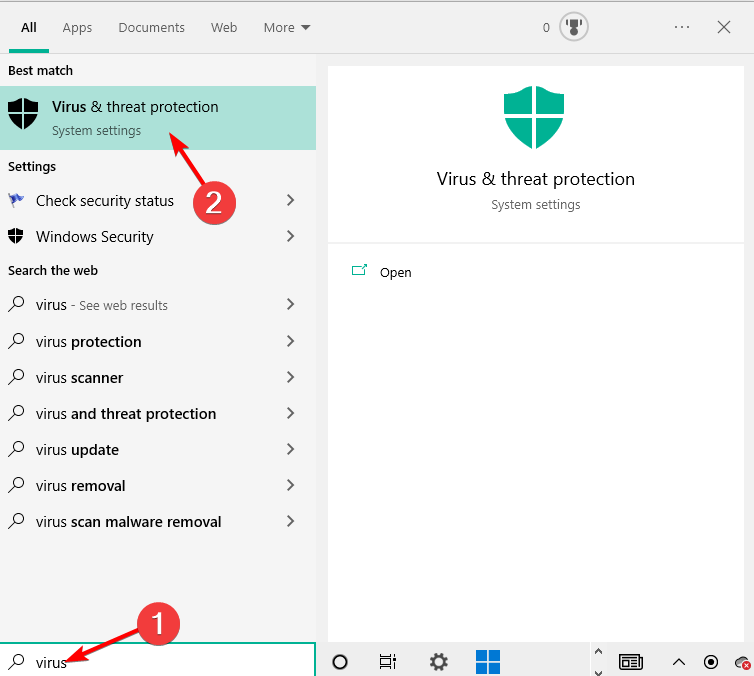
5. Perform a virus scan
- Press the Windows key, type virus & threat protection, and select the top result.
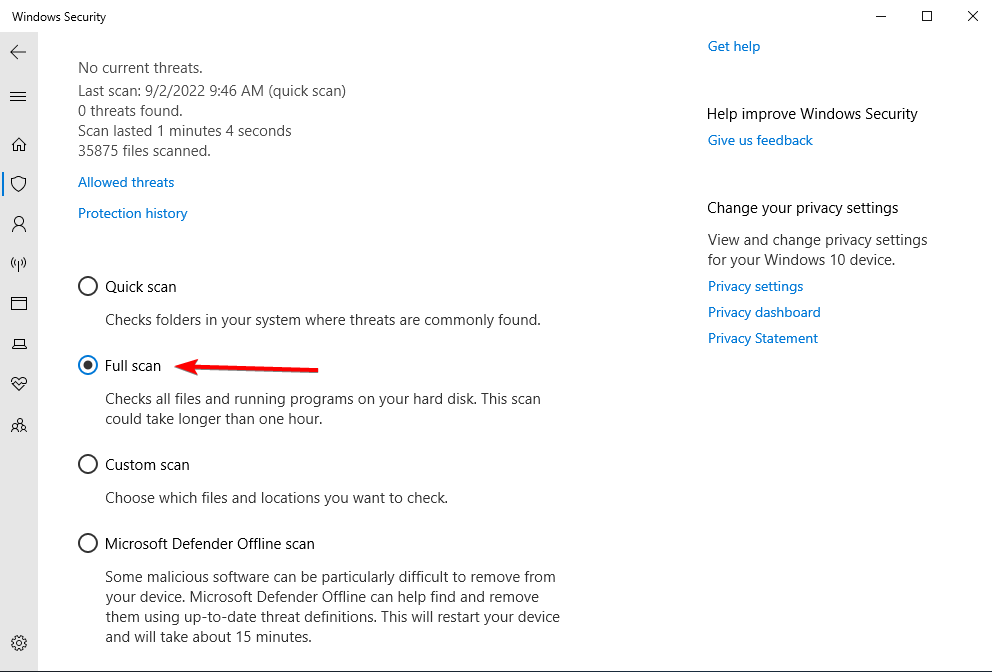
- Select Scan options.

- Select the Full scan option.
Hopefully, one of these solutions worked for you. If not, try contacting Microsoft Support.
This isn’t the only error you can encounter, and many reported Windows Update Service registration is missing message.
Many also encountered Update error 0x8024a21e while others reported that the Windows Update is not working at all.
By following these steps, you should be able to resolve the 0x8024001e error and successfully update Windows.
Read our disclosure page to find out how can you help Windows Report sustain the editorial team. Read more


Improve this guide

User forum
0 messages