GPU not Detected but Fan is Spinning? Fix it Now
Key notes
- If your GPU is not detected but the fan is spinning in Windows 11, it is due to outdated drivers.
- Alternatively, in the case you haven’t updated your OS or BIOS in a long time, the issue could be caused by them.
- We have provided you with an automatic way to update your drivers, thus saving you precious time in the long run.

The GPU is not detected by the system, yet the graphics card’s fan is spinning. This frustrating scenario can stem from a variety of issues, from BIOS misconfigurations, faulty power connectors, or driver conflicts to a defective PCIe slot or corrupted firmware.
Understanding the root causes and applying systematic troubleshooting steps are crucial to restoring full GPU functionality. So let’s go ahead and fix it.
How can I fix the GPU not detected but fan spinning error in Windows 11?
1. Update drivers
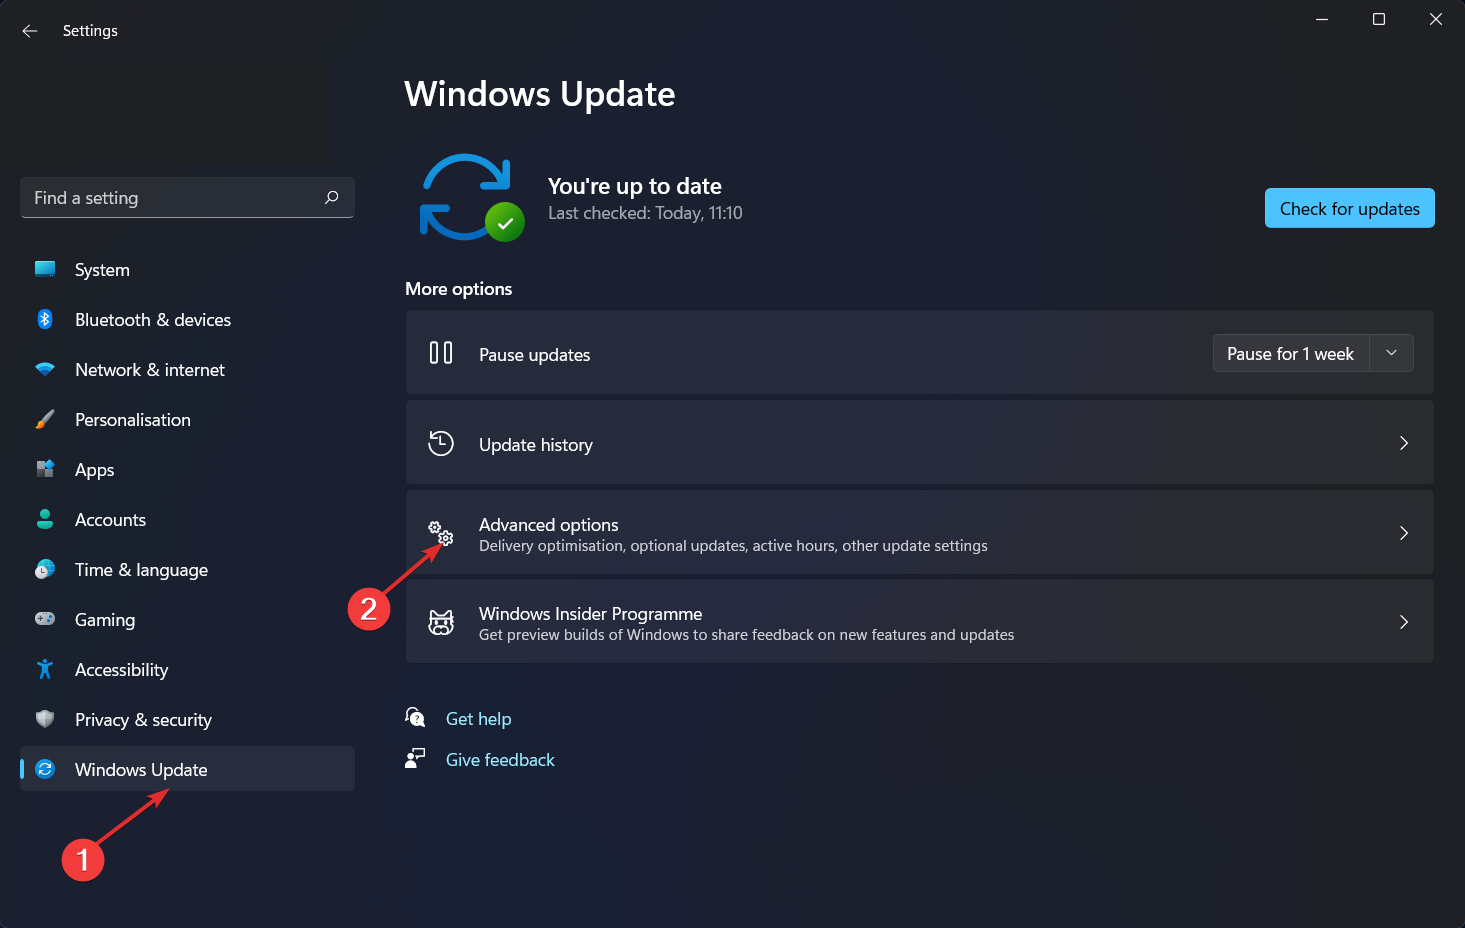
- Open Settings and navigate to Windows Update from the left side, followed by Advanced options from the right-side.
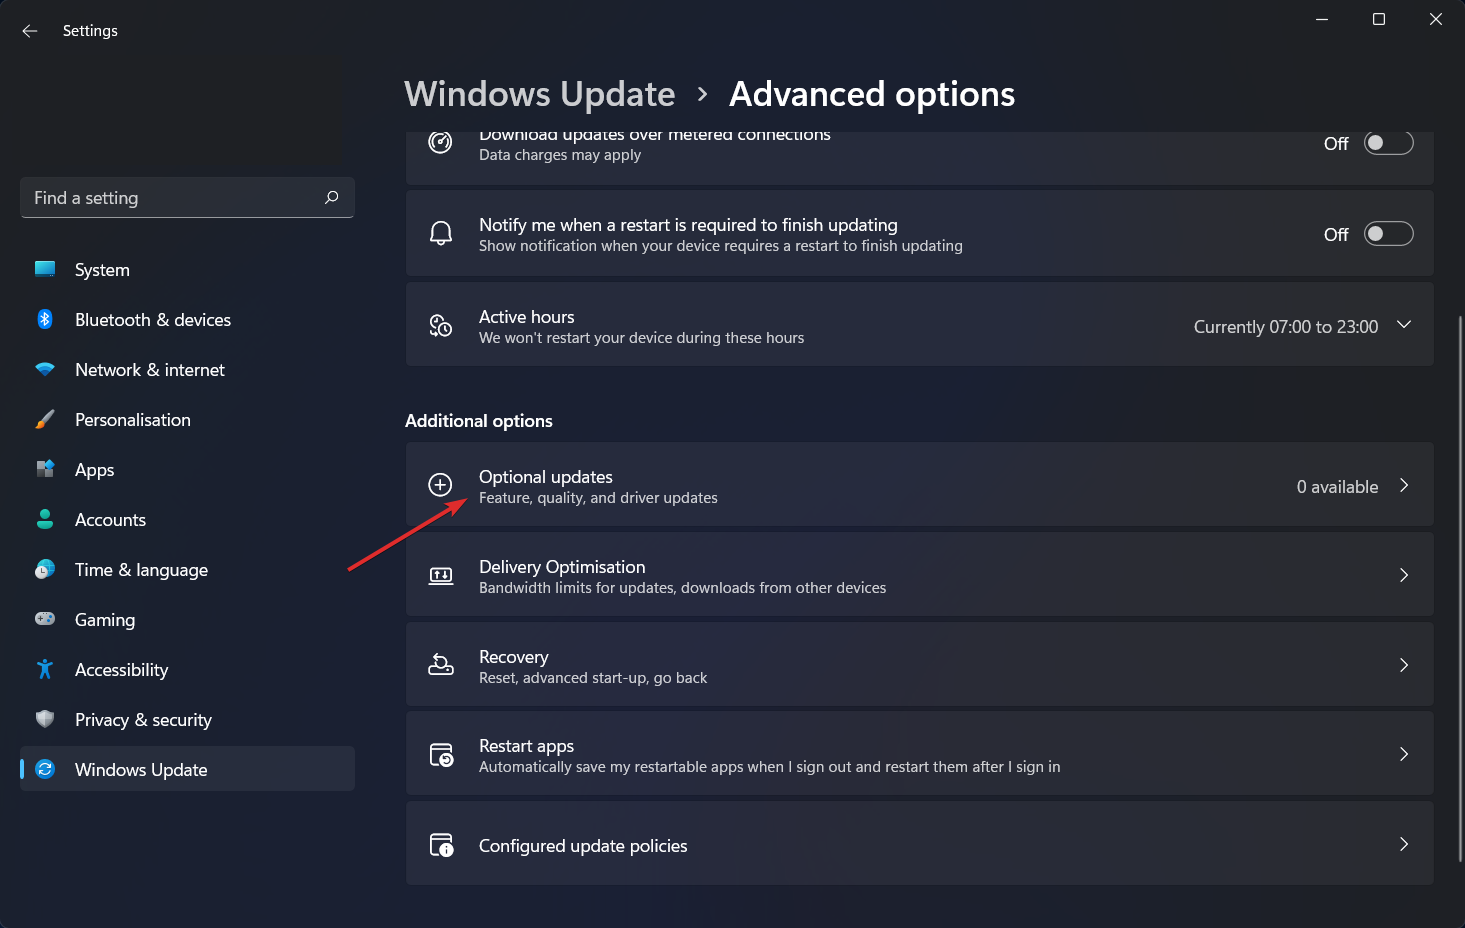
- Now scroll down until you meet the Optional updates section and click on it.
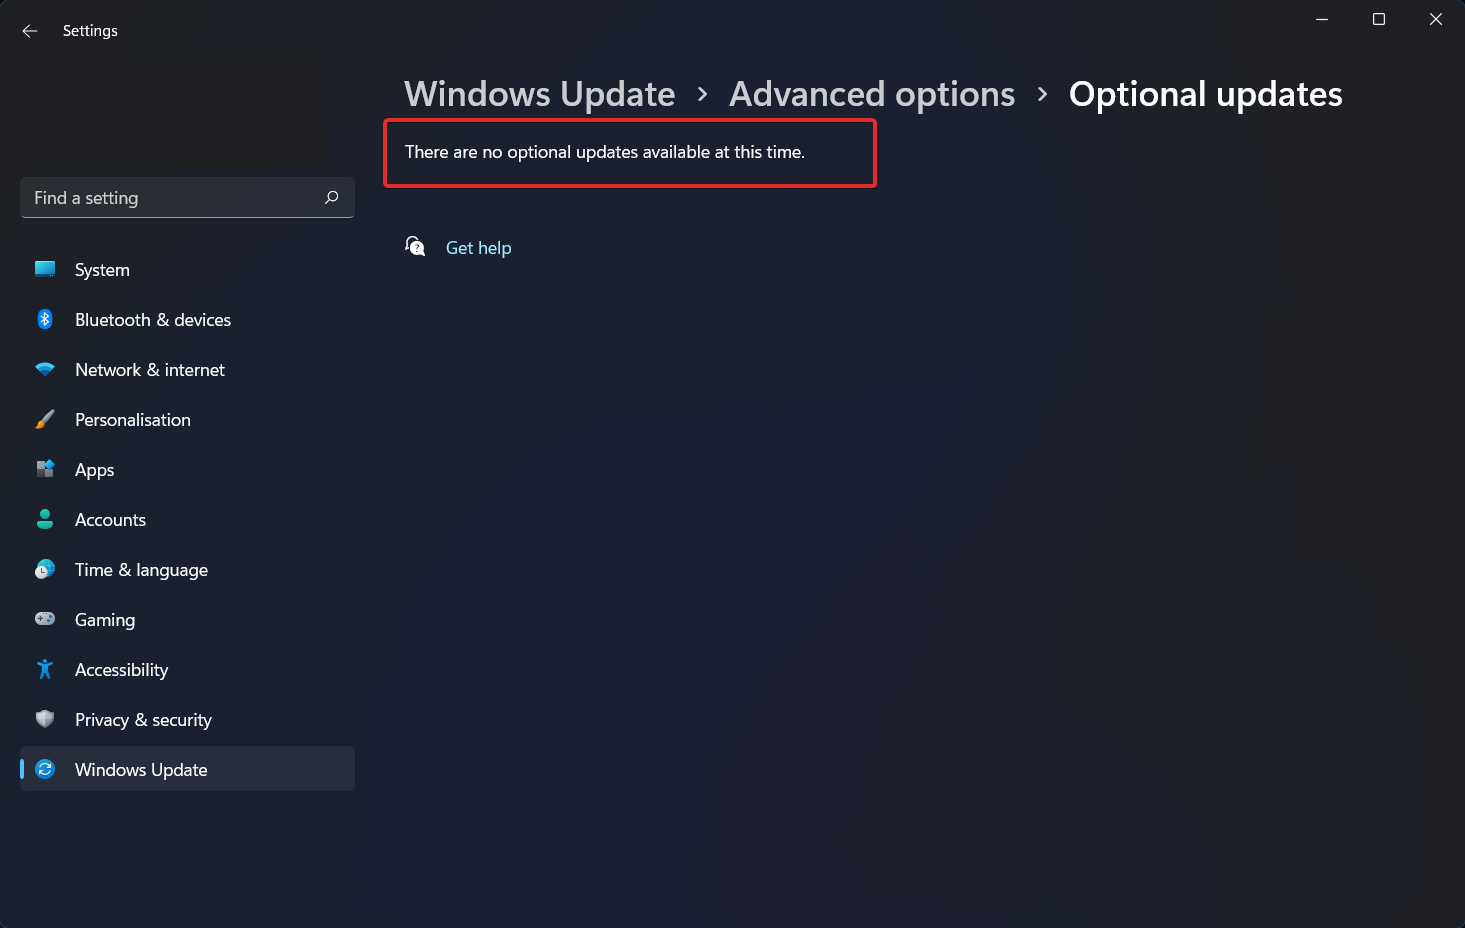
- Next, click on Driver updates and tick the boxes next to all the available options and lastly tap on the Download and install button. In my case there is none left, hence the empty list.
Windows is generally in charge of updating your drivers, but you also have to perform regular updates on your own. However, if you don’t have the time for it, we recommend that you check out Outbyte Driver Updater, a tool that automatically does this for you, without any hassle.
2. Update Windows
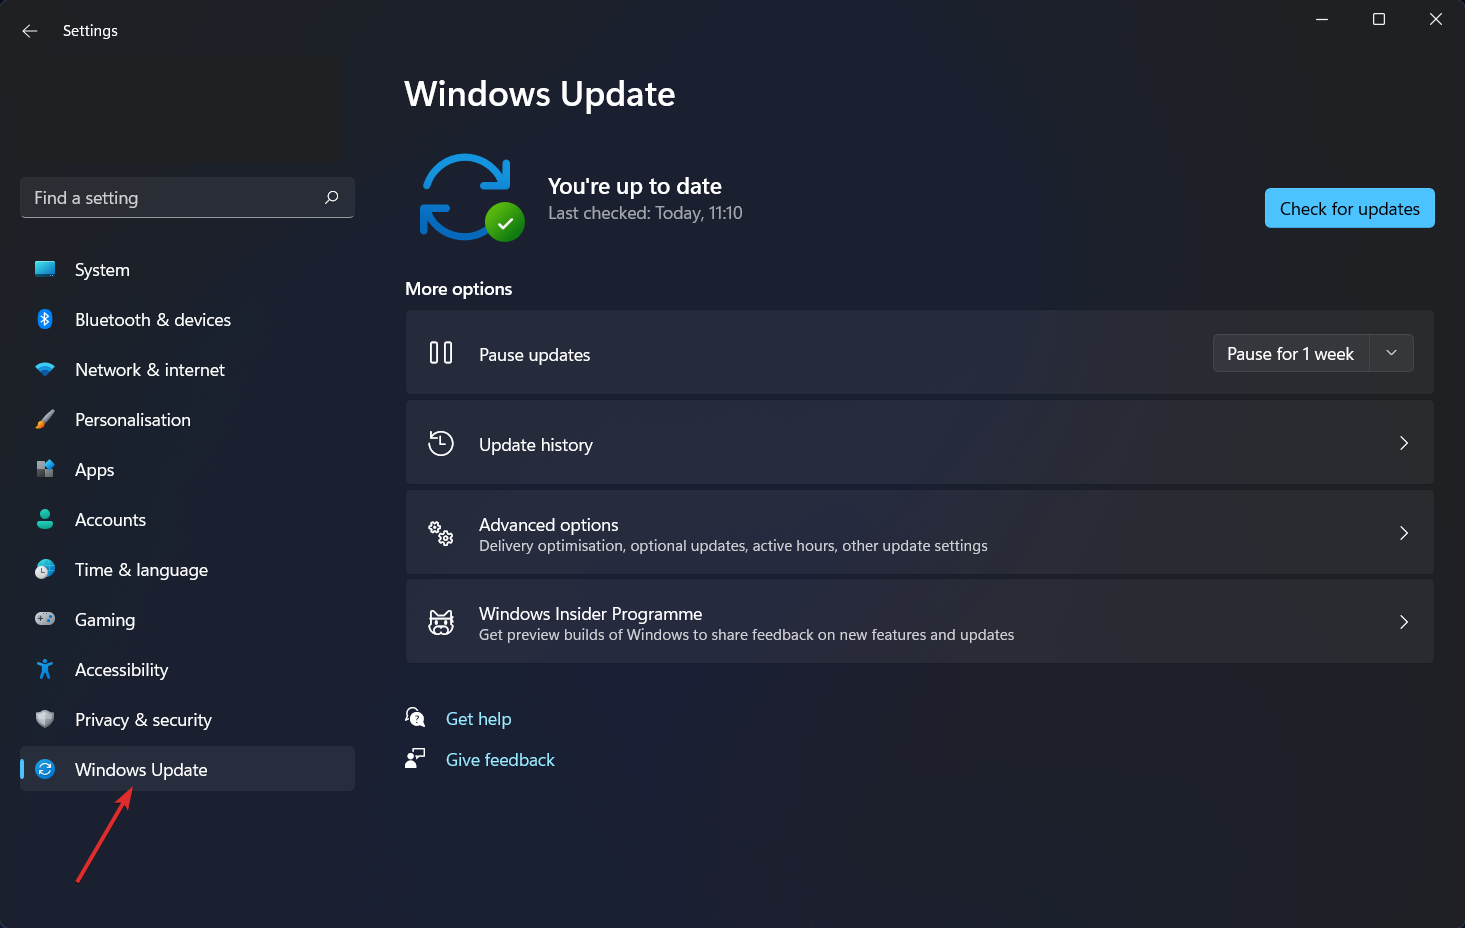
- Just as we did it above, open Settings and navigate to Windows Update.
- Now click on the Install now button or Check for new updates, depending on what you get, and wait for the process to complete.
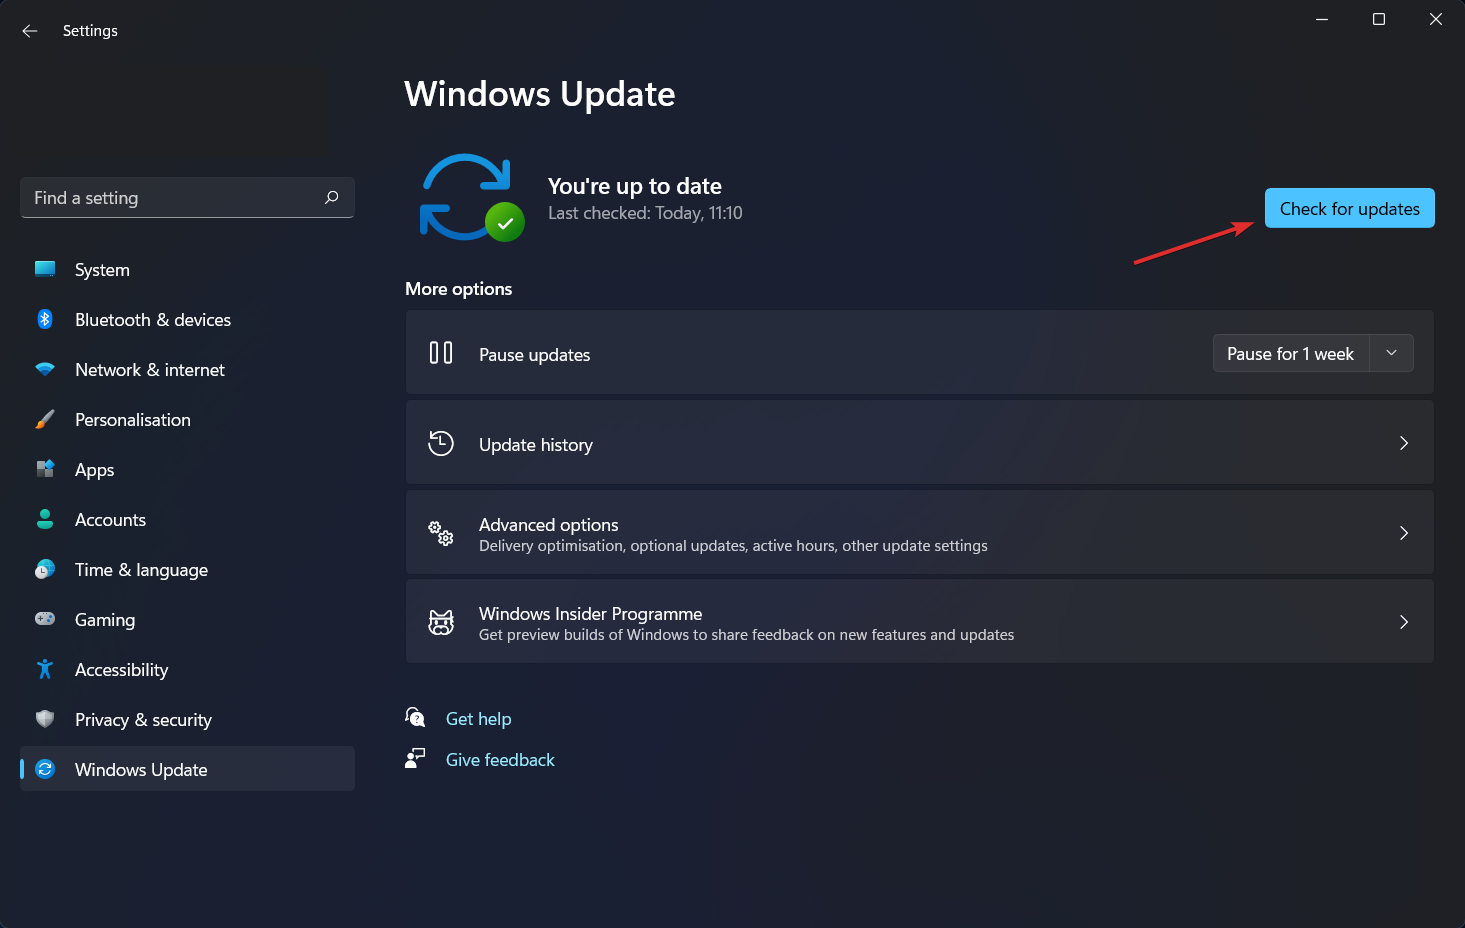
Your computer will need a restart afterwards. That’s it!
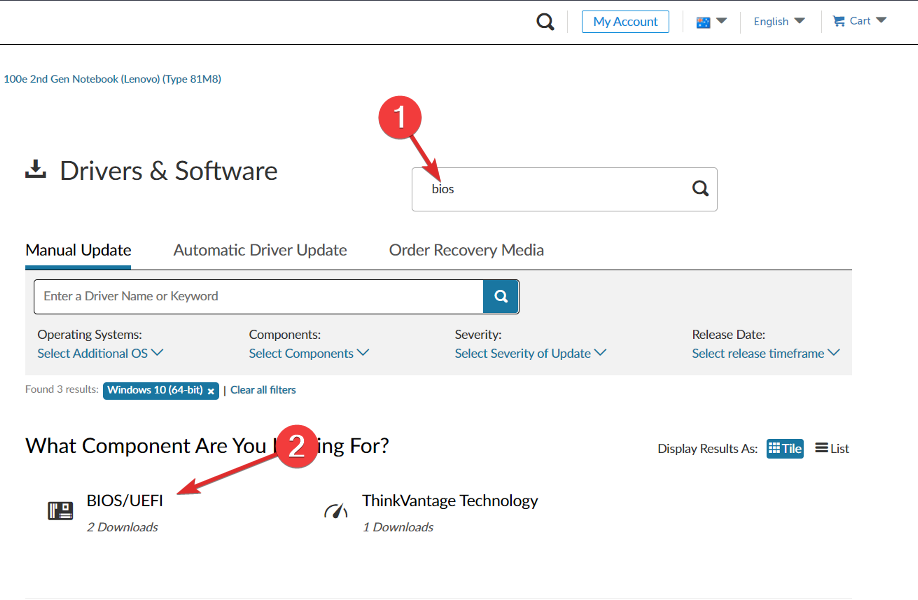
3. Update BIOS
- You need to visit your motherboard manufactuer’s website. For example we will head to Lenovo’s website and click on PC to find the necessary updates.

- Next, go to Drivers & software after entering your model into the search bar, as we have shown below.

- Now, search for the latest BIOS update for your computer and download it. Keep in mind that you will need a flash drive in order to continue with the following steps.
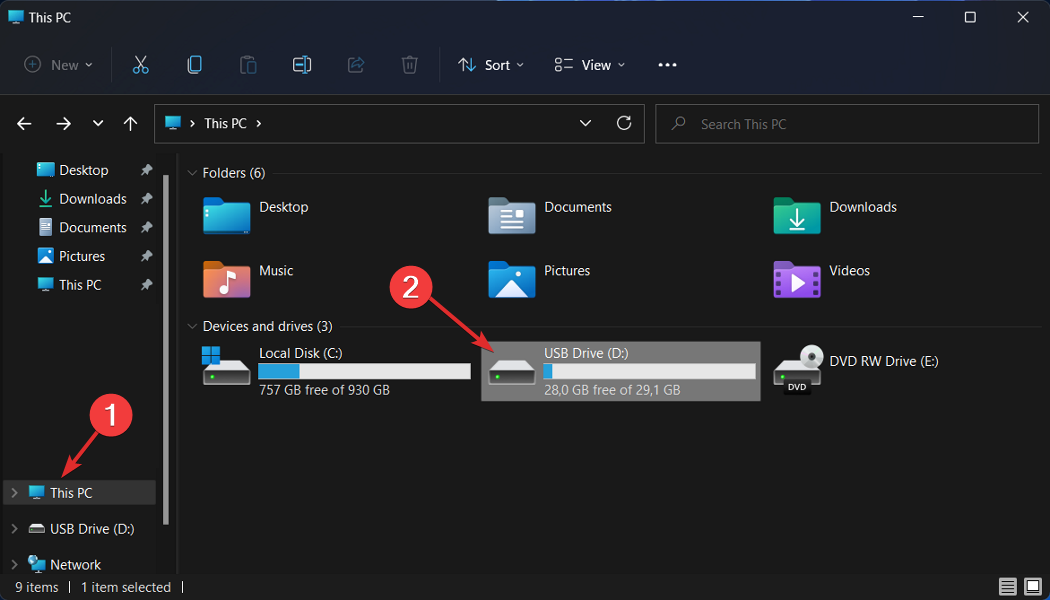
- Tap on This PC followed by your flash drive to move the downloaded file.
- Restart your computer and keep pressing the F2 or Del key to enter the BIOS menu.
- Click on the BIOS update option then choose the downloaded file from your flash drive in order to use it.
- Wait for the process to complete then continue with the rebooting process. That’s it!
If you’re using a laptop or running an AMD setup, you may also want to check out what to do if your laptop doesn’t recognize a second GPU while gaming or how to fix an AMD graphics card not showing up in Device Manager on Windows 10. These guides offer additional GPU detection fixes tailored to common platform-specific issues.
Updating your BIOS is more task intensive than the previous two solutions, but it is still necessary if the GPU is not detected but the fan is spinning error is still present.
For more information and potential solutions, check out what to do if Nvidia graphics card is not detected in Windows 11 or if the PC is not detecting GPU.
Alternatively, if you want to change your GPU, here are some of the best Windows 11 graphics cards for an immersive PC experience.
And lastly, in order to avoid further complications with your graphics card, take a look at how to check Windows 11’s GPU temperature.
Let us know in the comments section below if this guide was helpful for you as well as whether you have more solutions in mind. Thanks for reading!
Read our disclosure page to find out how can you help Windows Report sustain the editorial team. Read more


Improve this guide


User forum
0 messages