Fix: HAL_IOMMU_INTERNAL_ERROR BSoD 0x000001D9
Make sure all the drivers are up-to-date
5 min. read
Published on
Read our disclosure page to find out how can you help Windows Report sustain the editorial team. Read more
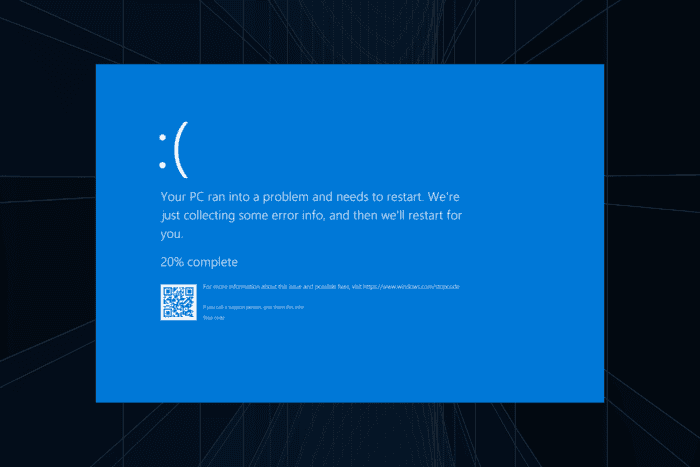
The HAL_IOMMU_INTERNAL_ERROR Windows blue screen, with error code 0x000001D9, appears due to an issue with the HAL IOMMU library. Underlying causes include corrupt/outdated drivers, malware infection, corrupted system files, the presence of conflicting apps, and hardware issues.
Before you proceed to the solutions, reboot the PC, install all pending Windows updates, and disable any third-party antivirus. For most of you, these basic checks should fix the BSoD!
How can I fix HAL_IOMMU_INTERNAL_ERROR in Windows?
1. Update all the drivers
- Press Windows + X to open the Power User menu, and select Device Manager.
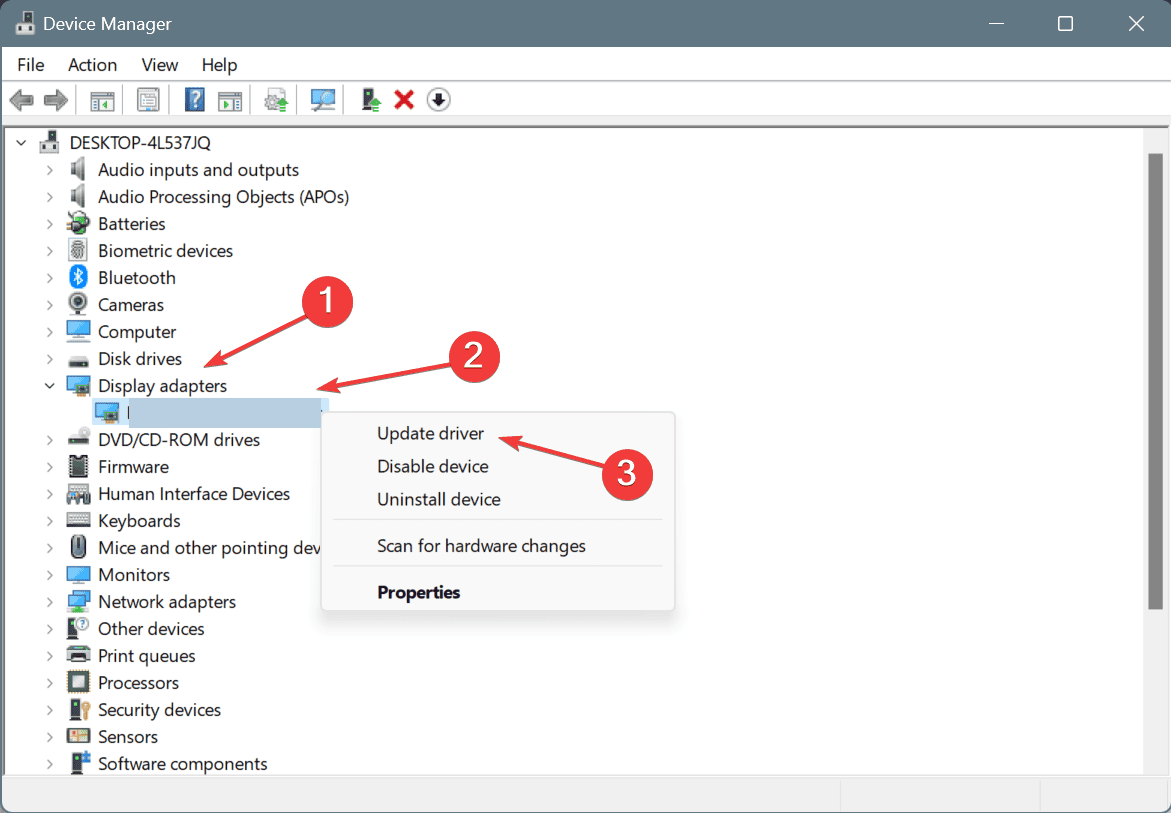
- Expand the Display adapters entry, right-click on the active GPU, and select Update driver.
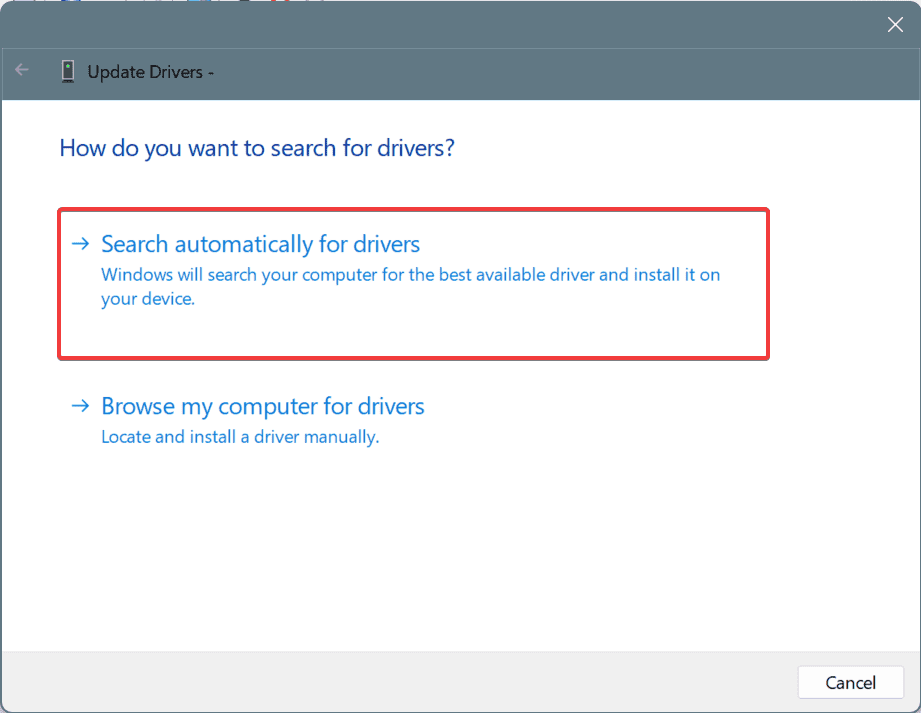
- Click on Search automatically for drivers and let Windows install the best locally available version.
- Similarly, update other critical drivers on the PC, including the network adapter, storage drive, and connected hardware.
- Finally, restart the PC and check for improvements.
In 3 out of 5 cases, a problematic driver was responsible was HAL_IOMMU_INTERNAL_ERROR in Windows, and updating the drivers fixed the problem.
If Windows can’t find a better driver version, go to the manufacturer’s website, locate the new releases, and then manually install the latest driver!
2. Repair the corrupted system files
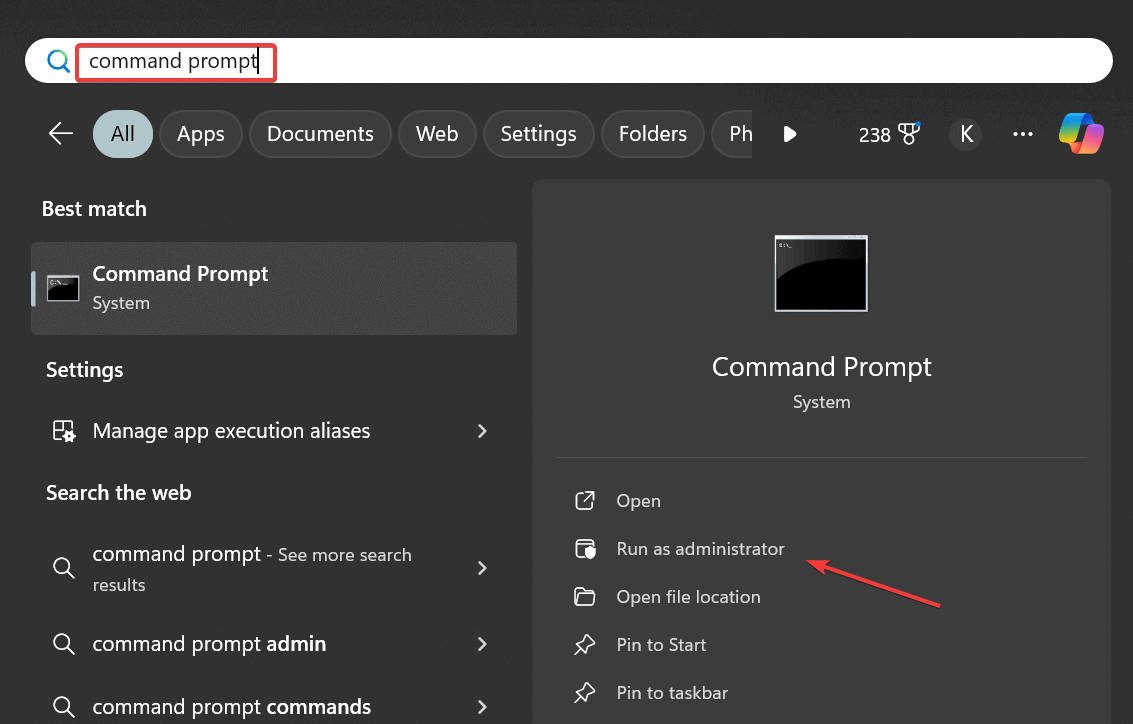
- Press Windows + S to open Search, type Command Prompt, and click on Run as administrator.
- Click Yes in the UAC prompt.
- Paste the following commands individually and hit Enter after each:
DISM /Online /Cleanup-Image /CheckHealthDISM /Online /Cleanup-Image /ScanHealthDISM /Online /Cleanup-Image /RestoreHealth - Now, execute this command to run the SFC scan:
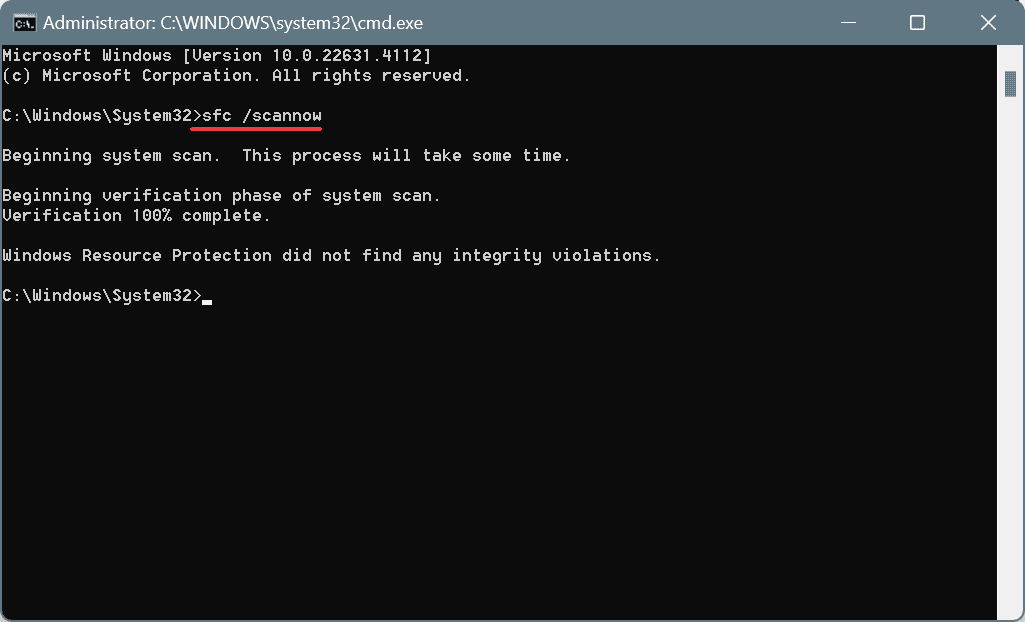
sfc /scannow - Reboot the computer to apply the changes.
If corrupted system files are causing the HAL_IOMMU_INTERNAL_ERROR Windows BSoD, running the DISM (Deployment Image Servicing and Management) and SFC (System File Checker) scans will replace all problematic files with their cached copies!
3. Scan the PC for malware
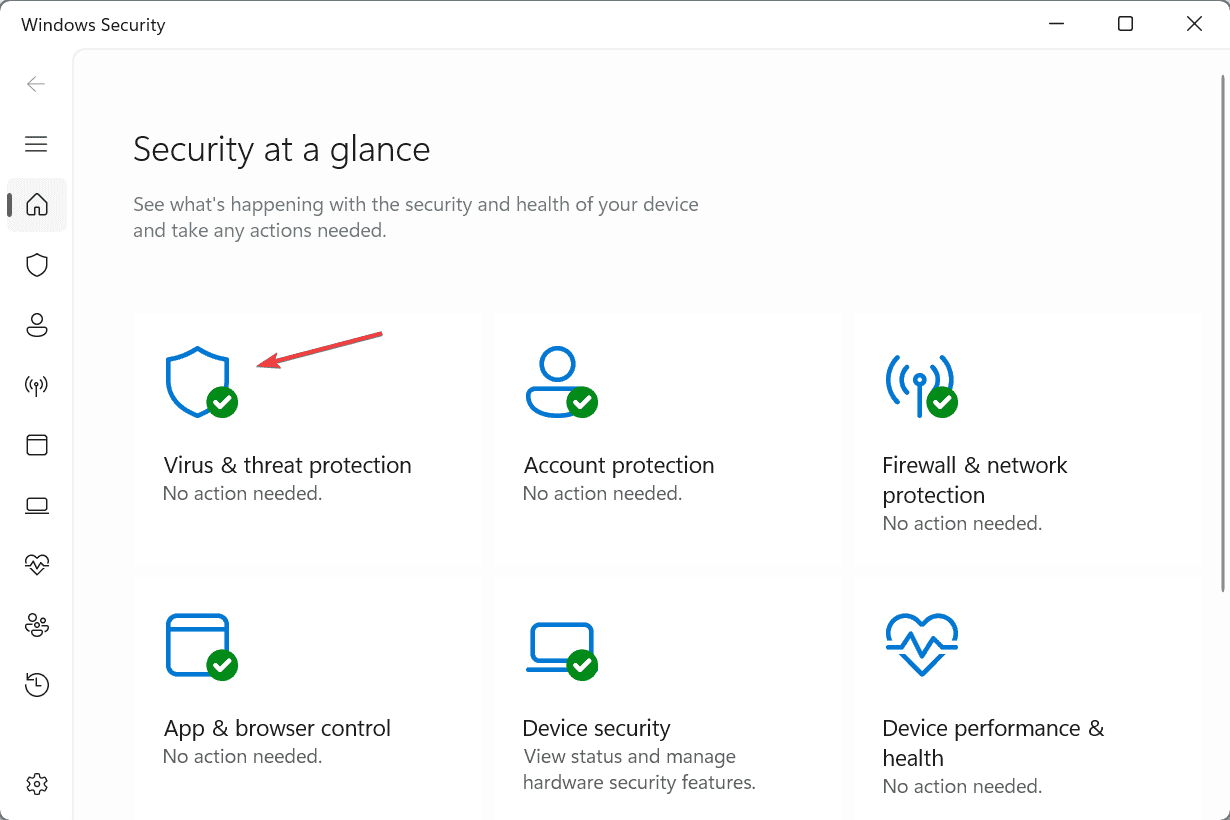
- Press Windows + S to open Search, type Windows Security, and click on the relevant result.
- Click on Virus & threat protection.
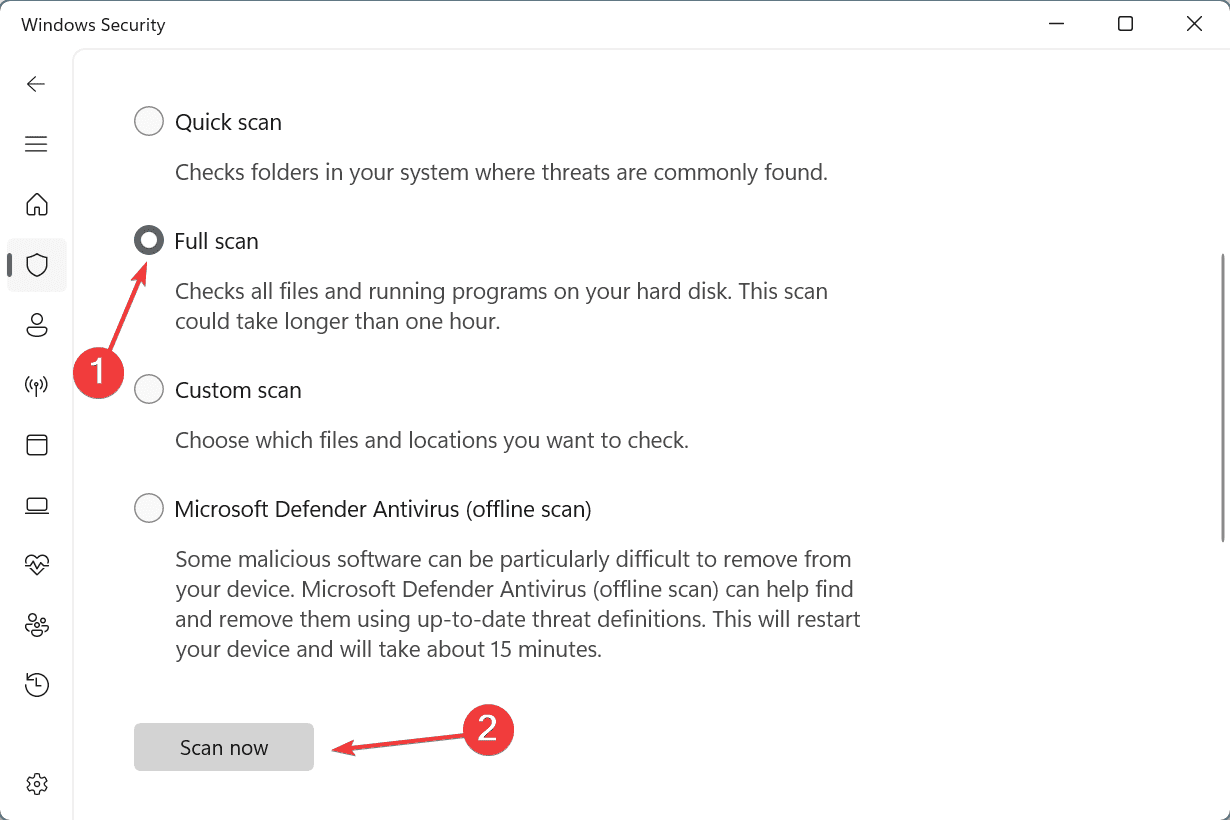
- Click on Scan options.
- Select the Full scan entry and click on Scan now.
- Wait for the malware scan to complete and check for improvements. It typically takes 15-45 minutes.
4. Check the RAM and drive for faults
4.1 Run tests on RAM
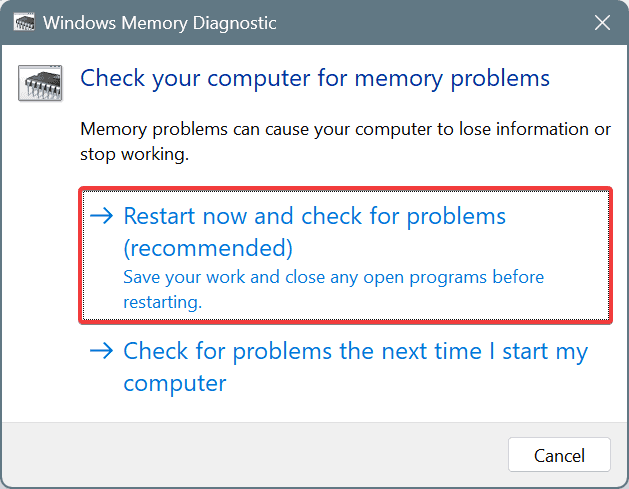
- Press Windows + S to open Search, type Windows Memory Diagnostic, and click on the relevant result.
- Click on Restart now and check for problems.
- Wait for the scan to complete, and then check the mdsched log.
While Windows Memory Diagnostic is effective, if it doesn’t find any issues, I recommend running Memtest86+, an advanced, open-source tool that will run a wide array of tests on individual RAM modules.
If any problems are detected, it’s best to replace the malfunctioning module.
4.2 Run Check Disk
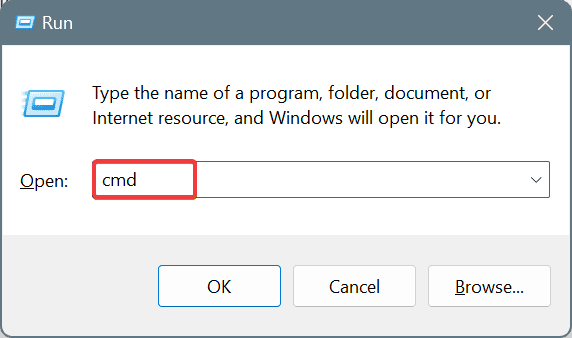
- Press Windows + R to open Run, type cmd, and hit Ctrl + Shift + Enter.
- Click Yes in the UAC prompt.
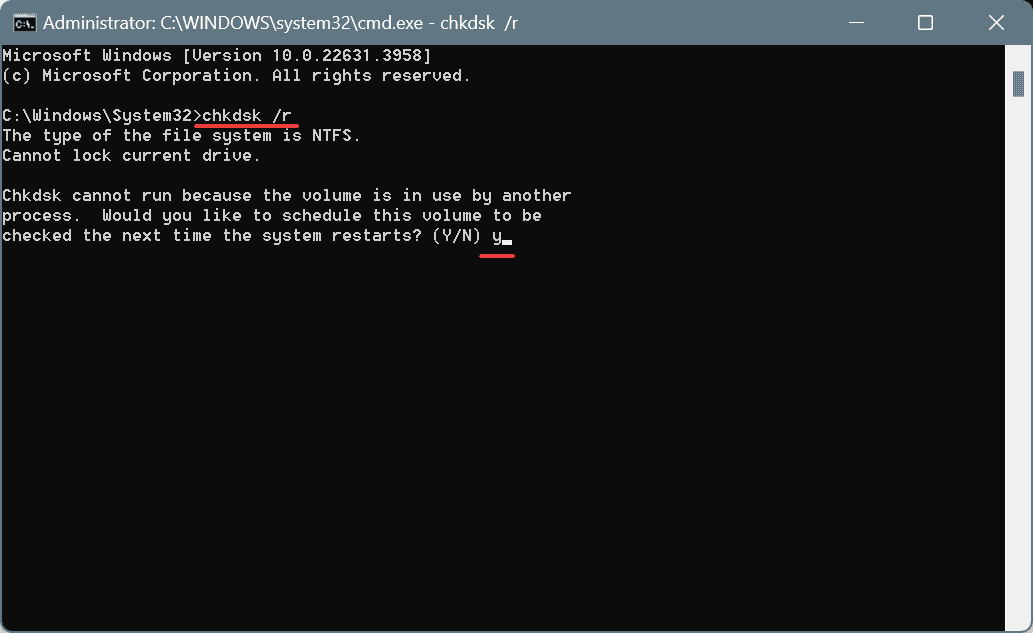
- Paste the following command and hit Enter:
chkdsk /r - If asked to schedule the scan, press Y, hit Enter, and then restart the computer.
- After running Check Disk, verify whether HAL_IOMMU_INTERNAL_ERROR is fixed.
5. Uninstall conflicting apps
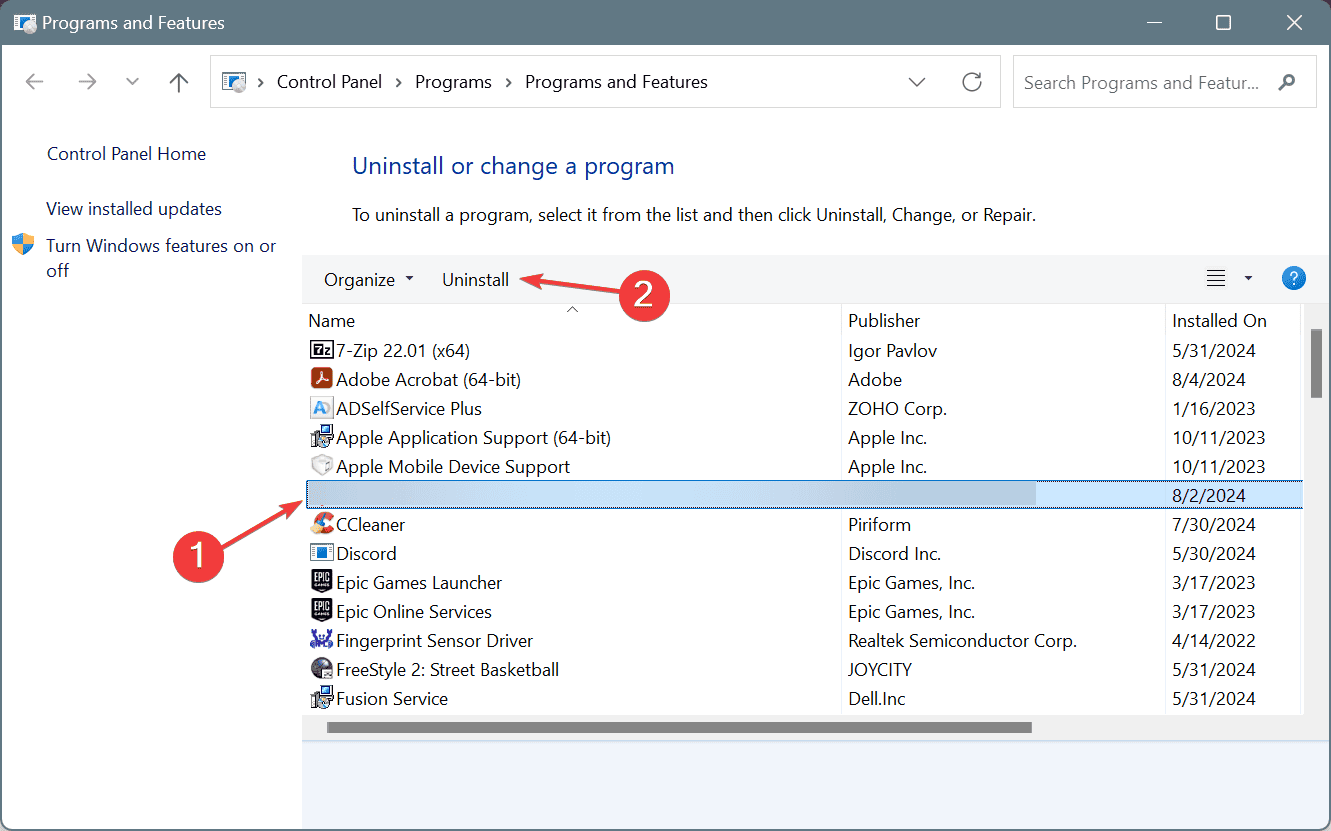
- Press Windows + R to open Run, type appwiz.cpl in the text field, and hit Enter.
- Select the app downloaded around the same time the BSoD first appeared, and click on Uninstall.
- Follow the on-screen instructions to complete the process and restart the computer.
If the HAL_IOMMU_INTERNAL_ERROR Windows BSoD persists, it could be the leftover files and Registry entries to blame. In this case, you can use a top-rated software uninstaller to delete such files and wipe all traces of the program.
6. Uninstall recent Windows updates
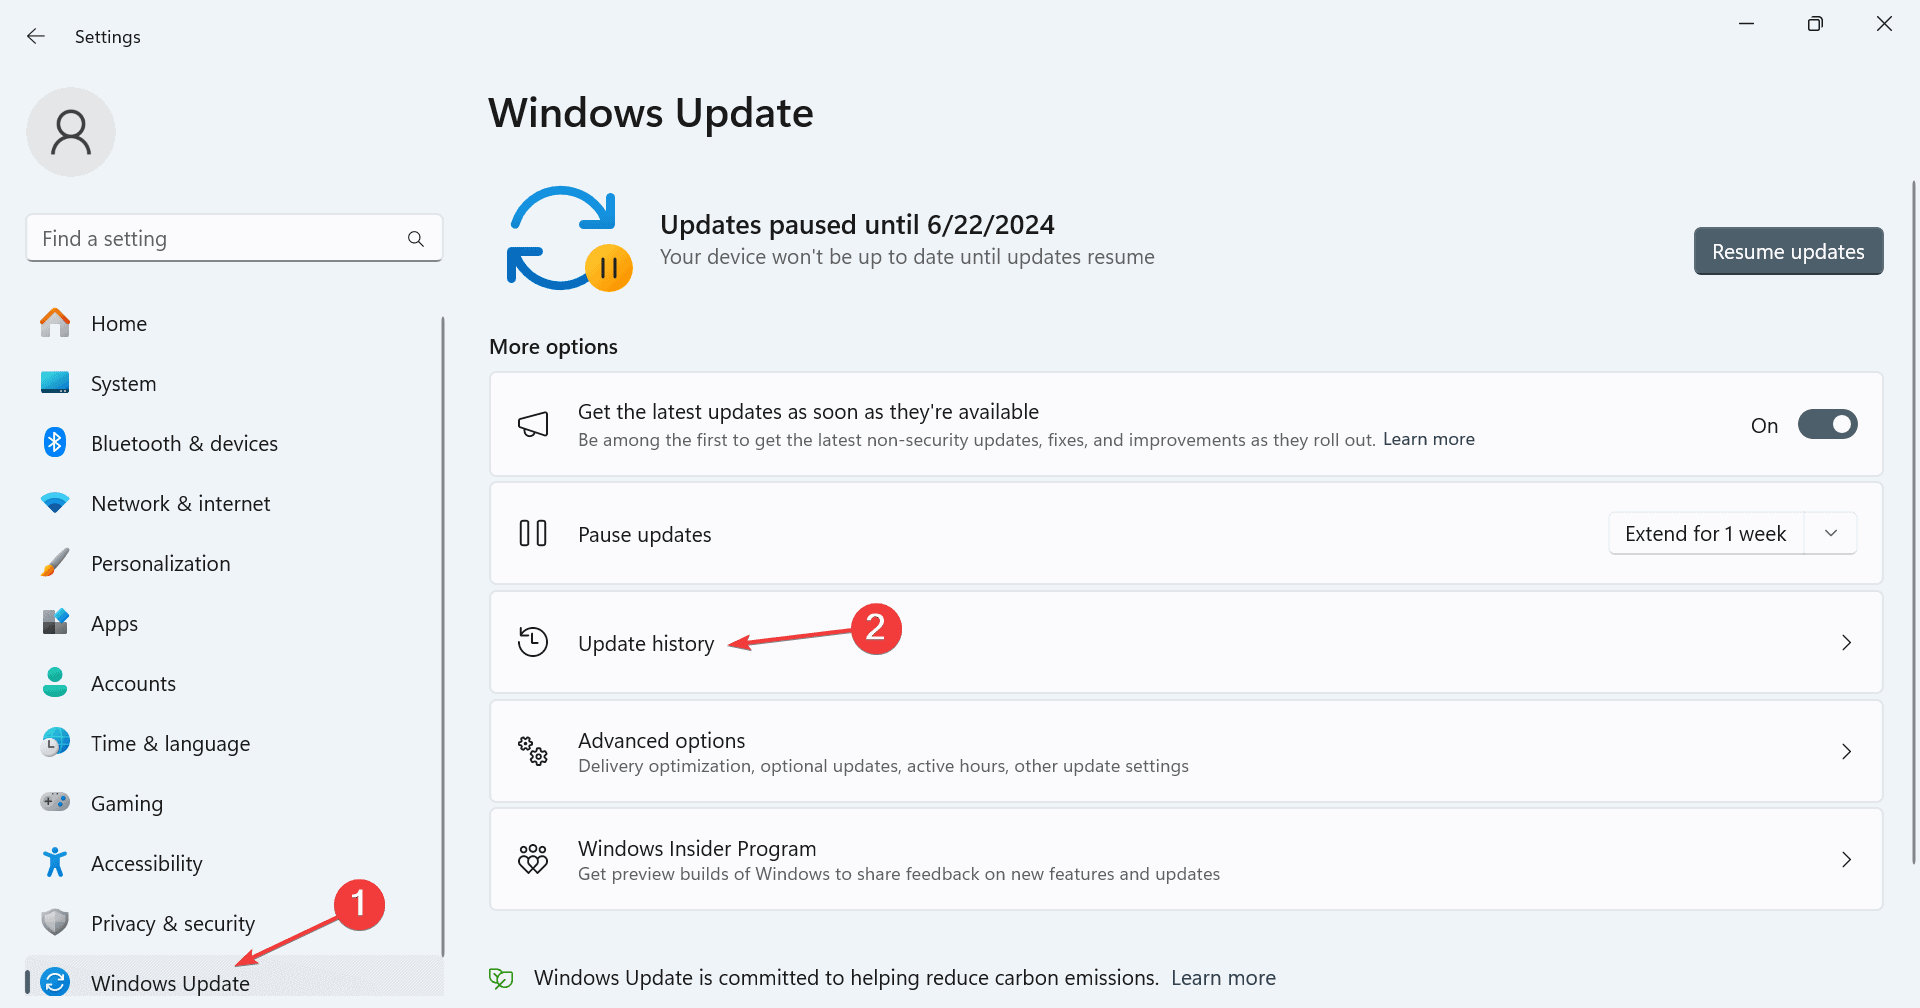
- Press Windows + I to open Settings, go to Windows Update from the navigation pane, and click on Update history.
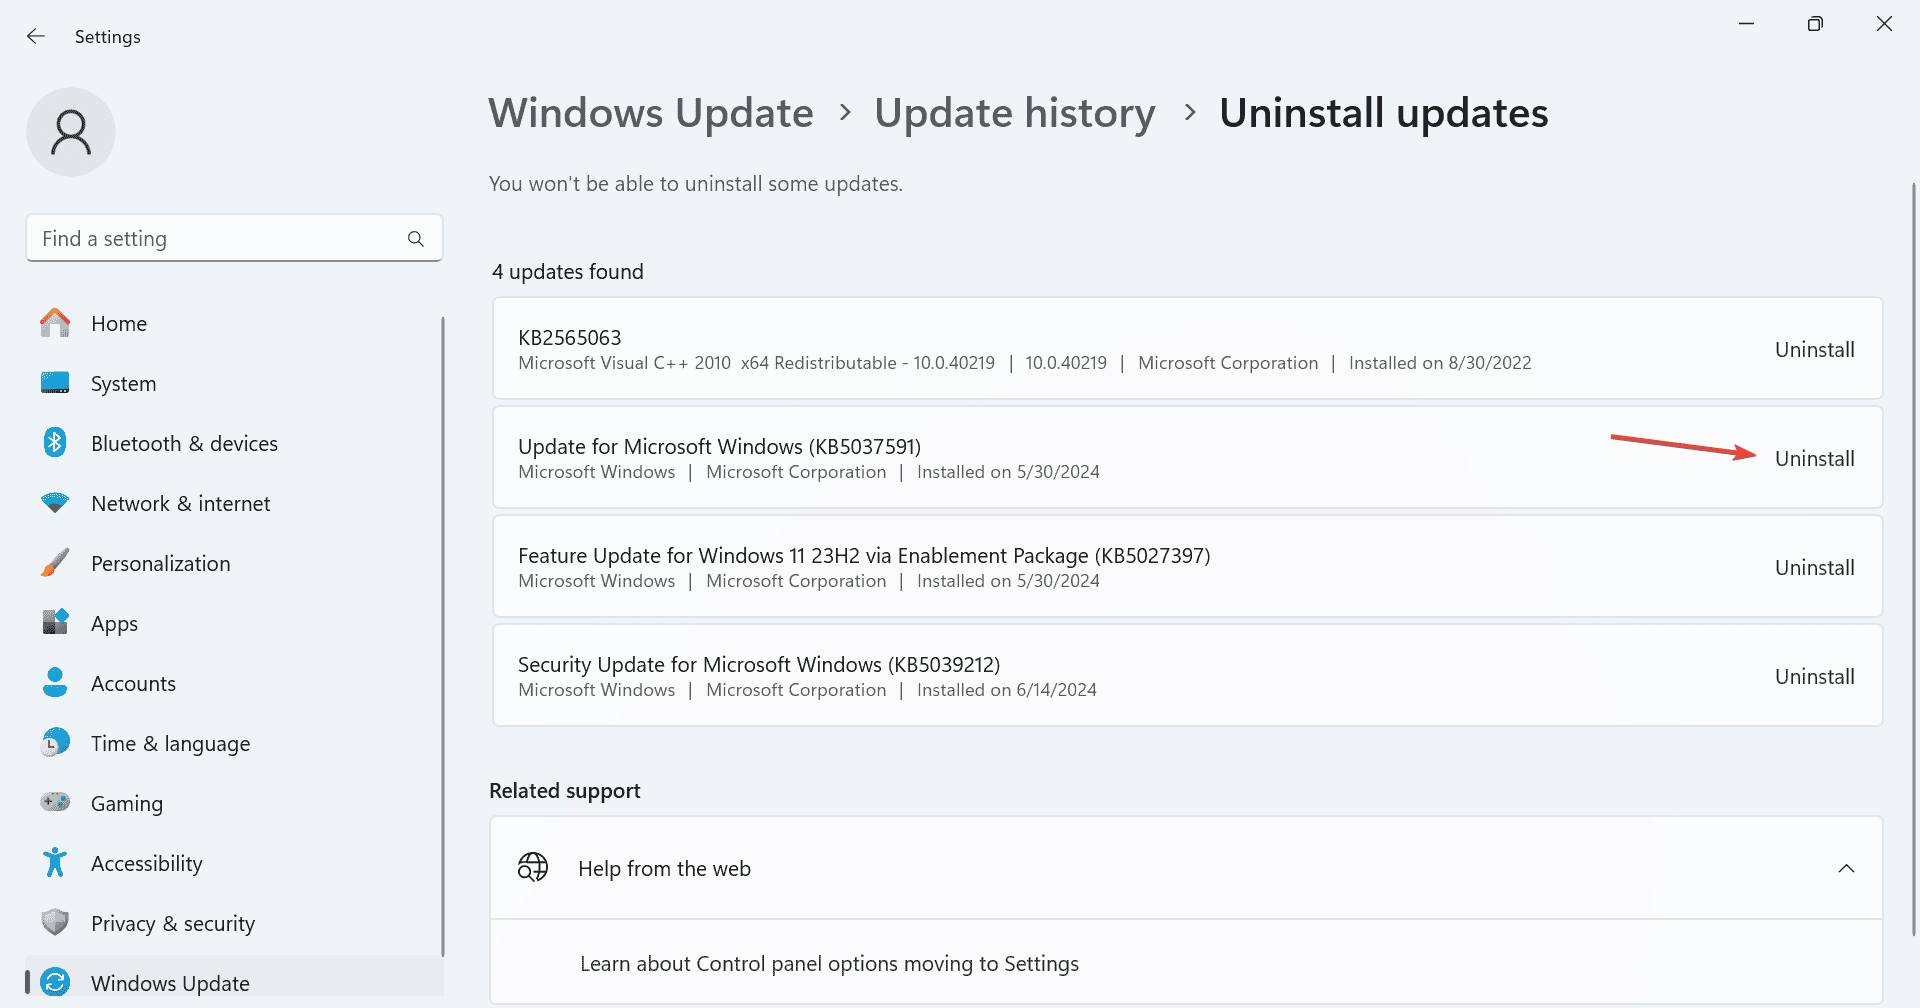
- Scroll down and click on Uninstall updates.
- Click the Uninstall option next to the recently downloaded update.
- Again, click Uninstall in the confirmation prompt.
- Reboot the PC and check for improvements.
7. Reinstall Windows
When nothing else fixes HAL_IOMMU_INTERNAL_ERROR, the last option is to reinstall Windows from scratch. Since there’s a possibility of data loss, I recommend moving any critical files to external storage, if available.
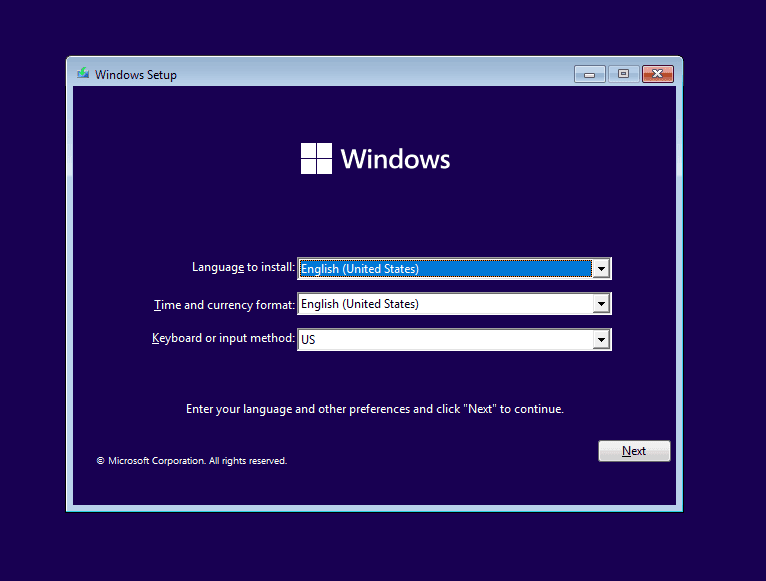
To reinstall Windows > connect a formatted USB drive to the PC > go to Microsoft’s official website > download the Media Creation Tool > use it to create a bootable Windows USB > change the boot order on the PC to the bootable USB > run the Windows setup and proceed with the reinstallation.
One of the solutions should have helped with the HAL_IOMMU_INTERNAL_ERROR Windows BSoD error. If the problem remains unresolved, visit a local repair shop and get the hardware inspected for faults. Because, at this point, failing hardware is most likely the underlying cause.
Before you leave, learn all the causes of BSoD and take appropriate measures to prevent these from reappearing!
For any queries or to share more fixes with our readers, drop a comment below.




User forum
0 messages