How to get started with Microsoft Lists
3 min. read
Published on
Read our disclosure page to find out how can you help Windows Report sustain the editorial team. Read more

Microsoft Lists is the newest addition to the Microsoft 365 app stable. While the name may tempt you to write it off as yet another Outlook Tasks, To-Do or Planner iteration, Lists is in fact a unique offering that’s closer to Excel than any of the above.
Powered by SharePoint and accessed via a web interface, Lists can be seen as a Microsoft attempt to replicate low-code solutions such as Airtable. It’s more “app-like” than a spreadsheet, while giving users much more control than a regular listing app like To-Do or its predecessor Wunderlist.
Lists’ power is only really appreciated by seeing it in action. Assuming you’ve got a valid subscription, the app will show up in the Office 365 app drawer – it has a brightly coloured icon with a warm palette.
Click the prominent “New List” button to get started. It’s worth taking a little time to preview the default templates, as they illustrate the way in which Lists is meant to be used.
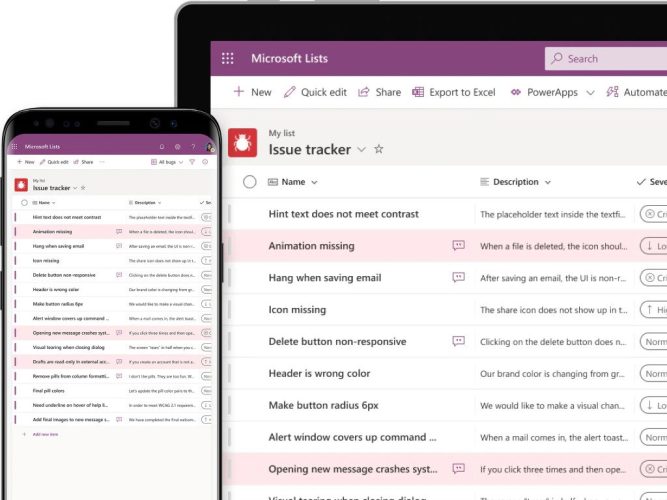
Take the default Issue Tracker, for example. It uses a grid-based layout that’s somewhere in-between a spreadsheet and a conventional listing app. Then there’s the Asset Manager, which is even more visual – it includes images and a number of coloured information chips.
You can start a new list from a template by clicking “Use template”. You can also create a list from scratch, which will require you to use a SharePoint-style interface to setup your own fields. It’s possible to import an Excel spreadsheet too, further narrowing the gap between Lists and conventional desktop applications.
However you create your list, you’ll need to give it a name, description, colour and icon. Once you’re setup, the list will open to an empty slate.
You can add data by clicking the “New” button in the top-left. This will bring up a form that lets you add a new item to the list. The fields on the form will match those configured in the list.
When you’re making multiple additions at one time, you can switch to Grid view from the top-left corner. This turns everything on the screen into an editable field, very much akin to a spreadsheet. Using this interface, you can rapidly manage the data within your list.
You can export your data into an Excel spreadsheet using the button on the top toolbar. Another option is to get an email or SMS alert whenever data changes within the list – click the three dots (“…”) icon at the top, then “Alert me”. The dialog which appears will give you comprehensive options to let you choose what you get alerted about and when and where notifications are delivered.
This completes our initial tour of Lists. In future articles, we’ll look at creating and modifying lists, managing data within lists and exploring the different view options available within the app. It’s also worth noting that Lists can integrate into many other Microsoft tools, including Power Apps, Automate and Microsoft Teams, letting you use the service as a central repository for your information.


User forum
0 messages