How to Remove Ads by DNS Unlocker (Safest Steps to Do It)
Tested methods to get rid of this intrusive app's ads
![]() 3 min. read
3 min. read
![]() Updated on
Updated on
Share this article

Improve this guide
Read our disclosure page to find out how can you help Windows Report sustain the editorial team Read more
Key notes
- DNS Unlocker can be helpful for those who want to access geo-restrict content on the internet.
- However, the advertisements displayed by the app can be a little irritating and harmful.
- In this guide, we will discuss the ways to remove ads by DNS Unlocker.

DNS Unlocker is not a virus but is categorized as PUP, which might install malicious programs, such as toolbars, adware, etc., on your computer. This could slow your browsing speed and your PC.
This guide will talk about all the possible methods to remove ads by DNS Unlocker without harming your computer.
How can I remove ads by DNS Unlocker?
1. Remove DNS Unlocker by uninstalling
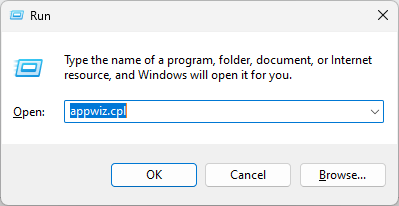
- Press Windows + R to get the Run window
- Type appwiz.cpl and press Enter.

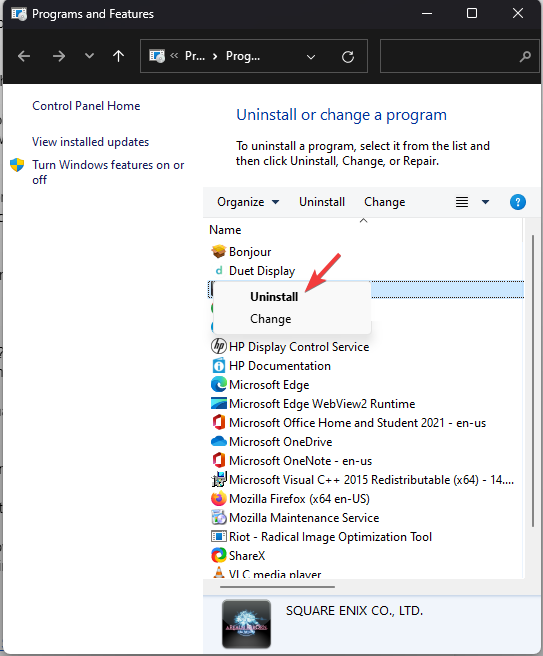
- Locate DNS Unlocker from the list of installed programs, right-click on it and select Uninstall.

- The app will start to uninstall; follow the instructions on the prompts if they appear. You will be notified once the app is uninstalled.
2. Modify browser settings
Note: It is important to restart your computer in Safe boot before starting the process.
2.1 Reset your browser
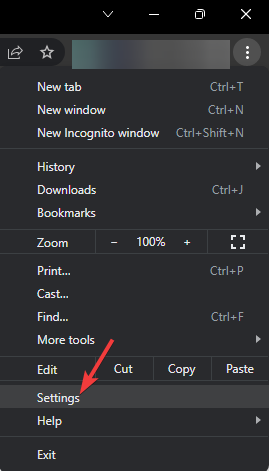
- Launch Chrome and click on three horizontal dots, and select Settings.

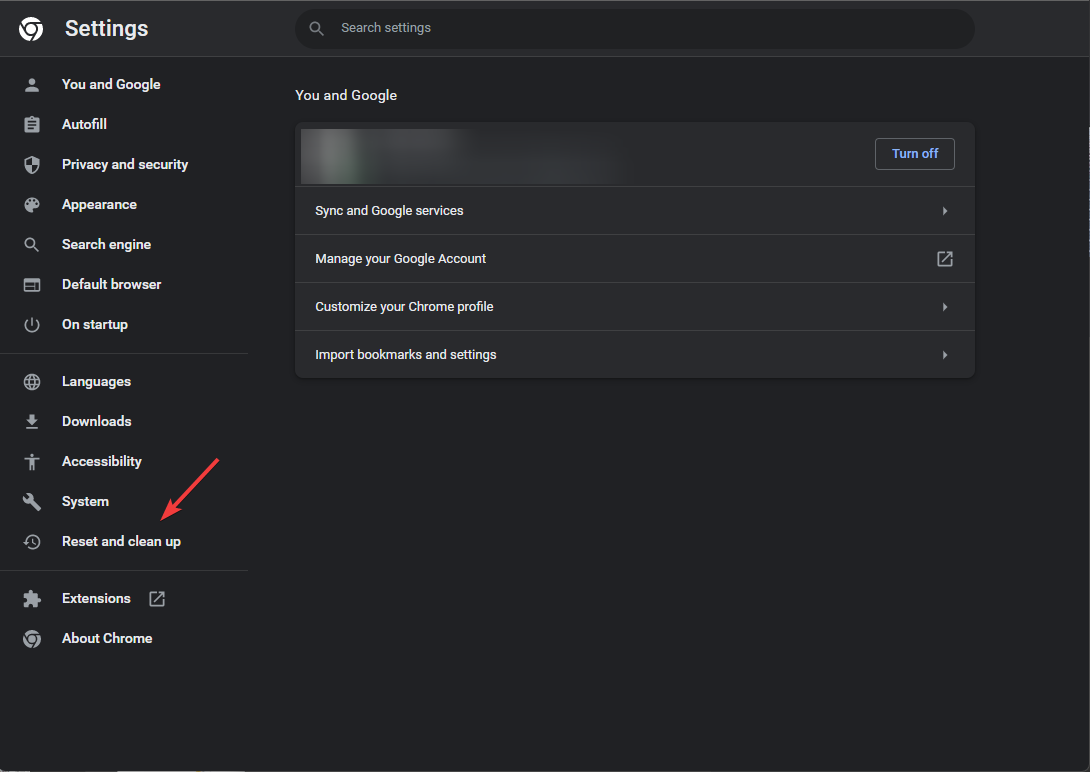
- On the left side pane, click Reset and clean up.

- Now click on Restore settings to their original defaults.

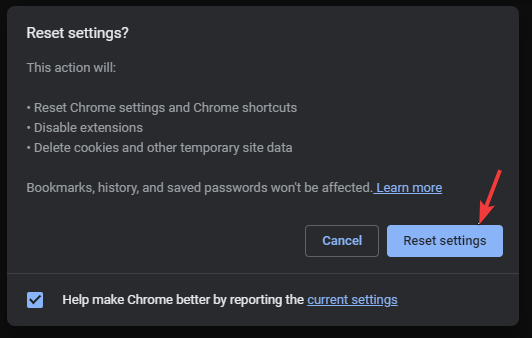
- You will get a dialog box asking you to Reset Settings. Click Reset Settings.


2.2 Delete browsing data
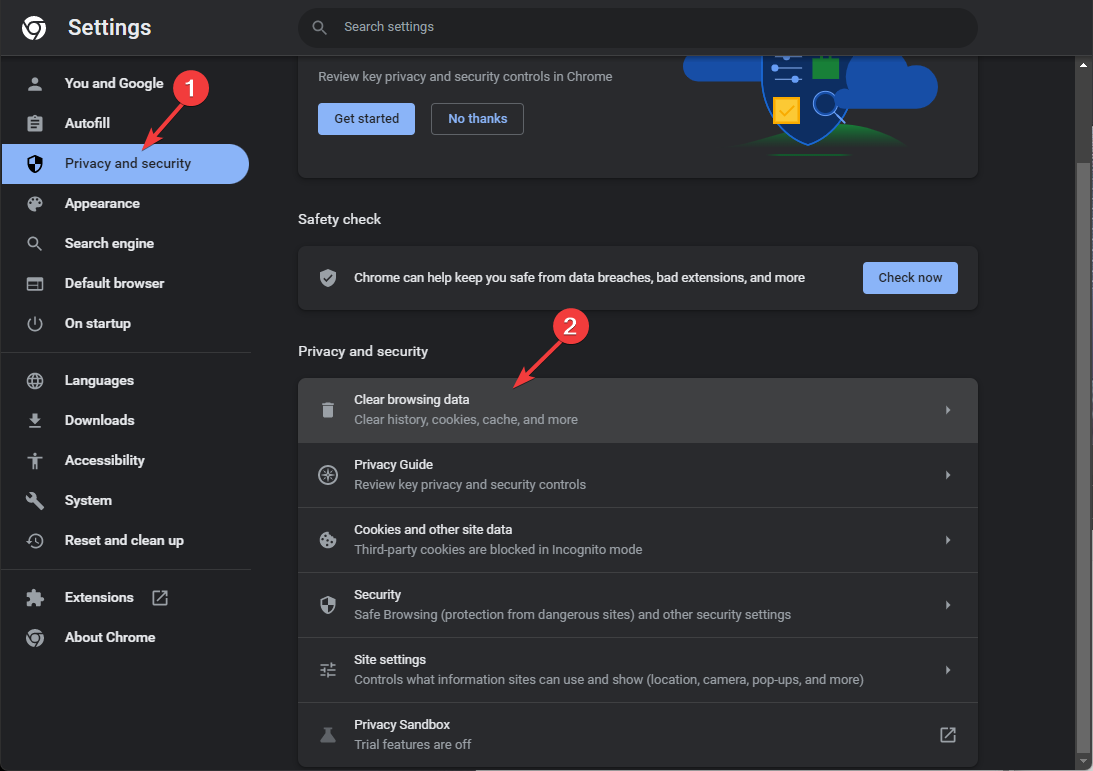
- On the Settings page of Chrome, click Privacy and Security.
- Now click Clear browsing data.

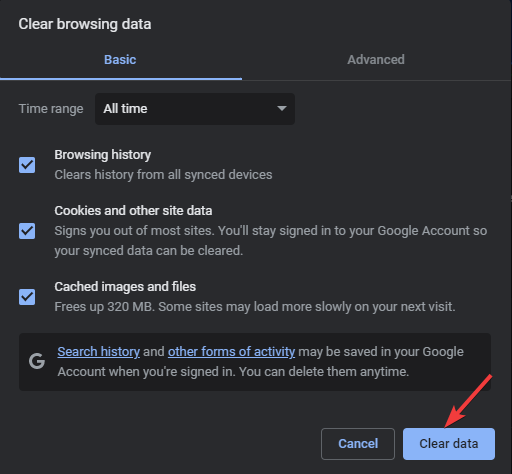
- On the next window, put a checkmark on all three boxes and click Clear data.

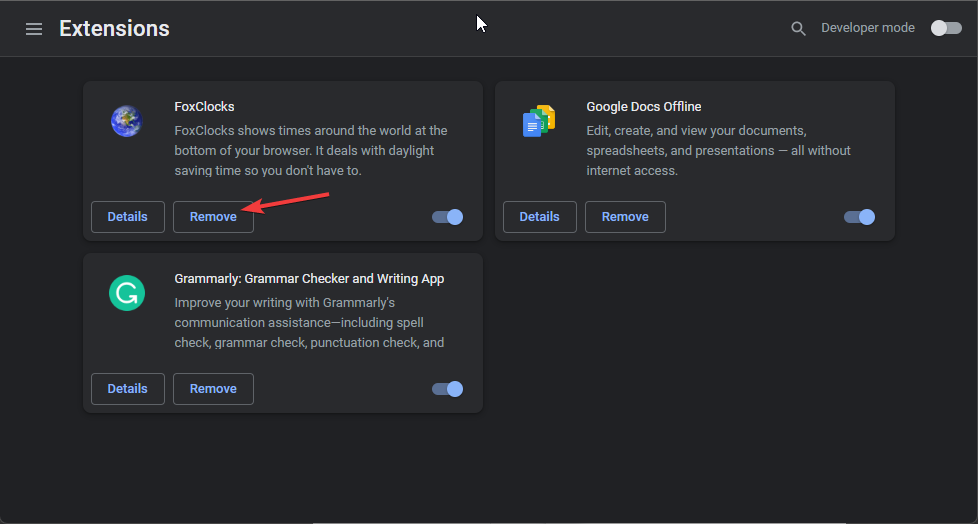
2.3 Remove unnecessary extensions
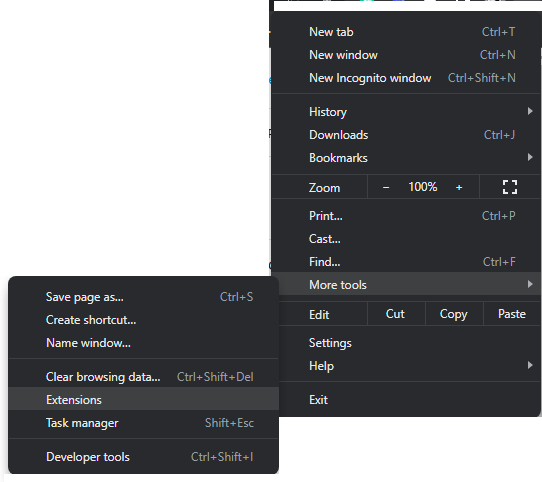
- On Chrome, click on three dots, go to More Tools, then click Extensions.

- Check all the installed extensions and remove the ones you don’t remember installing.

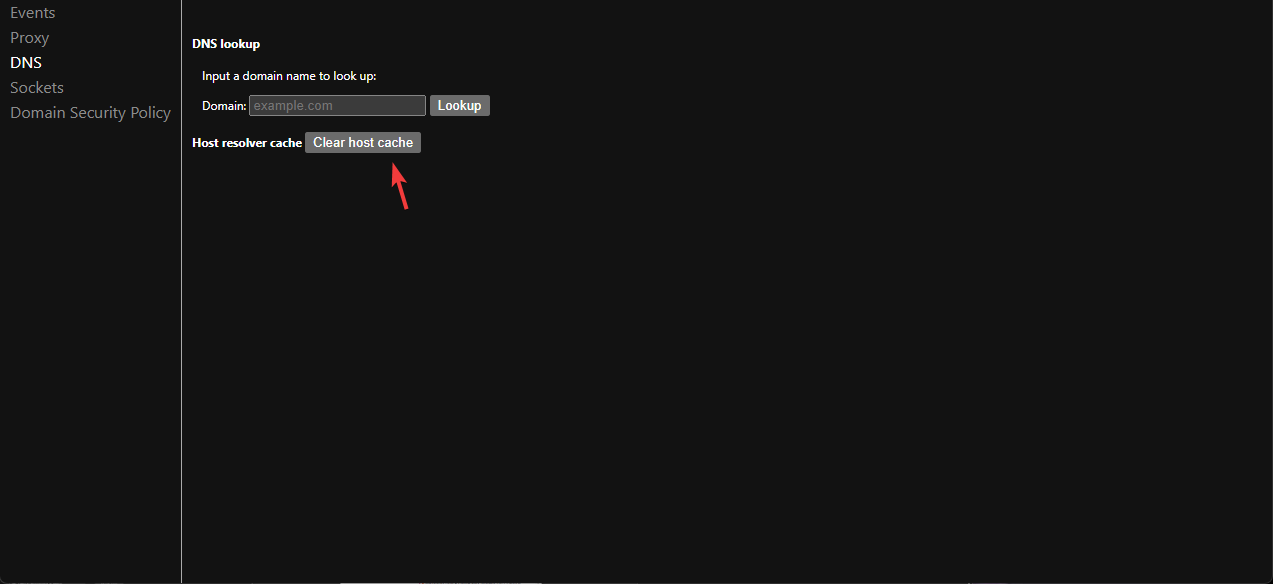
2.4 Clear the host DNS of your browser
- Open Chrome and copy and paste the following address in the address bar.
chrome://net-internals/#dns
- Click on Clear host cache to clear the cache.
- Close the browser.
3. Modify network settings
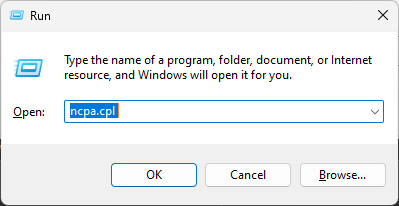
- Press Windows + R to get a Run window.
- Type ncpa.cpl and hit Enter to open Network Connections.
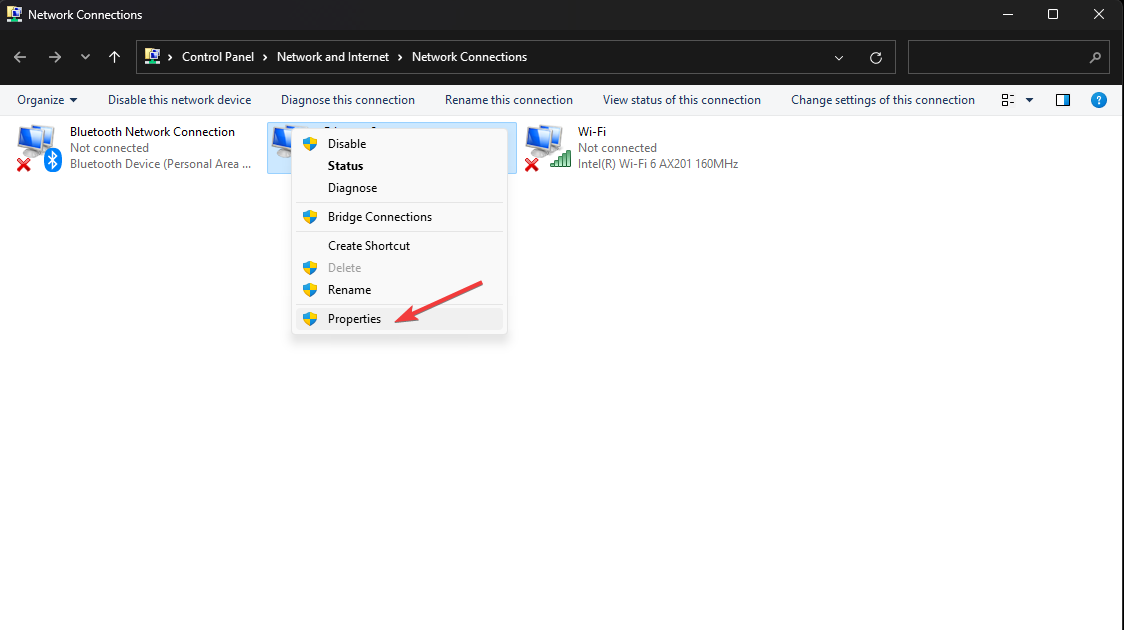
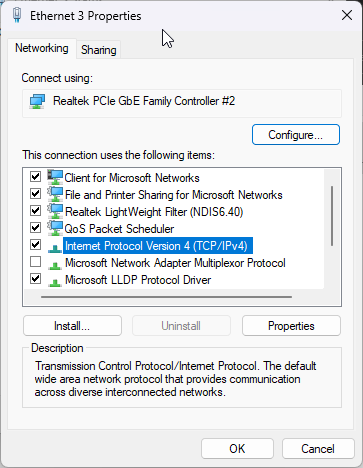
- Right-click on the type of internet connection, right-click on it, and select Properties.

- Now double-click Internet Protocol Version 4 (TCP/IPv4).

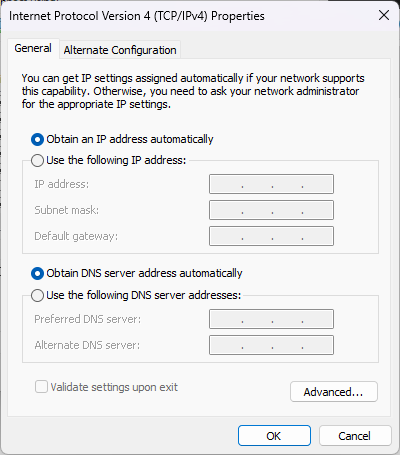
- Put a checkmark beside Obtain an IP address automatically and Obtain DNS server address automatically.

- Click OK and then again click OK.
4. Run an antivirus scan
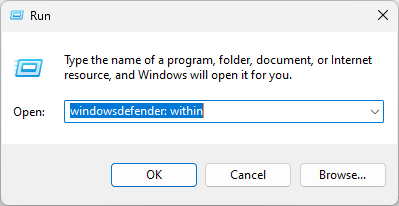
- Press Windows + R to get the Run console.
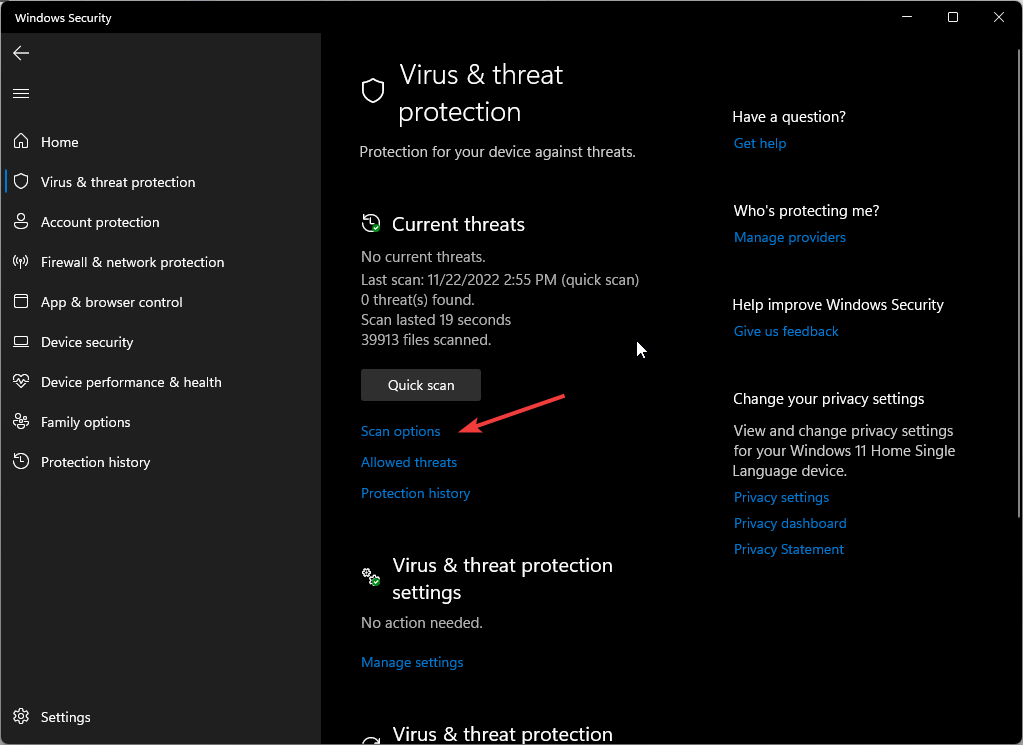
- Type windowsdefender: within and press Enter to open Windows Security.
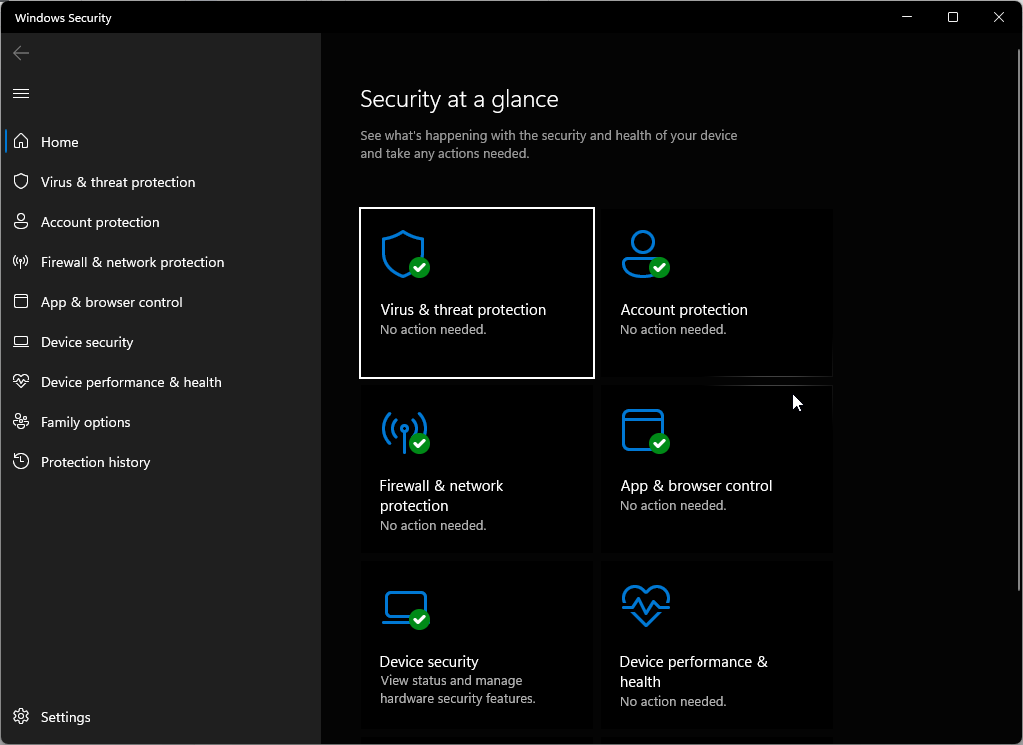
- Click Virus & threat protection.

- Now click Scan options.
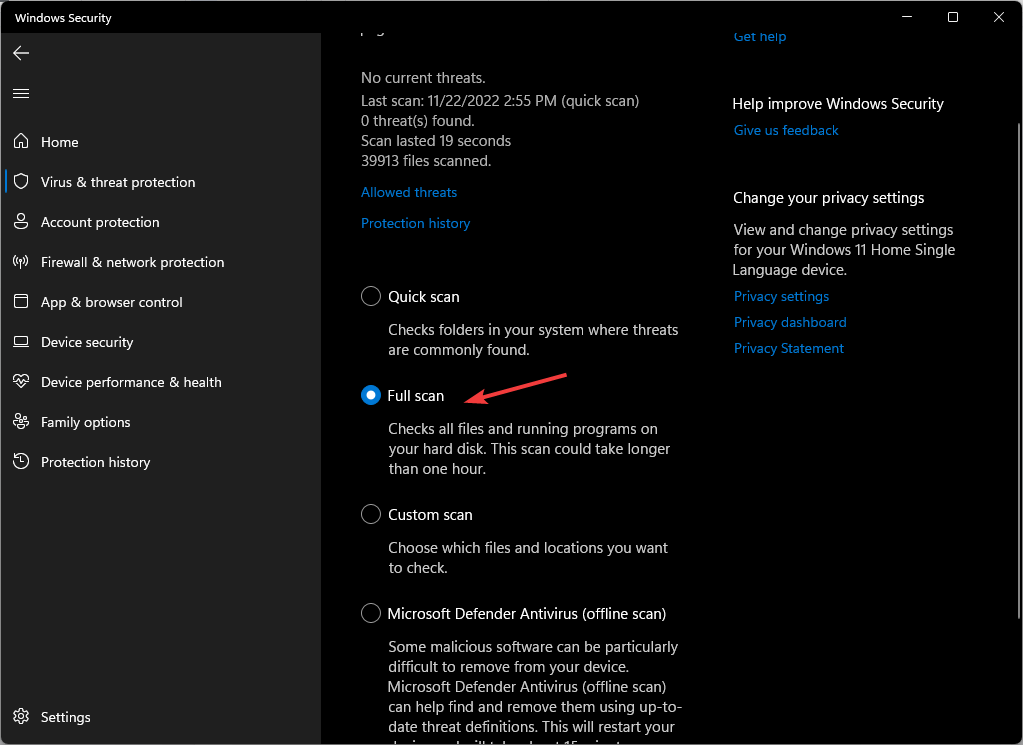
- Select Full scan.
- Your computer will scan your computer for threats, and it may take a while.
5. Use a third-party app
A third-party security tool like Hitman Pro can quickly scan your Windows PC and remove PUPs. It comes with advanced malware scanning and removal tools. Moreover, it works well with any antivirus program installed on your computer. To remove ads by DNS Unlocker via Hitman Pro, follow these steps:
- Download and install HitmanPro.
- Launch the app and click the Next button to start the scan.
- After completing the scan, you will get a list of PUPs on your computer. Click Next to remove all of them.
 Tip
Tip
So, these are the easiest and most secure ways to remove ads by DNS Unlocker from your Windows computer. Try them and let us know what worked for you in the comments section below.