How to Manually Reverse a Video in Windows Movie Maker
Follow these easy steps to reverse videos in Windows Movie Maker
Key notes
- Windows Movie maker cannot be used to reverse short clips, but we have the solutions to make it work.
- Always fill in the duration corresponding with the frames per second to get the best results.
- For this procedure to work, you will also need a tool called Windows Live Essentials.
Windows Movie Maker is Microsoft’s exclusive movie creation application that can be used to view, edit, and create videos and slideshows.
Reversing a video is an essential aspect of movie-making. This article will show you how to install Windows Movie Maker and use it to reverse a video.
Can I reverse a video in Windows?
The short answer is yes; you can reverse a video in Windows. Although you may require the aid of other movie maker software to make the process easier.
On the previous Windows versions, Windows Movie Maker has been the go-to app for basic movie editing and processing. However, when it comes to video reversing, it’s tricky.
Since the Windows Movie Maker has no reverse button in the application interface, so reversing a video can only be done by following unconventional steps.
How do I manually reverse a video in Windows Movie Maker?
Before anything, follow these basic steps:
- Ensure the video you want to reverse is short.
- Close all unnecessary background apps that may overuse the system’s resources leading to unresponsiveness from the Windows Movie Maker.
Here are some steps you can take to manually reverse a video in Windows Movie Maker.
1. Arrange the frames
- Download Windows Live Essentials and start the setup.

- Make sure to select Choose the programs you want to install option.
- Make sure to select only Photo Gallery and Movie Maker and click the Install button.
- Create a folder on your computer and launch Windows Movie Maker.
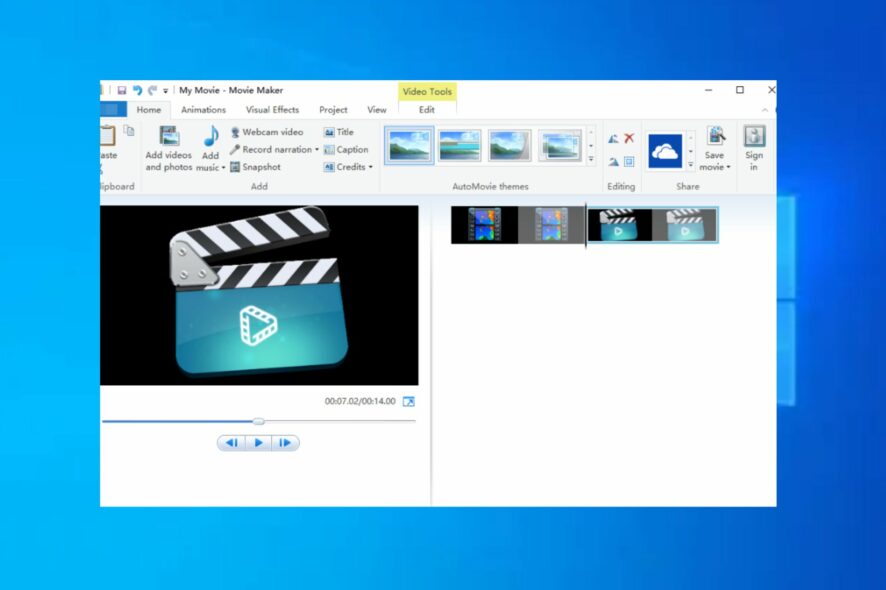
- On the home tab, click Add Videos and Photos to import the video you want to reverse.

- Drag the time slider between the video player box and the point you want the reverse to start.

- Locate the first frame in the video you want to be reversed and click the Snapshot button from the Home tab. Rename the output file to something you can remember.

- Select the folder you created earlier and click save to add this picture to your video Timeline.
- Take a snapshot of the next frame by adjusting the slider to the first frame you just selected.
- Click the Next Frame button below the Timeline. The slider will automatically jump to the second frame.
- Click Snapshot under the Home tab and save the frame. (Similar to the first frame, it will be added to the Timeline view and placed on the left side of the first frame.)
- Repeat this step until you’ve saved all the frames you need to reverse your video successfully.
2. Combine all the frames into one video
- On the left side of the Timeline view, click on the video clip.
- Right-click on the clip and select Remove. At this point, only the frame will be displayed on the Timeline.
- Hover on a frame and click Select All.
- Navigate to the Video Edit Tools tab at the top of the Window to fill in the duration.
- You can fill in your desired duration but professionally speaking, here are our suggestions:
- 0.08s for 12FPS
- 0.04s for 24FPS
- 0.03s for 30FPS
- 0.01s for 60FPS

- Navigate to the top of the Window, click the Movie Maker menu, click on Save Movie, and select your preferred video format.
You can agree from the steps listed above that reversing a video with Windows Movie Maker is tough, complex, and repetitive.
However, it’s handy for reversing short clips but not so efficient when making very long videos.
The Windows Movie Maker can stop working at any time. Hence, if you encounter this recurring problem, kindly hop on our guide to troubleshoot it.
Did it work for you? Let us know if you encounter any problems with the process in the comments section below.
Read our disclosure page to find out how can you help Windows Report sustain the editorial team. Read more


Improve this guide


User forum
0 messages