How to Fix Your HP Laptop When the Caps Lock is Blinking
Shut down the blinking with correct RAM placement
5 min. read
Published on
Read our disclosure page to find out how can you help Windows Report sustain the editorial team. Read more
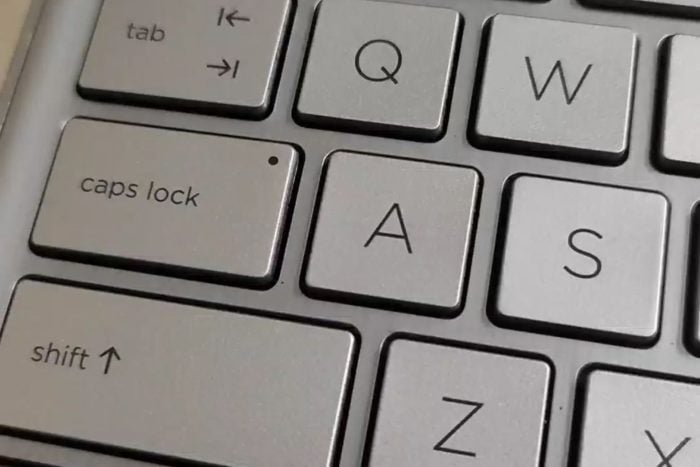
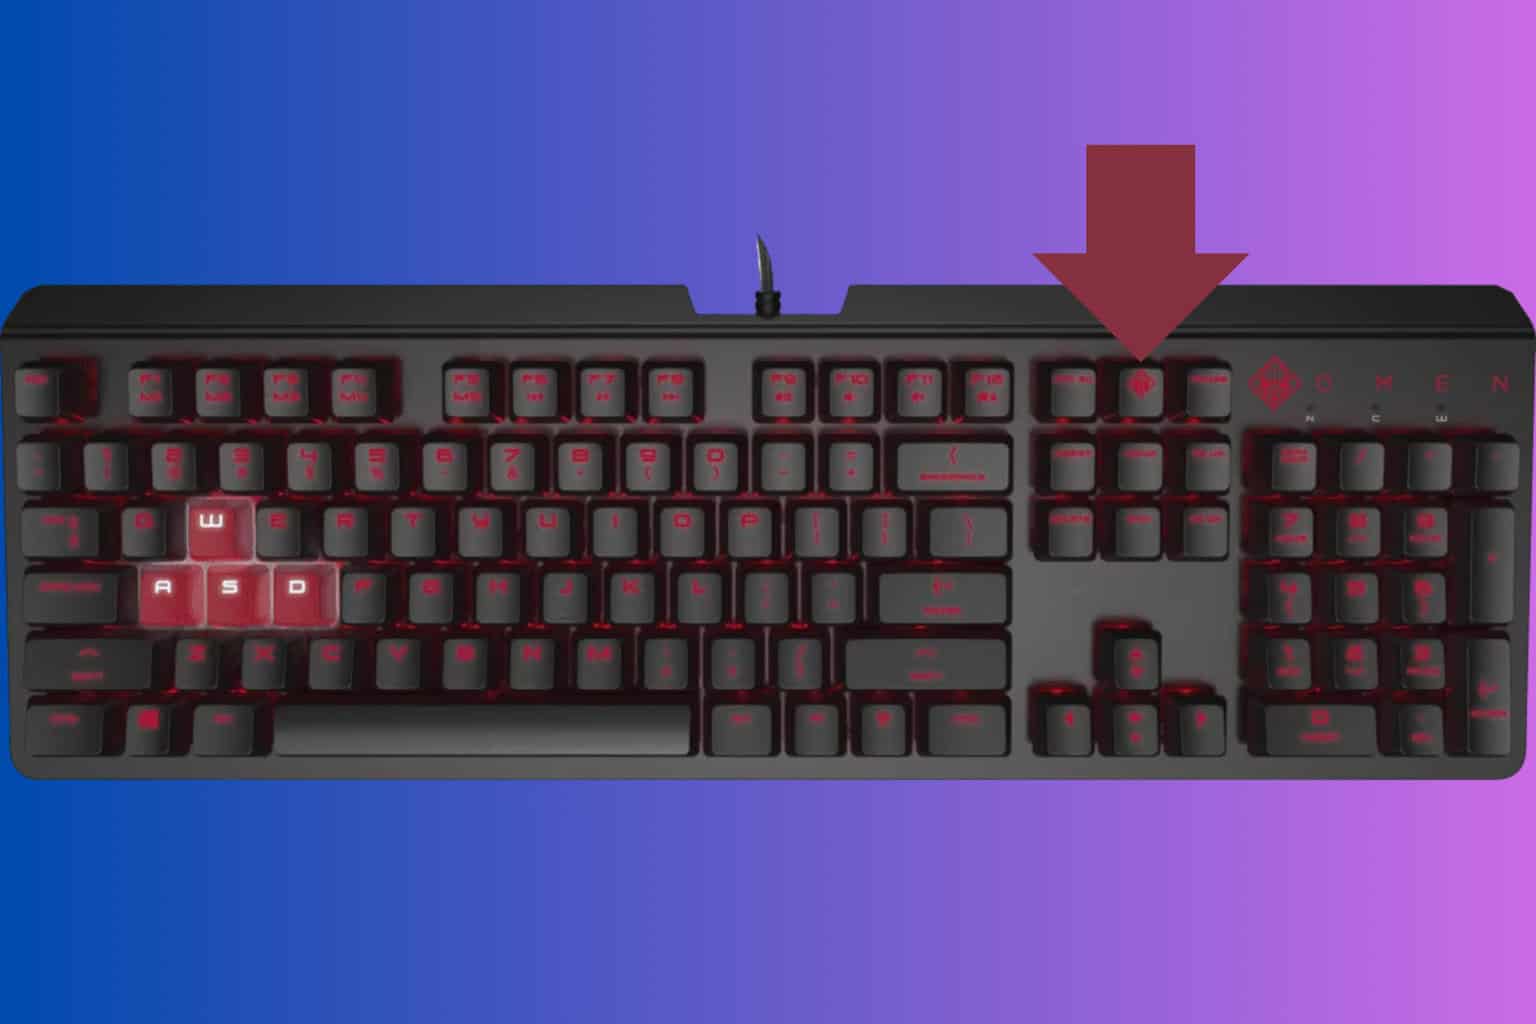
Your HP laptop caps lock key blinking is not a good sign but it is an indicator of an underlying problem and if you address it early enough, you could save your device from catastrophic damage.
The most common reason why your caps lock blinking is a hardware issue but in some rare cases, it can also be due to associated software. Common culprits include incompatible or faulty RAM, corrupted BIOS or a bad graphics card.
What can I do if my HP laptop Caps lock is blinking?
1. Reseat your RAM module
- Power off your HP laptop and unplug it from a power source.
- Remove the RAMs like you must have done in the past.
- Try placing them back and listen for a click sound. In most cases, this shows it is well seated on the RAM mount.
- Reboot your HP laptop.
Pay special attention to the technique while inserting the RAM stick. Slightly tilting it to a 30-degree angle will ensure it is seated properly in its slot.
Alternatively, if you have more than one RAM slot, you can remove it and put it in a different slot. Sometimes, only one RAM slot is working and you’ll have to test all of them to find one that isn’t damaged.
If all these don’t work, try with another RAM stick especially if you just did an upgrade. Your laptop may fail to boot after a RAM upgrade if it is incompatible or faulty.
2. Run the HP diagnostics tool
- Navigate to your browser and download the HP Hardware Diagnostics tool from the HP website.
- Open the file and follow the on-screen instructions to install the tool.
- Launch the tool and click on the System Tests button.
- The test will start running. Let it finish until it reaches 100%.
- Restart your HP laptop once the test is complete.
- If the caps lock is still blinking after completing the Quick Test, choose to perform the Extensive Test.
3. Reset BIOS and reinstall it
3.1 Reset BIOS
- Restart your HP laptop and repeatedly press ESC/F1/F2/F8 or F10 during the startup to get into the BIOS menu.
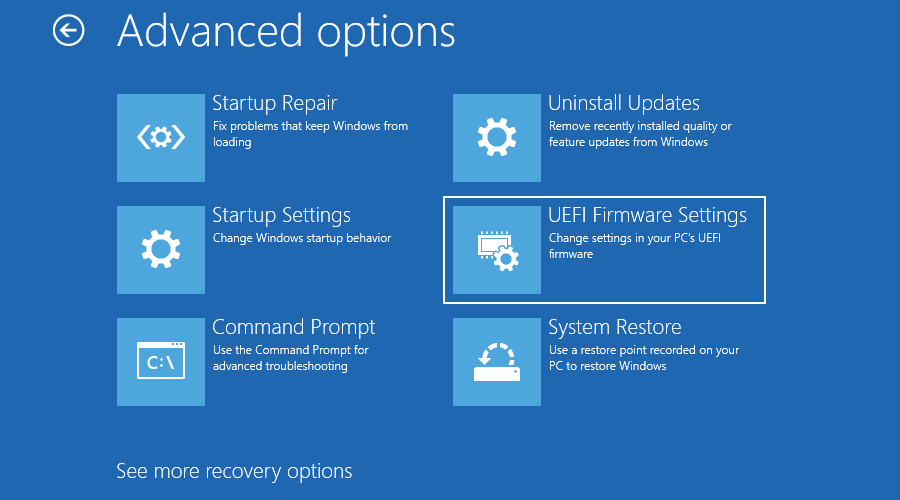
- Hit the Windows + I keys to open the Settings app and click on System>Recovery>Advanced startup. Go to Troubleshoot > Advanced Options > UEFI Firmware Settings and click on Restart.
- Once you are in the BIOS menu, press F9 to open the Load Default Options dialogue box.
- Select Yes using the arrow keys to reset BIOS settings to factory default.
- Exit and restart your HP laptop and check for any improvements.
3.2 Check the BIOS version
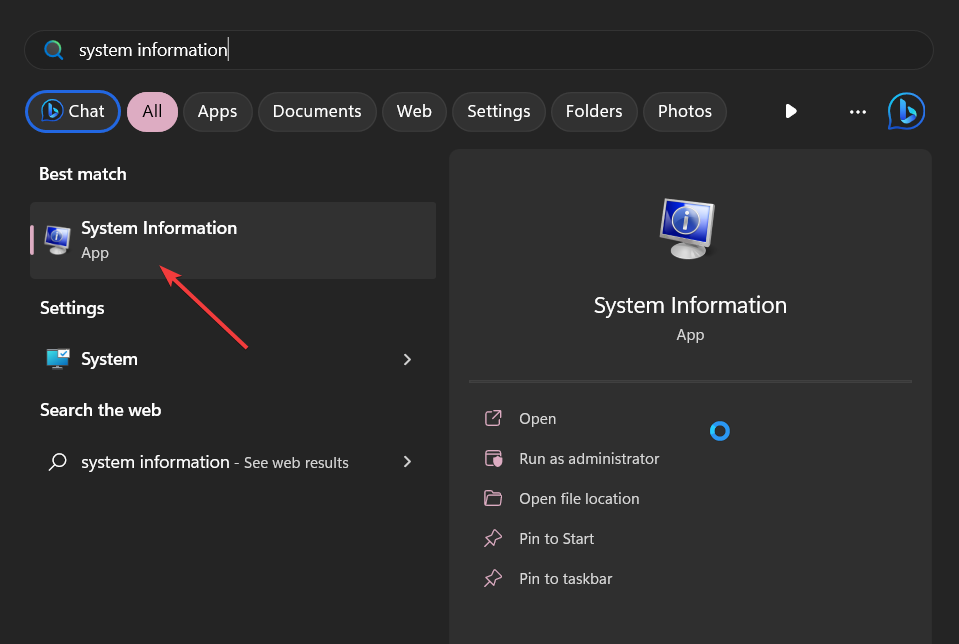
- Open the Start menu by pressing the Windows key.
- Type System Information and open the top result.
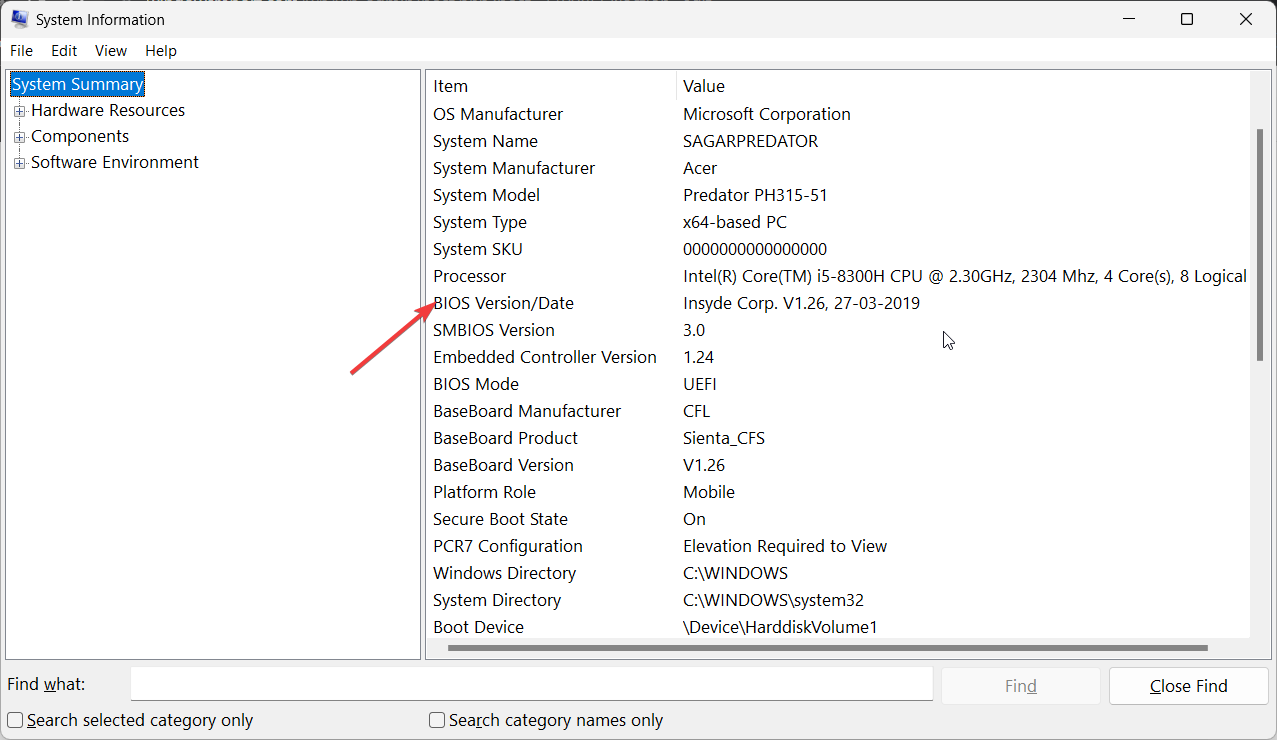
- Locate BIOS Version/Date section on the right side.
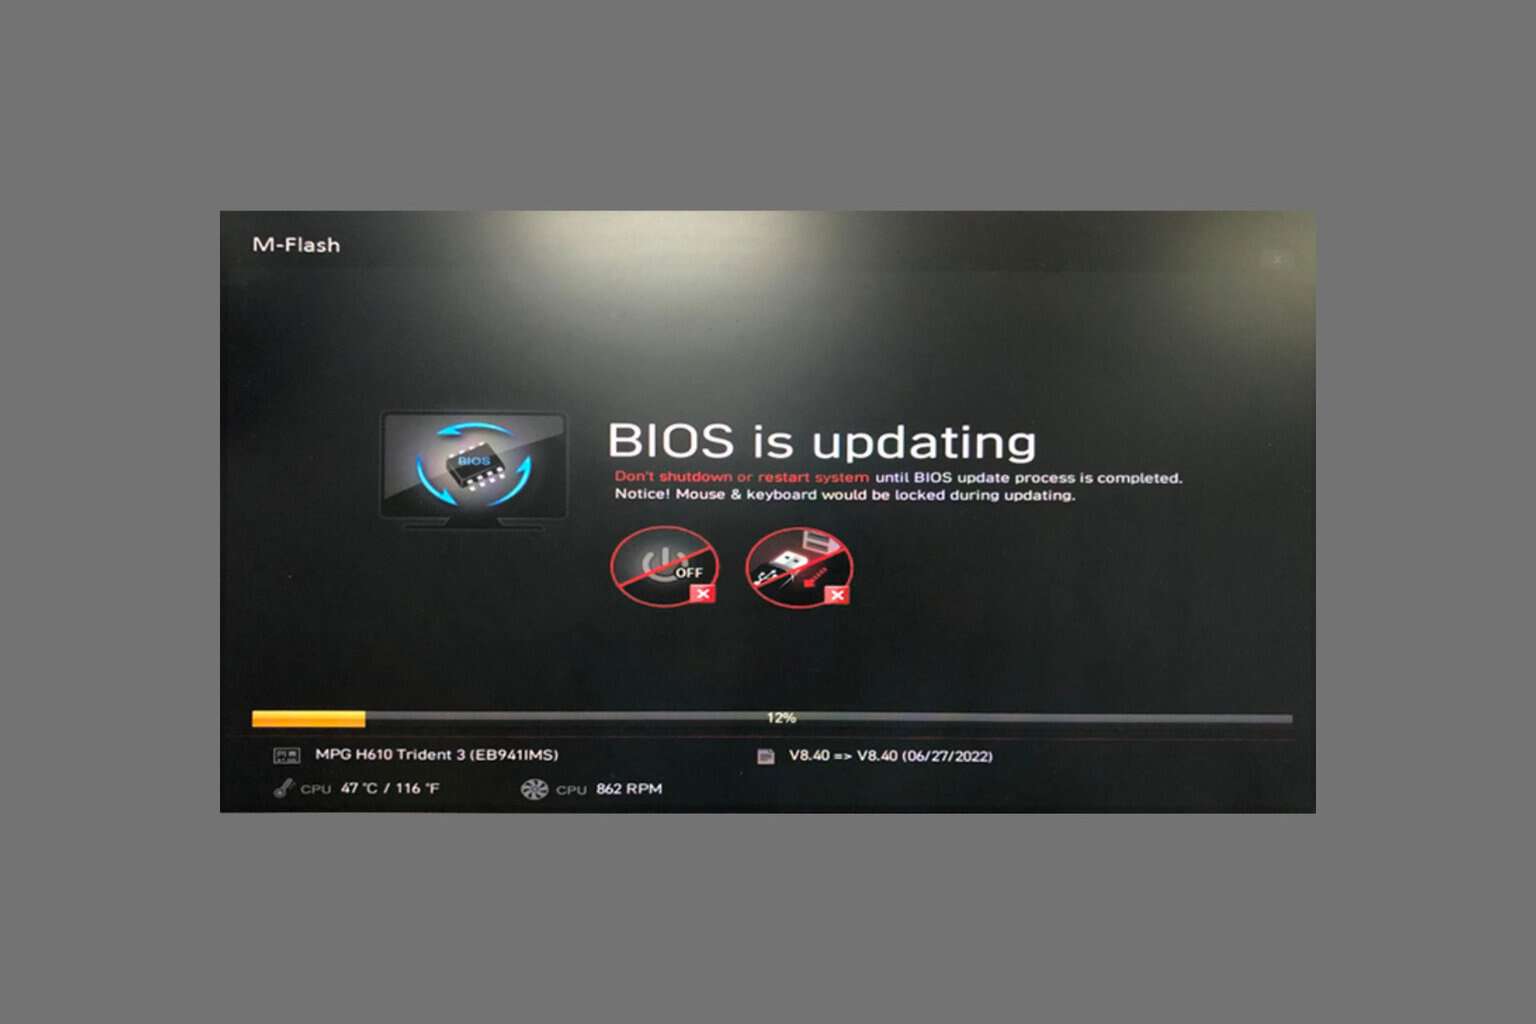
3.3 Update BIOS
- The process of updating BIOS will differ depending on your motherboard. For this step, we shall be updating the HP motherboard.
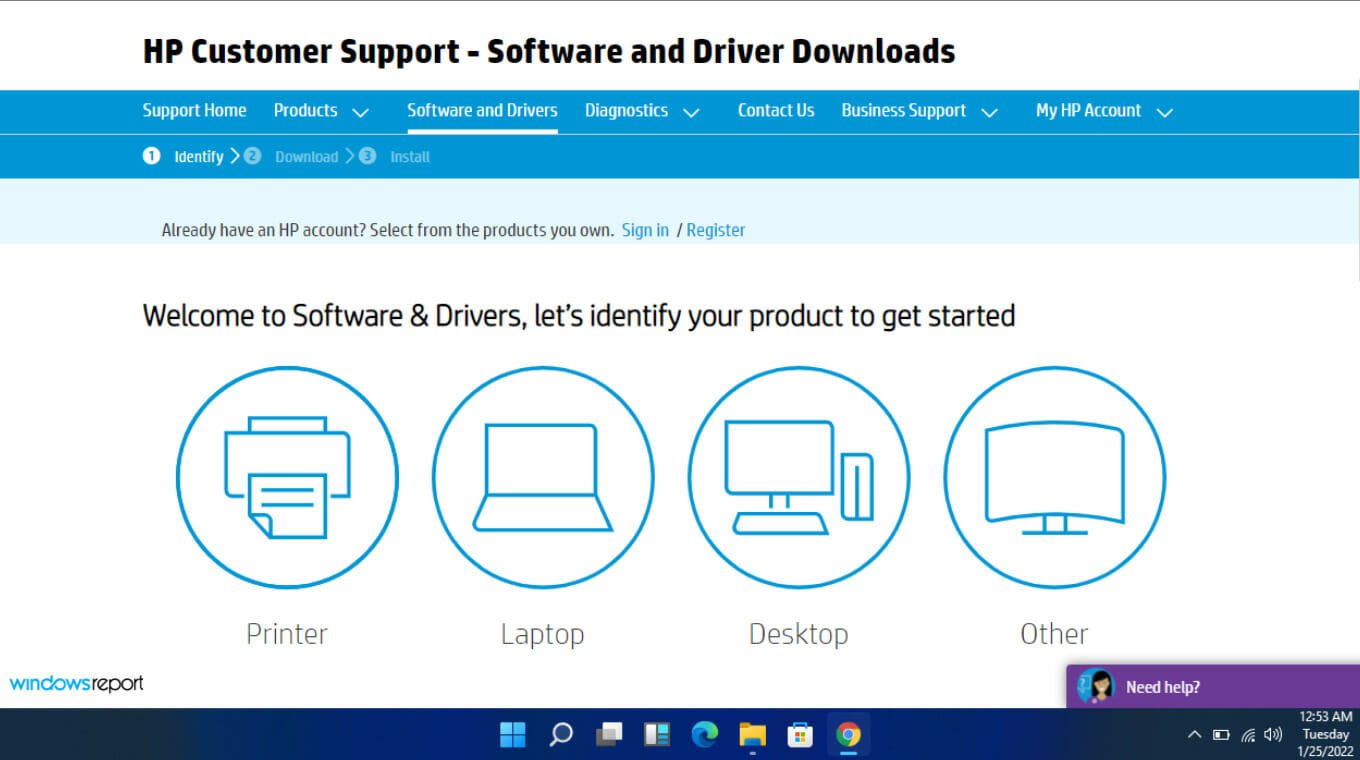
- Navigate to the HP driver and software download website.
- Choose laptop or desktop, depending on the type of computer you’re using.
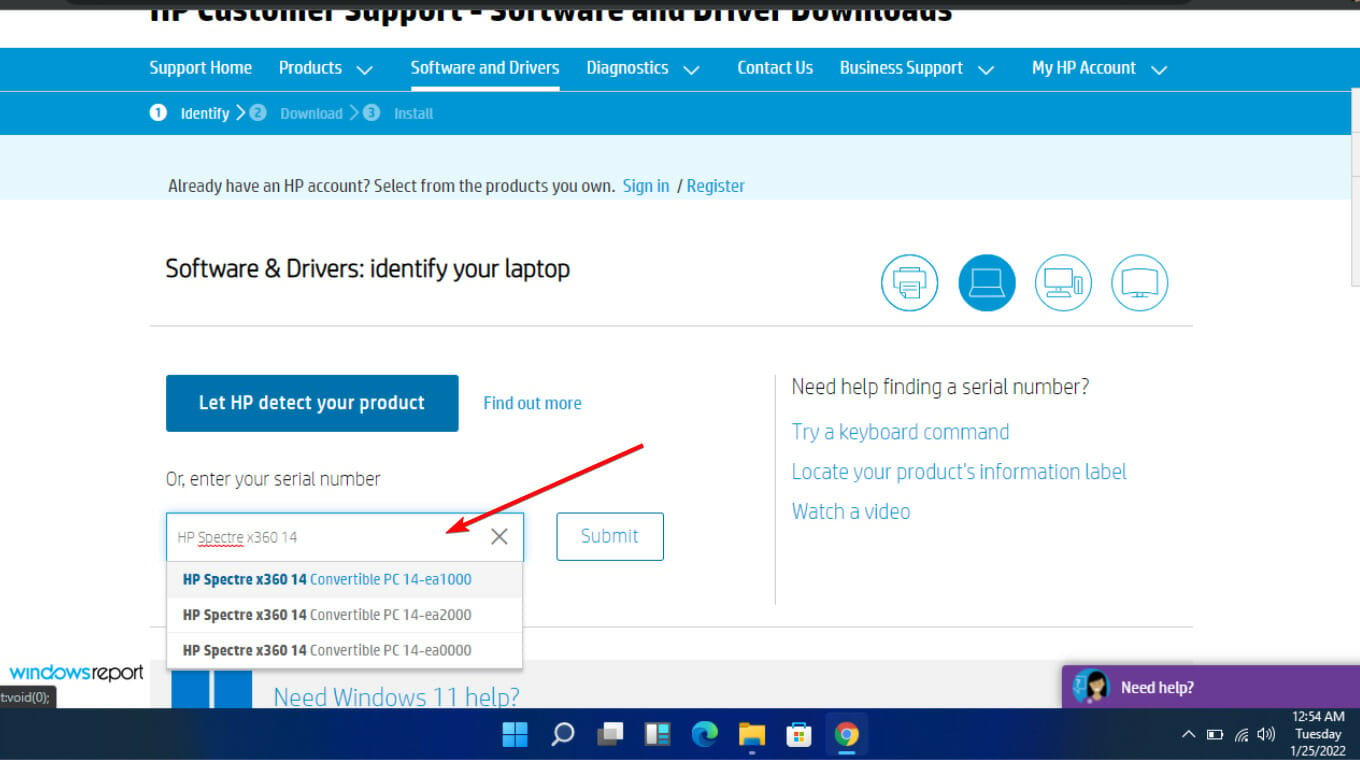
- Enter your exact serial number or your exact computer model.
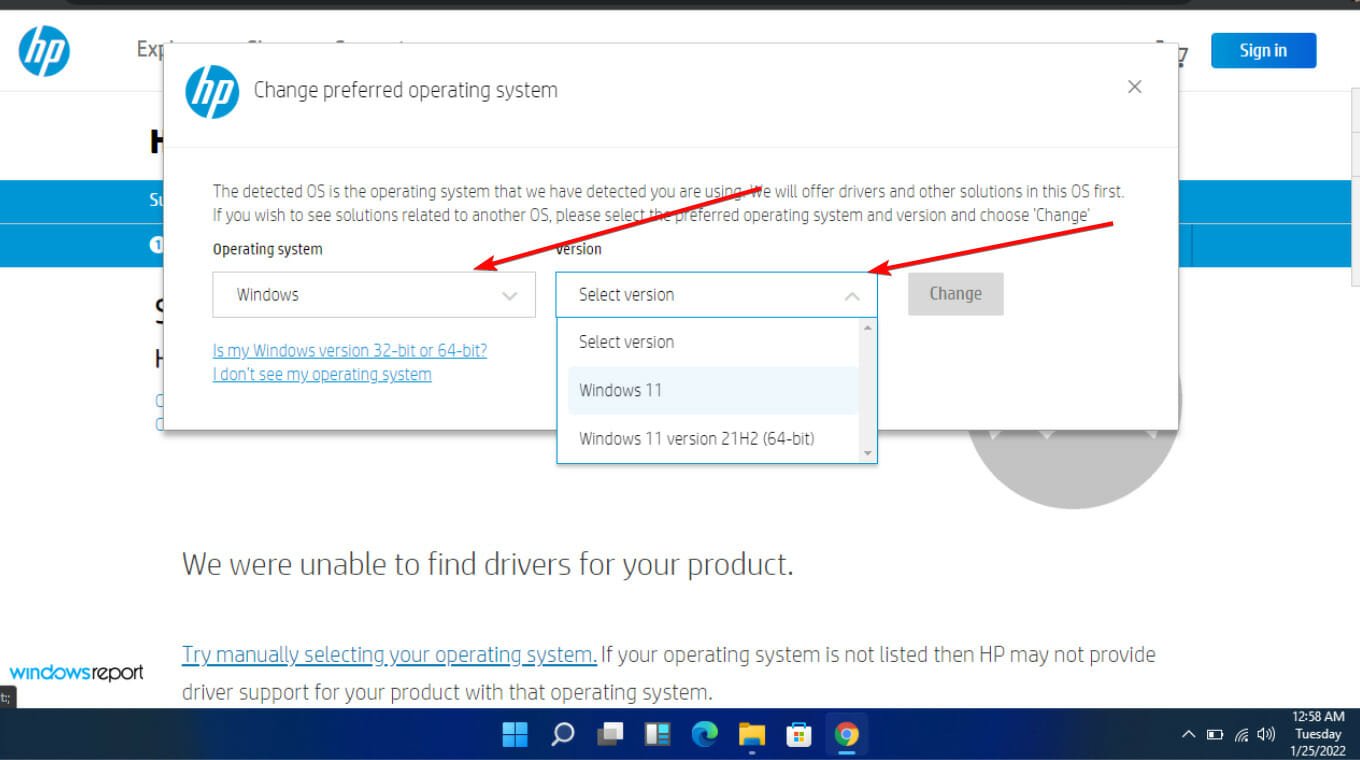
- Select your OS and OS version, then click Submit.
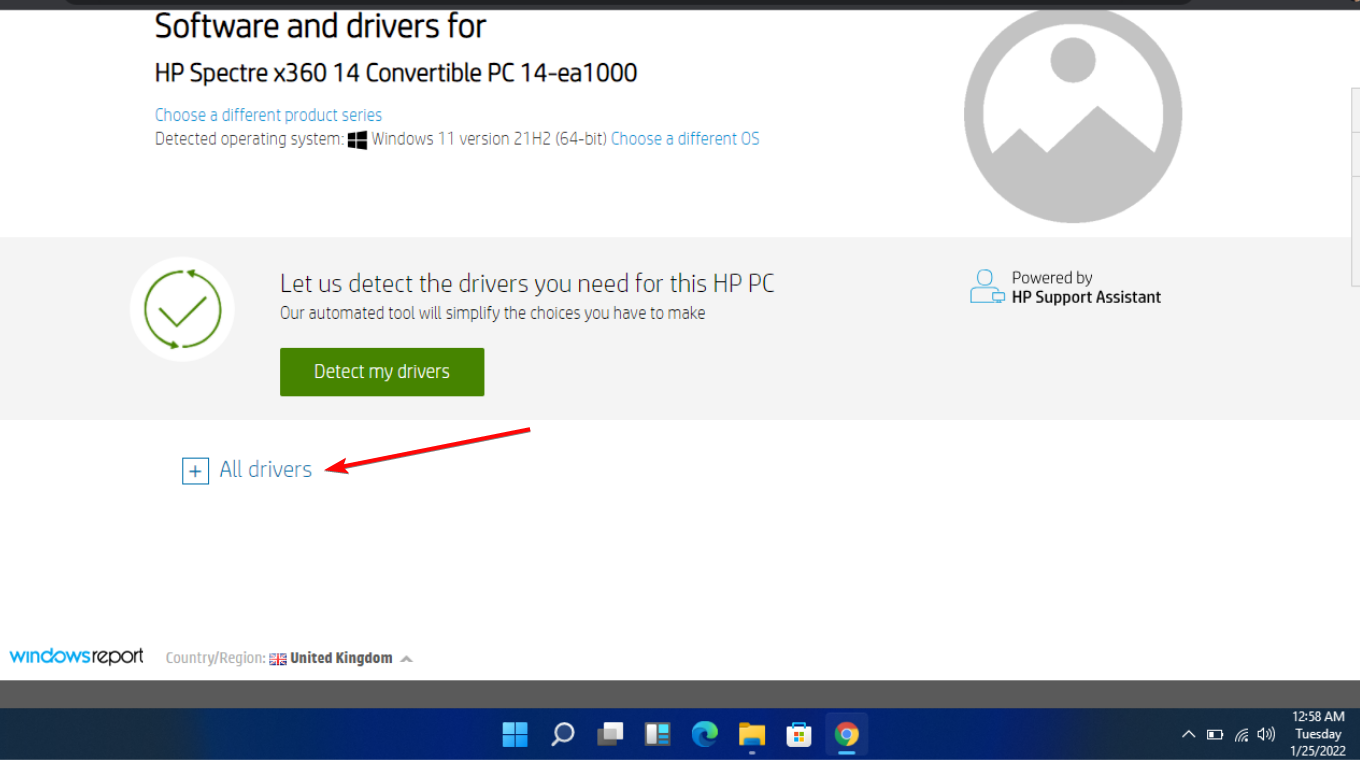
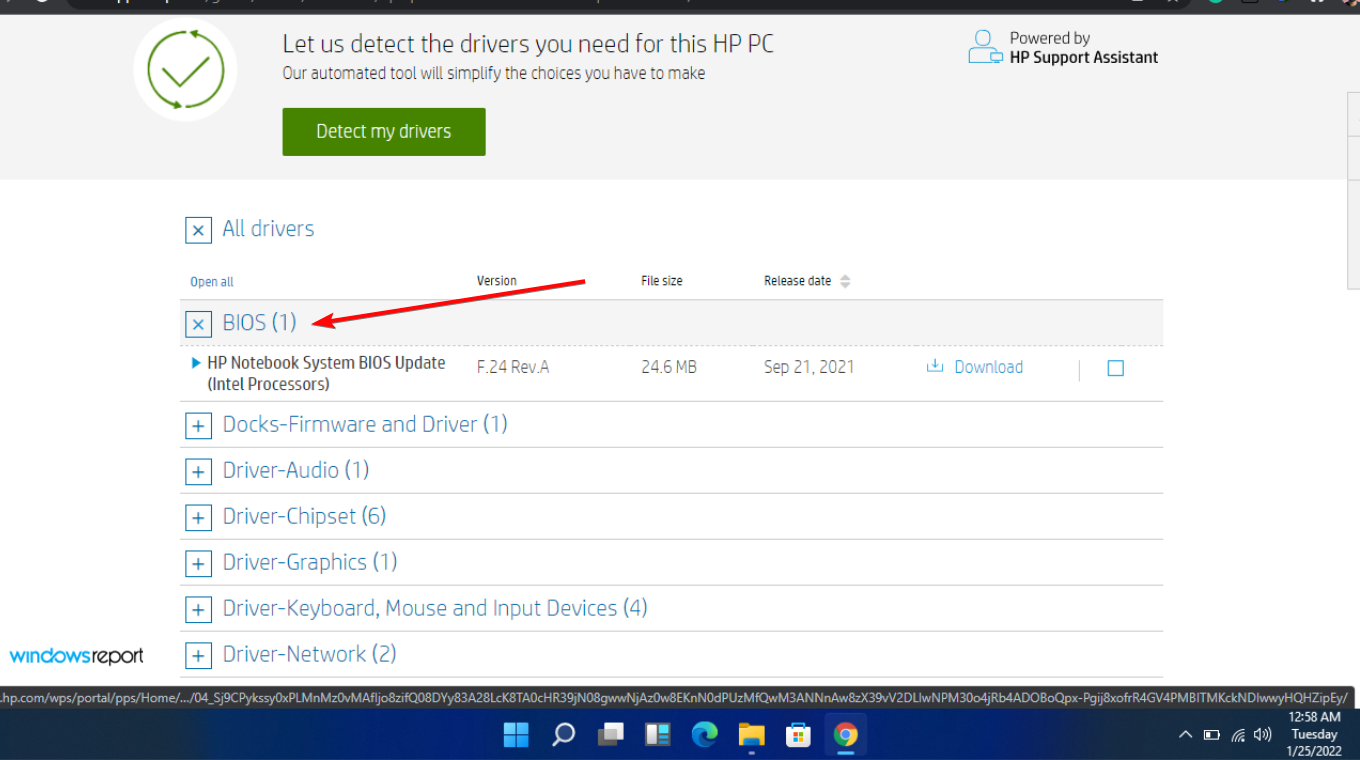
- Click on All drivers and then expand BIOS to see available updates.
- Click the download icon.
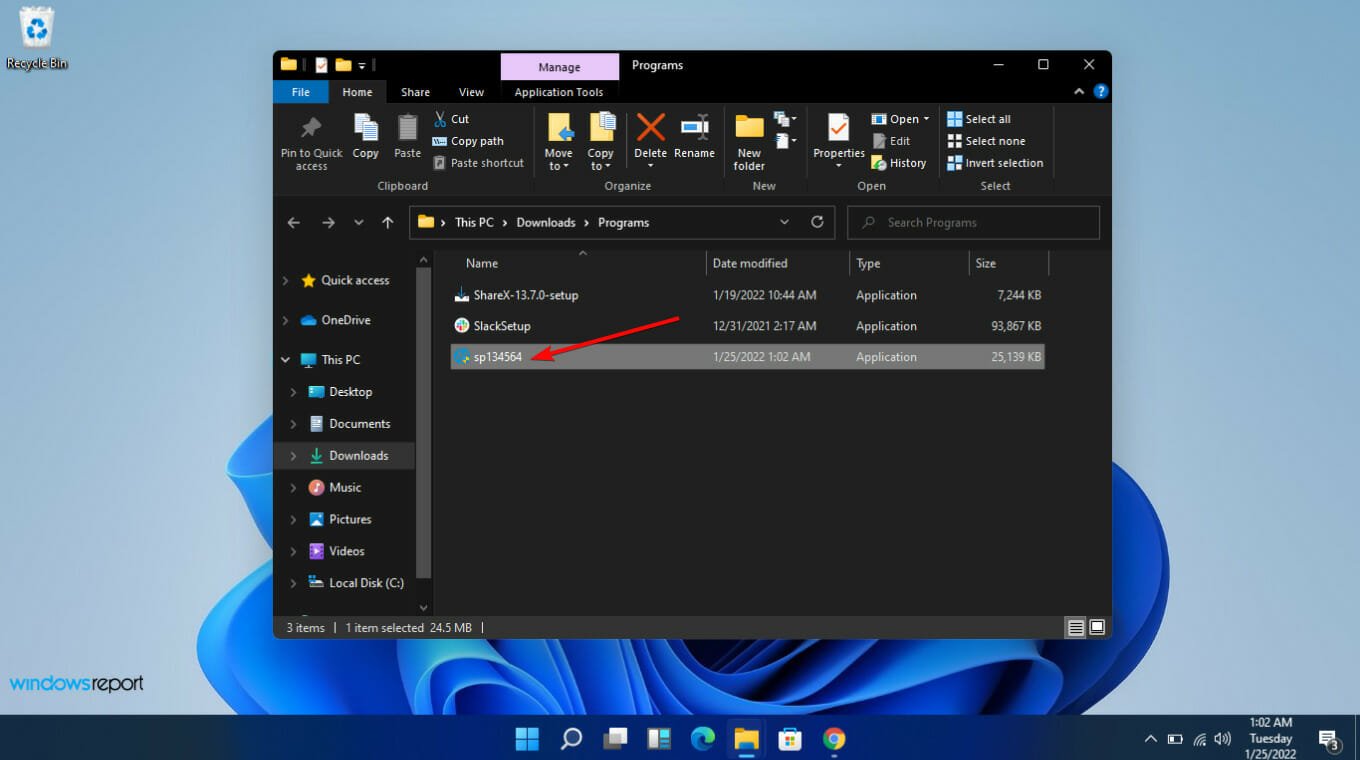
- Install the .exe file, following the on-screen instructions.
- Restart your HP laptop and observe whether the caps lock is still blinking.
3.3.2 Use a BIOS updater utility
- Disable your firewall temporarily as it may flag off this program as malware and prevent it from installing or making any changes on your laptop.
- Navigate to your browser and download the HP Support Assistant.
- Open the HP Support Assistant and log in with your account or continue as a guest.
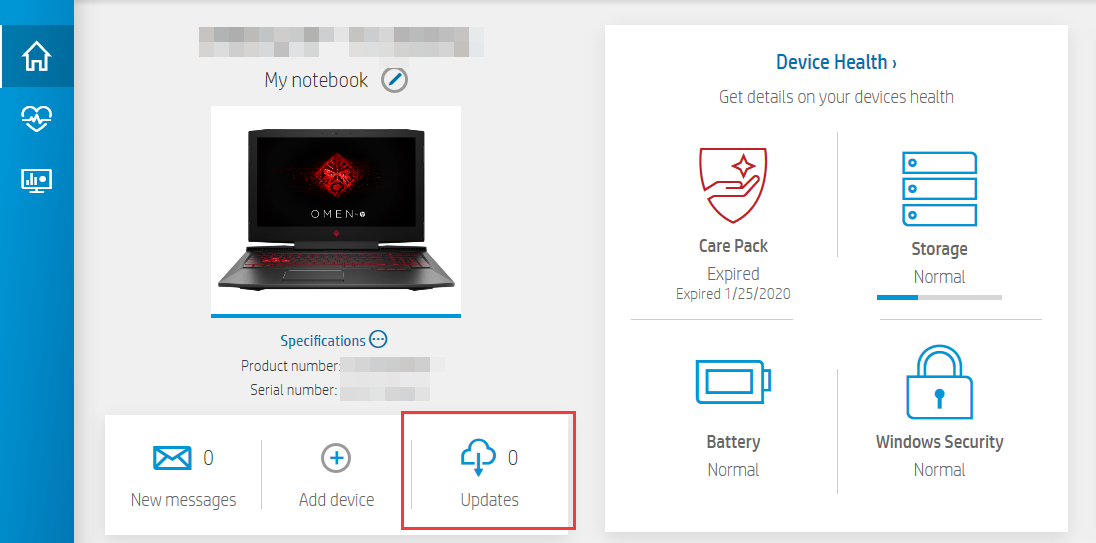
- Right under your device picture, you will find an Updates option.
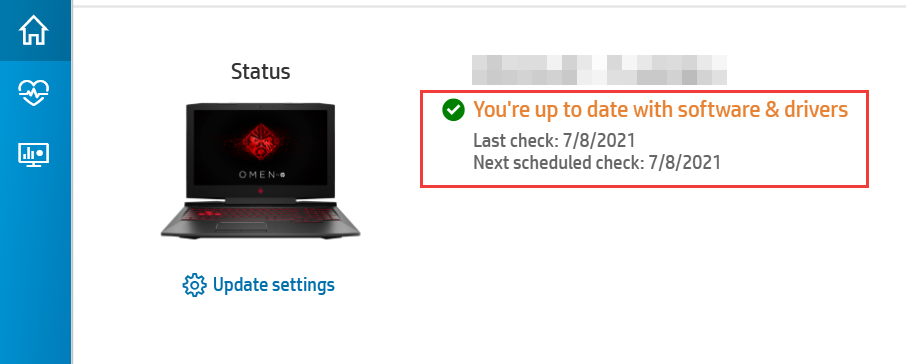
- Click on it to check if you are up-to-date or have any pending updates.
- If you see a new BIOS update available, click Download and install.
- Wait for the Support Assistant to finish the job and close the application.
You can opt for the BIOS updater if doing it manually is too tedious.
 NOTE
NOTE
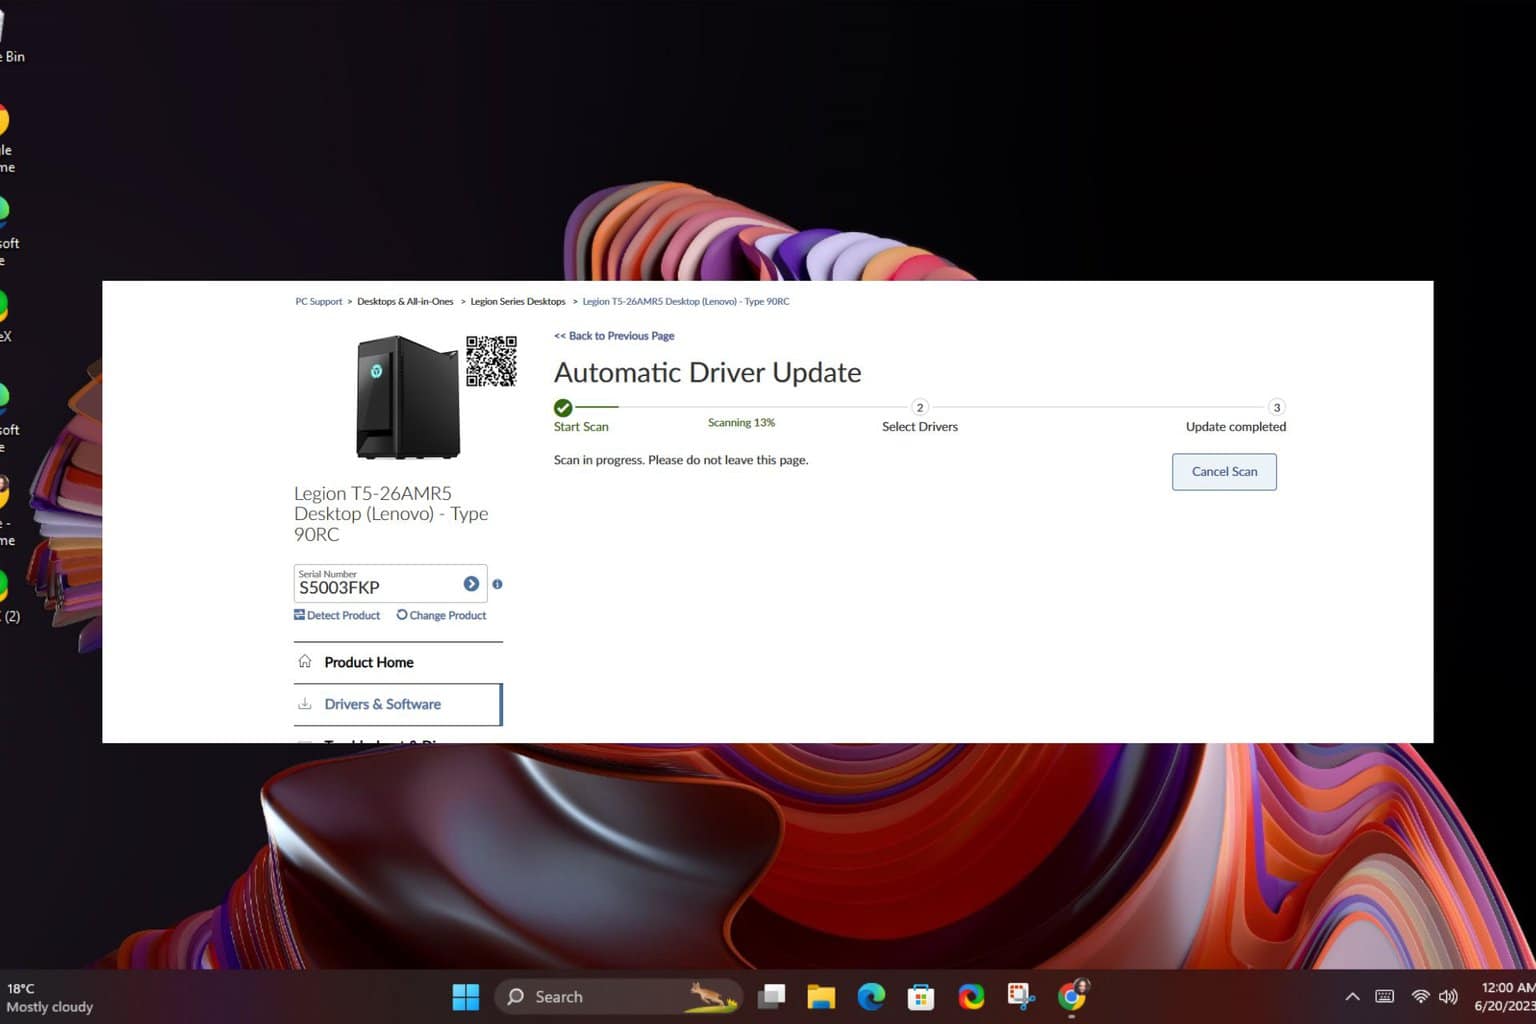
4. Update your graphic drivers
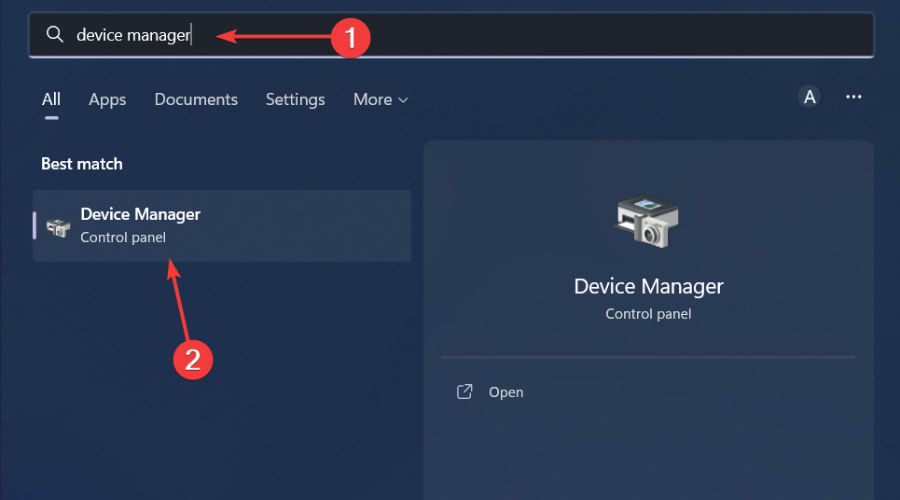
- Hit the Windows key, type Device Manager in the search bar, and click Open.
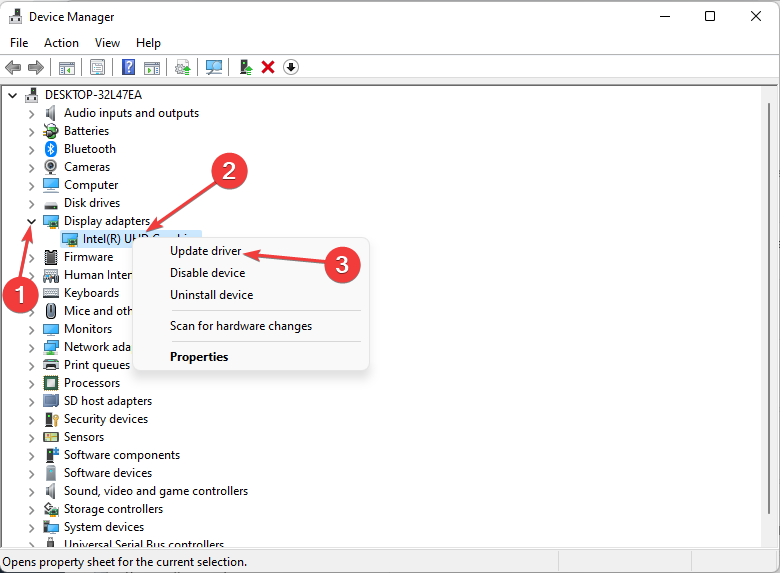
- Navigate to Display adapters to expand, right-click on your graphics card, and select Update driver.
- Select Search automatically for drivers.
Even though Windows does a good job of finding compatible drivers, in some instances, it may fail. However, a good driver updater utility can fill in the gaps in such situations.
5. Perform a hard reset
- Shut down your laptop completely.
- Unplug the charger from the laptop and power source.
- Remove the battery and hold down the power button for 15-20 seconds.
- Reinsert the battery and plug in the charger. Change the power supply this time.
- Now turn on your laptop and check if the caps lock blinking issue is fixed.
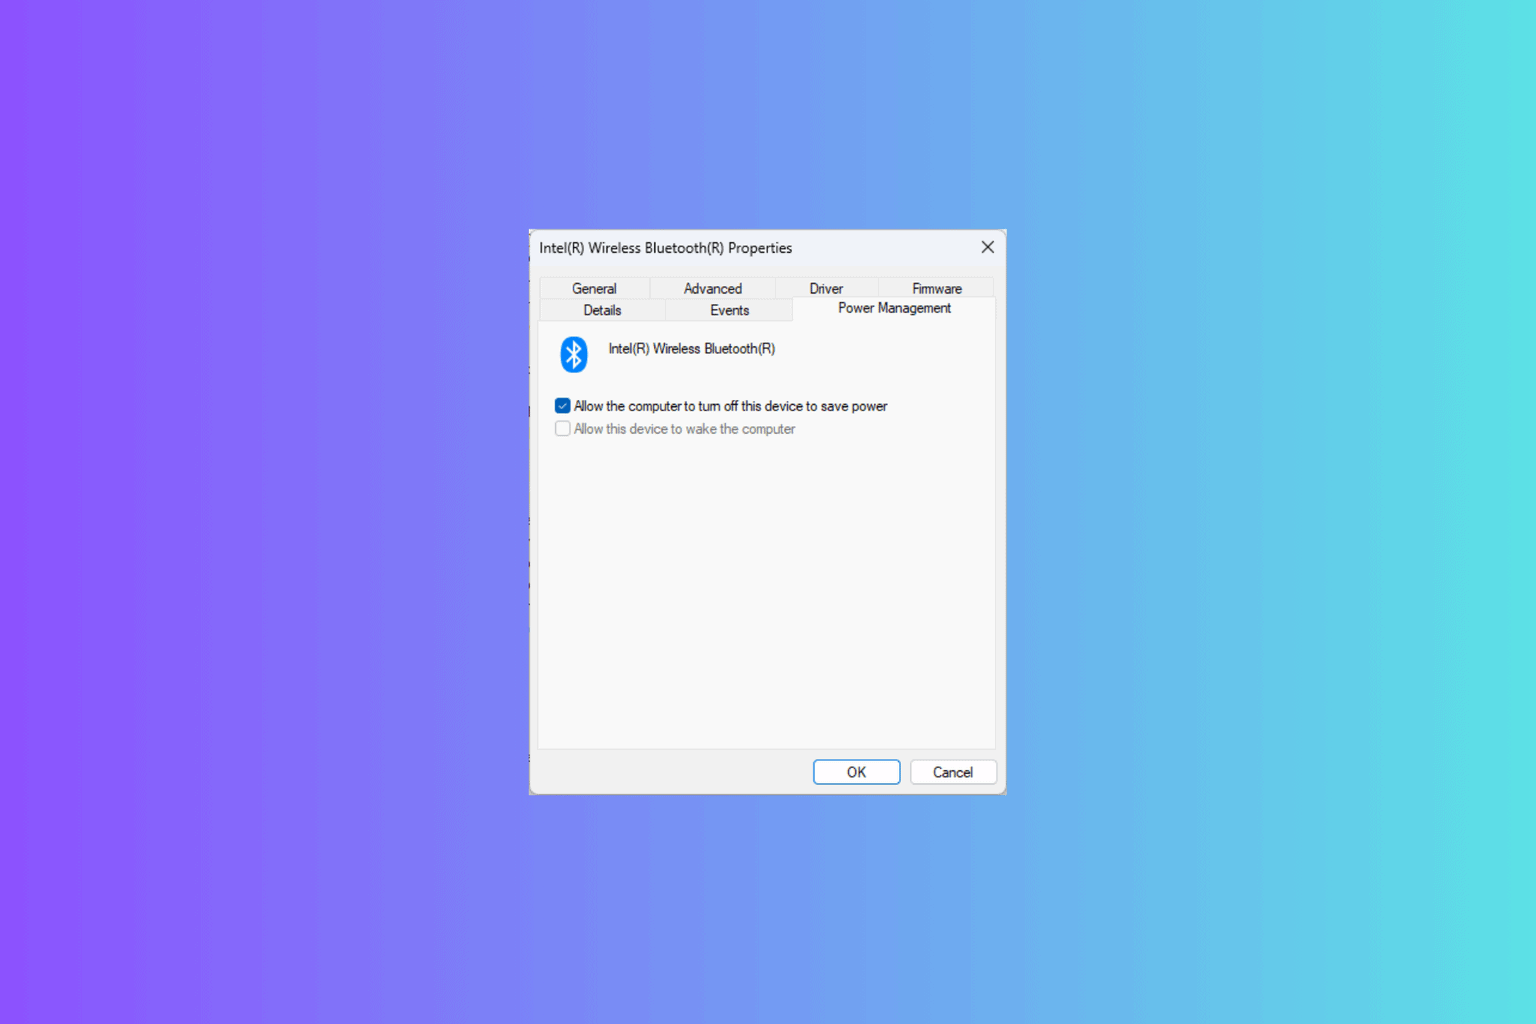
If you’re using an additional keyboard, they tend to have connection problems so try unpairing then pairing back. Also, ensure you’ve charged the batteries fully or as an alternative, use your phone as a keyboard as a temporary solution.
In the worst case scenario your motherboard has malfunctioned, we’ve lined up a list of the best motherboards for your Windows 11 that won’t disappoint you.
Aside from keyboard issues, your mouse may also flicker when you’re using it so you may want to check our article on how to bypass this error.
Have you experienced a similar issue? Is there any solution above that was successful or do you have any other that we may have missed? Let us know in the comment section below.




User forum
0 messages