Svchost.exe Imgsvc: What is it & How to Fix its High CPU Usage
Disconnect any non-critical external peripheral
5 min. read
Updated on
Read our disclosure page to find out how can you help Windows Report sustain the editorial team. Read more
Key notes
- The imgsvc is linked to Windows Image Acquisition, and to fix its high CPU usage, repair the system files or uninstall any camera/printer drivers.
- The process can hog up to 80-95% of the CPU.
- Keep reading to find out how our experts fixed the problem!
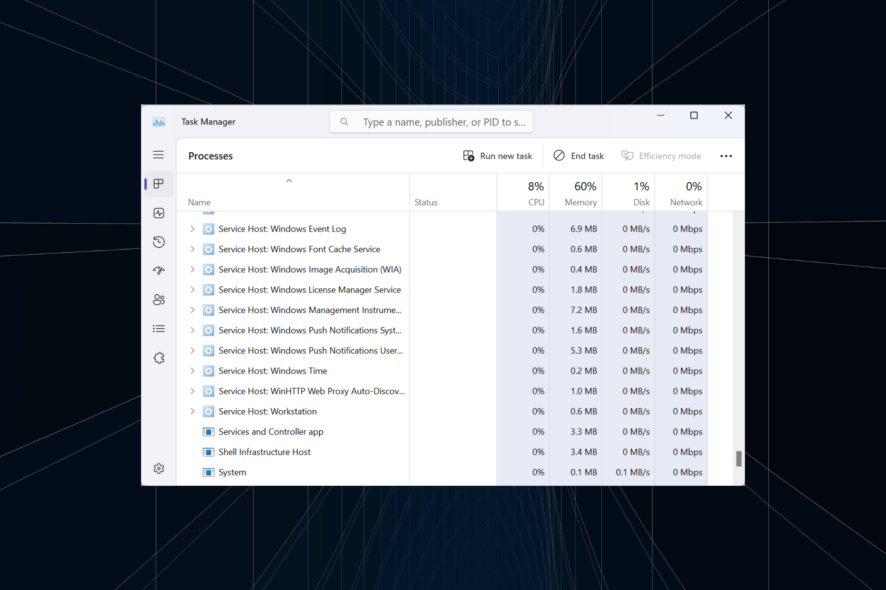
Resource consumption on the PC is an important aspect, especially when it exceeds the normal level, and the device’s performance is affected, as is the case with svchost.exe (imgsvc).
There’s not much information available on the web, but our research points to a built-in Windows component. Let’s get straight to it!
What is Imgsvc (Windows Image Acquisition) service?
The Windows Image Acquisition service allows imaging applications to interact with imaging hardware. It sets a standard for interaction between the different devices/drivers and programs, thus eliminating the need to develop the application individually for each combination.
So, the same application can control a wide range of devices, with the Windows Image Acquisition service acting as an intermediary, facilitating this interaction. It streamlines things for everyone: application developers, device manufacturers, and end users.
Why is Imgsvc running in task manager?
When Windows Image Acquisition is running in the Task Manager, it indicates that a process is actively employing the image acquisition functionality. This could be a built-in service or a third-party program.
It is usually the case when there’s a printer, scanner, webcam, or camera connected to the PC.
Remember, under ideal conditions, the Service Host will load imgsvc only when needed and automatically terminate the process when the image acquisition functionality is no longer utilized by any program.
Is it safe to disable Imgsvc?
If there are no relevant devices connected or programs running, you may consider disabling the service.
But it will affect the video calling experience and will leave applications like Microsoft Office Document Imaging and Adobe Acrobat with reduced functionality, specifically any dealing with image acquisition.
How do I fix Imgsvc high CPU usage on Windows 11?
Before we start with the slightly complex solutions, try these quick ones:
- Restart the computer and check whether the CPU usage remains at normal levels. This also helps when services.exe consumes a high CPU.
- Scan your PC using Windows Security or with an effective third-party antivirus solution.
- Disconnect any non-critical peripherals, especially the ones that utilize the Windows Image Acquisition service.
If none work, head to the fixes listed next.
1. Change the Windows Image Acquisition service properties
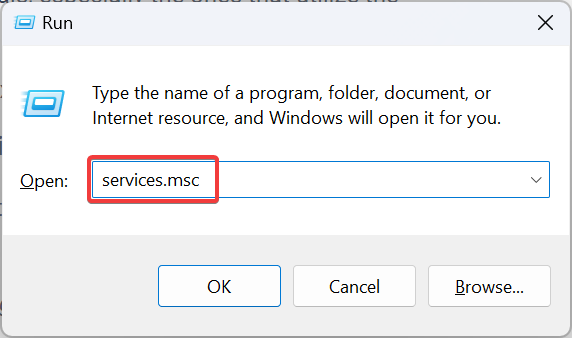
- Press Windows + R to open Run, type services.msc in the text field, and hit Enter.
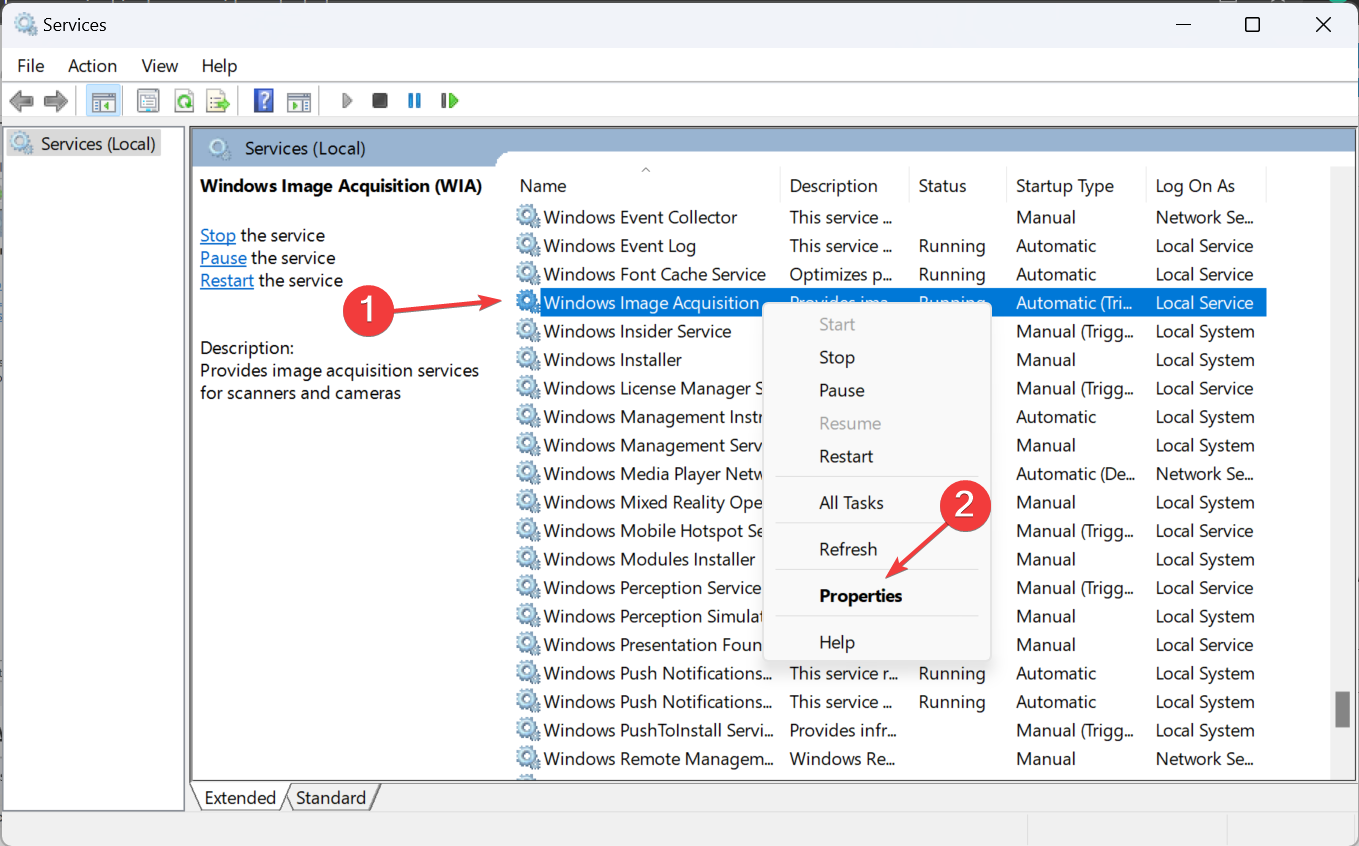
- Scroll down, locate Windows Image Acquisition, right-click on it, and select Properties.
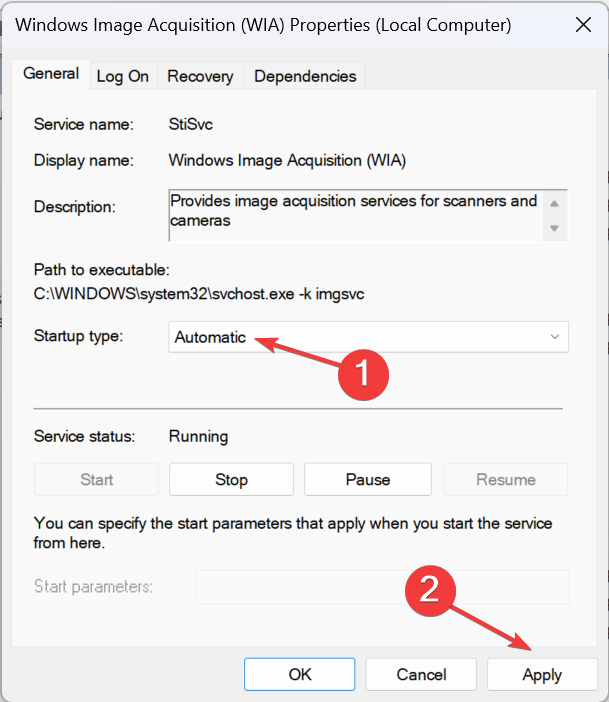
- Now, select Automatic from the Startup type dropdown menu, and click Apply to save the changes.
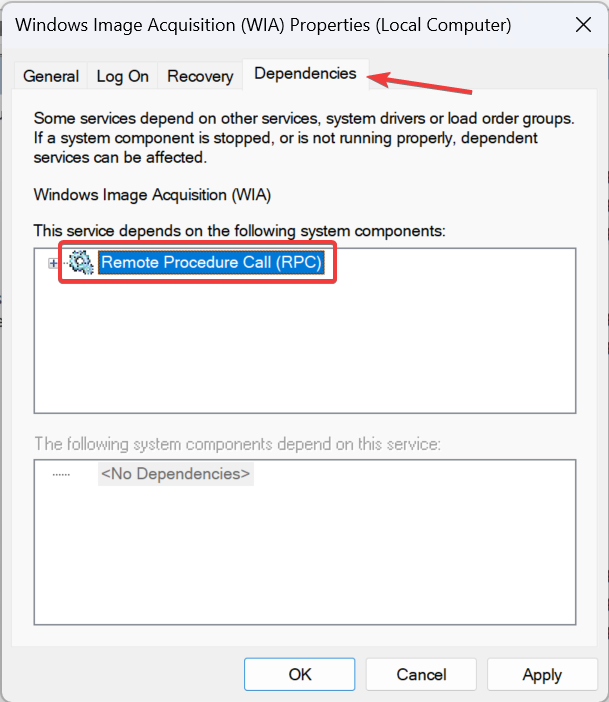
- Now, head to the Dependencies tab, identify the components (services) Windows Image Acquisition depends on, and make sure they are running.
- Restart the computer and check for improvements.
2. Repair the corrupt system files
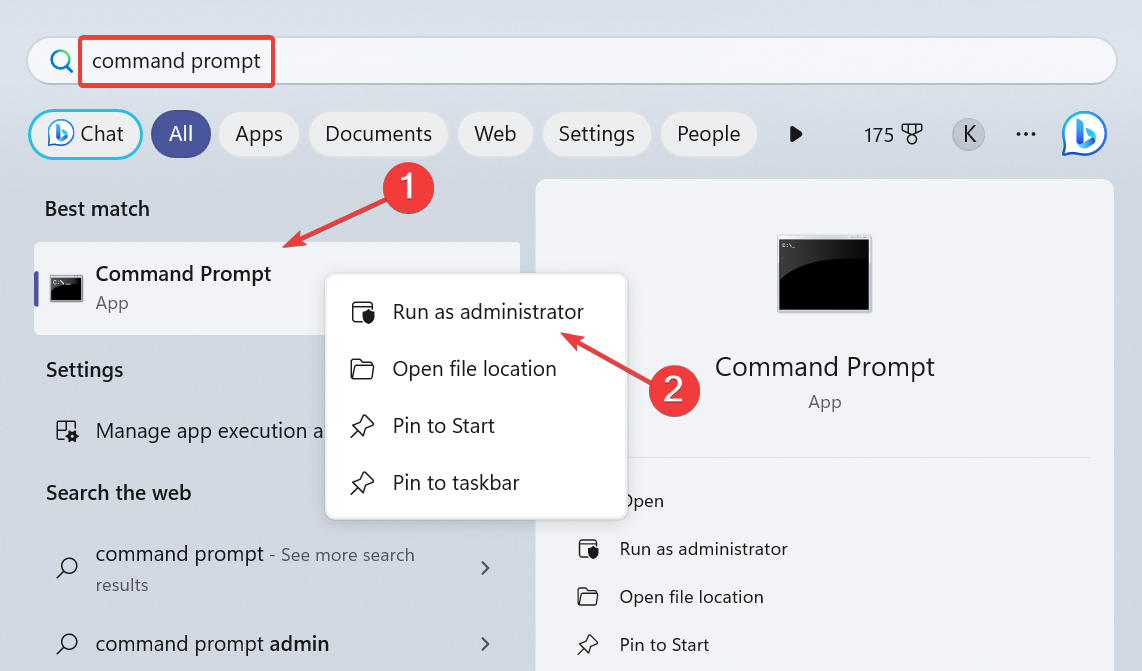
- Press Windows + S to open Search, type Command Prompt in the search bar, right-click on the relevant result, and select Run as administrator.
- Click Yes in the UAC prompt.
- Now, paste the following three commands individually and hit Enter after each:
DISM /Online /Cleanup-Image /CheckHealthDISM /Online /Cleanup-Image /ScanHealthDISM /Online /Cleanup-Image /RestoreHealth - Once done, execute this command for the SFC scan:
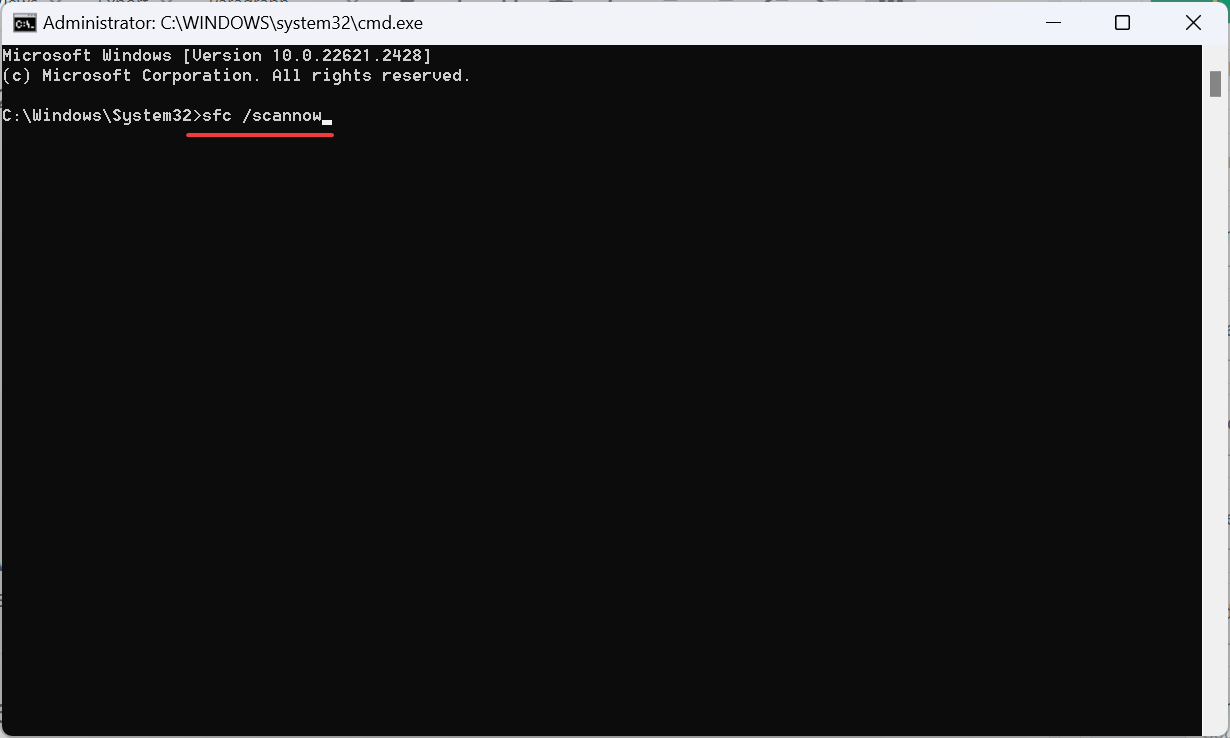
sfc /scannow - Finally, restart the computer for the changes to apply.
When it’s the corrupt system files to blame for high CPU usage by imgsvc svchost.exe, running the DISM commands and SFC scan should help!
It’s also an effective fix against high CPU usage by CxUIUSvc.
If you’d like this process can be greatly simplified by using specialized repair tools. This software will scan your system and repair any broken and corrupted files, with just a few clicks and within minutes.
3. Uninstall the corrupt camera/scanner driver
- Press Windows + X to open the Power User menu, and select Device Manager from the list of options.
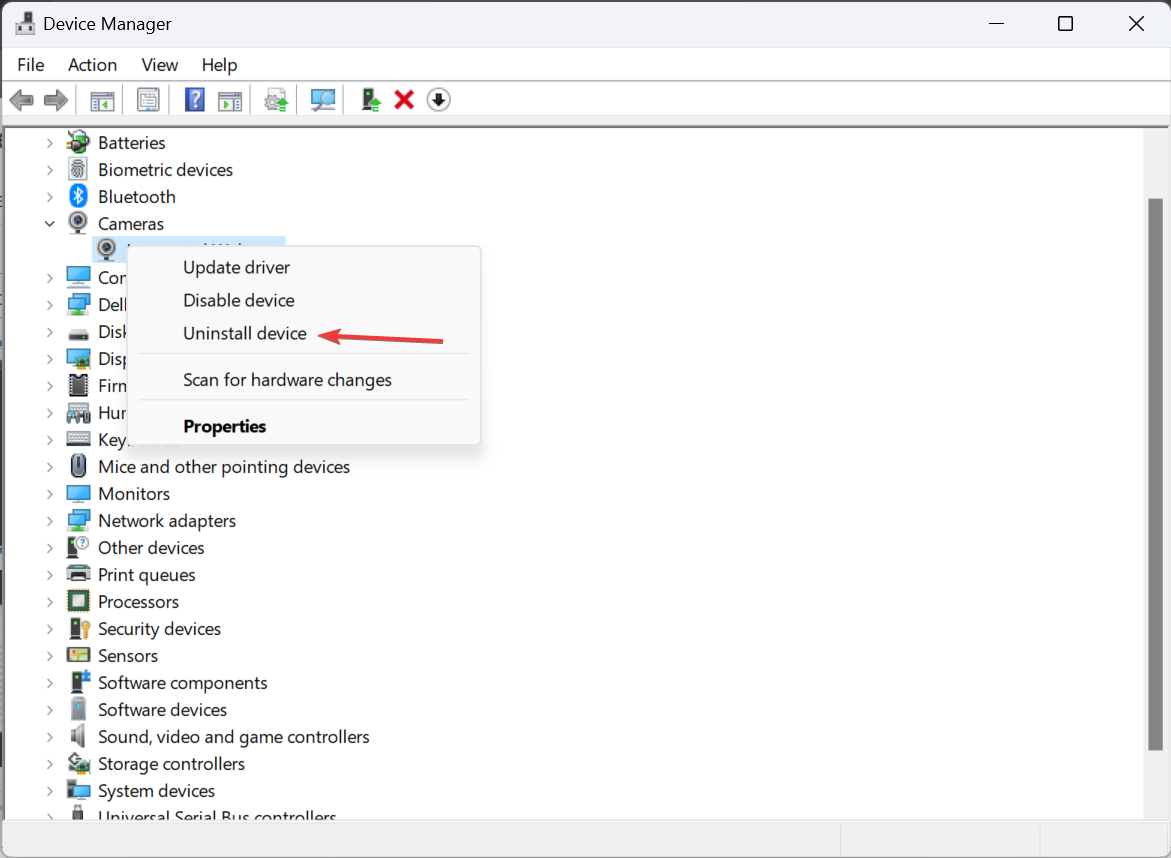
- Now, locate the defunct camera and scanner devices, right-click on them individually, and select Uninstall device. These may be located under Printers or Camera.
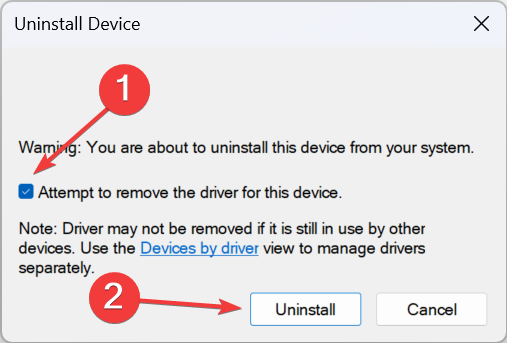
- Tick the checkbox for Attempt to remove the driver for the device, and click Uninstall.
If you get a temporary reprieve from high CPU usage, but the problem keeps reappearing after a restart, consider disabling automatic driver downloads.
Alternatively, you can update the drivers for the printer, scanner, and camera. When doing so, make sure to check the manufacturer’s website for the latest version.
4. Uninstall programs that trigger imgsvc
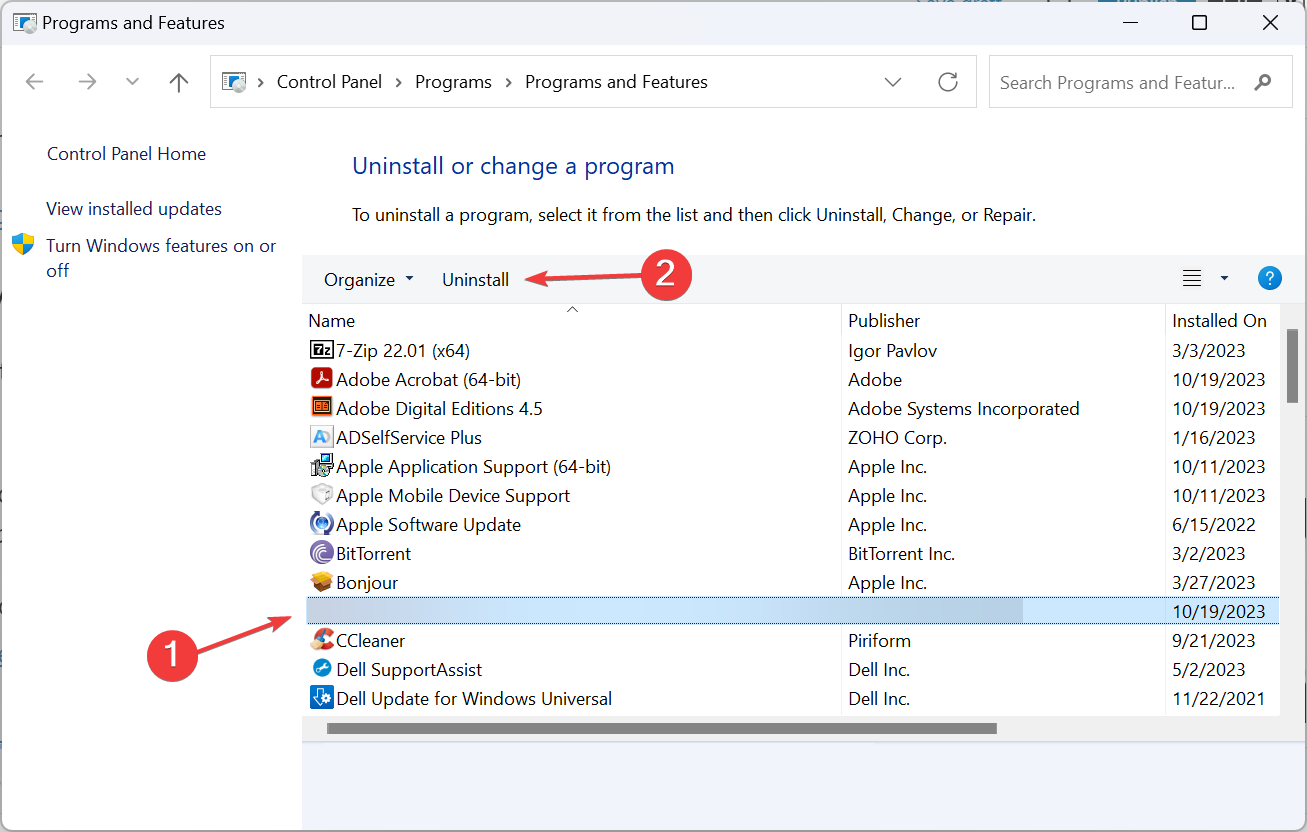
- Press Windows + R to open Run, type appwiz.cpl in the text field, and click OK.
- Locate any programs related to your defunct printer, scanner, or camera, select them individually and click Uninstall.
- Now, follow the on-screen instructions to complete the process.
- If you are forced to remove a program linked to an active device, we recommend first updating it or reinstalling it from the official website.
5. Perform an in-place upgrade
- Go to Microsoft’s official website, select the OS edition and product language, then download the Windows 11 ISO.
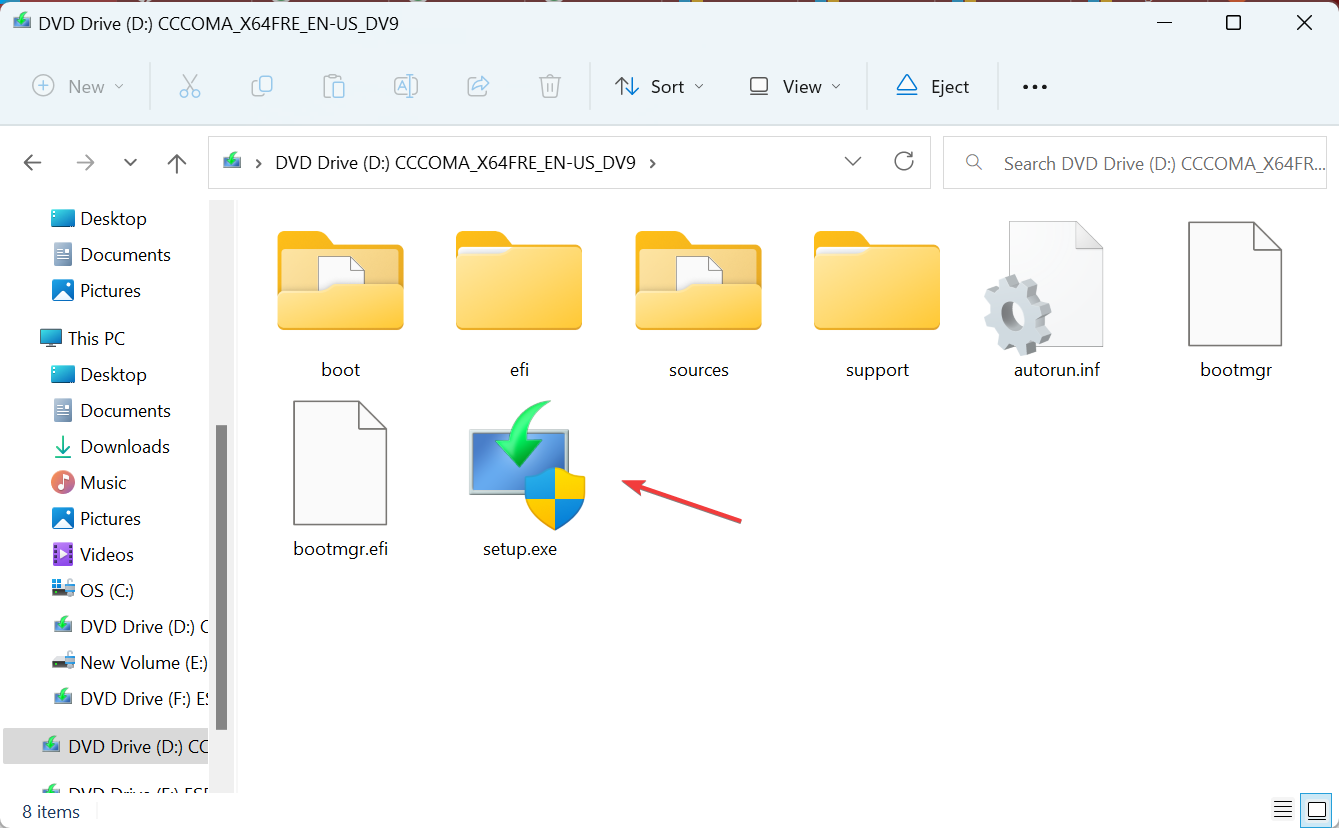
- Double-click the downloaded ISO file, and click Open in the confirmation prompt.
- Run the setup.exe file.
- Click Yes in the UAC prompt that appears.
- Click Next in the Windows 11 Setup.
- Read through Microsoft’s license terms, and click Accept to proceed.
- Finally, make sure the setup reads, Keep personal files and apps, and click on Install.
- Wait for the process to complete.
Since imgsvc is linked to Windows Image Acquisition, a built-in component, an in-place upgrade will eliminate any issues and fix the background process. This may take a few hours, but you won’t lose any programs or files.
Problems with built-in processes like imgsvc, especially high resource consumption, are tricky to troubleshoot. They are often responsible for critical tasks, as is the case with Cdpsvc (Connected Devices Platform Service), which handles external devices.
An ideal approach is to identify what triggers the issue and then take the necessary action!
For any queries or to share what worked for you, drop a comment below.


User forum
0 messages