Incorrect Function 0x80070001: SSDT Setup Failed [Fix]
Explore expert-recommended ways to fix the issue
Key notes
- If you don’t have a Visual Studio license, you need to install Visual Studio Community Edition to install and use SSDT.
- This guide will help you with all the available solutions to fix the issue.
![_SSDT Setup Failed Incorrect Function 0x80070001 [Fixed]](https://windowsreport.com/wp-content/uploads/2022/12/SSDT-Setup-Failed-Incorrect-Function-0x80070001-Fixed-886x590.png)
If you are trying to install SQL Server Data Tools (SSDT) and getting Setup Failed incorrect function (0X80070001), then you are not alone. Don’t worry; it can be fixed.
This guide will explain all the reasons behind the issue and the available fixes. Let’s get started!
How can I fix the SSDT setup failed incorrect function 0x80070001?
Before diving into the detailed solutions, try these quick fixes first:
- Delete all Temp files using Clean Manager.
- Restart your computer.
- Check for Windows Updates.
- Ensure Visual Studio 2017 is up to date.
- Set VSS to automatic.
If none of these worked for you, check out these detailed troubleshooting steps:
1. Use the Registry Editor
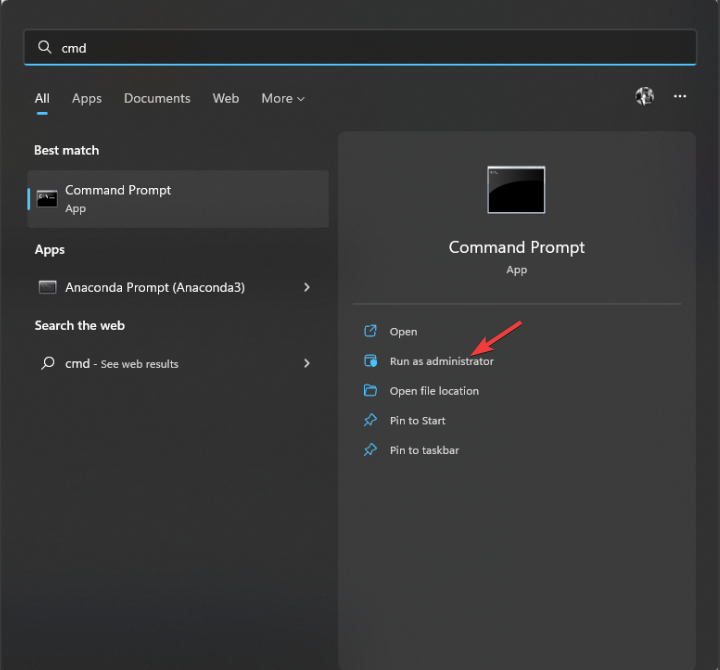
- Press the Windows key, type CMD and click Run as Administrator.
- Type the following command and press Enter:
chkdsk - Copy and paste the following command and press Enter
sfc/scannow - Now, type in the following commands and press Enter after every command:
DISM /Online /Cleanup-Image /CheckHealthDISM /Online /Cleanup-Image /ScanHealthDISM /Online /Cleanup-Image /RestoreHealth
- Restart your computer once the scan is done.
2. Uncheck the automatic configuration script
- Press the Windows key, type Control Panel and click Open.

- Select View by Large icons and click Internet Options.

- Go to Connections and click LAN settings.

- Under Automatic configuration, uncheck use automatic configuration script.

- Click OK, then Apply and OK.
3. Use Regedit
3.1 If you can locate TLS 1.0 Key
- Press Windows + R key to open the Run window.

- Type regedit and hit Enter to open Registry Editor.
- Follow this path:
Computer\HKEY_LOCAL_MACHINE\SYSTEM\CurrentControlSet\Control\SecurityProviders\SCHANNEL\Protocols\TLS 1.0\Client - Right-click on Client, select DWORD (32-bit) Value, and name it Enabled.

- Double-click on the DWORD, change the Value data to 1, and click OK.
3.2 If you don’t have TLS 1.0
- Press Windows + R to open the Run console.
- Type regedit and hit Enter.
- Follow this path:
Computer\HKEY_LOCAL_MACHINE\SYSTEM\CurrentControlSet\Control\SecurityProviders\SCHANNEL\Protocols - Now right-click on Protocols, select Key and name it TLS 1.0.

- Next, Right-click on TLS 1.0, click Key, and name it Client.
- Go to Client, right-click on it, select DWORD (32-bit) Value, and name it Enabled.

- Double-click the DWORD, change the Value data to 1, and click OK.
4. Perform offline installation
Note: If you encounter any error on the CMD screen, don’t worry; let the process get complete.
- Download SSDT 2017 and Visual Studio.
- Save the .exe files for both at the same location. Now, press Windows, type CMD and click Run as administrator.
- Locate the path where you downloaded the files, copy the path, and keep it aside.
- Type cd <path> to change the directory, just like this
cd C:\Users\user\Downloads - Now paste this command mentioned below and press Enter. This will initiate the installation, and files will be downloaded in the folder
vs_SQL.exe --layout C:\ SSDT2017 \ -- lang en-us - If you get any download errors, type the command mentioned below:
vs_SQL.exe --layout C:\SSDT2017 --fix - Now type the following path one by one and press Enter:
cd C:\SSDT2017vs_setup.exe --NoWeb - Click the Install button on the installation wizard to install Visual Studio Data Tools 2017.
- Now, double-click the SSDT-Setup-ENU.exe, and on the installation wizard, put a checkmark beside SQL Server Analysis Services, SQL Server Reporting Services, and SQL Server Integration Services, and click Install.
- Please wait for the installation to complete and restart your computer when prompted.
So, these are steps to resolve the SSDT setup failed incorrect function 0x80070001. Try these methods and let us know which worked for you in the comments section.
Read our disclosure page to find out how can you help Windows Report sustain the editorial team. Read more


Improve this guide


User forum
0 messages