Disk Cleanup on Windows 10: How to Use
Key notes
- Removing unnecessary items is a great routine in order to avoid getting errors on your device.
- There are several ways to do that and in this article, we will explore which ones are best to use.
- Check out for more helpful guides in our dedicated How-To Hub.
- Make sure to explore our Windows 10 Troubleshooting Hub as well to keep your PC error-free at all times.
Need to free up space on your PC? Disk Cleanup in Windows 10 is a built-in tool that helps you delete junk files, temporary data, and system clutter. In this guide, you’ll learn how to use it step by step—even if you’re not tech-savvy.
Table of contents
How can I delete temporary files using Disk Cleanup?
1. Use Disk Cleanup to remove temporary files
1.1. Start Disk Cleanup from the menu
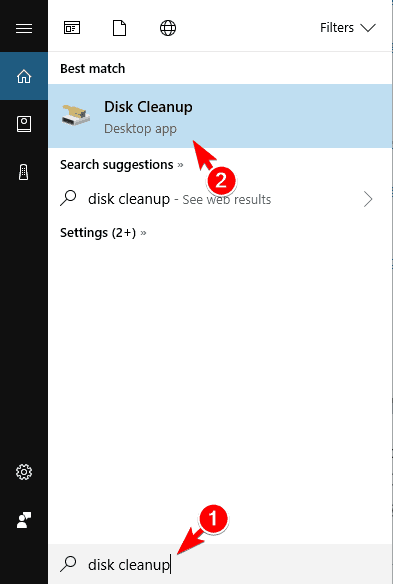
- Press Windows Key + S and enter disk cleanup.
- Choose Disk Cleanup from the menu.

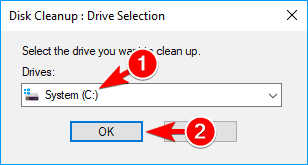
- When the Disk Cleanup tool starts, select your system drive. By default it should be C:.
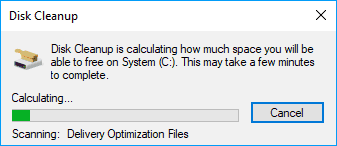
- Disk Cleanup will now scan your system drive for any unnecessary files.
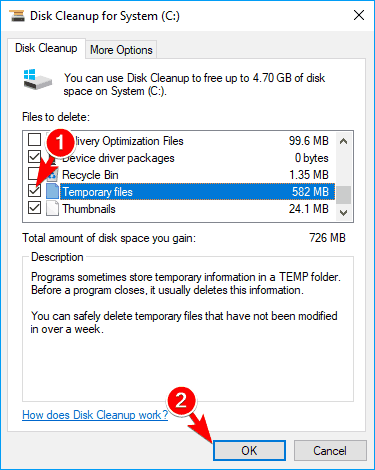
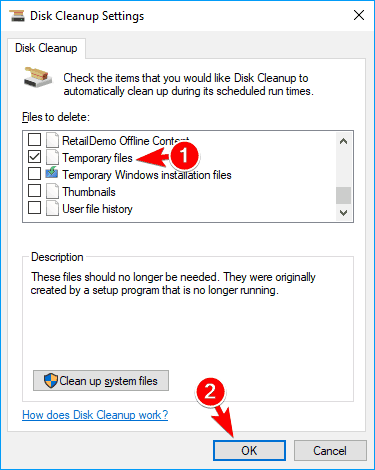
- Check Temporary files and click on OK.
- Wait while the tool removes the selected files from your PC.
After the process is finished, all temporary files should be removed from your PC.
1.2. Start the Disk Cleanup tool by using the Run dialog.
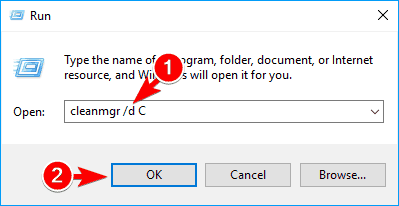
- Press Windows Key + R and enter cleanmgr.
- Now press Enter or click OK.
- Optional: You can also choose the drive you want to scan right from the Run dialog. To do that, simply enter cleanmgr /d C and Disk Cleanup will automatically scan your C drive.
1.3. Start Disk Cleanup by using Command Prompt or PowerShell.
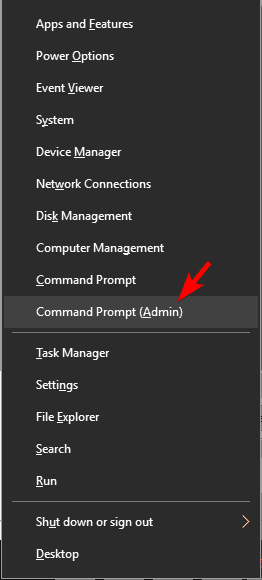
- Press Windows Key + X to open the Win + X menu and choose Command Prompt (Admin).
- If Command Prompt isn’t available, you can use PowerShell instead.
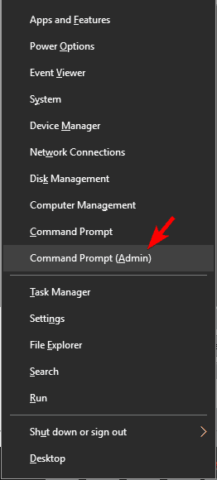
- Enter cleanmgr command to start Disk Cleanup. You can also use cleanmgr /d C command to automatically scan the C drive.
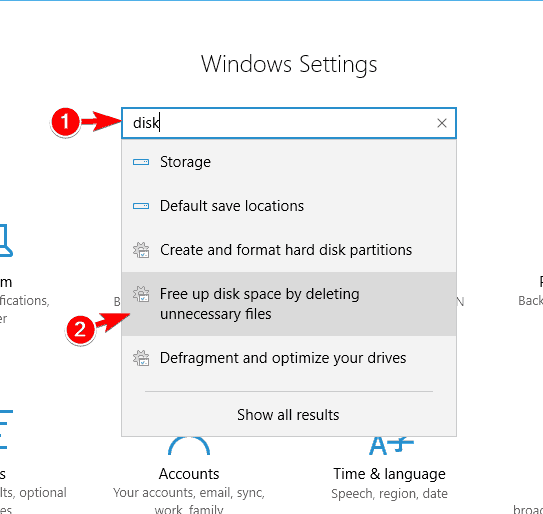
1.4. Start Disk Cleanup is to use the Settings app
- Press Windows Key + I to open the Settings app.
- In the Find a setting field enter disk and choose to Free up disk space by deleting unnecessary files.

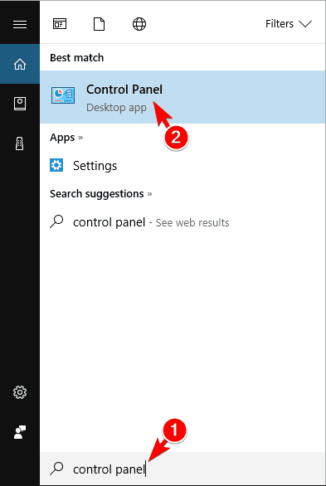
1.5. Start Disk Cleanup using the Control Panel.
- Press Windows Key + S and enter control panel.
- Now choose Control Panel from the list.
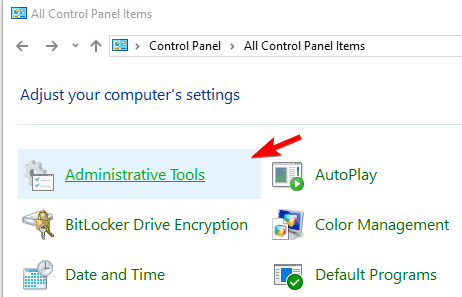
- Go to the Administrative Tools section.
- Locate and run Disk Cleanup.

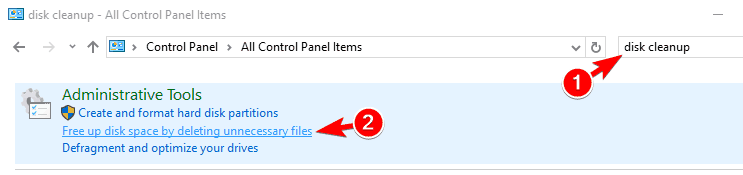
1.6. Start Disk Cleanup by searching for it in Control Panel.
- Type disk cleanup in the search bar at the top right corner.
- Choose Free up disk space by deleting unnecessary files option.
1.7. Start Disk Cleanup simply by locating your hard drive.
- Navigate to This PC.
- Locate your system drive, by default it should be a C drive.
- Right-click it and choose Properties.
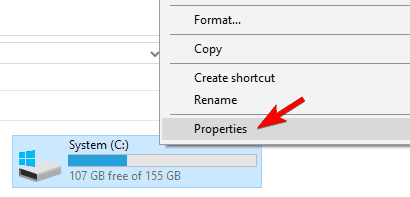
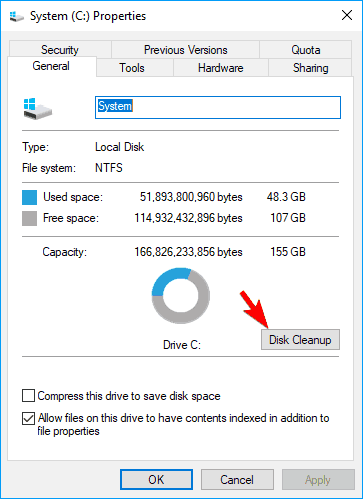
- When the Properties window opens, click on Disk Cleanup.
Note: After you start Disk Cleanup, simply follow the instructions from the beginning of this solution to remove the temporary files.
2. Make Disk Cleanup remove all temporary files
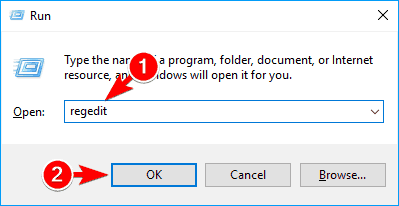
- Press Windows Key + R and enter regedit.
- Press Enter or click OK.
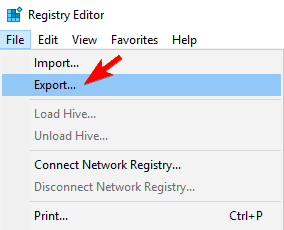
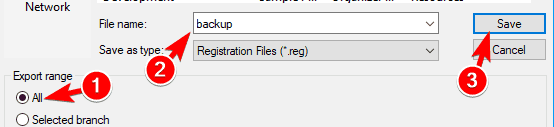
- Optional: Modifying the registry can cause problems, especially if you don’t do it properly, therefore it’s highly recommended to back it up. To do that, go to File and select Export.
- Set Export range as All and enter the desired file name. Choose a safe location and click on Save.
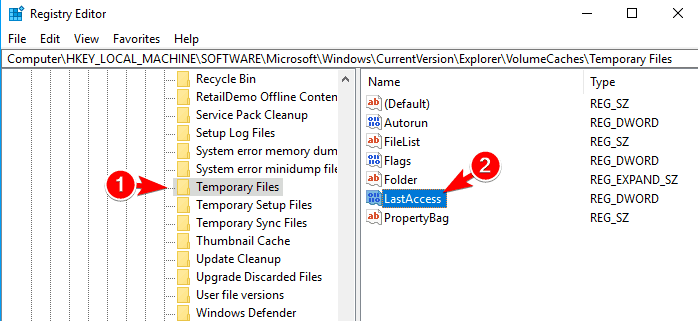
- In the left pane navigate to
HKEY_LOCAL_MACHINESOFTWAREMicrosoftWindowsCurrentVersionExplorerVolumeCachesTemporary Files. - In the right pane, double click on LastAccess DWORD.
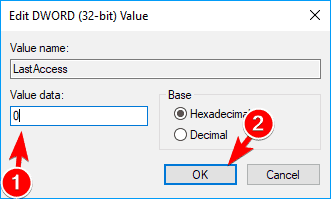
- Set the Value data to 0 or to any other value less than 7.
- Click on OK to save changes.
Note: Keep in mind that you won’t be able to delete protected files or files that are in use, but most other files should be deleted without any problems.
3. Use a trird-party software
The simplest and fastest way to remove temporary files from your PC is to use software like Ashampoo WinOptimizer.
This is a useful tool that will scan your drive and allow you to choose the type of files you wish to remove. There is a wide array of files to choose from, and among these files, there are also temporary files.
Ashampoo WinOptimizer comes with a complete tuneup and 37 cleaning suite modules that will make sure your device is kept secure with deep scans and repair tools.
Moreover, if you accidentally delete files or if you want to permanently get rid of others, this system optimization software will do the job in no time.
Here are some of its key features
- Cleaning and diagnosis.
- Removes all junk data or broken shortcuts.
- Defrag tool.
- Intuitive and comprehensive dashboard.
- Privacy control features and Antispy option.
4. Automate Disk Cleanup
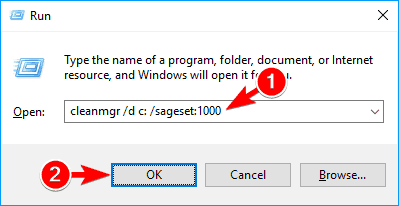
- Press Windows Key + R and enter cleanmgr /d c: /sageset:1000.
- Click OK or press Enter.
- Check Temporary files and Temporary Internet Files options and click on OK.
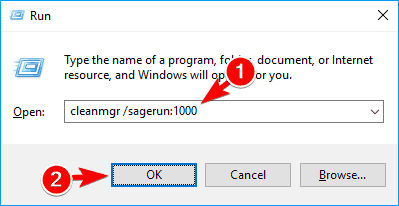
- Now press Windows Key + R again and enter cleanmgr /sagerun:1000.
- Press Enter or click OK to run the command.
After running this command, temporary files should be deleted automatically.
This is one of the fastest ways to delete temporary files using Disk Cleanup, but as you can see, it requires some configuration before you can use it.
Using Windows 11 instead of Windows 10? Follow this step by step guide for the newer OS: Disk Cleanup on Windows 11.
And there you have a few methods that will help you delete temporary data files. If you have other suggestions or recommendations, make sure to let us know in the comments section below.
Read our disclosure page to find out how can you help Windows Report sustain the editorial team. Read more


Improve this guide


User forum
0 messages