VSS Error on Windows 10: Fix it With These 7 Methods
Get your device backup working again
Key notes
- The most common cause for the Volume Shadow Copy Service error is that the service has been disabled.
- If you face a Microsoft Volume Shadow Copy Service error, check the storage space for shadow copies.
- Sometimes, the antivirus or Windows Firewall can interfere with the VSS and lead to errors.
- Junk files on your partition also lead to VSS errors; make sure to keep your partitions clean.

In this article, we explore the Windows 10 VSS error. VSS is the Volume Shadow Copy Service in Windows that automatically backs up file snapshots and storage volumes even when files are in use.
Volume Shadow Copy is essential to Windows backup and System Restore utilities. As such, you might get a Volume Shadow Copy error for a system image backup or when rolling Windows back to a restore point.
If a Volume Shadow Copy Service error pops up, the System Restore utility won’t restore Windows. Furthermore, the Windows backup tool might not work when you try to copy files to an external USB drive.
What causes a VSS error on Windows 10?
From many users’ experiences, we figured a few elements would trigger this error. Among these are the following:
- Disabled VSS – This is the most common reason. If it has been disabled on any volumes part of the backup, you may expect this error.
- High disk activity – Since VSS requires the volumes to be frozen for snapshots for an extended time, it cannot make a shadow copy when disk activity is high.
- Firewalls – In some cases, they may interfere with the VSS settings and cause an error. Remember, it is always best to use the most compatible antivirus applications.
Let us explore some top fixes for the Windows 10 VSS error.
How do I fix the Volume Shadow Copy Service error?
1. Start the Volume Shadow Copy service
- Go to the Windows search bar.
- Then input the keyword services and select it.

- Scroll down and double-click Volume Shadow Copy.

- Select Automatic from the Startup type drop-down list, and if the service is currently stopped, press the Start button.

- Press the Apply and OK buttons.
- Then reboot your desktop or laptop.
2. Erase junk files for all drive partitions
- Open the Windows search bar, input the keyword disk cleanup in the search box, and select the Disk Cleanup option.

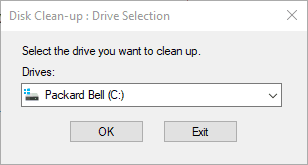
- Select a drive partition to scan from the drop-down menu, and press the OK button.
- Then select the checkboxes on the window below, and press the OK button to delete the selected file categories.

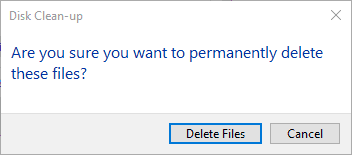
- Press the Delete Files button to confirm.
- In addition to the junk files, you can also erase system restore points. To do that, press the Clean up system files button on the Disk Clean-up window.

- Then select a drive partition and click OK.
- Next, select the More Options tab shown directly below, and press the Clean up button to erase system restore points.

Some users have fixed VSS errors by utilizing Disk Clean-up in Windows to erase junk files. You’ll need to scan each partition with a disk clean utility if you have two or more drive partitions.
There are numerous third-party utility software you can delete junk files with, but this is how you can utilize Disk Clean-up in Windows 10.
One of the most reliable third-party utility software you can try using is Wise Disk Cleaner, as it can significantly make your computer run faster by deleting junk files and other items that take up significant hard disk space.
3. Switch off the Windows Firewall
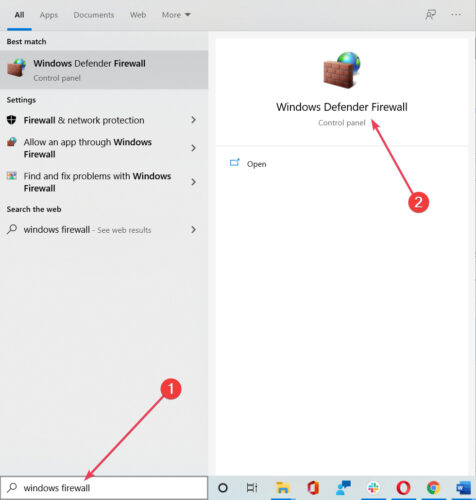
- Enter Windows Defender Firewall in the Windows search box, and select the firewall option as shown below.
- Select Turn Windows Defender Firewall on or off.

- Select the Turn off Windows Defender Firewall settings, and click the OK button.

Note: Turn off the Windows Firewall to ensure it isn’t interfering with VSS.
4. Disable anti-virus software
In addition to switching off the Windows Firewall, disable third-party anti-virus software. You can temporarily switch off the anti-virus by right-clicking the system tray icons and selecting a disable option.
However, if you can’t find a disable option on the system tray context menu, open the anti-virus software’s main window to select a switch-off option.
5. Expand Volume Shadow Copy storage space
- Type Command Prompt in the Windows search bar, and click Command Prompt (Admin) to open an elevated Prompt window.

- Then you can expand the shadow copy storage on drive C by entering the following command in the Command Prompt:
vssadmin resize shadowstorage /on=c: /for=c: /maxsize=20%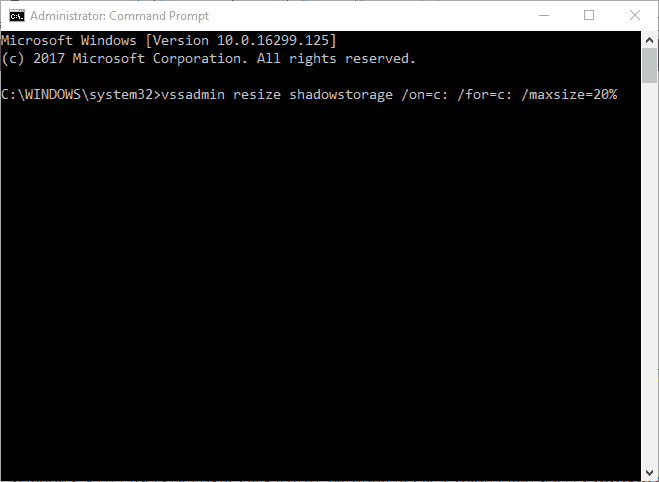
- Adjust the percentage value (maxsize) and the letter for drive partitions (on) in that command as required, then press Enter.
Note: VSS errors can be due to a lack of storage space for shadow copies. So allocating more storage space for shadow copies can fix VSS errors.
6. Remove third-party backup software
Some third-party backup software utilizes its own VSS components to create shadow copies. For example, Acronis Backup has its own VSS writer.
Third-party backup software with VSS components can conflict with Windows Volume Shadow Copy Service. Thus, uninstalling third-party backup utilities can fix numerous VSS errors.
We strongly recommend removing the backup utilities with a third-party uninstaller that will erase leftover registry entries. This is a Windows gadget that allows you to uninstall software more thoroughly.
When you uninstall the software from the Control Panel, sometimes you won’t delete all the associated files. An uninstaller can find and remove these junk files and hidden or broken shortcuts from a previously uninstalled program.
7. Erase orphaned shadows
- Type Command Prompt in the Windows search bar, and click Command Prompt (Admin) to open an elevated Prompt window.
- Type the following command in the Command Prompt, and press the Enter key:
vssadmin delete shadows /all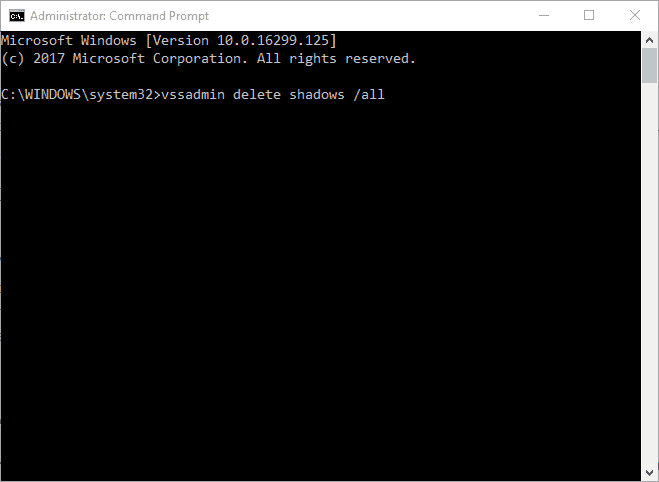
Note: VSS errors can also be due to the accumulation of orphaned shadows in Windows.
Some of those resolutions should fix VSS errors on your desktop or laptop so you can utilize System Restore and other Windows backup utilities.
If you have any other system backup errors, check out this post.
Let us know in the comments what worked best for you.
Read our disclosure page to find out how can you help Windows Report sustain the editorial team. Read more


Improve this guide


User forum
0 messages