Install.wim: What Is It & Why do You Need It?
Automatically create a .wim file with Image Capture Wizard
3 min. read
Updated on
Read our disclosure page to find out how can you help Windows Report sustain the editorial team. Read more
Key notes
- Wim is a compressed file that contains a mirror image of the Operating system files.
- You can create a .wim on Windows by using the DISM command option.
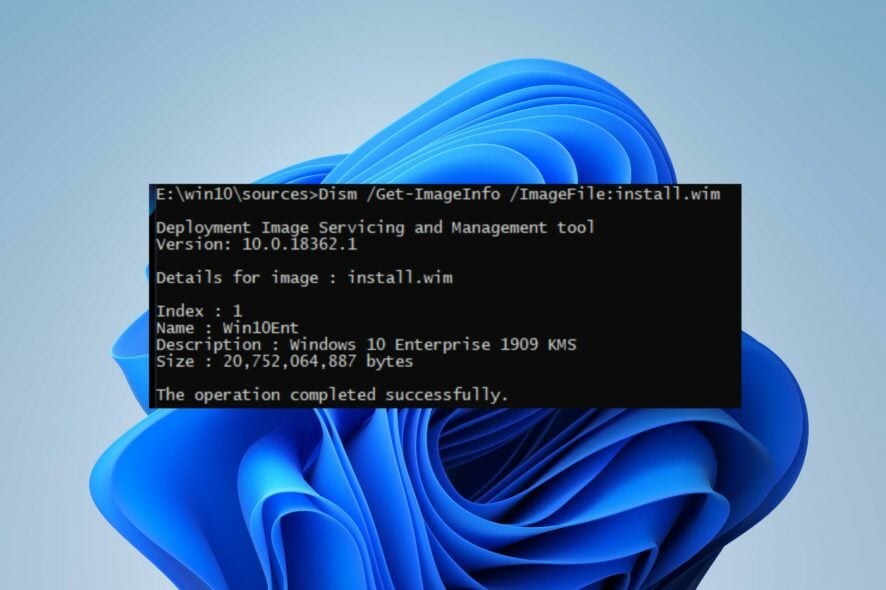
Windows PCs run into several problems due to corrupt system files affecting its performance. These corrupt system files can be repaired by using the install.wim file as the repair source. Hence, this guide will discuss why you need install.wim and how to create a.wim on Windows PCs.
Alternatively, you can read our article about ways to fix corrupted system files on Windows 11.
What is install.wim?
The install.wim file (Windows Image File) is a compressed file that contains a mirror image of the Operating system files. It includes the associated file system metadata found in any Windows installation Media under the Sources folder.
Additionally, an install.wim file may contain several install.wim files that are used for Windows editions. Each Windows image in a Windows image file (.wim) contains a list of all the components, configurations, and packages available with that Windows image.
Why do I need install.wim?
Using the install.wim file has lots of advantages and some are:
- A single install.wim file can house different hardware configurations and packages because it doesn’t specify any requirements for the source hardware.
- You can use the install.wim file is the repair source for repairing corrupted Windows system files and other issues affecting the PC.
- You can install .wim disk images on partitions of any size because of its flexibility.
If you don’t need all that, convert the install.wim file to install.esd.
Check our post about what a disk image is and how to use it on your PC to have more knowledge about it.
How can I create a .wim on Windows?
1. Manually create a .wim file (capture image)
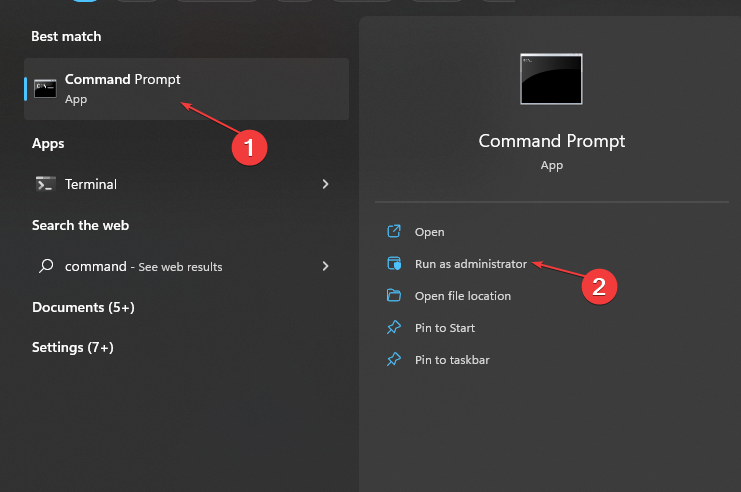
- Left-click the Start button, type Command Prompt, and click the Run as administrator option.
- Click Yes on the User Account Control (UAC) prompt.
- Copy and paste the following commands in the command bar and press Enter:
%WINDIR%\system32\sysprep\sysprep.exe /generalize /shutdown /oobe - Boot your computer using a Windows PE disk.
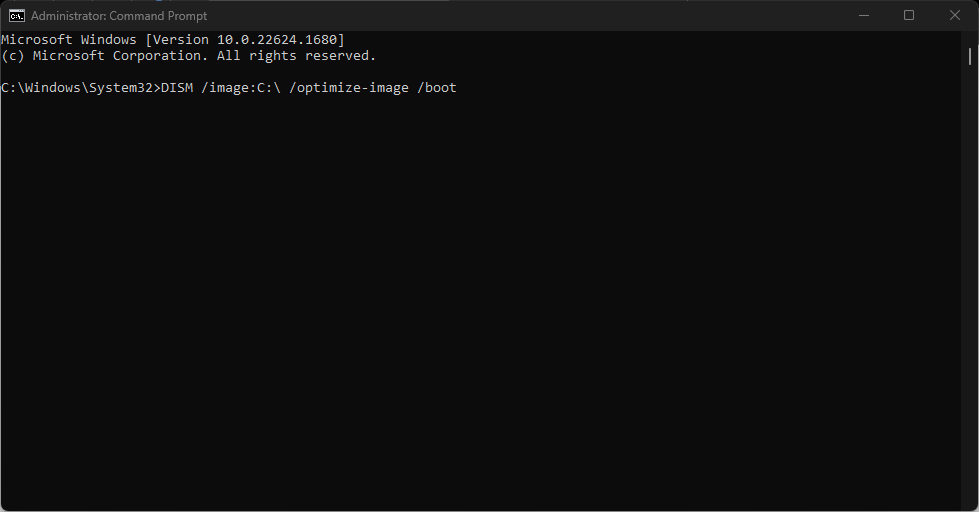
- In the Windows PE command prompt, copy and paste the following commands, then press Enter to run them:
DISM /image:C:\ /optimize-image /boot - This command will Optimize the image to reduce the time it takes your device to boot after you apply the image.
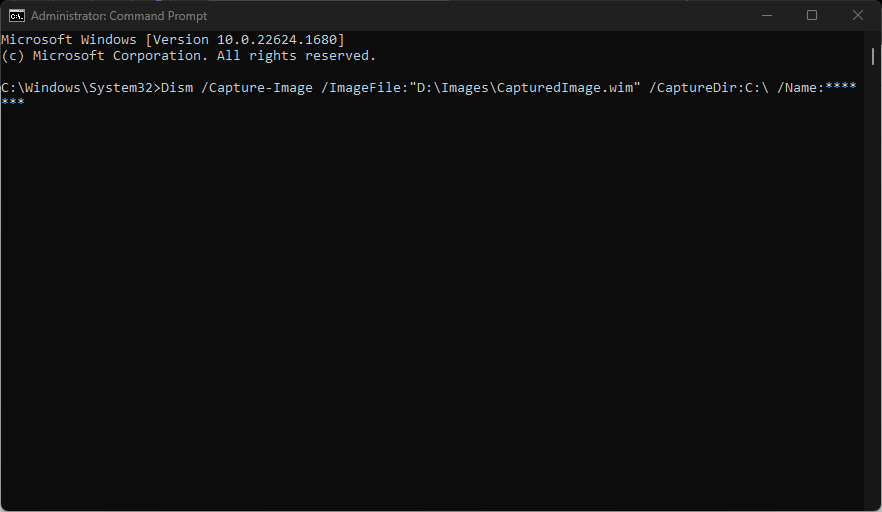
- Copy and paste the following commands and press Enter to capture the Windows partition:
Dism /Capture-Image /ImageFile:"D:\Images\CapturedImage.wim" /CaptureDir:C:\ /Name:*******
(C: is the partition to be captured; D:\CapturedImage.wim is the place of the captured file; Captured image is the name of the file).
Manually creating an install.wim file (capture image) allows you to use it to deploy Windows to new devices.
2. Automatically create a .wim file
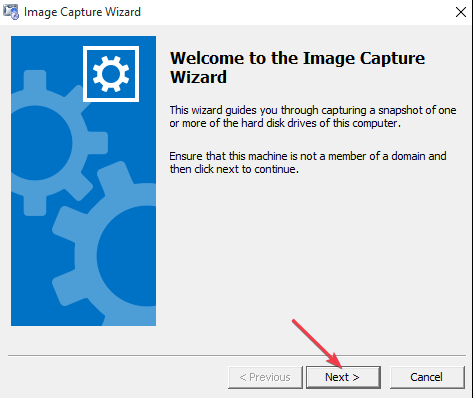
- Insert the bootable CD with Windows PE (with ImageX.exe included) into your CD/DVD drive, and shortly autoplay will open the Image Capture Wizard.
- Click Next to prompt the Image Destination page.
- Select the destination to save the wim file.
- On the next page, fill in some information to determine the preferred attributes of the image.
- On the Summary page, click the Finish button. The task sequence will start Sysprep and restart the computer.
- After restart, the computer will boot to Windows PE and capture an image of the machine.
There you go, that’s the basics of using install.wim on your PC.
In conclusion, you may be interested in our comprehensive article about how to open a WIM file in Windows 11 by using the best available tools.
Also, read about ways to fix the disc image file corrupted error in Windows 11.

User forum
0 messages