FIX: Kernel security check failure RAM in Windows 10/11
Key notes
- The kernel security check failure is one of the most common errors of the BSOD errors.
- It may occur when there is something creating problems in your Windows operating system.
- Check out our BSOD errors Hub for more information and helpful solutions from our trustworthy experts.
- Take a look at our Windows 10 Errors section for complete guides on troubleshooting tech issues.

The kernel security check failure occurs when the kernel notices the corruption of serious data configuration in your OS, and it can be hard to trace the pathway creating the problem.
However, many Windows 10 users reported the problem to have occurred after they upgraded the RAM. If you are experiencing the same problem, you might want to try the various workarounds discussed below.
But first, here are some more examples of this issue:
- Kernel security check failure USB tethering – Users report that kernel security check failure issues usually happen during USB tethering.
- Kernel security check failure loop – It’s possible to get into an infinite loop of this BSOD error. In that case, you need to act promptly, and resolve the issue as soon as possible.
- Kernel security check failure overclock – Users also report that this issue can happen in PC configurations with overclocked CPUs.
- Kernel security check failure after sleep – Another common time for this issue to appear is right after the Sleep Mode.
How can I fix the kernel security check failure error?
1. Scan your PC for viruses

- Press the Windows Key + I to open the Settings app.
- Go to the Update & Security section.
- Select Windows Security from the left panel.
- In the right panel, click on Open Windows Defender Security Center.
- Select the Virus & threat protection, and click on Quick scan.
Viruses are a common cause of various BSOD errors, and it might be the case here, as well.
Make sure to run your third-party antivirus software or at least Windows Defender, and check if your computer is virus-free.
There are many great antivirus tools on the market, but we recommend looking for a security solution that won’t interfere with your system.
Make sure to get an antivirus with a powerful firewall, a large and ever-growing threat database, a well-implemented privacy policy, and multiple layers of protection.
On top of that, you should also look for an antivirus tool with low resource/CPU usage. Many great security utilities offer 100% protection without having a negative impact on your system’s speed rates.
2. Make sure the drivers are up to date
Another common cause of BSOD errors in Windows 10 are outdated or damaged drivers. So, make sure all your drivers are up to date.
We strongly recommend the Outbyte Driver Updater tool to update your drivers in order to avoid damage to your PC by manually downloading the wrong driver versions.
This great program looks for new drivers for your hardware and downloads updates automatically.
It scans your system and lists all existing and possibly missing drivers. The tool also detects if there is already a new version for current records. If necessary, these can be updated directly via Outbyte Driver Updater.
Already installed drivers can also be stored in an archive and used, for example, when the system is restored.
However, we recommend you download this driver updater tool (100% safe and tested by us) to do it automatically. Thus, you will prevent file loss and damage to your PC.
3. Check the RAM
The RAM can be the source of the problem that causes your computer to restart and to display the Kernel security check failure error.
If the problem began after you swapped the RAM with a newer one, try to put back the one you already had. If it works fine with the old RAM, then the problem might be with the recent one.
For almost every motherboard, the manufacturer normally displays a list of RAM that have been tested with that motherboard.
You might want to check whether your new RAM is on the list or use one that is listed. Also, ensure that it is properly fitted in the right place.
4. Check the hard disk for errors
- Press the Windows key + R, type cmd, and hit Enter.
- Right-click on Command Prompt, and select Run as administrator.
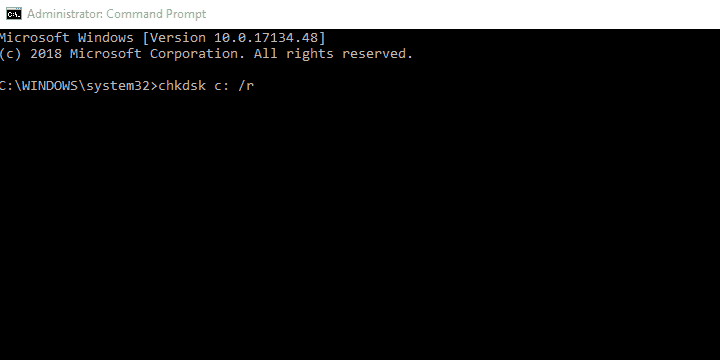
- In the command line, type chkdsk c: /r, and press Enter.
- Wait until the procedure ends.
A corrupted HDD with bad sectors, can invoke a variety of errors, including the one we’re addressing today. For that reason, we encourage you to check your hard drive for possible errors.
5. Run the System File Checker
- Press the Windows key + R, type cmd, and hit Enter.
- Right-click on Command Prompt, and select Run as administrator.
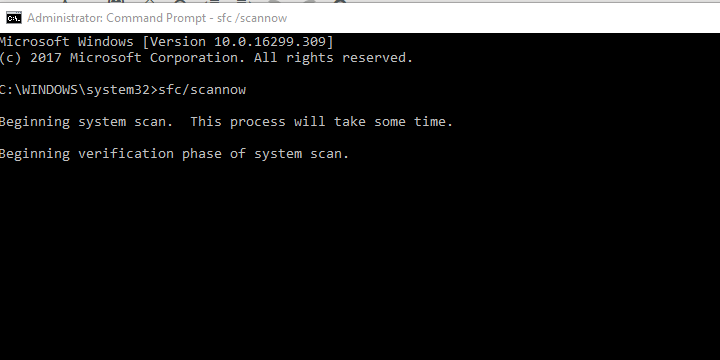
- In the command line, type sfc/ scannow, and press Enter.
- It might take a few second for the scan to complete. Wait patiently till its shows 100% scan is complete.
- Restart your PC.
The System File Checker (SFC) is a utility in Windows that can scan and restore corrupted system files.
If at any given time you interfered with the system files or maybe you have replaced or applied some tweaks to the system files while customizing your Windows, and now you find that your OS is misbehaving, you may want to run this utility first.
6. Run the DISM
- Press the Windows key + R, type cmd, and hit Enter.
- Right-click on Command Prompt, and select Run as administrator.
- In the command line, copy-paste the following lines one by one, and press Enter after each:
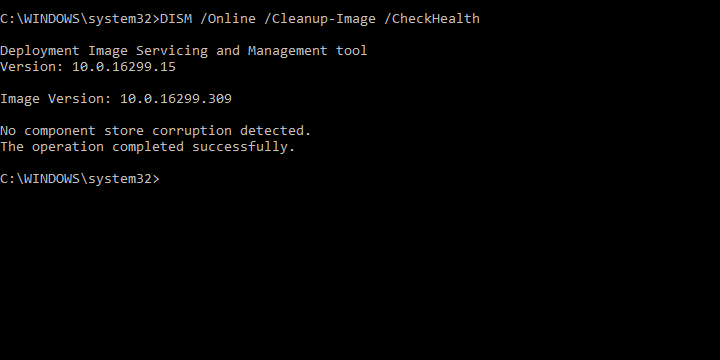
DISM /online /Cleanup-Image / ScanHealthDISM /Online /Cleanup-Image /RestoreHealth - Wait for the resolution.
If the SFC tool fails, we can always turn to DISM. The Deployment Image Servicing and Management tool are similar to SFC.
However, besides the fact it can rebuild the whole system image in case of corruption, there are two ways you can use it.
The first one relies on Windows Update to replace the corrupted files. The second rather use an external installation drive (USB or DVD) to apply fixes.
7. Run the BSOD troubleshooter

- Hold Windows Key + S.
- Type Settings in the search box, and click on it.
- Head over to Updates & Security, and choose Troubleshoot.
- Select Blue Screen, and go to Run the Troubleshooter.
- Follow further on-screen instructions and let the process finish.
- Restart your computer.
If DISM failed to resolve the problem, let’s try Windows 10’s built-in troubleshooting tool. This tool can help you resolve various issues, including BSOD errors.
Don’t forget to tell us whether one of the solutions get you through the problem. If you have any other suggestions or questions, feel free to leave them in the comments section below.
[wl_navigator]
Read our disclosure page to find out how can you help Windows Report sustain the editorial team. Read more


Improve this guide


User forum
0 messages