Kernel Stack Locked At Exit BSOD: 4 Ways to Fix it
File corruption is the likely cause of this error
![]() 3 min. read
3 min. read
![]() Updated on
Updated on
Share this article
Improve this guide
Read our disclosure page to find out how can you help Windows Report sustain the editorial team. Read more

Encountering the Kernel_Stack_Locked_At_Exit BSOD can be incredibly frustrating, especially when it disrupts your workflow.
How can I fix the Kernel_Stack_Locked_At_Exit error?
Before we start, make sure you have the latest updates installed. If you have Razer Synapse installed, remove it from your PC.
1. Check for corrupt system files
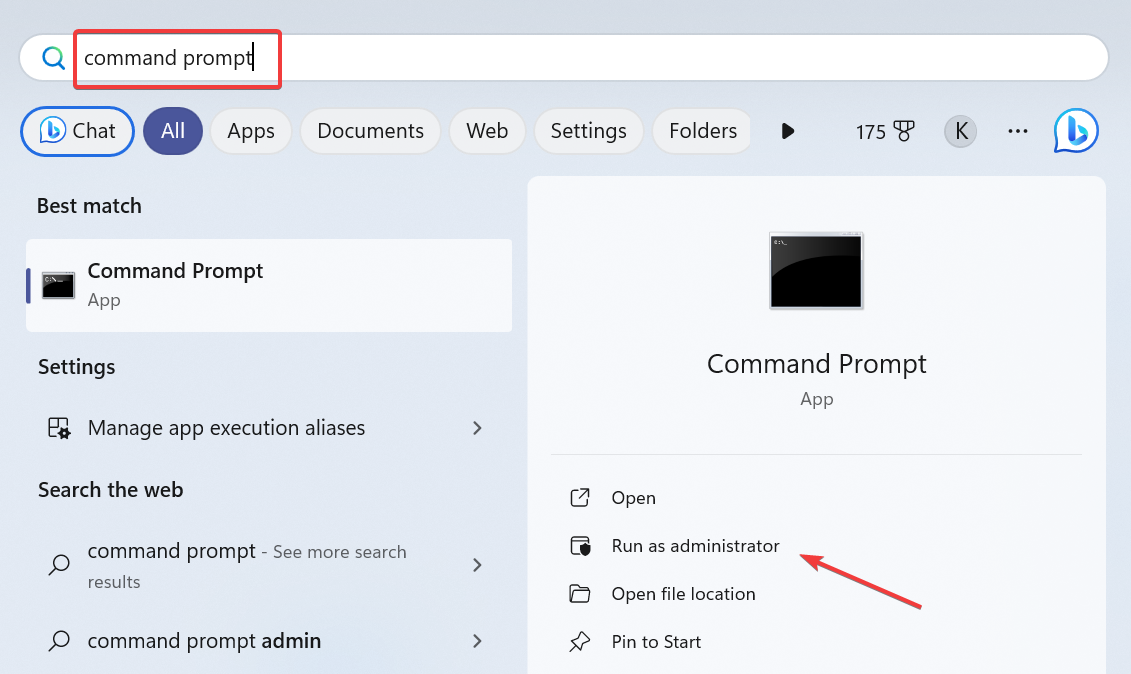
- Click the Start menu. Type cmd in the search bar. Choose Run as administrator.

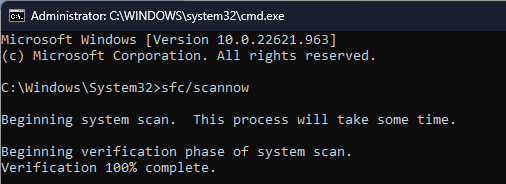
- In the Command Prompt window, type sfc /scannow and press Enter.

- Wait for the scan to complete. This will take some time.
- If any corrupt files are found, the System File Checker will attempt to repair them automatically.
2. Update device drivers
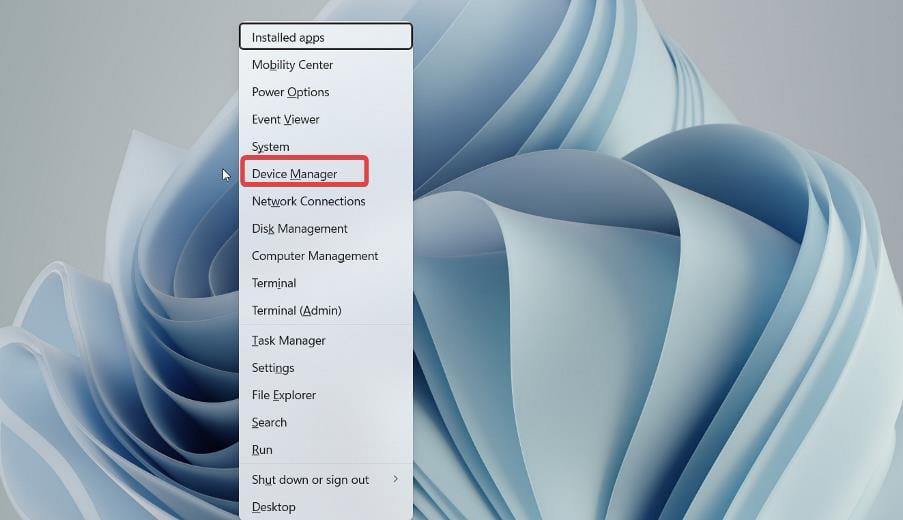
- Press the Windows key + X and choose Device Manager.

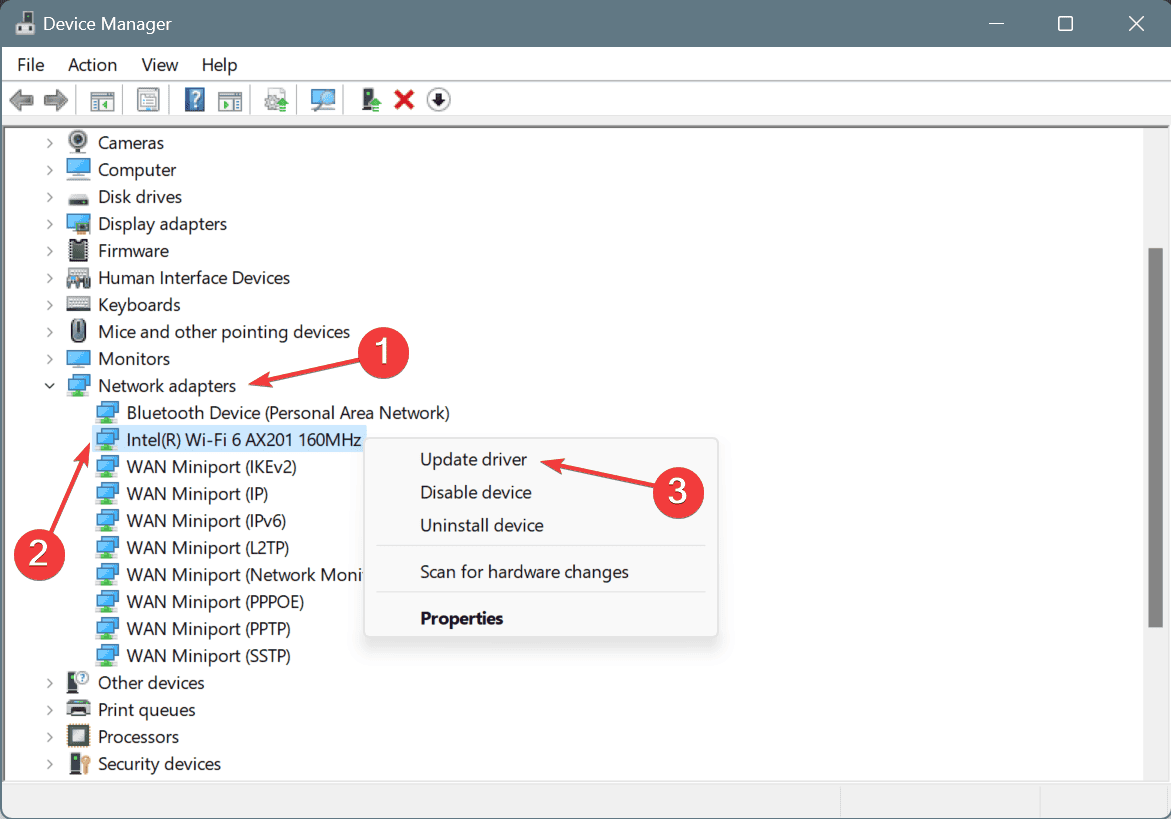
- In Device Manager, locate the device categories (e.g., Display adapters, Network adapters).
- Expand each category and look for any devices with a yellow exclamation mark.
- Right-click on each device and select Update driver.

- Follow the on-screen prompts to search for and install updated drivers.
For more information, we have a great guide on how to update drivers on Windows 11, so don’t miss it.
3. Perform a clean boot
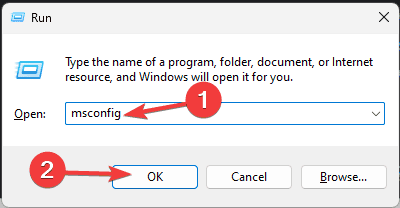
- Press Win + R to open the Run dialog. Type msconfig and press Enter.

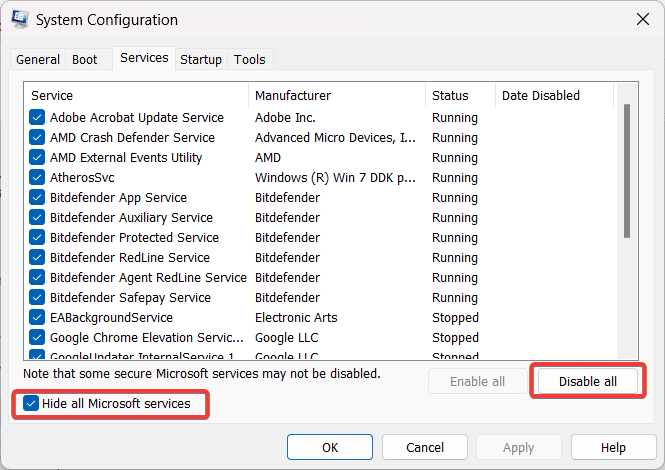
- In the System Configuration window, go to the Services tab. Check Hide all Microsoft services at the bottom. Click Disable all.

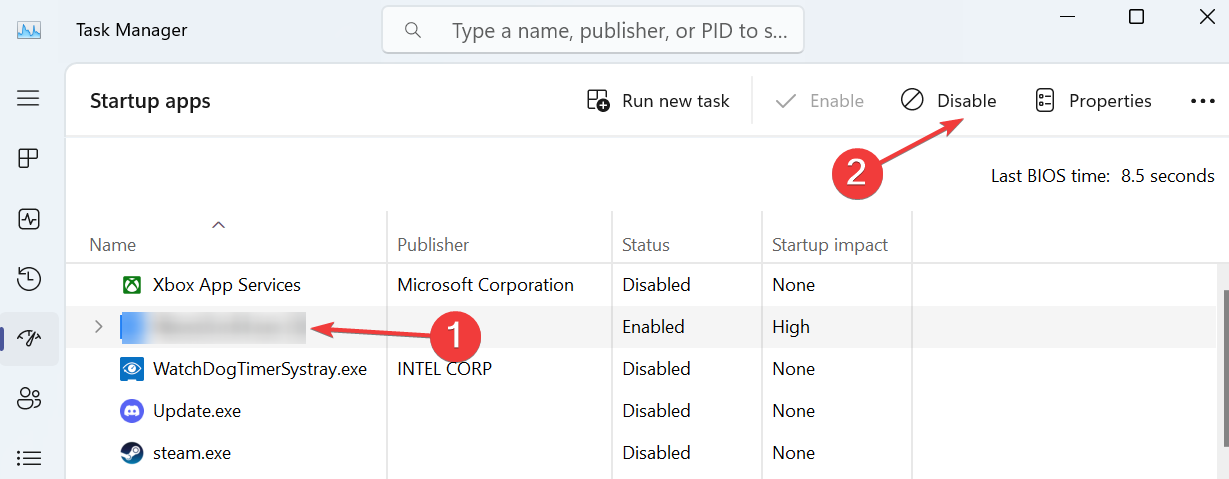
- Switch to the Startup tab and click Open Task Manager.
- In Task Manager, disable all startup items by selecting each item and clicking Disable.

- Close Task Manager and go back to the System Configuration window. Click OK and restart your computer.
4. Check for hardware issues
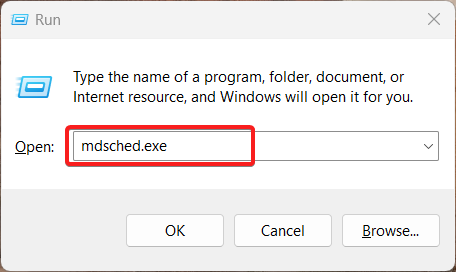
- Press Win + R to open the Run dialog. Type mdsched.exe and press Enter.

- Choose Restart now and check for problems.
- The computer will restart and run the Windows Memory Diagnostic tool.
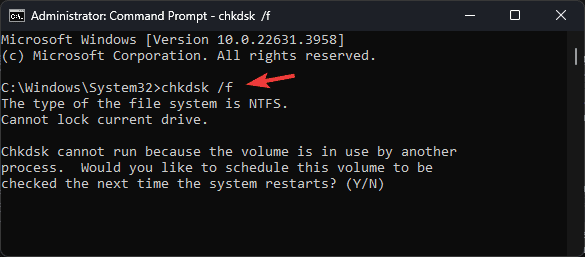
- Once the scan is finished, Open Command Prompt as Administrator (see Solution 1).
- Type
chkdsk /f /rand press Enter.
- You may be asked to schedule the scan for the next restart. Confirm and restart your computer.
By following these steps, you can systematically troubleshoot and resolve the 0x00000094 Kernel_Stack_Locked_At_Exit error.
This isn’t the only kernel error and we covered Kernel Security Check Failure and Kernel Mode Heap Corruption in previous guides, so don’t miss them.
Our latest article covers Kernel_Thread_Priority_Floor_Violation error, so don’t miss it for more solutions.
We also wrote about Invalid_Kernel_Stack_Address BSOD and ERROR_CONTROL_C_EXIT, so don’t miss them if you want to learn more.


User forum
0 messages