Libusb0.dll: What Is It & How to Fix It if It's Missing
Try these easy methods to solve this DLL error in no time
![]() 4 min. read
4 min. read
![]() Updated on
Updated on
Share this article

Improve this guide
Read our disclosure page to find out how can you help Windows Report sustain the editorial team Read more
Key notes
- The LibusbO.dll file ensures programs operate correctly, and its unavailability can cause errors.
- Malware activities in your computer can cause the file missing error.
- Re-registering the LibusbO.dll file will help the system recover its file.
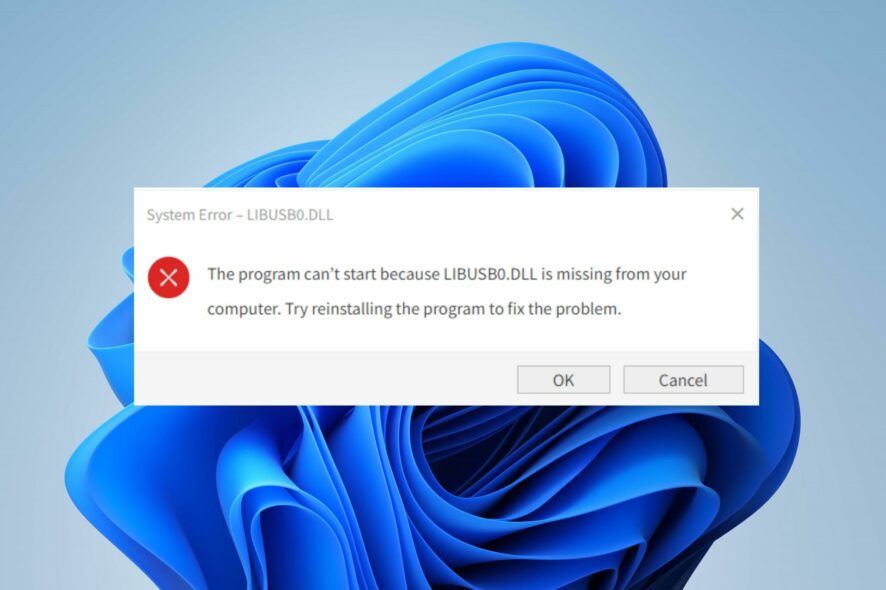
When you encounter an error message saying the Libusb0.dll file is missing on your computer, it means the programs in need of the file can access it. It’s due to issues affecting the Libusb0.dll file.
Aside from the Libusb0.dll file error, there are other DLL file missing errors you can run into on Windows 11.
What is Libusb0.dll?
Libusb0.dll is a vital file in the Windows system files library. It ensures that the programs on your PC operate as they should. Without the file, some programs depend on it won’t work, resulting in errors.
Why is Libusb0.dll missing in Windows 11?
Many factors can prompt the Libusb0.dll missing file error on Windows 11. The most prominent cause of the error is that the Libusb0.dll file is corrupt or deleted from the system. So, programs and services that require it won’t have access to it.
Furthermore, you can come across the Libusb0.dll missing file error due to other factors such as:
- Issues with the program – Sometimes, the error may be from the program you’re using. If it is not updated or its installation file is corrupt, it can impede it from accessing the Libusb0.dll file. Hence, it prompts the missing file error.
- Malware infection – Malware blocks the functionality of the programs running on your computer. It can prevent system files, including the Libusb0.dll file, from being visible when invoked by programs.
There are other likely reasons for the error, but you can fix them by trying some troubleshooting steps.
What can I do if Libusb0.dll is missing on Windows 11?
Go through the following preliminary checks:
- End task for the app prompting the error.
- Turn off background apps running on your PC.
- Restart Windows in Safe Mode and see if the error appears.
Proceed with the solutions below if you can’t fix the Libusb0.dll missing error:
1. Download and replace your Libusb0.dll file
 NOTE
NOTE
- Launch your browser and download the appropriate version of the Libusb0.dll file for your Windows.
- Double-click the downloaded zip file to open it, click Extract all, and select Desktop for a location to extract the DLL file.

- Restart your PC and check if the error persists.

Downloading a new copy of the Libusb0.dll file will replace the missing copy, which should fix the error.
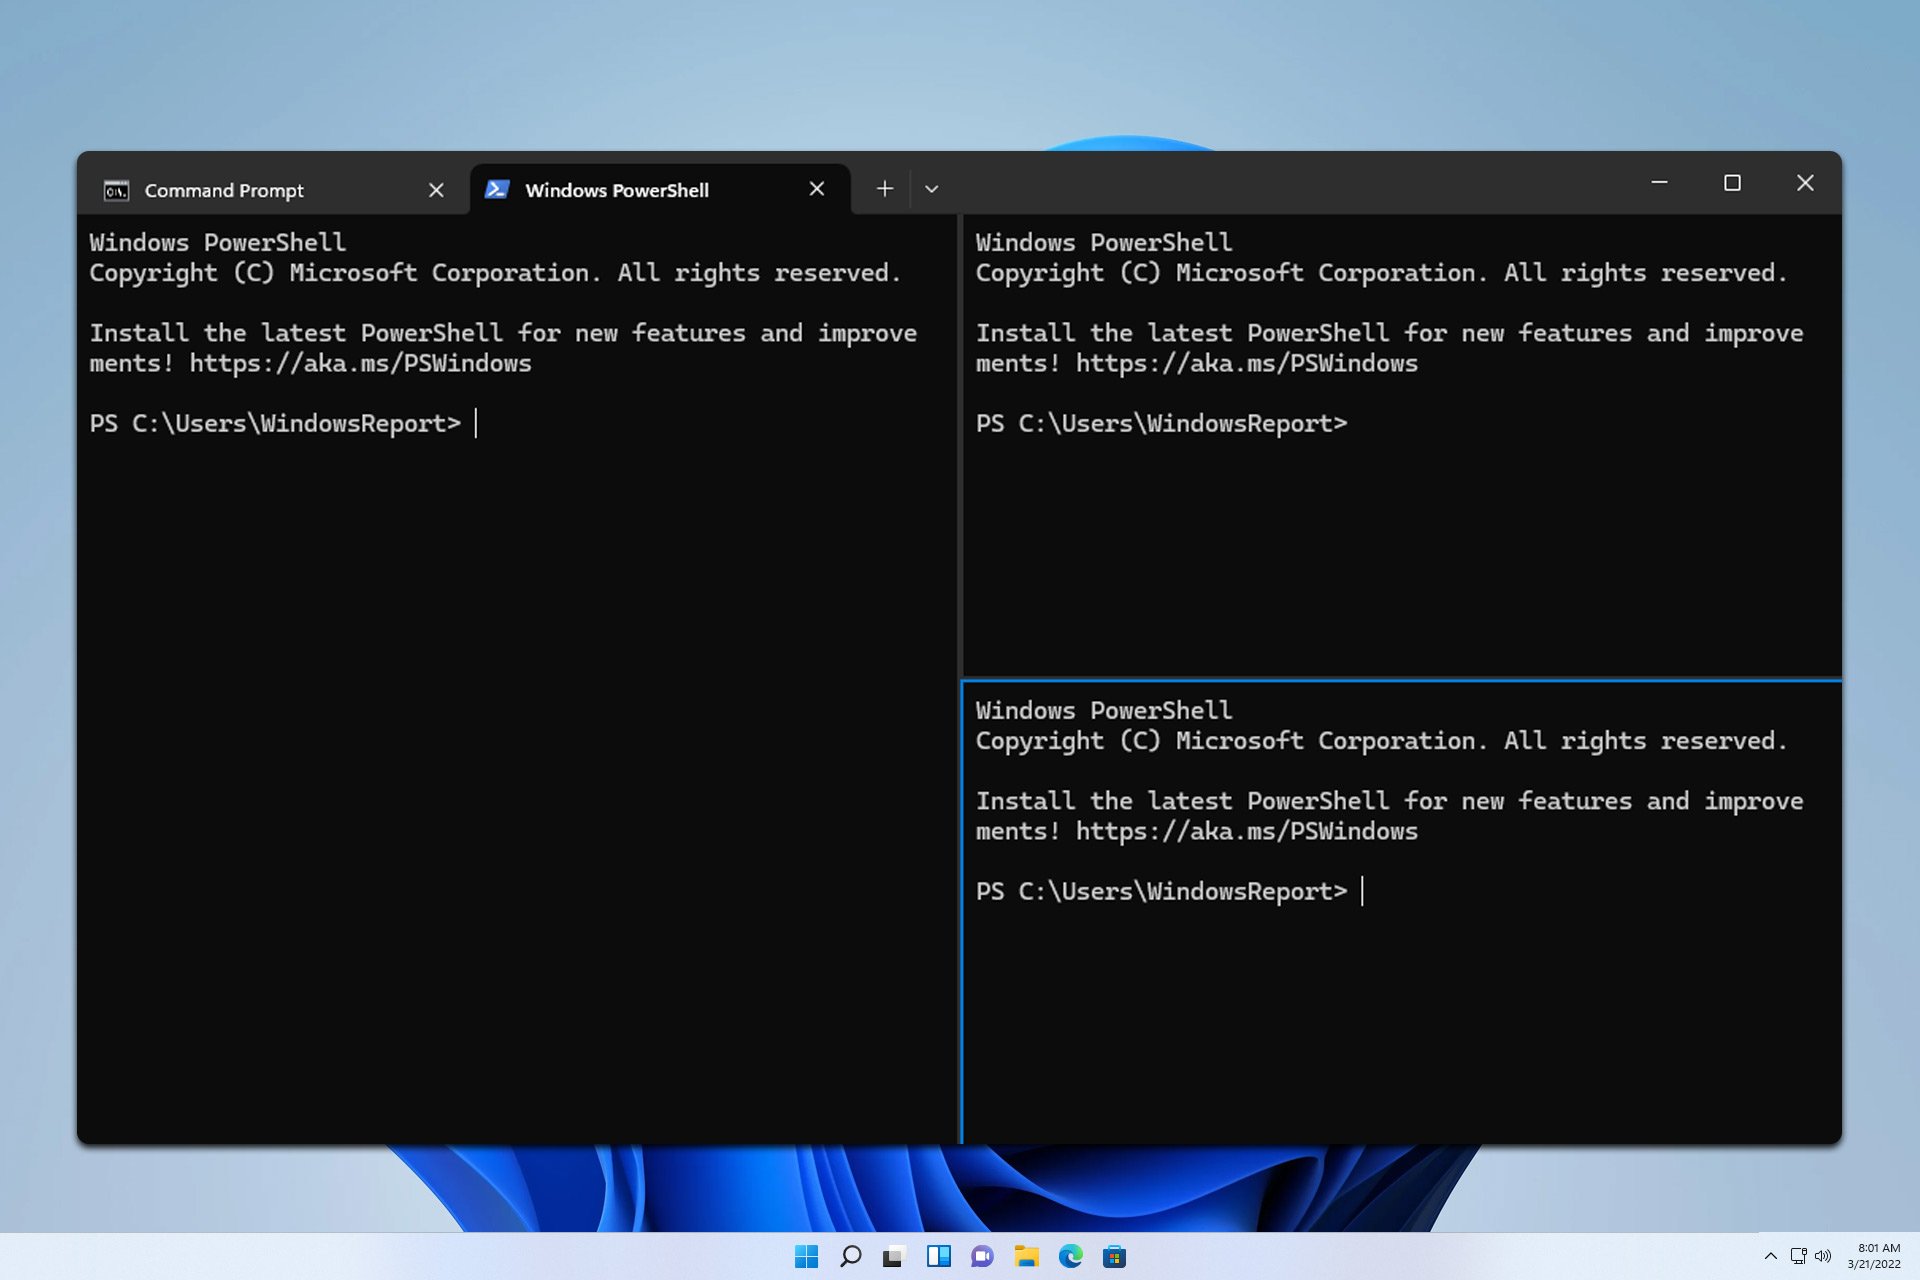
2. Register the LibusbO0.dll file
- Left-click the Start button, type Command Prompt, and click Run as administrator.
- Click Yes on the User Account Control prompt.
- Type this command and press Enter:
regsvr32 LIBUSB0.dll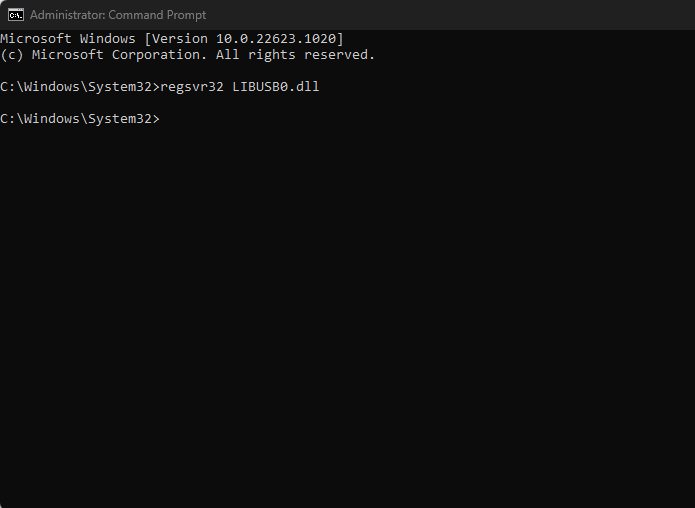
- Restart your PC.
The Libusb0.dll missing error should not persist on your computer after registering it. It helps the system rewrite the file, making it visible to the services needing it.
3. Run a System File Checker scan
- Left-click the Start button, type Command Prompt, and select Run as administrator.
- Click Yes on the User Account Control window.
- Type the following and press Enter:
sfc /scannow
- Restart your PC and check if the error persists.
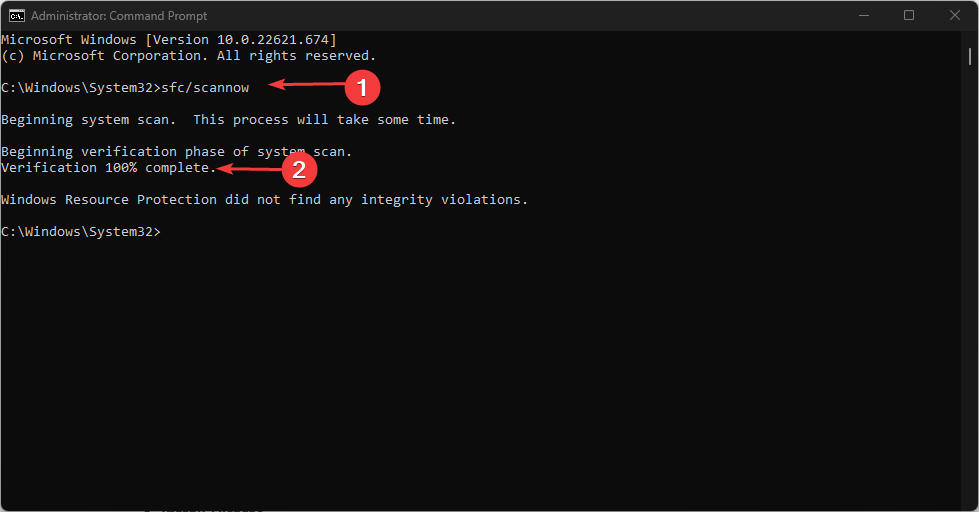
The System File Checker scan will find and repair corrupt system files causing the Libusb0.dll file not to be visible. Check our article about what to do if nothing happens when you select run as administrator on Windows 11.
And if you want to complete this process automatically, you can easily opt for a specialized repair tool as it can do the job for you by running an in-depth scan to find corrupted or compromised files and locate healthy replacements for them.
4. Run System Restore
- Left-click the Start button and type Restore, then click on Create a Restore Point.
- Go to the System Protection tab and select System Restore.

- Choose a different system restore and click Next to select a specific Restore Point.

- Select the last time your PC worked perfectly, and click Next.

- Click the Finish button.
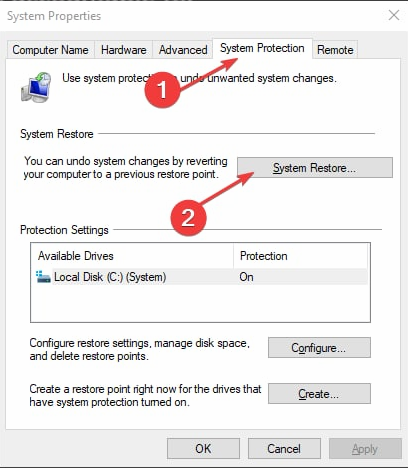
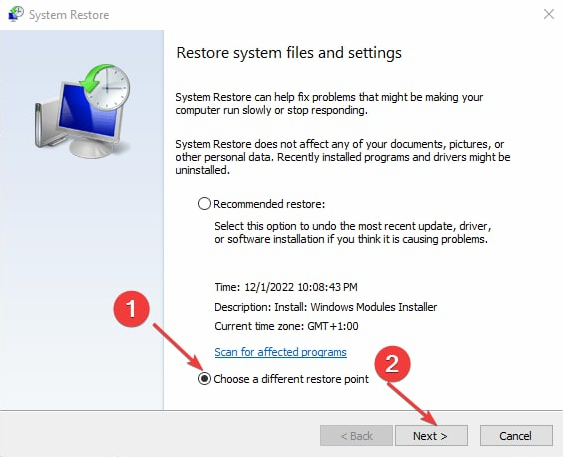
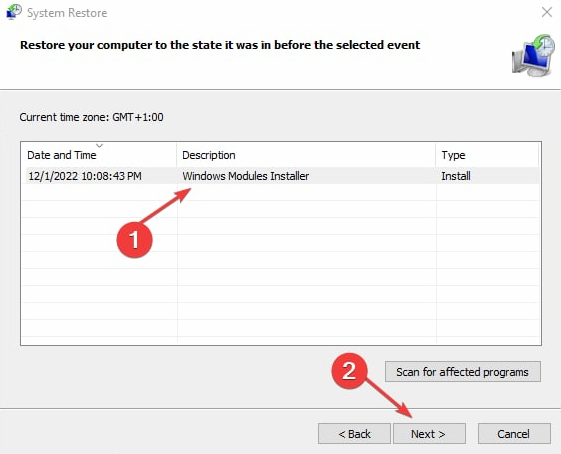
The System Restore will backdate your PC to an earlier point in time. It will remove any apps, drivers, and updates installed on your PC after selecting the restore point. Read how to fix Restore Point if it’s not working on your PC.
Alternatively, you can go through our guide on the best DLL repair tools you can download to solve the error on your PC. Finally, our readers may be interested in the Autorun.dll error on Windows 11 and its fixes.
For further questions or suggestions, kindly drop the in the comments section below.