Local Security Policy Missing in Windows 11: How to Add It
Add the Local Security Policy Console using these easy methods
Key notes
- The Local Security Policy is a collection of settings that can be used to configure your system’s security.
- You can use it to view and edit the audit policies, user rights assignments, and other system policies on your computer.
- If your version of Windows is supported, you can easily add it if it’s missing from your OS.
The Local Security Policy console is related to the Group Policy Management console. It is useful for setting up security policies for individual computers or groups of computers on your network. You can use it to configure settings such as account policies, audit policies, and much more.
It is important to note that the Local Security Policy may be missing in some older Windows versions, particularly the Home editions. If this is the case, we show you different ways to add it to your Windows 11 in this article.
Does Windows 11 have security protection?
The Windows operating system has always been a target for hackers. Windows 11, however, has been designed to be more secure than ever before. The operating system offers several security features to prevent malware from spreading and protect users from attacks.
To start, Windows 11 has a built-in antivirus and antimalware software called Windows Defender. However, there are some other security features that you can use to help protect your PC.
For instance, Windows Hello is a facial recognition feature that lets you log in using just your face instead of typing in a password or PIN every time you want to use your computer.
We also have an in-depth comparison of Windows Hello vs Windows Hello for Business, so be sure to check that out. This feature works with many devices, including PCs and laptops, tablets, smartphones, and desktops.
Whereas these features may enhance your Windows security, you need to take additional steps to secure your system.
These include:
- Use a good antivirus program – Although Windows Security offers great security, it is not as comprehensive as other antiviruses.
- Install Windows updates as soon as they are available – Security updates are critical to the smooth running of your PC.
- Set up a firewall to block incoming traffic from unknown sources – Firewalls will help block any potential risks from a mile away.
- Don’t connect to public Wi-Fi networks unless you really need to – Public Wi-Fi is a no-go zone for any internet user, as cyber attackers are always lurking.
- Keep your software up-to-date at all times – Ensure that all your programs and drivers are up-to-date so that if an opportunity to explore vulnerabilities presented itself, you’ll be protected.
How do I add a Local Security Policy in Windows 11?
Before you attempt to add the Local Security Policy to your version of Windows, it is important to ensure that your version is supported.
To do so:
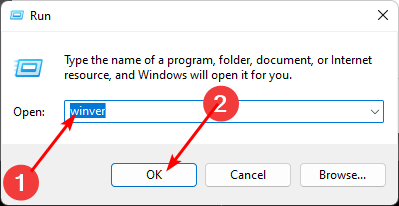
- Hit the Windows + R keys to open the Run command.
- Type Winver in the dialog box, then hit Enter. A prompt will appear with details about your OS.
Once you verify that your version of Windows can download the Local Security Policy console, proceed to the following steps to add it.
1. Use Task Manager
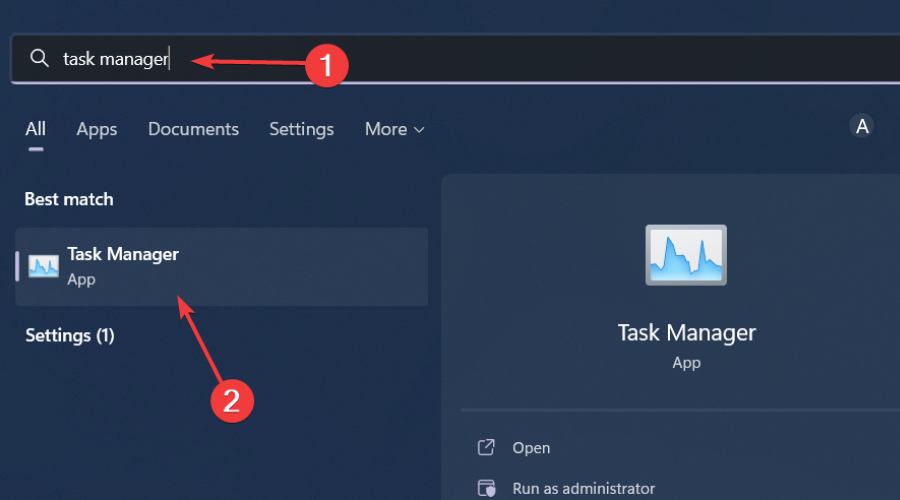
- Hit the Windows key, type Task Manager in the search bar, and click Open.
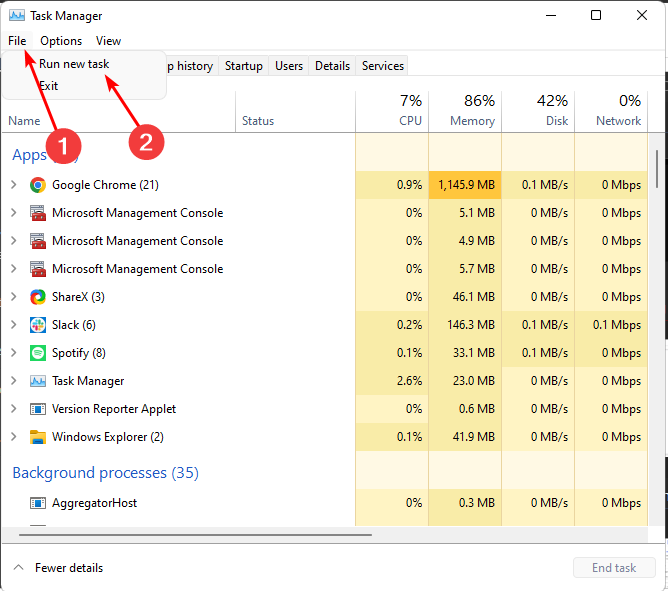
- Click File at the top left corner and select Run new task.
- Type secpol.msc in the dialog box and hit Enter.
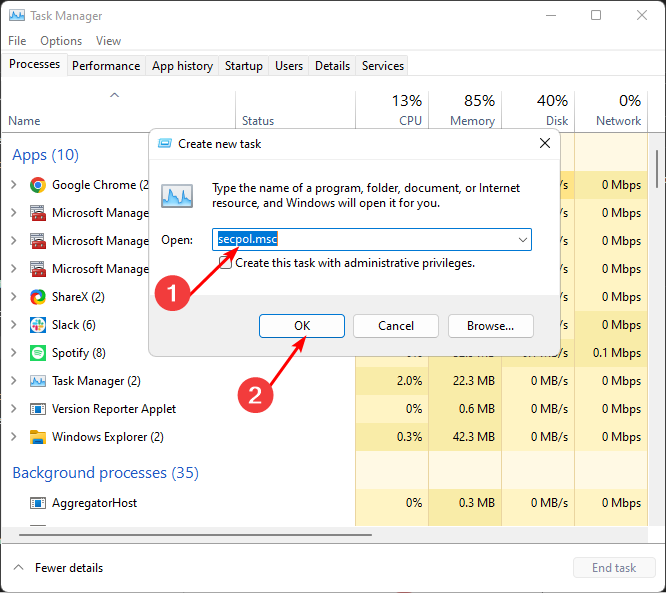
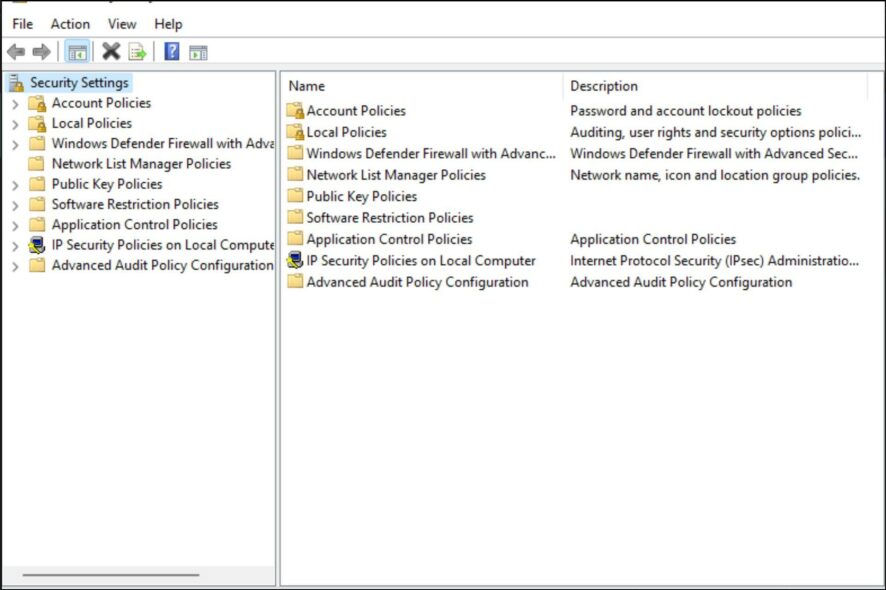
- The Local Security Policy window will open.
2. Use File Explorer
- Hit the Windows + E keys to open File Explorer.
- Type secpol.msc on the address bar and hit Enter.
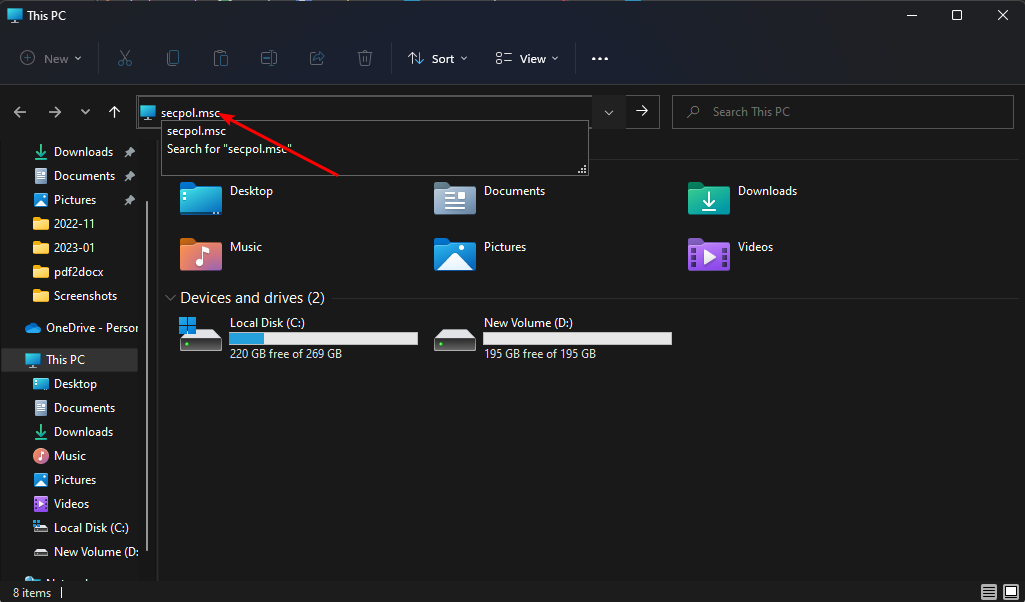
- The Local Security Policy window will open.
3. Use the Run command
- Hit the Windows + R keys to open the Run command.
- Type secpol.msc in the dialog box and hit Enter.
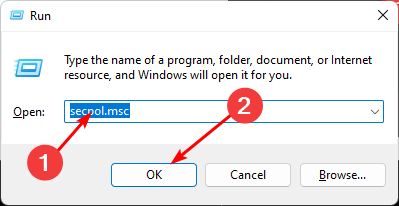
- The Local Security Policy window will open.
4. Use the Command Prompt
- Hit the Windows key, type cmd in the search bar, and click Open.

- Type secpol.msc and hit Enter.
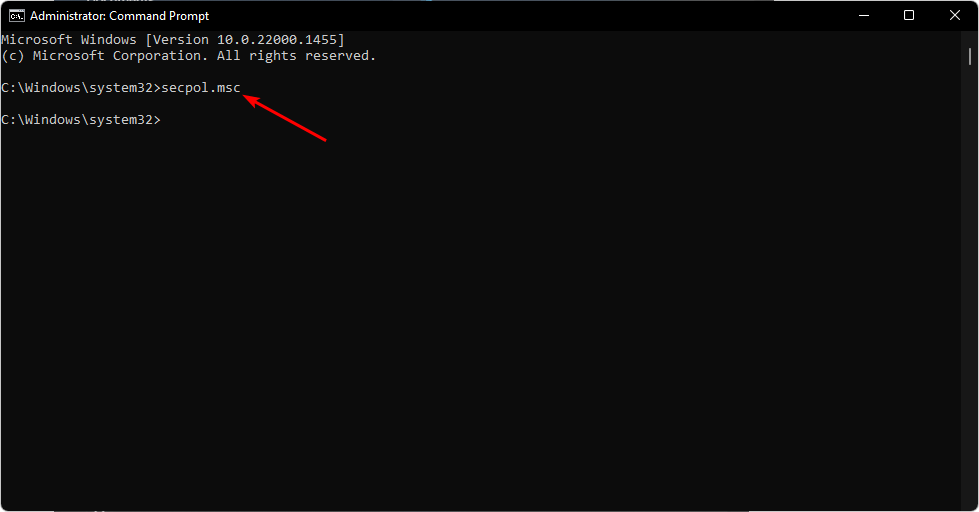
- The Local Security Policy window will open.
5. Use Powershell
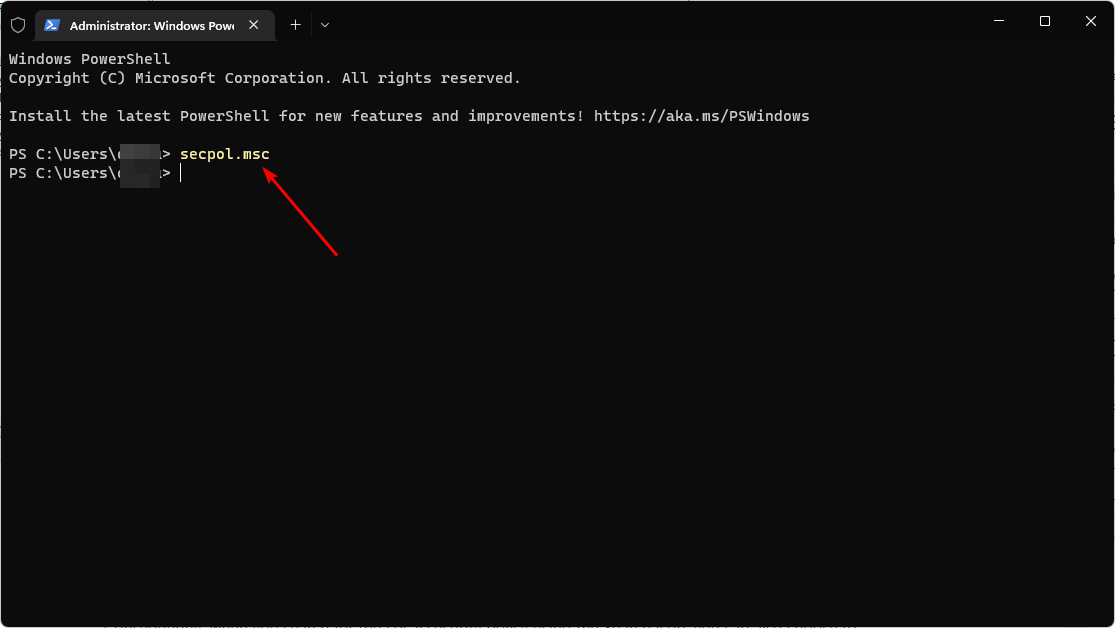
- Hit the Windows key, type Powershell in the search bar, and click Open.
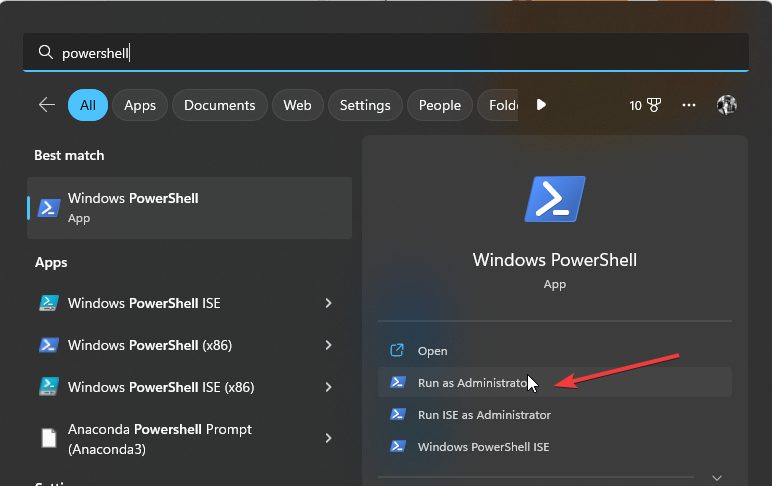
- Type secpol.msc and hit Enter.
6. Create a shortcut
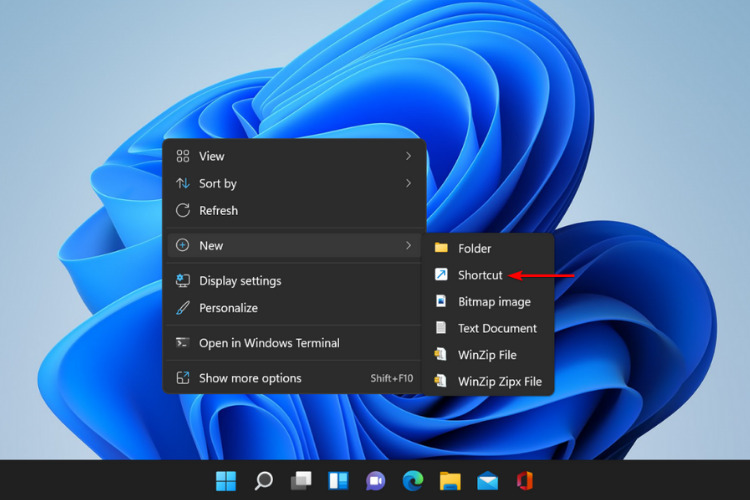
- Right-click on an empty space on your desktop and select New shortcut.
- Type secpol.msc in the dialog box, then hit Next.
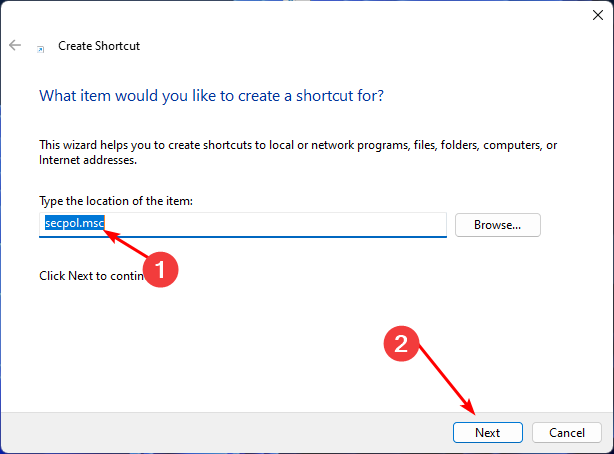
- A new shortcut for Local Security Policy will be created on your desktop.
If you’re already familiar with creating shortcuts in Windows 11, creating a shortcut for the Local Security Policy should be easy. Shortcuts are very useful for making your life easier and more efficient.
Creating a shortcut is the most efficient way to add the Local Security Policy, especially if you don’t want to go through multiple steps.
Consequently, when you search for the Local Security Policy using the Search icon, you can pin it to your Taskbar. This will make it appear alongside your frequently used applications and be easy to locate.
For more information on how to open the Local Security Policy, check out this guide on how to open Local Security Policy.
With all this talk about security, you may also be interested in some of the best Windows 11 security settings to ensure your system is attack-free. Remember, effective account management is just as critical to security, and you may consider enabling Local Users and Groups.
If you’ve been able to add the Local Security Policy in Windows 11, let us know which method you found easy to use in the comment section below.
Read our disclosure page to find out how can you help Windows Report sustain the editorial team. Read more


Improve this guide


User forum
0 messages