How to Setup Auto Reply Mail Flow Rule in Office 365
Mail flow rules are used to implement specific messaging policies
Key notes
- Have you ever wanted to set up mail flow rules for your Office 365?
- We have created a dedicated guide on this so that you can configure your mail flow rules to your liking.
- The dedicated Exchange Admin Center allows you to create and set up new rules in a few minutes.

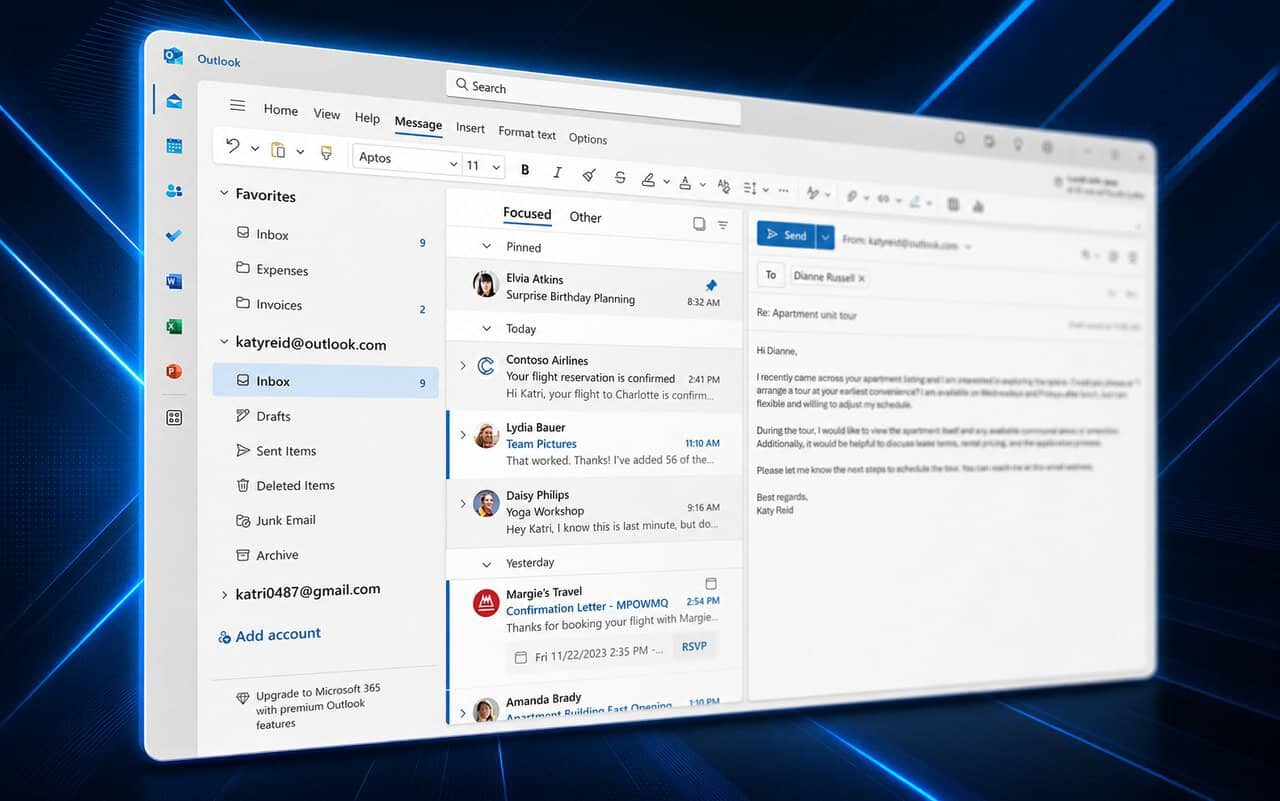
Are you trying to set up mail flow rules for external email messages in Office 365? They work in a similar way to the Inbox rules that are currently available in Outlook.
You can use these mail flow rules to look for specific conditions on messages that pass through your organization. However, the main difference is that mail flow rules take action on messages while they’re still in transit, and never after a message is delivered to the mailbox.
Overall, the flexibility to implement many types of messaging policies is too good to refuse. All messages that flow through your organization could be evaluated against the enabled mail flow rules in your organization.
So, keep on reading the below steps and learn how to master them.
How can I set up mail flow rules in Office 365?
1. Navigate to Exchange Admin Center and sign-in using your credentials.

2. Go to Mail flow > Rules.
3. Now, click on Create a new rule… .

4. You now have multiple options:
- Click the Add + icon and select a template in order to create a rule from a template.
- To copy a rule, select it. Then, select the Copy icon.
- To create a new rule from scratch, click the Add + icon. Next, select Create a new rule.
5. In the New rule dialog box, give a name to the rule.
6. Then, select the conditions and actions for this rule:
- In Apply this rule if…, choose a condition from the list of available conditions.
- In Do the following…, select the action you want the rule to take on messages matching the criteria from the list of available actions.
- Under Audit this rule with severity level, also select a severity level for the rule.
- Set the mode for the rule: Enforce, Test with Policy Tips, or Test without Policy Tips.
7. Click More options in the bottom left corner if you want to add more conditions or actions, or if you want to specify exceptions.

8. Finally, click Save and you’re done.
Mail flow rules can be easily set up via the Exchange Admin Center. From there, you can create a new rule to your liking by giving it a name and configuring its conditions and actions.
Note: It can take up to 30 minutes and more for the new rule to be applied to email.
To make sure that you have successfully created a new mail flow rule, run the following command on Exchange Online PowerShell: Get-TransportRule “Mark messages from the Internet to Sales DG”.
With that said, here’s how you set up mail flow rules for external email messages in Office 365. If you still need our help, contact us anytime by using the comments area below.
Read our disclosure page to find out how can you help Windows Report sustain the editorial team. Read more


Improve this guide


User forum
0 messages