How To Make Index Cards in Word: 5 Ways to do it
This can be achieved by adjusting layout settings
3 min. read
Updated on
Read our disclosure page to find out how can you help Windows Report sustain the editorial team. Read more

Creating index cards in Word can be a bit tricky if you’re not familiar with the layout settings and options available. If that’s the case, keep on reading to learn how to make index cards in Word with ease.
How do I make a 3×5 index card in Word?
1. Create index cards using layout settings
- Open Microsoft Word and start a new blank document.
- Click on the Layout tab on the ribbon at the top of the screen. Choose Orientation and select Landscape.
- Click on Size and choose More Paper Sizes.
- In the Paper Size dropdown, select Custom Size.
- Enter the dimensions for your index cards (e.g., Width: 5 inches, Height: 3 inches for 3×5 index cards).
- Click on Margins and set your desired margin size to control the whitespace around the edges of the card.
- Type the content you want on your index card. To create another card, press Ctrl + Enter to insert a new page.
You can also use Go to File > Save As and choose Word Template to save this design as a template and reuse it.
2. Use envelopes & labels printing settings
- Open Word with a blank document, and click on the Mailings tab in the top toolbar.
- In the Mailings tab, click on the Labels button.
- A new window will open. Go to the Labels tab and click Options.
- Select Index Cards from the list. If not available, create a new custom label with the desired dimensions (e.g., 3×5 inches or 4×6 inches).
- Fill in the text or content you want on your index cards.
3. Create a manual layout with table cells
- Open a new document in Word.
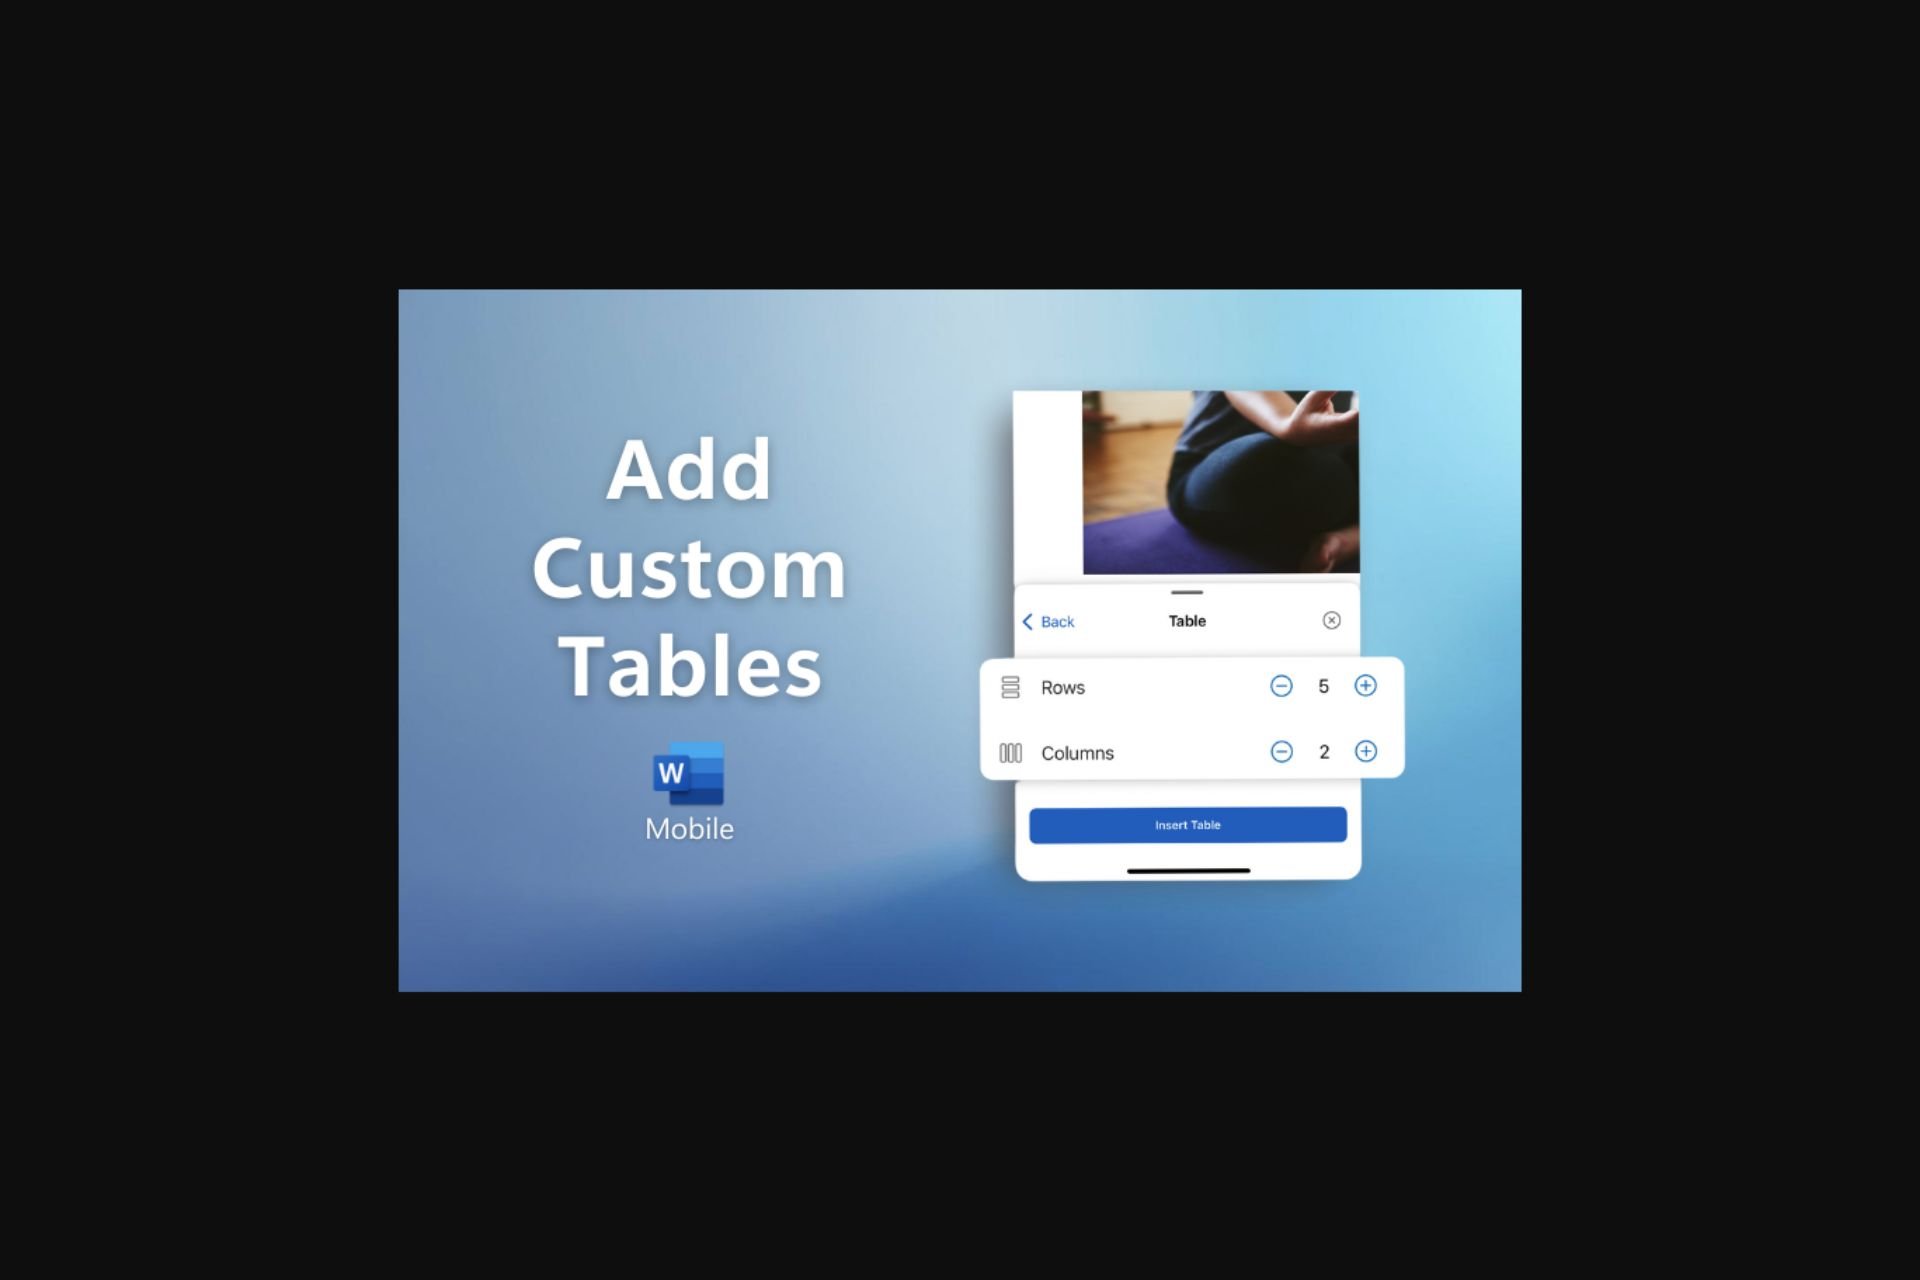
- Click on the Insert tab, select Table, and choose the number of rows and columns based on how many index cards you want to fit on one page.
- Right-click on the table and select Table Properties.
- Set the dimensions of each cell to match the size of your index cards (e.g., 5×3 inches).
- Click inside each cell and type or insert the content for each index card.
4. Download and use templates
- In Word, Click on File and then New.
- In the search bar, type flashcard or index card.
- Browse through the available templates and select the one that fits your needs.
- Once the template is loaded, you can customize the text, colors, and layout to suit your requirements.
5. Print multiple index cards on a single sheet
- Create a single card layout following the steps in solution 1. Make sure you save the design as a template.
- Copy the entire card content.
- Paste it multiple times within the same document to fit multiple cards on one sheet.
Now you know how to make index cards in Word, so go ahead and give it a try! To learn more, we have a great guide on how to create a table of contents in Microsoft Word or how to create a fillable form in Word. You can also learn how to use business card templates.
If you want to create something else than index cards, don’t miss our article on how to make a checklist in Microsoft Word for more information. We also have a guide on Microsoft Word brochure templates that might come in handy.




User forum
0 messages