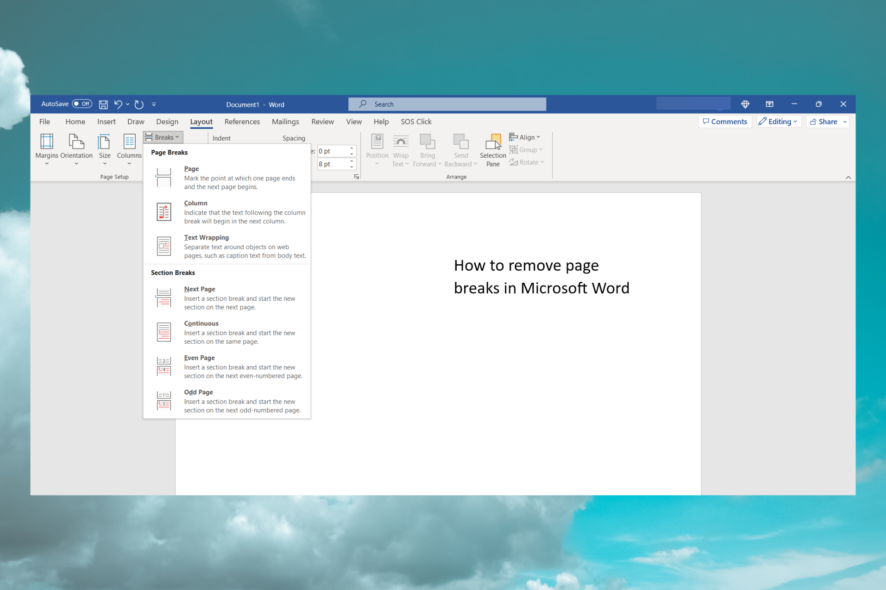
How to Remove Page Breaks from Microsoft Word with Ease
Make sure to turn off Track Changes first
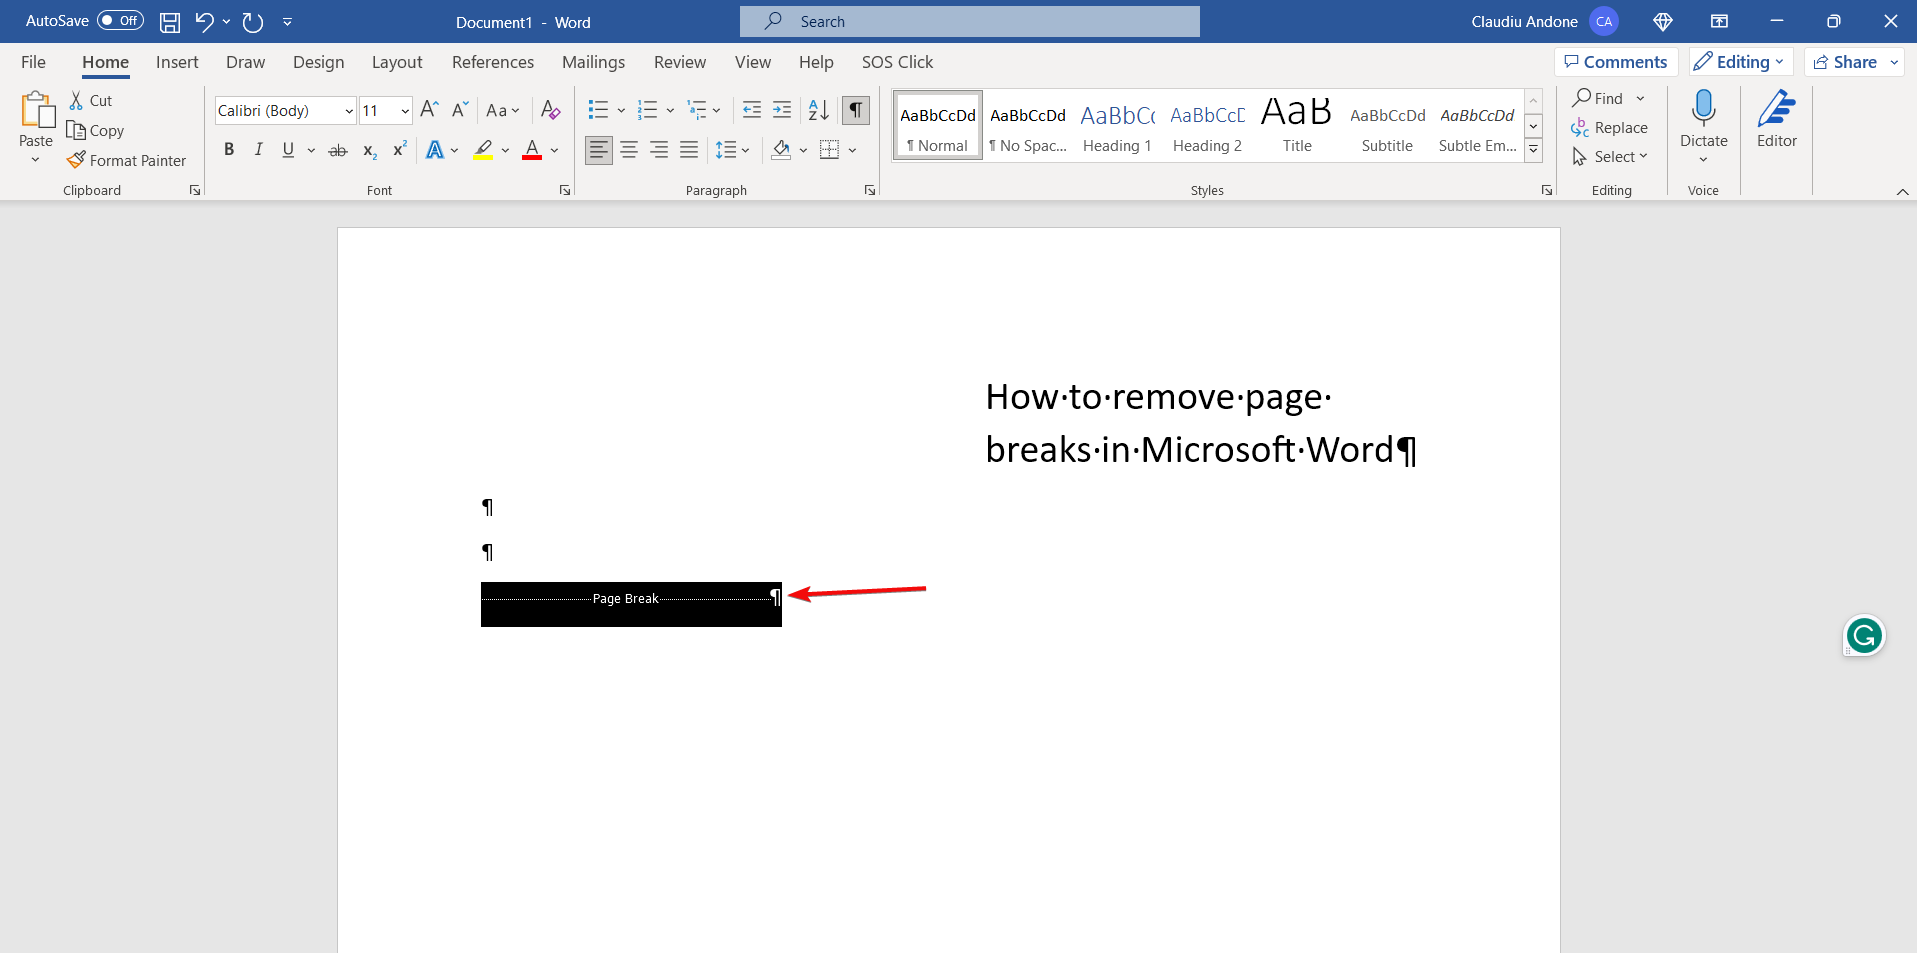
To see the page breaks, click the Home tab, then hit the Show/Hide button from the Paragraph section. You will immediately see the words Page Break in the middle of the dotted lines. This way, you will also see a lot of other special formatting, like paragraph marks, and more.
First, ensure the Track Changes feature is off because otherwise, you won’t be able to see or remove the page breaks. To do so, click the Review tab, go to Track Changes in the Tracking group, and select Track Changes from the drop-down menu to turn it off.
How do I remove a page break in Microsoft Word?
1. Use the Show/Hide option
- Open the document you want to remove the page breaks from.
- Click the Home button and select the Show/Hide icon as described above to reveal the page breaks.
- Now, just double-click or select the page break in your document and press the Delete button on your keyboard.
This is the easiest way to remove a manual page break in Microsoft Word. If you want to insert a page break in Word, use the Ctrl + Enter key combination. There is no shortcut to delete it, though.
We also have a guide on how to remove page breaks in Google Docs if you’re working in that editor.
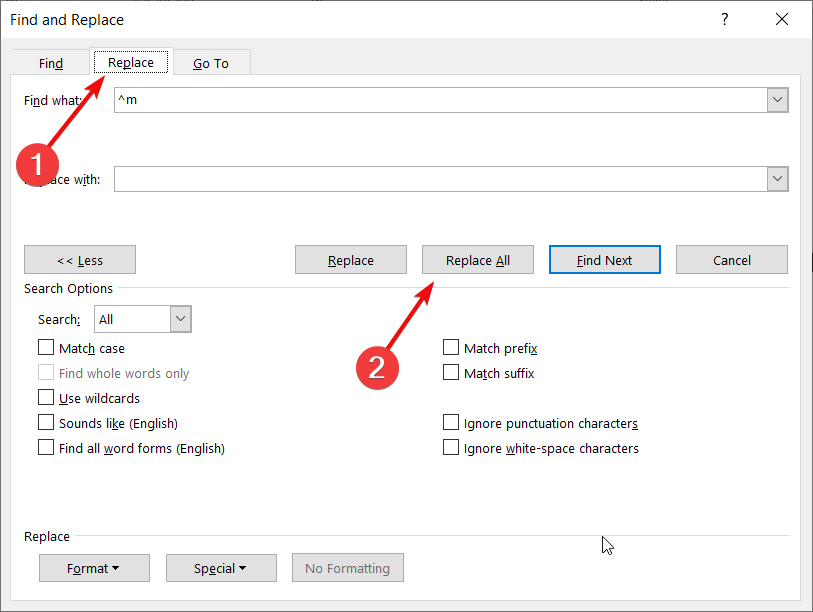
2. Use Find and Replace
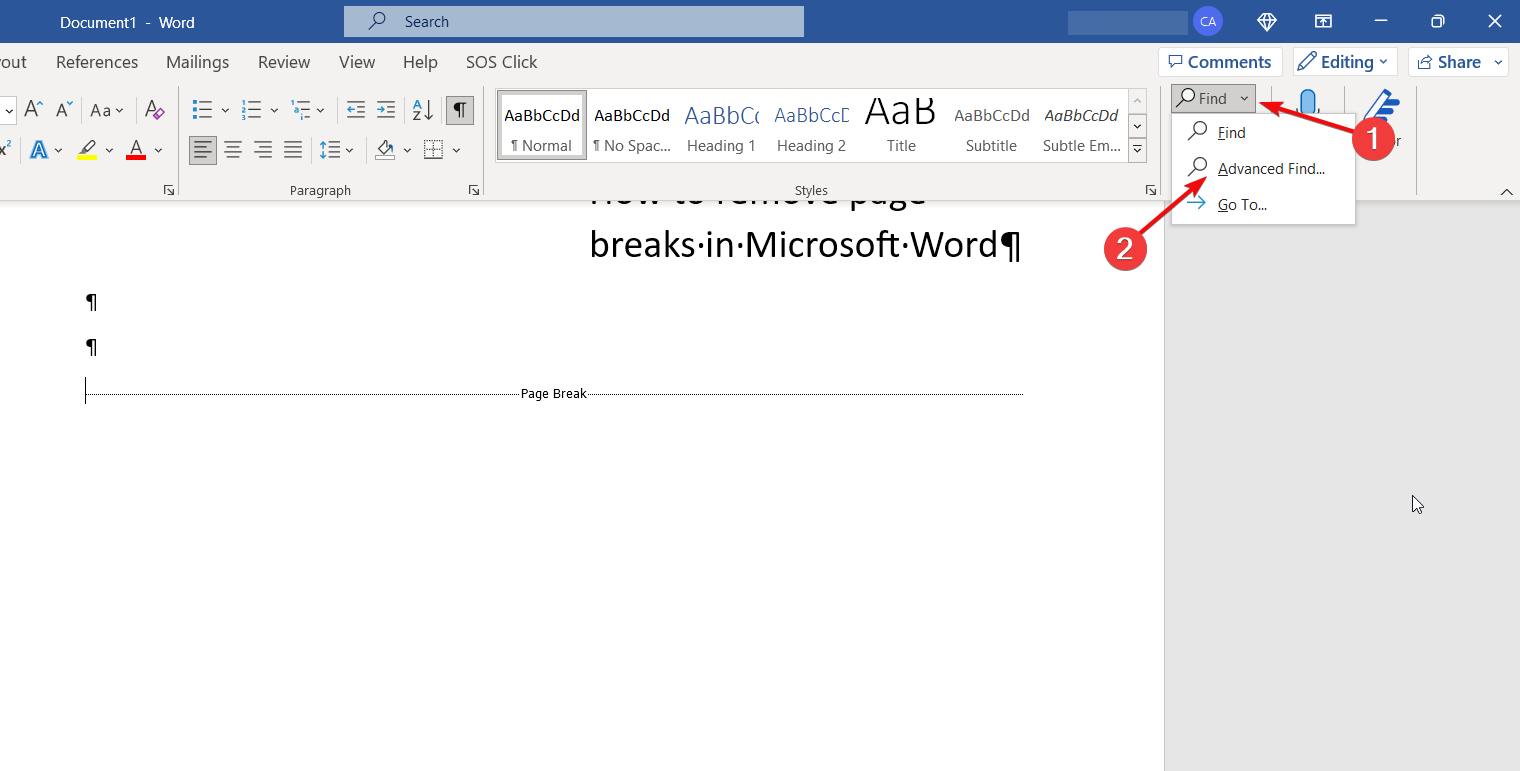
- Click on the arrow next to the Find option in the Home tab, then select Advanced find from the drop-down menu.
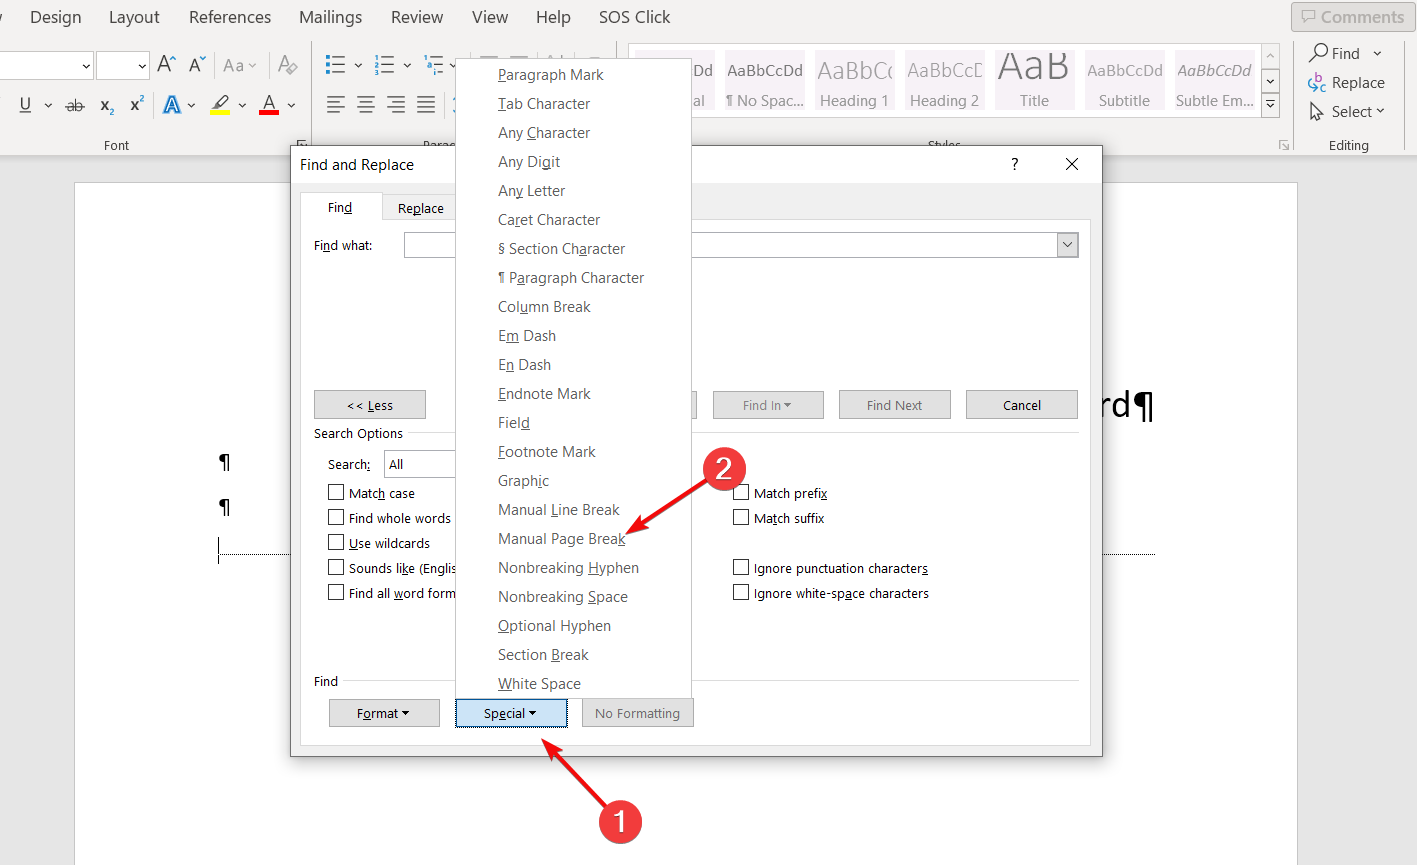
- Now, click on the Special button from the bottom of the dialog box and select Manual Page Break from the list of options in the Special menu.
- Finally, click on the Replace tab leave an open space in the Replace with field and click the Replace all button.
- This action will automatically delete all the page breaks in your document.
You should know that there are also Automatic Page Breaks in Word. However, you can’t remove those because they are the natural delimitations of the page.
However, you can always make the used space bigger by making the margins bigger, and obviously, the Automatic Page Breaks will be further apart.
For other formatting issues, you may also want to remove a section break in Microsoft Word to keep your document layout consistent.
What happens if I remove the page breaks?
The page breaks send the text after them to the next page, so if you remove them, the text will immediately move upwards, right where the page break was inserted.
Therefore, unfortunately, if you have used our second solution and removed all of them, you will need to reformat the entire document.
It is not so difficult to fix things by adding spacing instead. If you have further issues, we suggest reading our guide on what to do if you can’t edit a Word document.
So, now you know how to remove page breaks from Word and what happens if you do that. You can also create a different first page header if you like especially if you are adding a table of contents.
If none of the solutions worked for you, try to reset Word to its default settings and try again.
Also, if the Read out loud feature is not working in Word, the highlighted guide comes with the necessary solutions to fix it.
Have you managed to delete the page breaks in your Word document? Leave us a line in the comments section.
Read our disclosure page to find out how can you help Windows Report sustain the editorial team. Read more


Improve this guide


User forum
0 messages