How to Fix Windows 11 Miracast not Working [Step-by-Step]
Key notes
- If Miracast doesn’t work on your PC, then you won’t be able to mirror your other device’s screen to your PC for better content cosumption.
- This guide gives you some effective solutions to fix the Miracast Windows 11 not working problem.
- You can try the option to connect both devices to the same Wi-Fi connection, update network drivers, run the troubleshooter, or tweak the Wireless Mode Selection value.

If Miracast isn’t working on your Windows 11 PC, don’t worry, it’s usually fixable. Common solutions include adjusting your connection settings, updating network drivers, and configuring your Wi-Fi adapter. We’ll walk you through each step below.
Miracast issues often stem from outdated drivers, compatibility problems, or Windows Firewall settings. Here’s how to troubleshoot and get it working again.
What can I do if Miracast is not working in Windows 11?
1. Connect both devices to the same Wi-Fi
- Click on the Wi-Fi icon on the bottom-right toolbar.
- Tap on the Wi-Fi button.
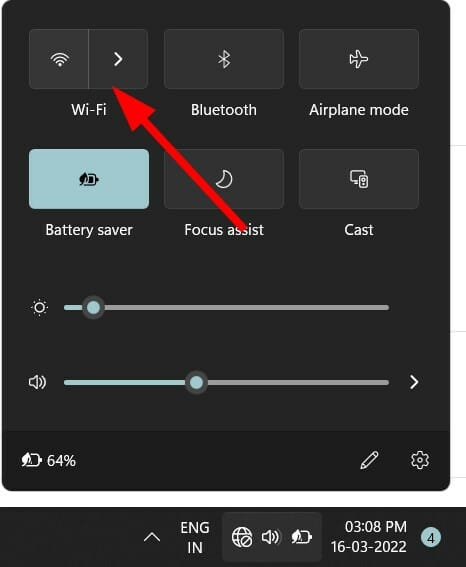
- Connect to your Wi-Fi network.
- Now connect the other device to this same Wi-Fi network.
Miracast works only if you connect your Windows 11 PC as well as the supported display to the same Wi-Fi network.
Follow the above steps to connect your Windows 11 PC to the Wi-Fi network, and make sure to connect the other device to the same network. You can now check if this fixes the Miracast not working error or not.
2. Update network drivers
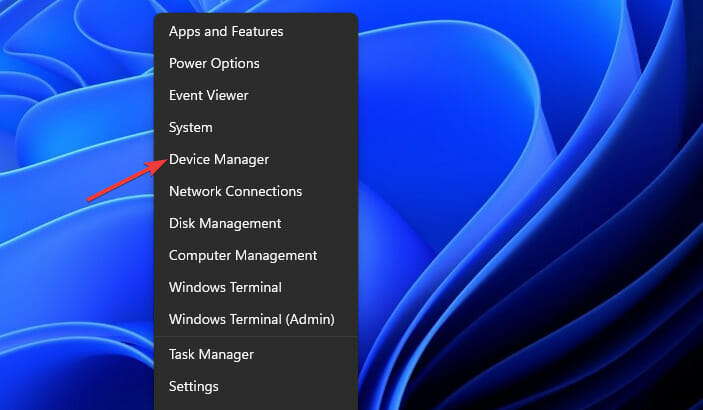
- Right click on the Start menu icon.
- Select Device Manager.
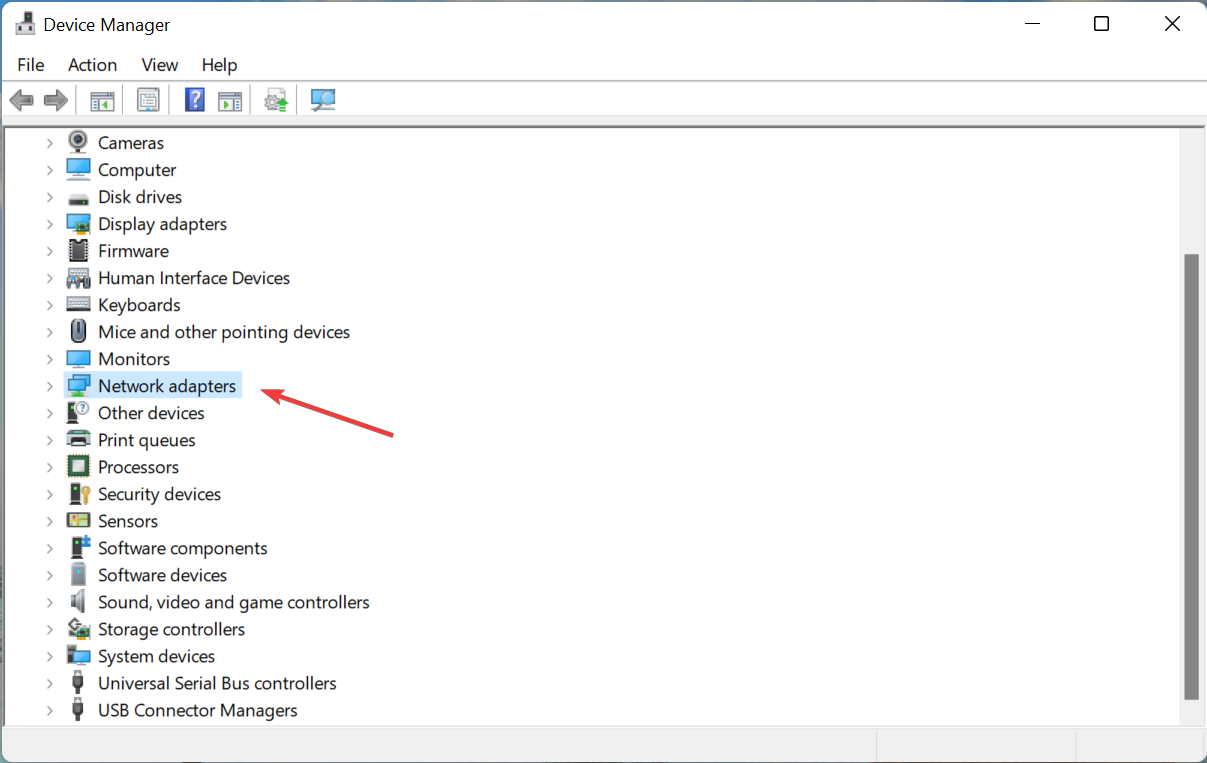
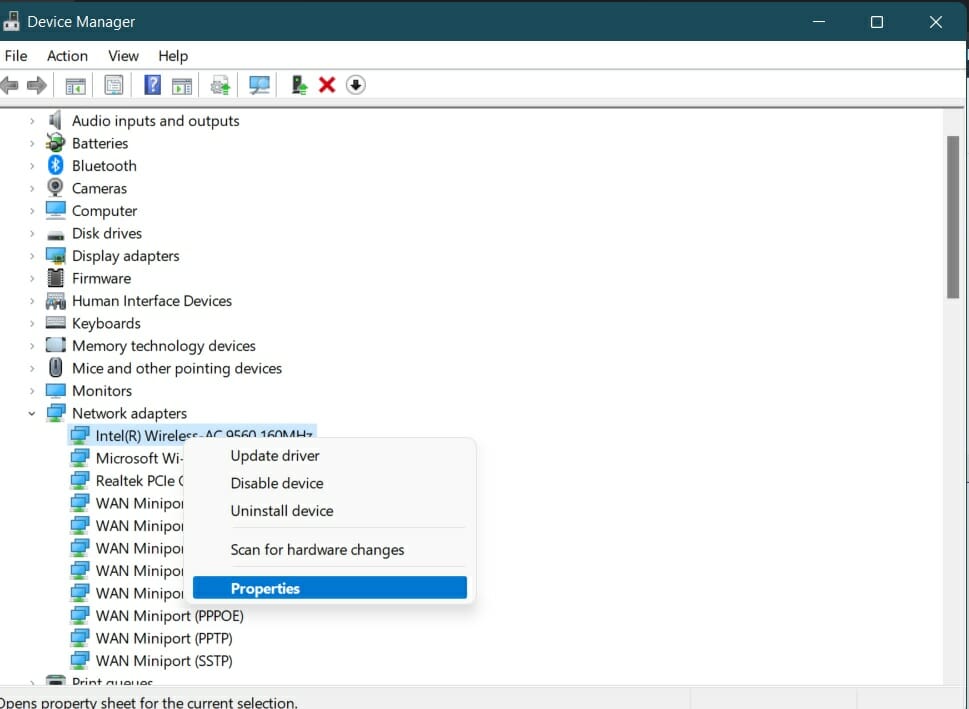
- Expand the Network adapters section.
- Right click on your Wi-Fi adapter and choose Update driver.
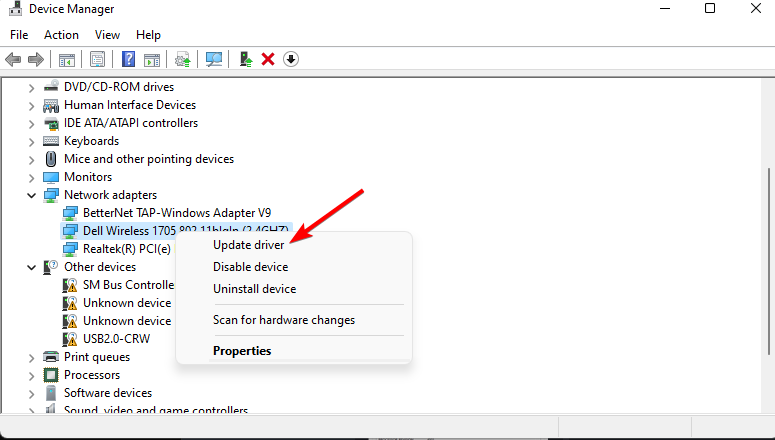
- Select Search automatically for drivers.
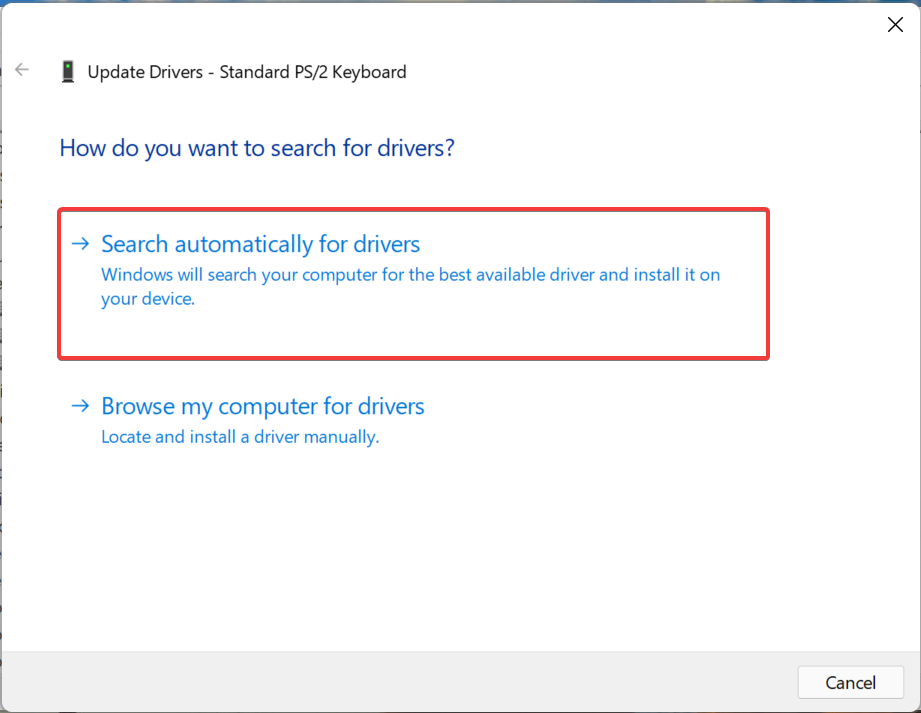
Windows will start looking for newly available network drivers and, if available, will prompt you to install the latest one.
This method is helpful if you see that the NdisVersion of your PC is outdated. Simply following the above steps will update your network driver and possibly fix the Miracast Windows 11 not working issue.
You can always rely on a dedicated driver updater tool for all your driver-related needs. This software scans for all outdated drivers shows you the result and prompts you to install all the updates.
You can fix errors such as faulty or broken driver files, update old device drivers, locate missing drivers, and much more with these tools.
3. Uninstall Wi-Fi adapter
- Right click on the Start menu icon.
- Select Device Manager.
- Expand the Network adapters section.
- Right click on your Wi-Fi adapter and choose Uninstall device.
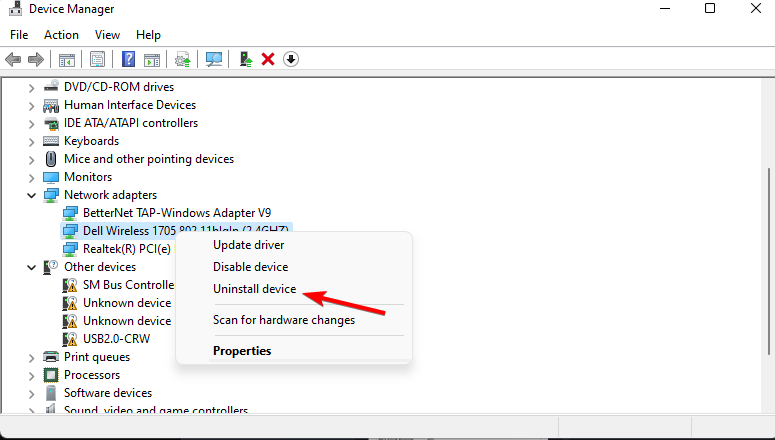
- Click Uninstall again to confirm the action.
- After uninstalling, below the menu bar, select Scan for hardware changes.

- Windows will start searching for the missing drivers.
- Close the Device Manager and check if this fixes the issue.
Reinstalling the Wi-Fi adapter will help fix several errors that could pop up, potentially because of missing or corrupted files.
There are chances that a file was missed during the previous installation or it got corrupted for some reason.
Hence, reinstalling the Wi-Fi adapter lets you eliminate those two possibilities, and maybe it will also help you fix the Miracast Windows 11 not working issue as well.
4. Run the troubleshooter
- Press Win + I keys together to open Windows Settings.
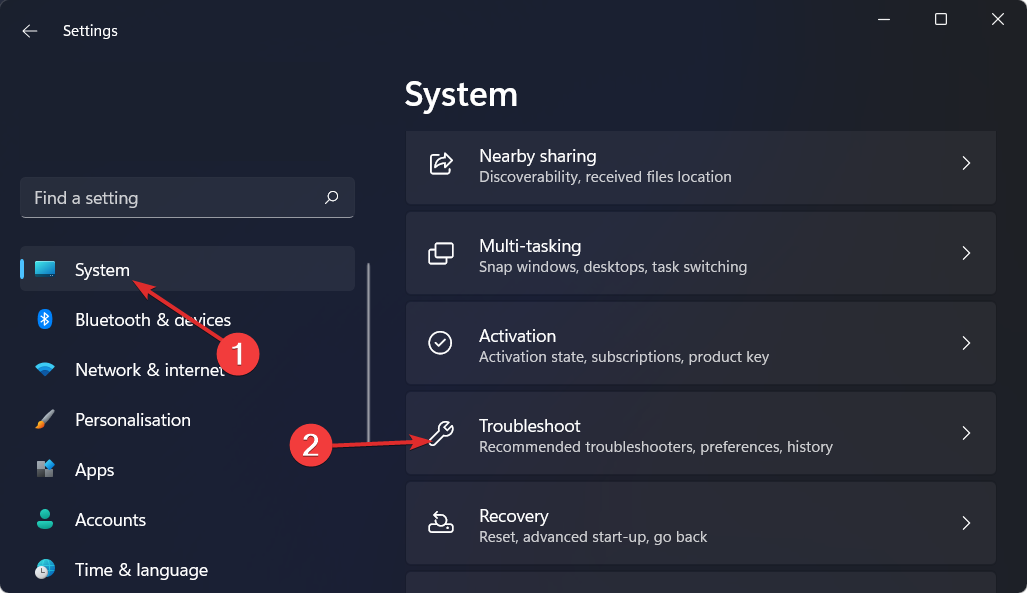
- Select System.
- Scroll down and select Troubleshoot.
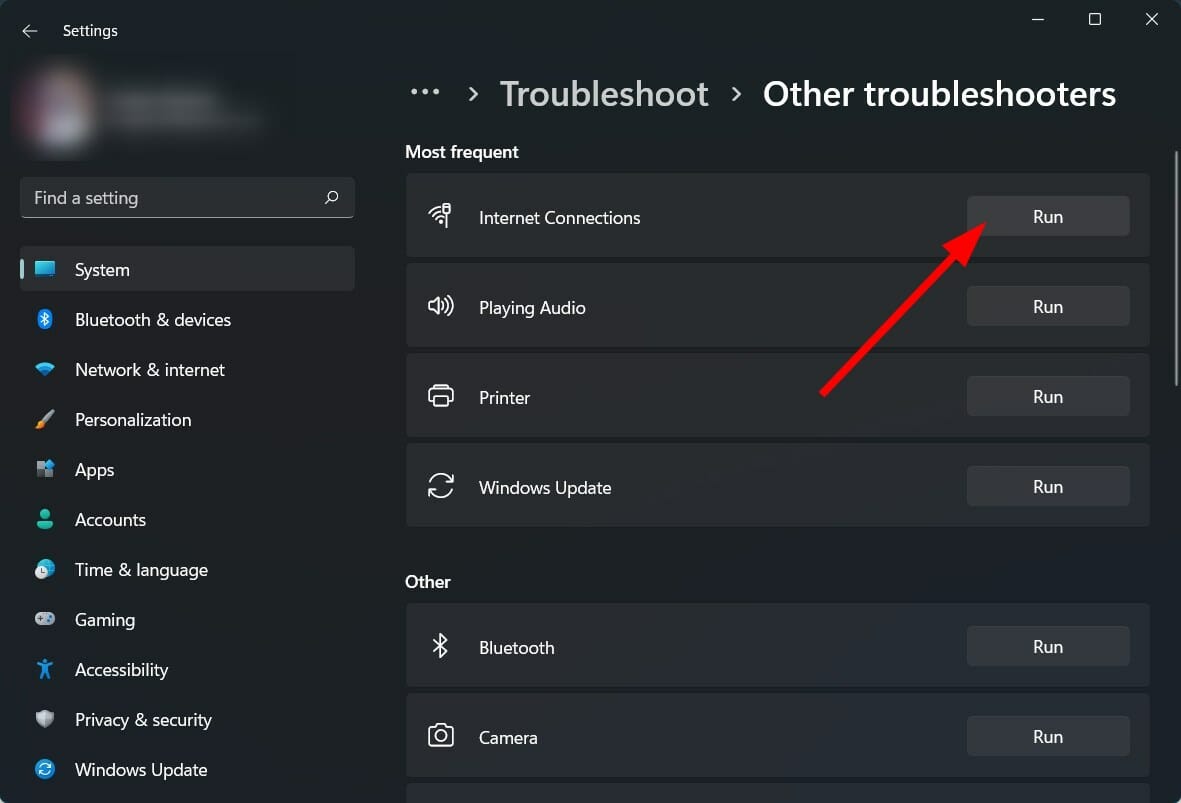
- Choose Other troubleshooter.
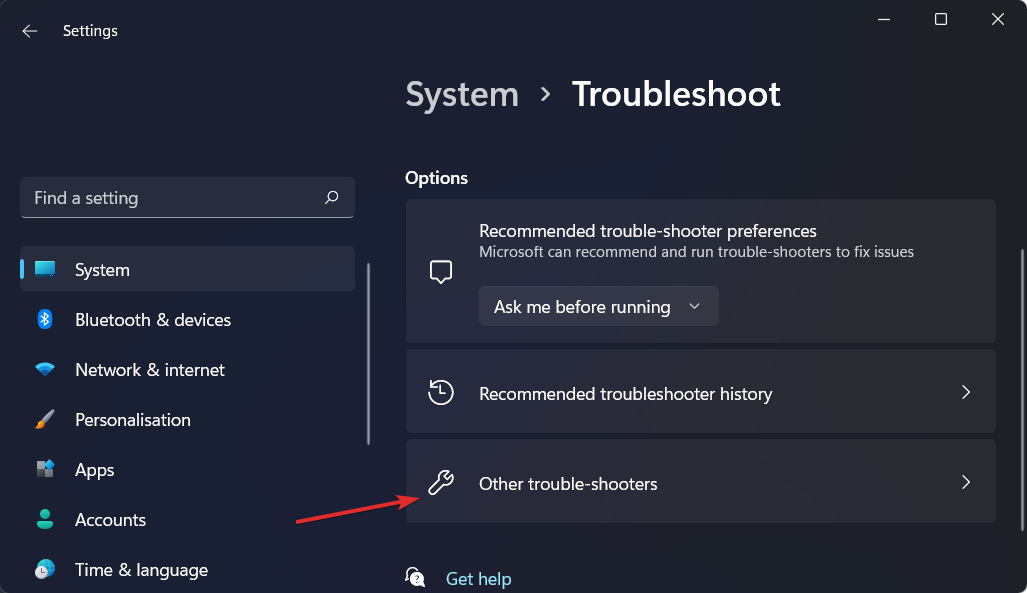
- Click Run next to the Internet Connections.
Windows 11, just like other versions of Windows, comes with an in-built troubleshooter that helps fix different problems related to your PC.
You can try running the connection troubleshooter in order to fix the problem with your network adapter and possibly fix the Miracast not working on your Windows 11 PC.
5. Configure Windows Firewall
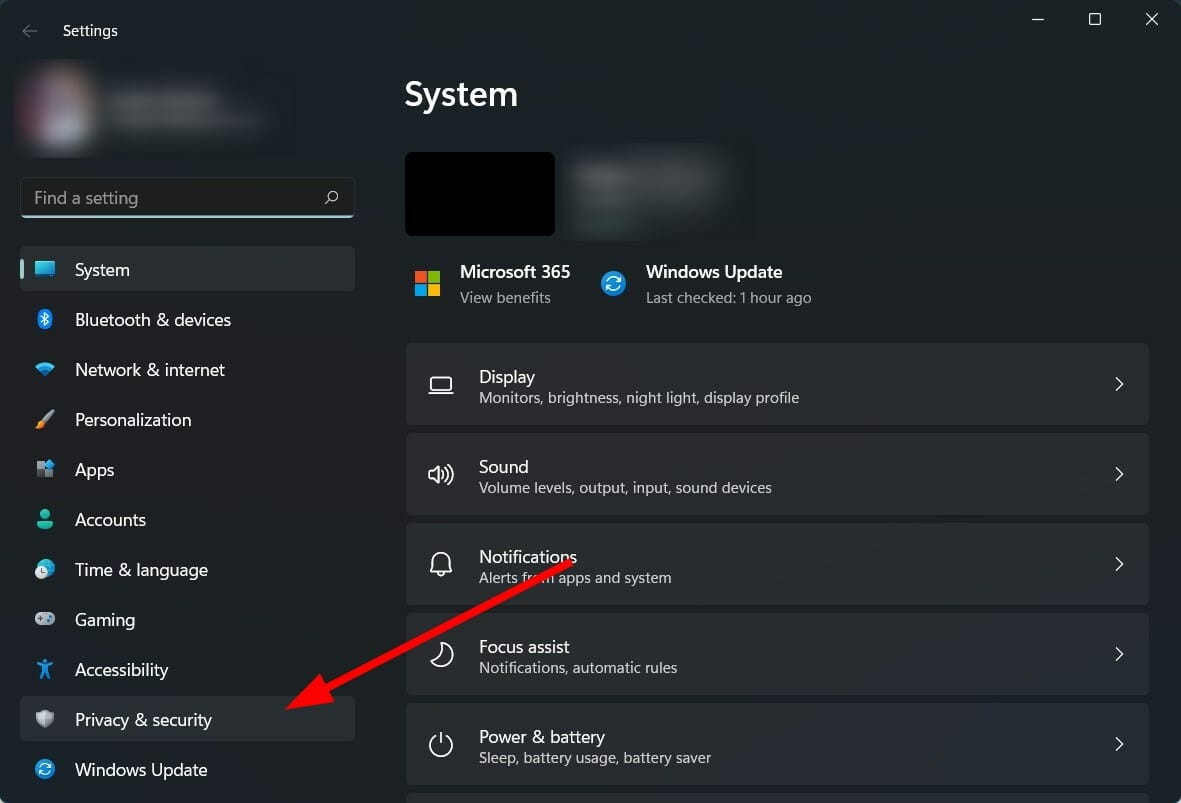
- Press Win + I buttons to open Windows Settings.
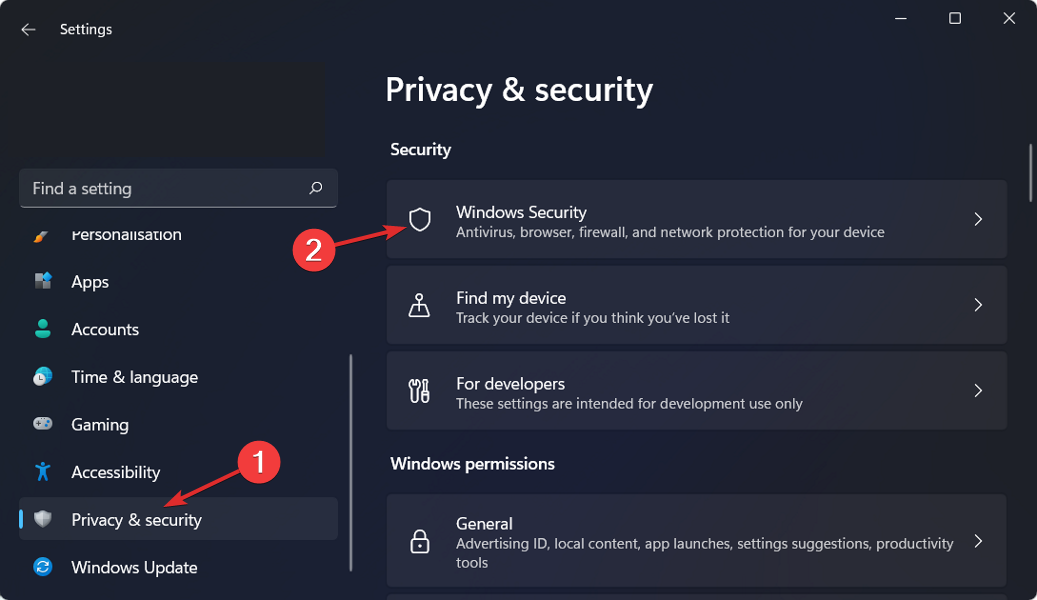
- Select Privacy & Security from the left pane.
- Click on Windows Security on the right side.
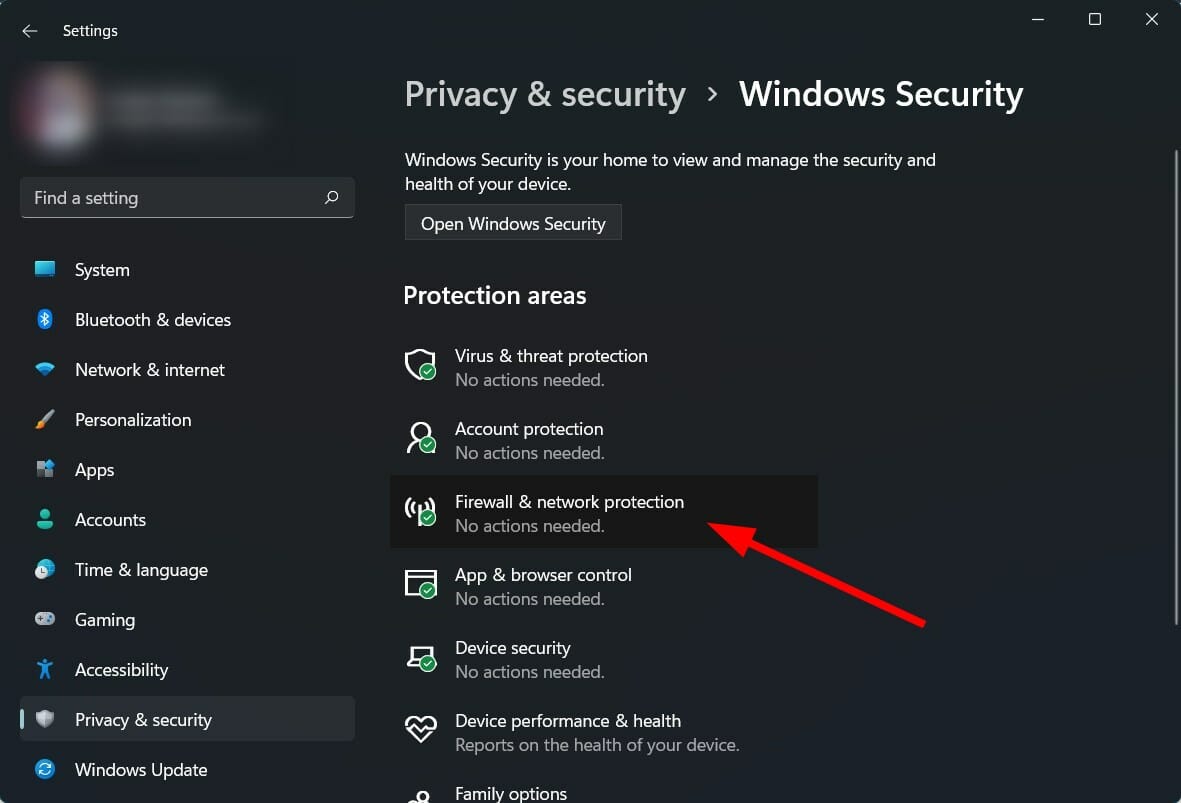
- Select Firewall & network protection option.
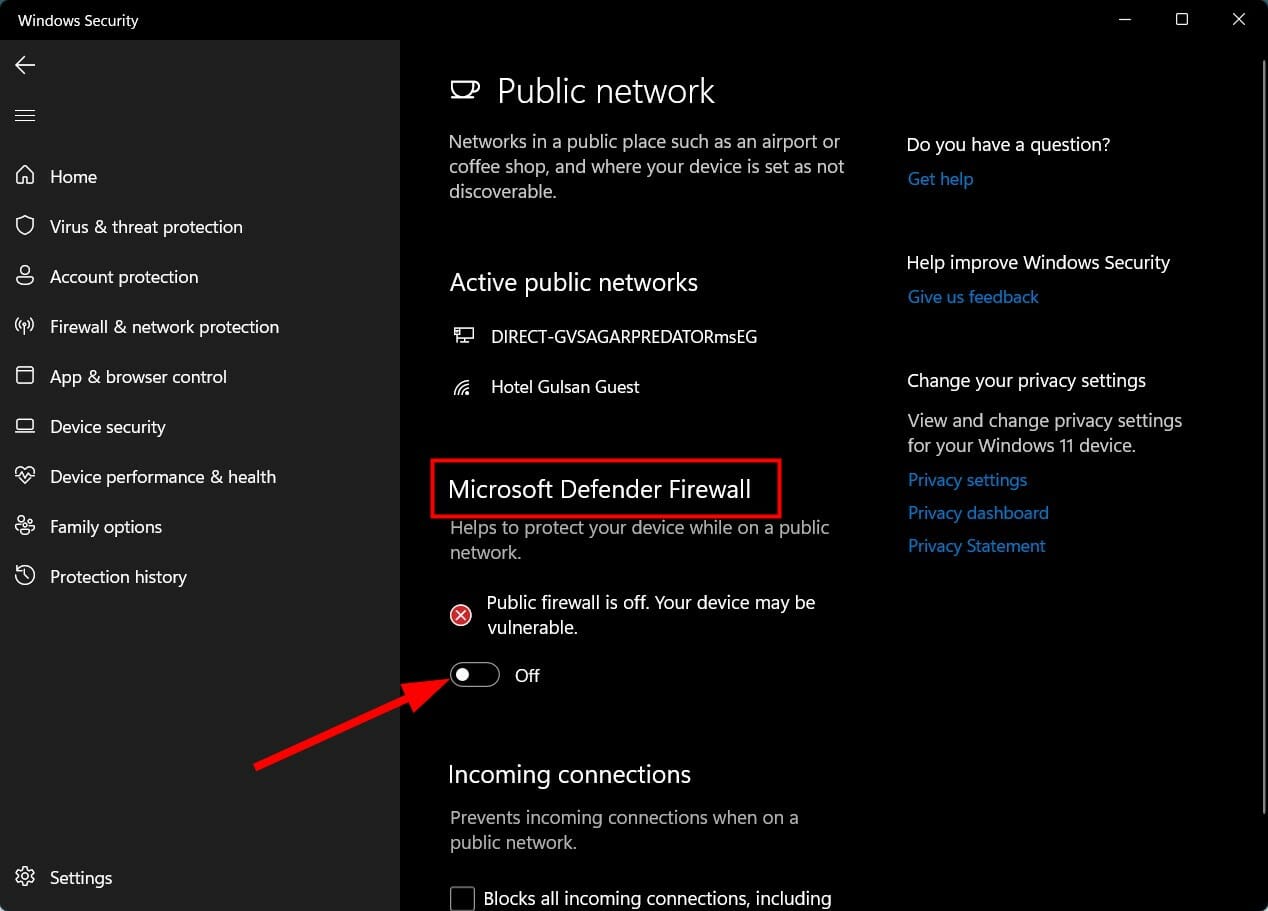
- Click on the Public network (active) profile.
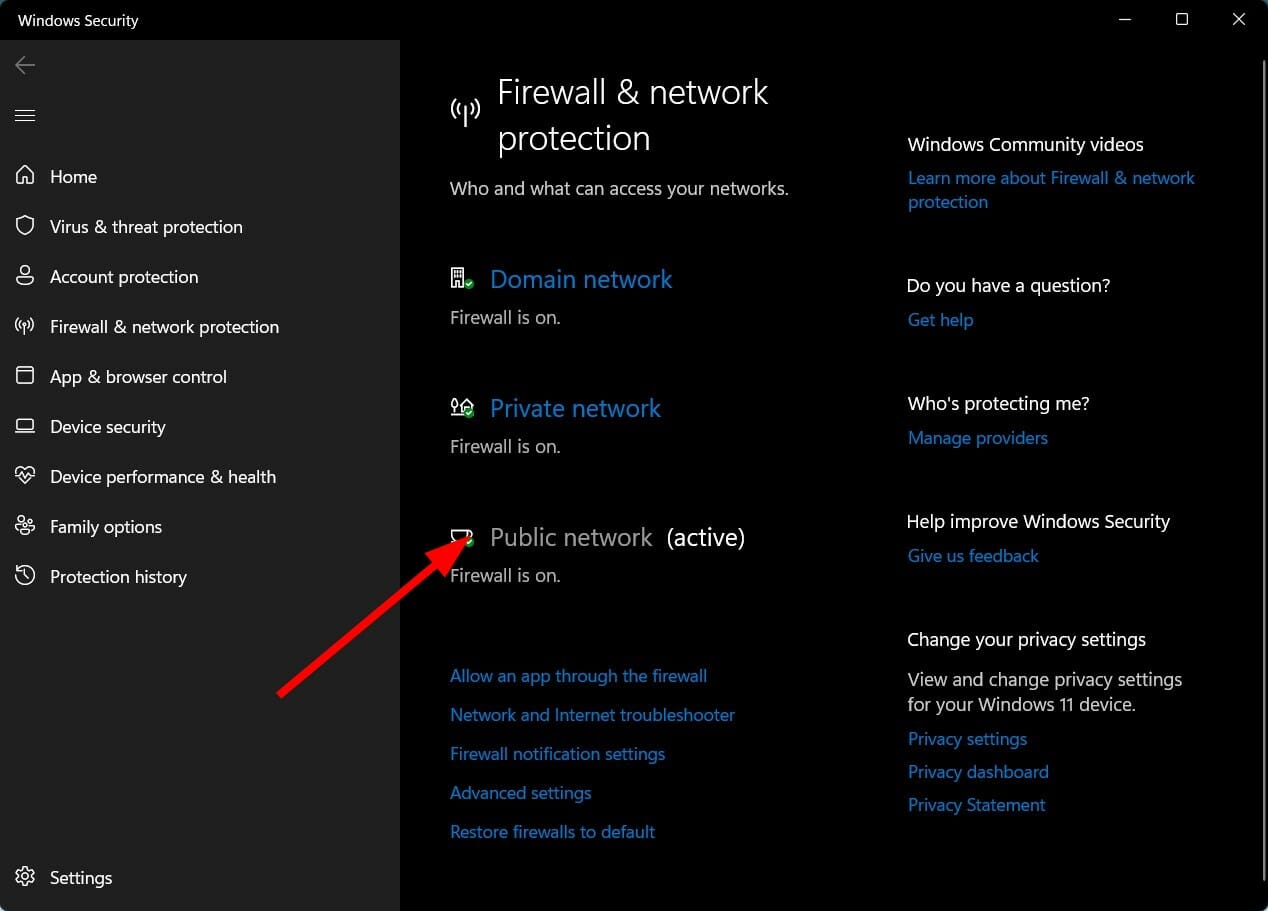
- Toggle off the switch for Microsoft Defender Firewall.
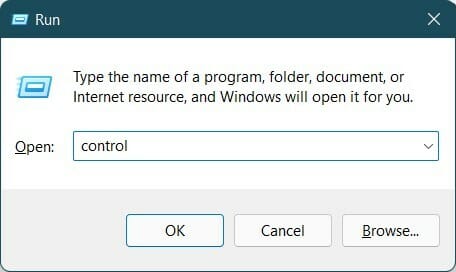
- Press Win + R to open the Run dialogue.
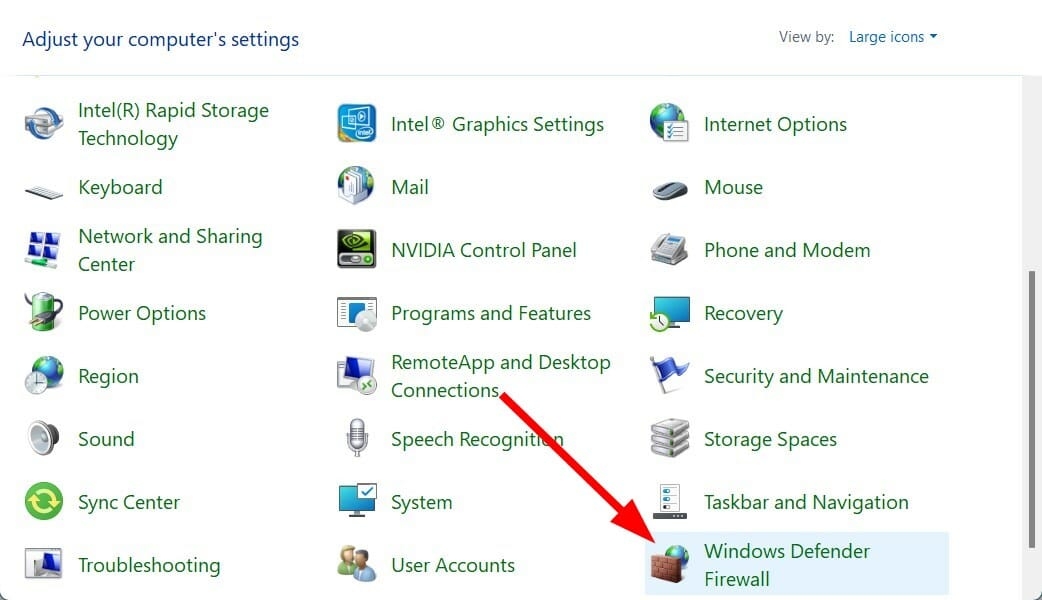
- Type control and hit Enter.
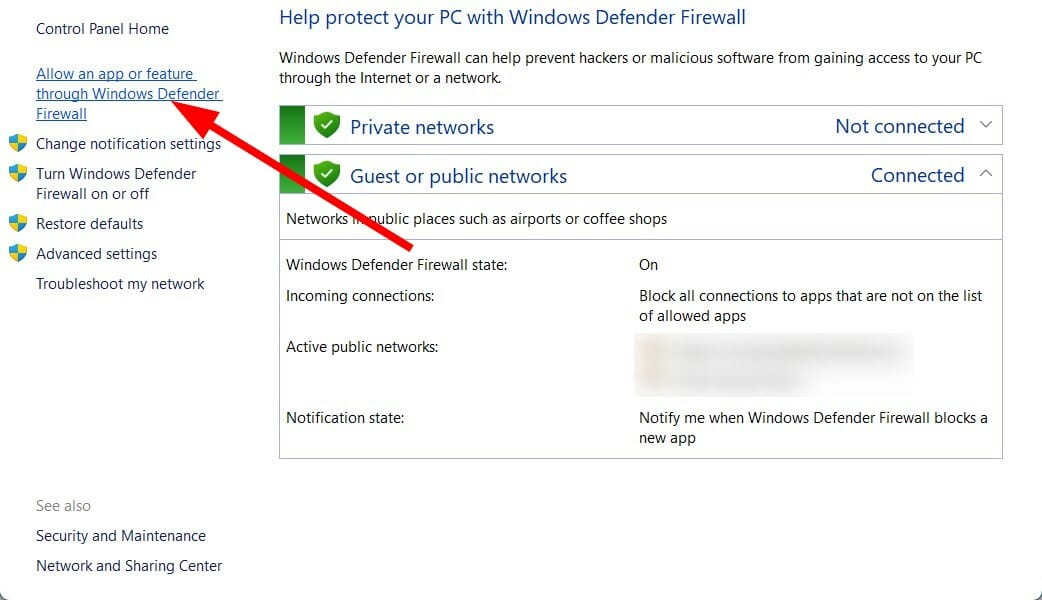
- Select Windows Defender Firewall.
- From the left side select Allow an app or feature through Windows Defender Firewall.
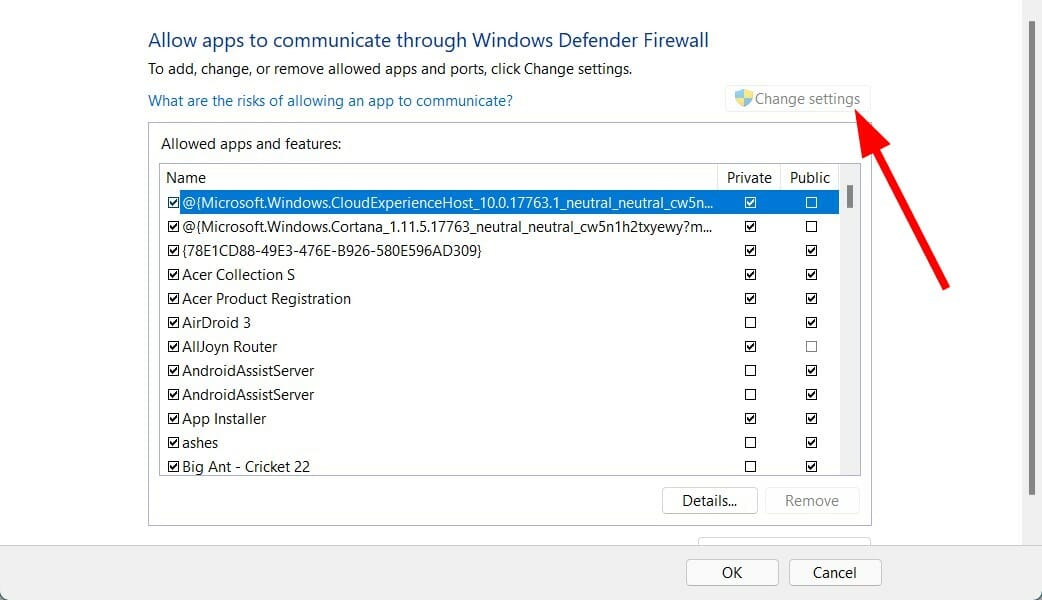
- Click on the Change Settings button in the top-right corner.
- Locate Wireless Display and then check the Private and Public box.
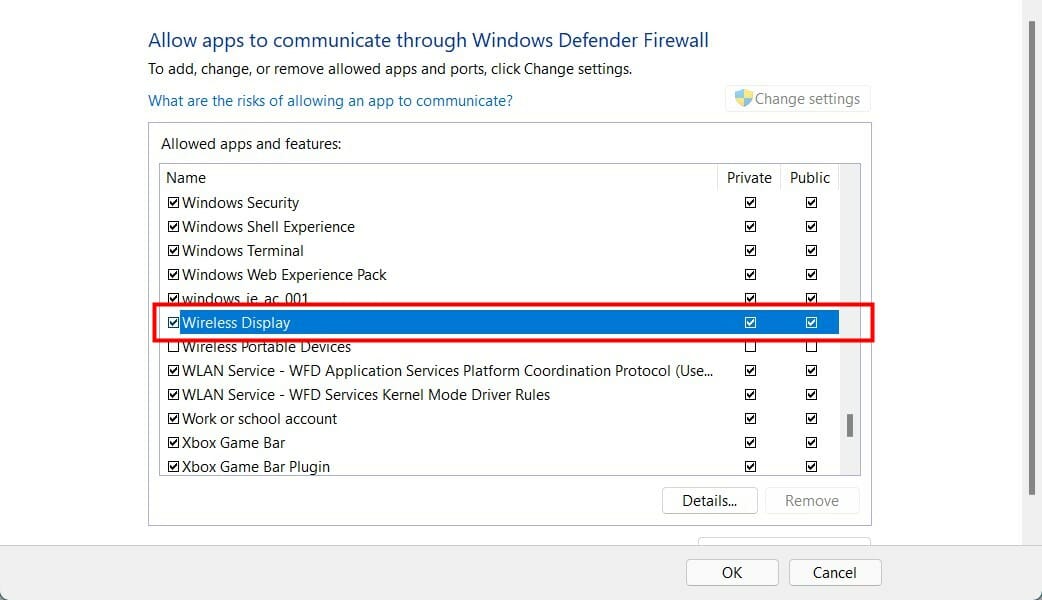
- Now, locate the Connect app and check the Private and Public box.

- Click OK to save the changes.
6. Change Wireless Mode selection value
- Press Win + R to open the Run dialogue.
- Type the below command and hit Enter:
devmgmt.msc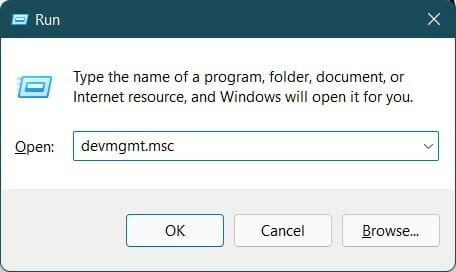
- Expand Network adapters.
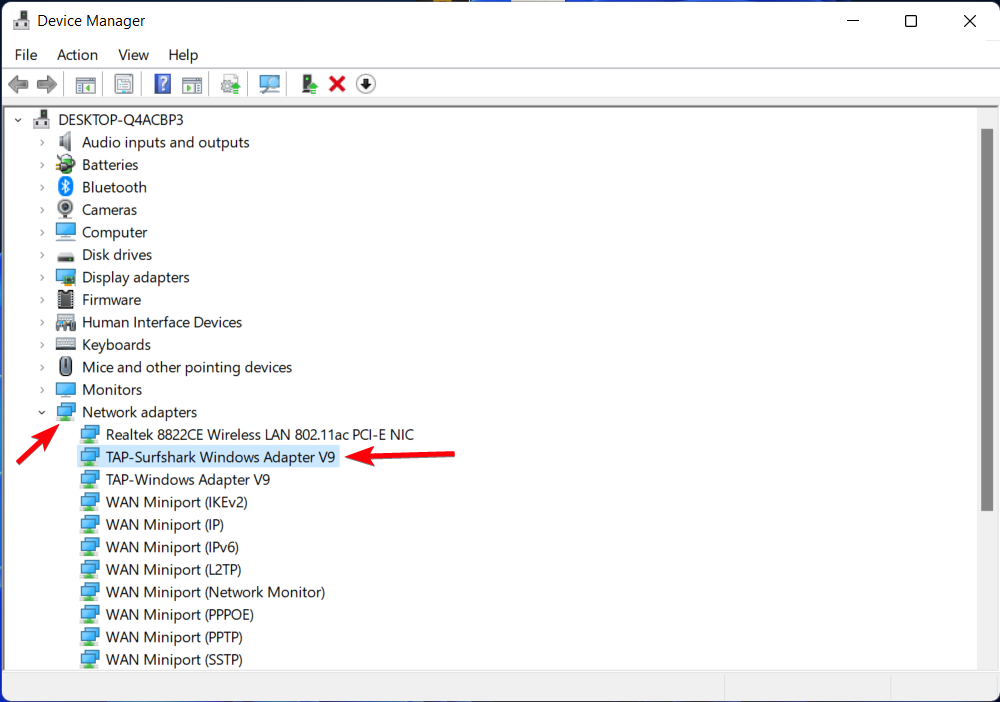
- Right click on your Wi-Fi adapter and select Properties.
- Select the Advanced tab.
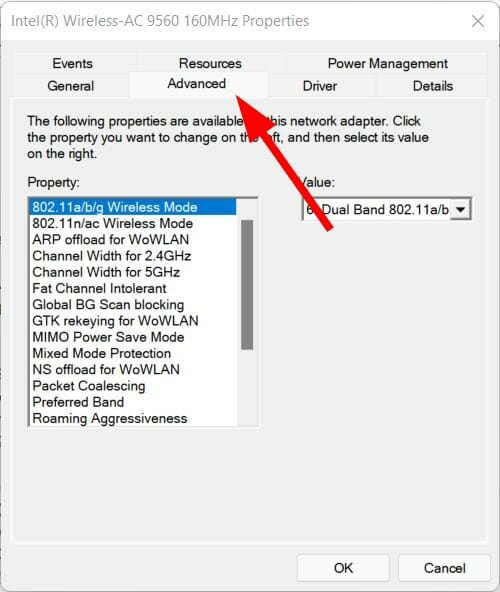
- Under Property, select 802.11 Wireless Mode.
- Click the drop-down for Value.
- Set it to Dual Band.
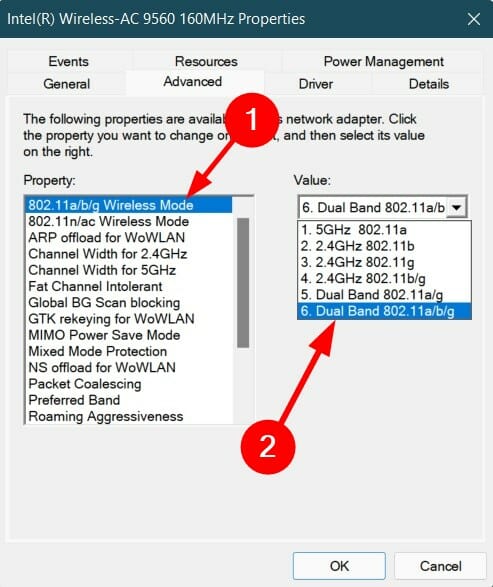
- Click OK to save changes.
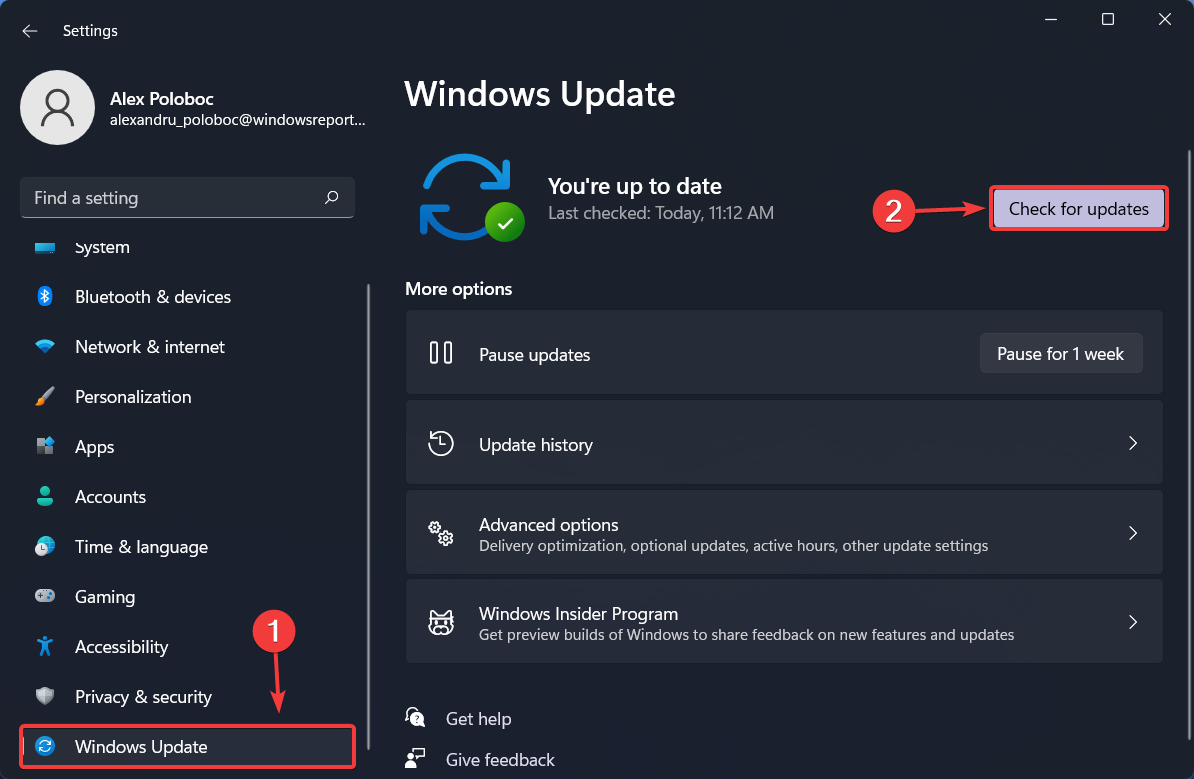
7. Update Windows
- Press Win + I buttons to open Windows Settings.
- Select Windows Update from the left-pane.
- Click on Check for updates button.
8. Reset Windows 11
- Press Win + I buttons to open Windows Settings.
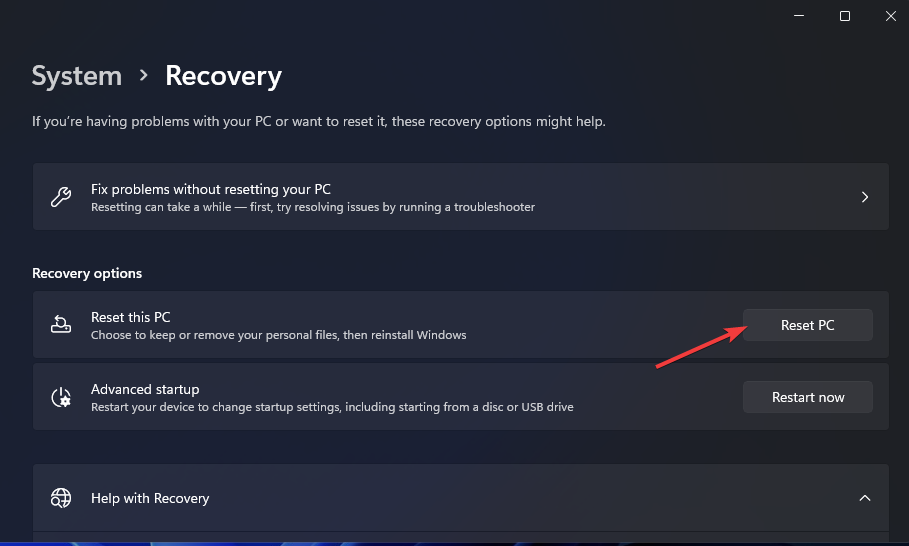
- Click on Recovery from the right-side.
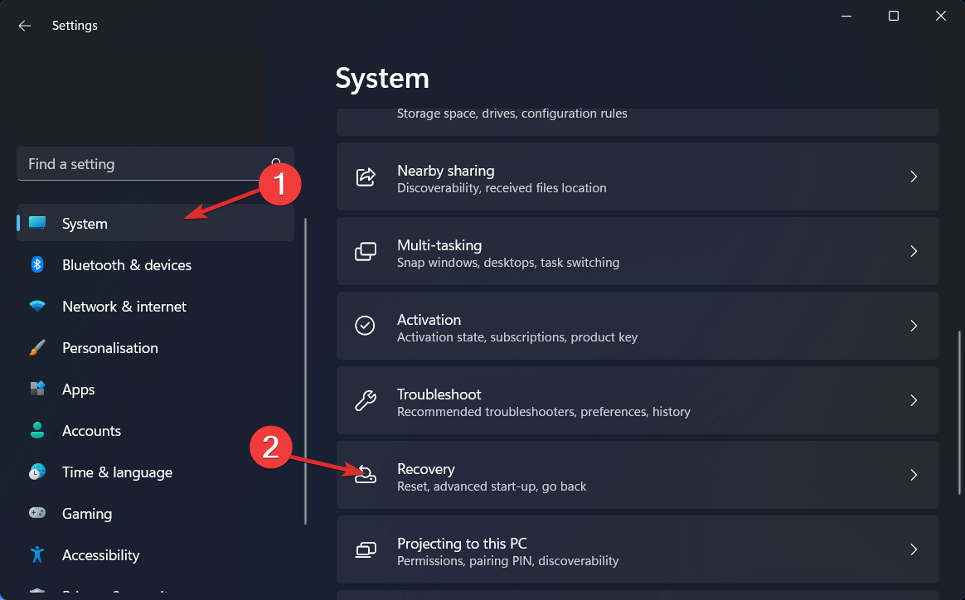
- Under Recovery options, press the Reset PC button.

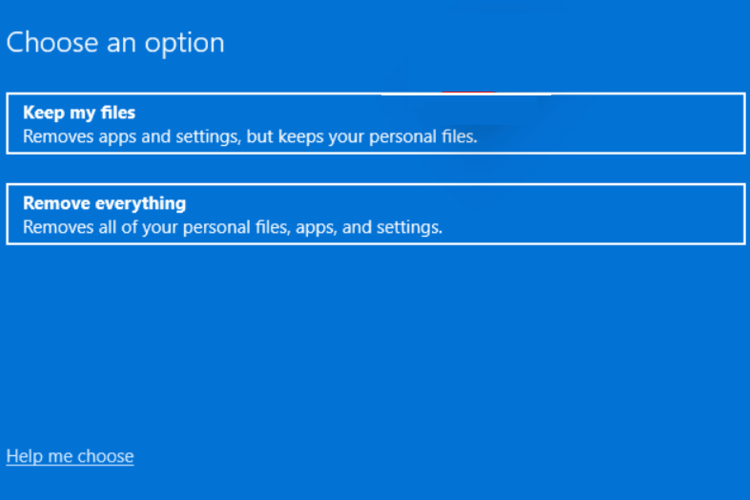
- Select the type of factory reset your want to perform.

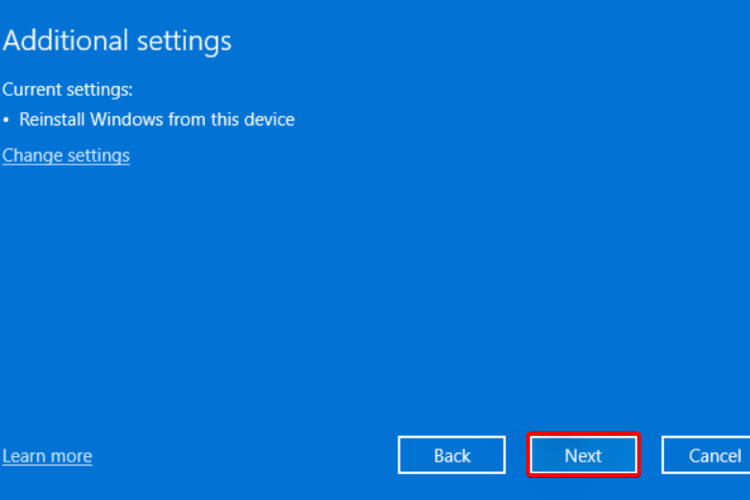
- Choose the option how you would like to reinstall Windows.
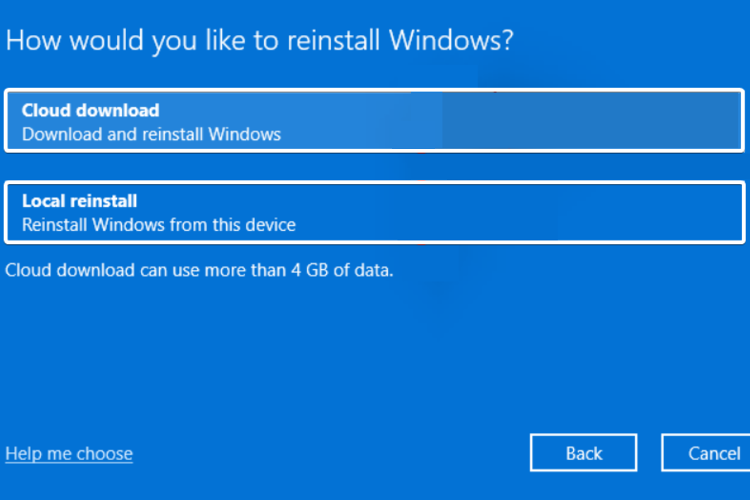
- Click Next.

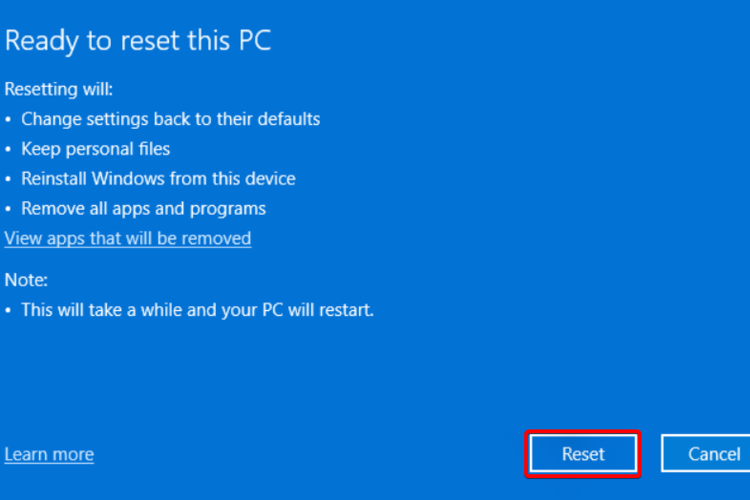
- Hit the Reset button.

You should reset your PC only if the above-mentioned methods did not fix the job for you. This is one of the different ways via which you can reset your PC.
During the process, your PC will restart several times. But there is nothing to worry about as it is a part of the reset process.
How to check if your PC supports Miracast
Before you go ahead and look at the solutions to fix the Miracast Windows 11 not working error, let us first check if your PC supports Miracast or not.
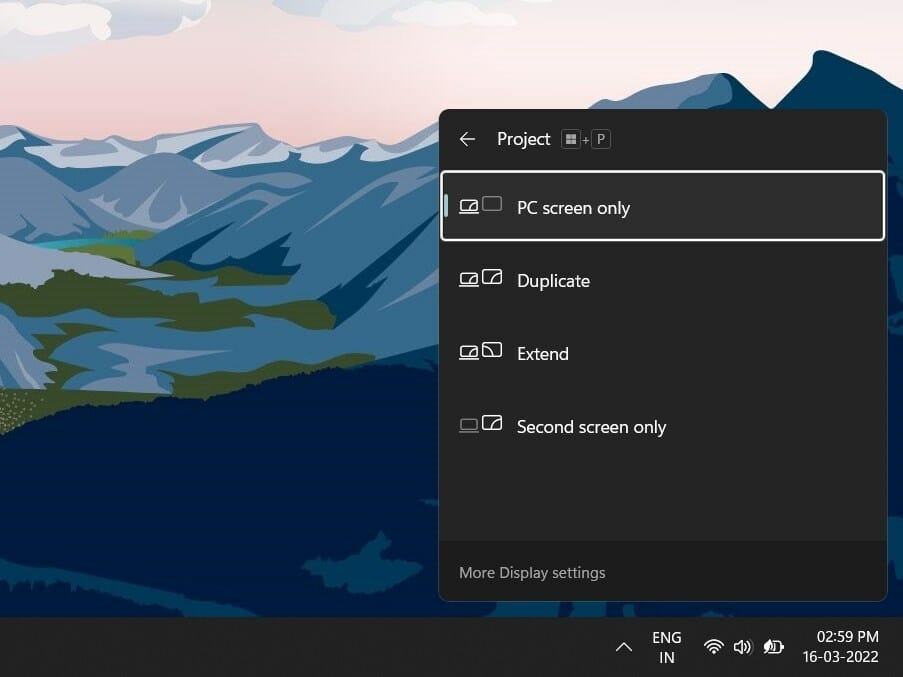
1. Check via Windows shortcut
All you need to do is simply press the Win + P button to open up the Wireless Display Settings. If you receive a message indicating that your device supports a wireless display, your PC does not support Miracast.
However, there is a pretty good chance that your Windows 11 computer won’t support Miracast. If you have an old PC without a Bluetooth card for Bluetooth services, then you will get this error.
2. Verify the NDIS driver
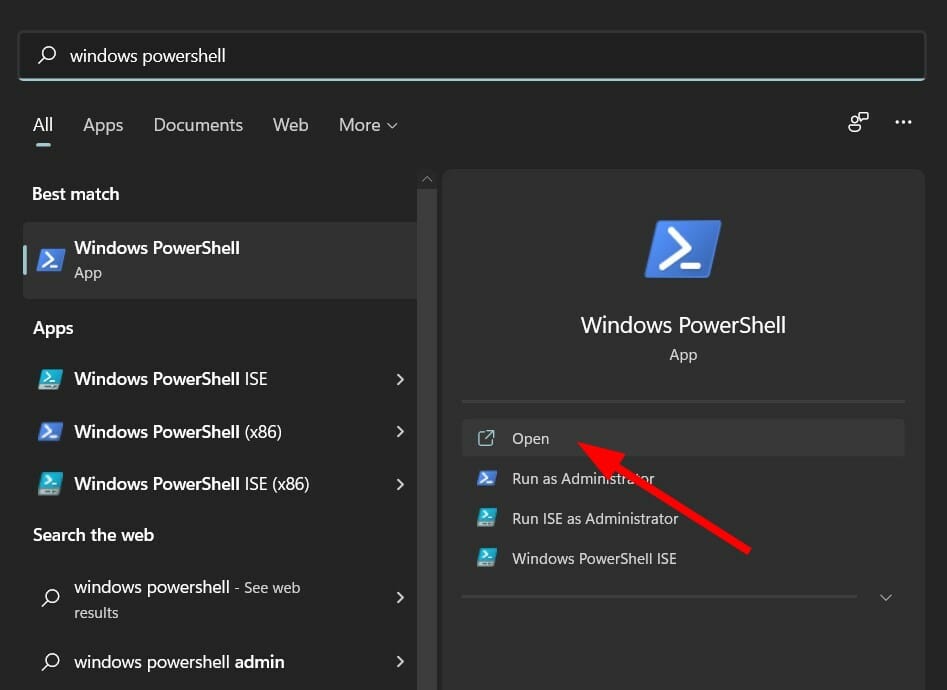
- Click on the Start menu.
- Search for Windows PowerShell and open it.
- Type in the below command and press Enter:
Get-netadapter|select Name, ndisversion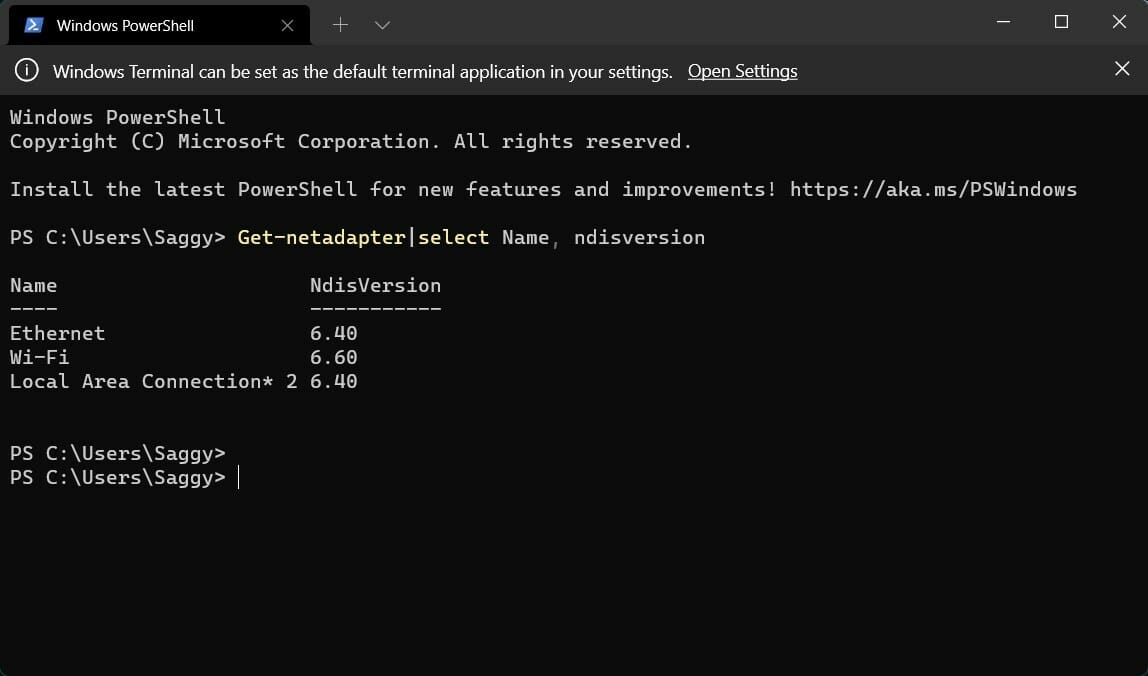
If the NdisVersion for Wi-Fi reads 6.30 or above, then your system is compatible with Miracast. Also, you can update the driver to the latest version to fix this error.
But if you still get an error on your Windows 11 PC that says Miracast isn’t working, then this may be due to external factors.
It could be because of a Wi-Fi issue or an incorrect Wi-Fi configuration. There is a chance that a third-party app is conflicting with the mirroring app, or there is a display driver issue.
Fortunately, this guide helps you troubleshoot all the issues and should help you solve the Miracast Windows 11 not working issue.
Third-party screen projectors
Screen mirroring lets you project your phone or tablet to your PC, but Windows’ built-in option isn’t always the best. Here are some better alternatives:
- ApowerMirror
- Mirrors Chromecast-compatible devices
- Supports mouse/keyboard input
- Fullscreen mode, screenshots, and phone notifications
- Reflector
- Screencast multiple devices at once
- Auto layout adjustment
- Supports Miracast, screen recording, live streaming
- Mobizen
- Mirrors Android to Windows 11
- File transfers, screen recording, app control via mouse/keyboard
- Connect via USB, Wi-Fi, or LTE
Explore more screen mirroring apps to find what works best for you. If you want to learn how to set up the screen Mirroring app check our quick guides: Download and install Miracast on Windows 10, and Download and install Miracast on Windows 11
Read our disclosure page to find out how can you help Windows Report sustain the editorial team. Read more


Improve this guide


User forum
0 messages