MSI Dragon Center is Crashing PC: How to Fix it
Update your device's BIOS

The MSI Dragon Center is supposed to be your getaway to fix hardware issues but if upon launch it crashes your PC, it may be an issue of outdated drivers or insufficient resources to run the program.
Most PC crashes are triggered by hardware failures often resulting from resource-intensive programs that overwhelm the device. You’ll start to notice signs like the MSI Dragon Center fan control not working or MSI Dragon Center stuck in a restart loop and eventually, a crash will occur.
What can I do if MSI Dragon Center is crashing my PC?
1. Rename the installer setup file
- Locate the downloaded files for the program usually in:
C:\Program Files (x86)\MSI\Dragon Center - Right-click on the installer setup, and select the Rename icon from the context menu. Alternatively, you can select the setup file and hit F2.
- Change the DragonCenter_Updater name to oldDragonCenter_Updater and try to keep it simple. Also, avoid using special characters or non-English alphabets since they are known to cause problems running the setup.
2. Update all drivers
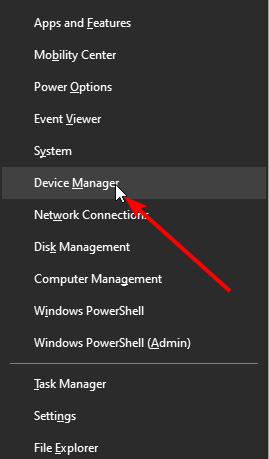
- Press the Windows + X key and select Device Manager.
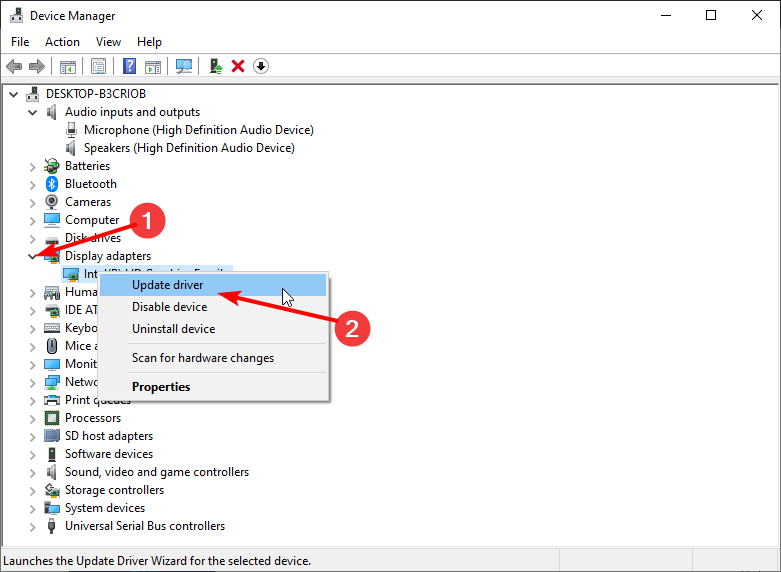
- Click the arrowhead before each driver.
- Right-click on the drivers displayed and select Update driver.
- Choose the Search automatically for drivers option.
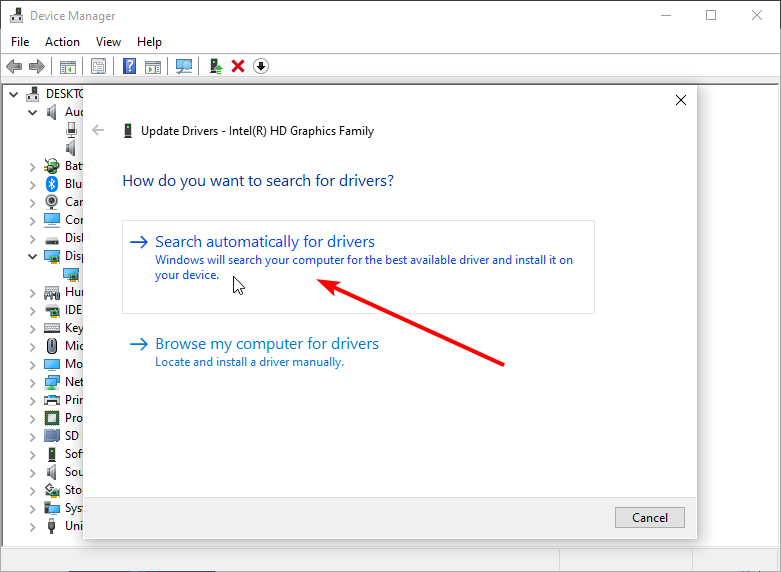
- This will display the latest driver available. Follow the simple on-screen instructions to complete the process.
3. Uninstall the latest Windows update
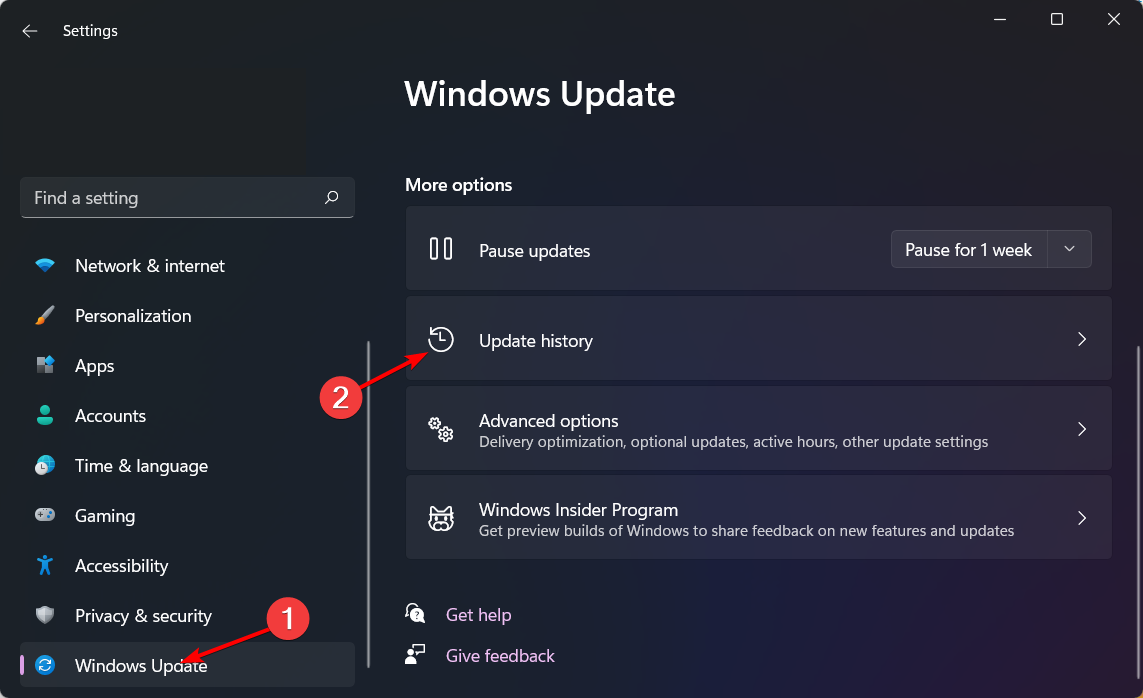
- Press the Windows + I keys simultaneously to open Settings.

- Navigate to Windows Update, then go to Update history.
- Click on Uninstall updates.
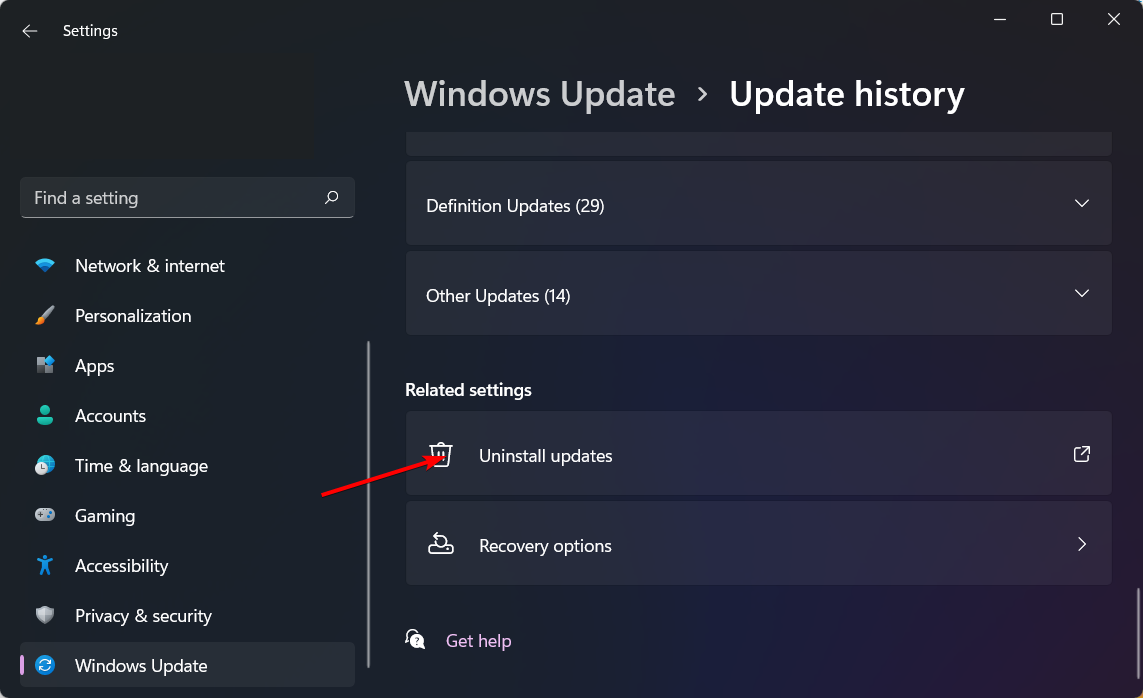
- Select the most recent update, then click Uninstall.
4. Perform DISM and SFC scans
- Hit the Start Menu icon, type cmd in the search bar, and click Run as administrator.

- Type the following commands and press Enter after each one:
DISM.exe /Online /Cleanup-Image /Restorehealthsfc /scannow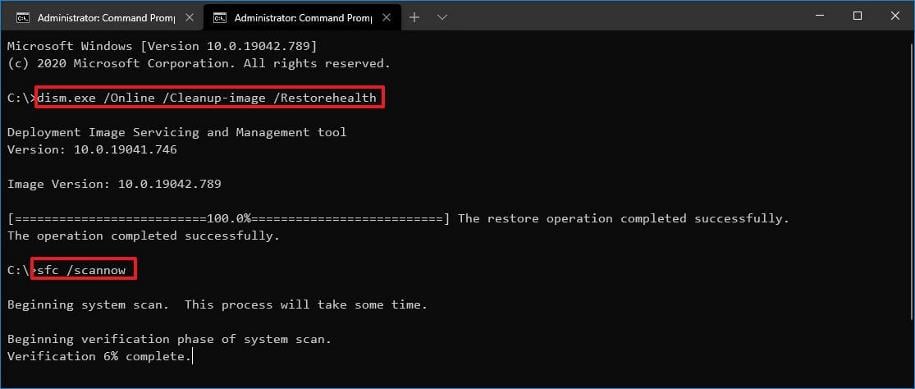
5. Reinstall the MSI Dragon Center
- Press Windows + R to launch the Run command, enter appwiz.cpl in the text field, and click OK.

- Select the MSI Dragon Center entry, and click on Uninstall at the top.

- Follow the on-screen instructions to complete the process. Similarly, uninstall the MSI SDK file.
- Press Windows + E to open File Explorer, paste the following path in the address bar, and hit Enter:
C:\Program Files (x86)\MSI
- Click on the View menu, hover the cursor over Show, and select Hidden items.

- If any files appear, press Ctrl + A to select them, and then hit the Delete key.
- Next, use one of the uninstaller programs to remove all software remnants.
- Navigate to your browser, go to the MSI Dragon Center’s official website, and click on the Download Now button to get the MSI Dragon Center offline package.

- Once completed, right-click on the downloaded file (Zip format), and select Extract all.

- Click on Browse if you want to change the location, tick the checkbox for Show extracted files when complete, and then click Extract.

- Double-click on the Dragon Center folder.

- Launch the setup for it.

- Click Yes in the UAC prompt.

- Select the installation language, and click OK.

- Click on Install and wait for the process to complete.

6. Update the BIOS using a USB flash drive
6.1 Format the USB drive to FAT32
 NOTE
NOTE
- Plug in the USB to your PC then hit Win + E to open the File Explorer.
- Right-click on the USB drive and select Format.

- Choose FAT32 from the File system dropdown.

- Click on the Start button.
6.2 Download the MSI BIOS update file
- Find your laptop’s model name, which is usually written on the lower right side of the computer where you rest your palm.
- Visit the official MSI website to download the latest BIOS version.
- Enter your laptop’s model number in the search field and hit the magnifying glass icon.

- Hit the Download button for your laptop’s model.

6.3 Update the MSI BIOS
- Paste the downloaded BIOS file to the USB drive that you have formatted to FAT32.
- Insert the USB drive on the computer on which you wish to update the MSI BIOS and restart your PC.
- When the PC is booting up, hit the Del key to enter the BIOS menu.
- Use the Arrow keys to navigate to the Advanced page.

- Use the Volume keys to move to the UEFI BIOS Update option and press Enter key.

- Again, select the UEFI BIOS Update option and hit Enter key.

- Select the location of the BIOS file, which in our case is the USB drive and press Enter.

- Select the BIOS update file from the USB drive and press Enter to select it.

- Choose Yes if a prompt appears.

- Select OK to restart your computer to begin the update process.

- After the PC boots up, it will load to the BIOS update page, here you have to select Proceed with flash update option.

- Once the update completes press OK when the Flash update completed. Press any key to reset the system prompt appears.

7. Perform a clean install
- Create a bootable USB drive.
- Connect the bootable installation media USB flash drive to your PC.
- Restart your PC and enter BIOS by pressing Del or F2 during the boot.
- Set your flash drive as the default boot device and save changes.
- Press any key to enter setup when asked and click Next.

- Click on Install now to proceed.

- Enter your product key or choose I don’t have a product key.
- Select the version that you want to install and click Next.

- Accept the terms of service and click Next.

- Select the Custom install option.

- Select the Primary drive and click Next. Double-check to make sure that you’ve selected the correct drive.

- Follow the on-screen prompts to complete the installation.
Aside from the MSI Dragon Center crashing your PC, other times, the mystic light is not working or the app is not installing. This isn’t the only issue, and MSI Dragon Center is not updating for some users.
Whatever the case, we’ve curated separate fix guides to help you bypass these issues.
We also have another interesting article that puts the ASUS Armoury Crate and the MSI Dragon Center side-by-side in case you’re at odds on which one to go for. Better yet, check out MSI Dragon Center alternatives if you’re looking to widen your search.
Found a solution that worked for you? Let us know which one in the comment section below.
Read our disclosure page to find out how can you help Windows Report sustain the editorial team. Read more


Improve this guide


User forum
0 messages