ncsi.dll: What Is It & How to Fix It When It's Missing
Get the missing DLL back in no time with our fixes!
3 min. read
Updated on
Read our disclosure page to find out how can you help Windows Report sustain the editorial team. Read more
Key notes
- A single missing DLL file can affect a wide array of apps that depend on it, and one as critical as ncsi.dll, needs immediate intervention.
- The problem usually arises due to corrupt system files, the presence of malware, or some inadvertent error on the user’s part.
- To fix things, you could replace the DLL file, run the DISM and SFC scan, or use a dedicated DLL repair tool.
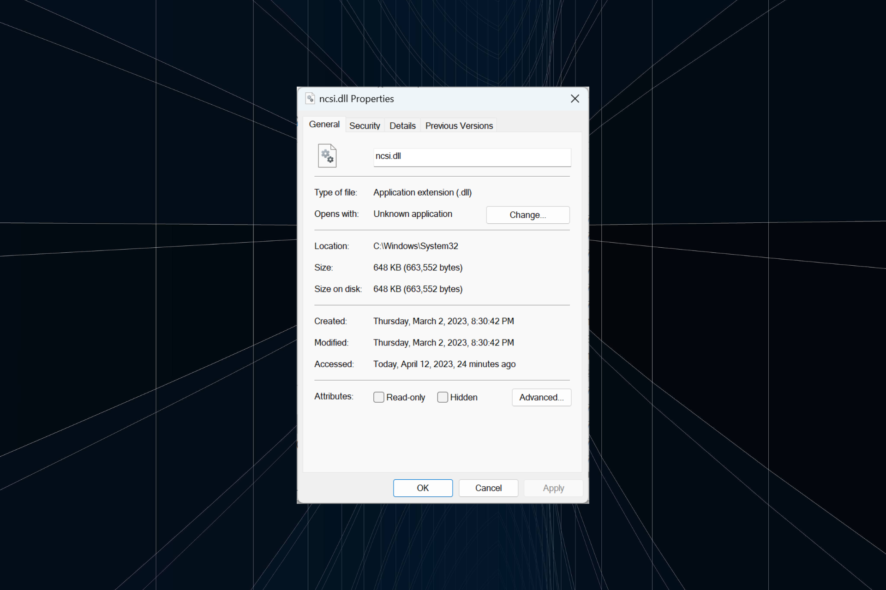
DLL (Dynamic-link library) files are critical ones shared by multiple apps (both built-in and third-party) on the computer. But users often reported that certain DLL files are missing, and ncsi.dll, too, featured in the list.
Problems with DLL files are easy to fix since these can simply be replaced with a copy of the file, either from the web or another computer running the same OS. So, let’s find out about it!
What is NCSI DLL?
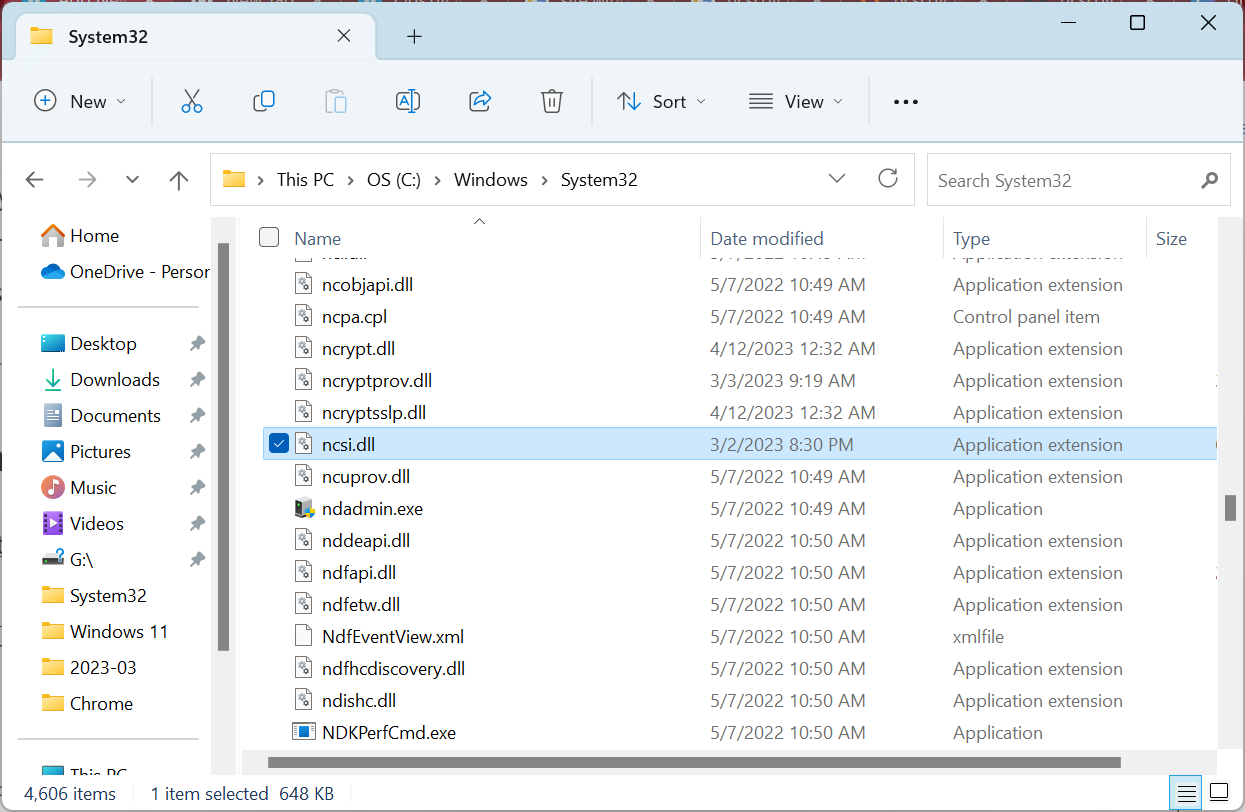
NCSI stands for Network Connectivity Status Indicator and is a Windows DLL file published by Microsoft, pertaining to network-related tasks. The ncsi.dll file is stored in:C:\Windows\System32
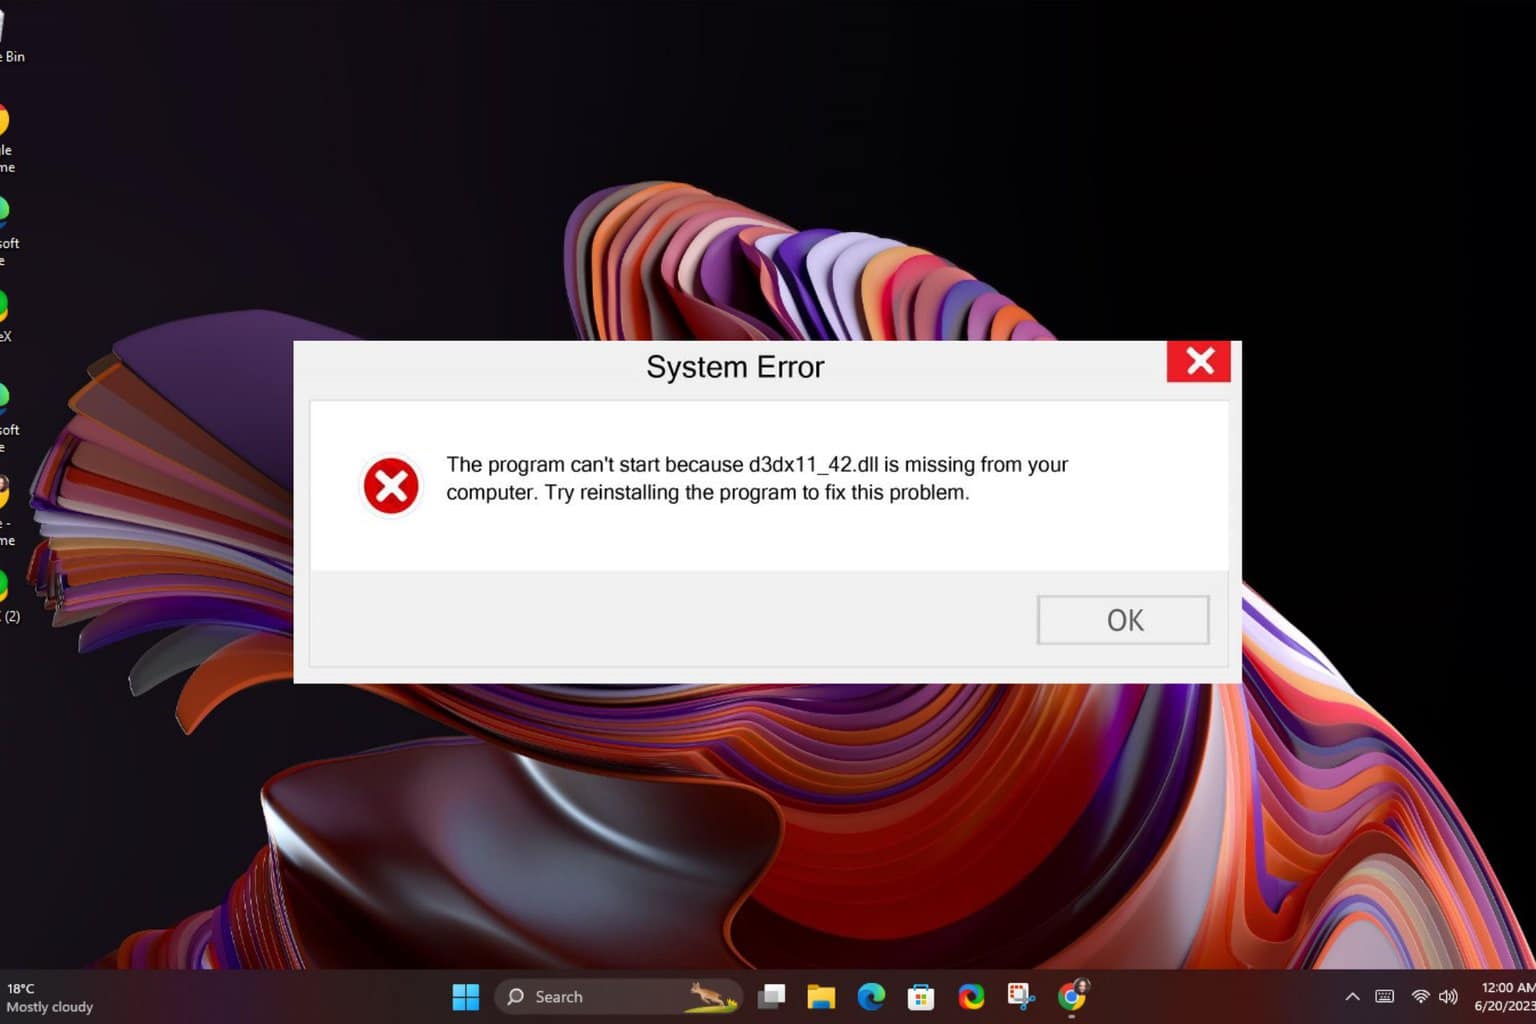
The file is used by multiple programs, including a few games, and if the DLL file is missing or corrupt, you will encounter an error when launching the app that relies on it.
How do I fix a missing ncsi.dll file?
1. Use a dedicated DLL repair tool
When it comes to missing Windows DLL files, you can always use a reliable DLL repair tool to get things up and running. These identify and replace the missing DLL with a fresh copy within seconds.
2. Run the DISM and SFC scan
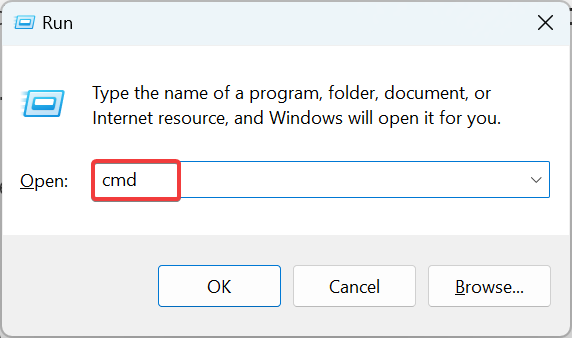
- Press Windows + R to open Run, type cmd, and hit Ctrl + Shift + Enter.
- Click Yes in the UAC prompt.
- Paste the following commands individually and hit Enter after each to run DISM:
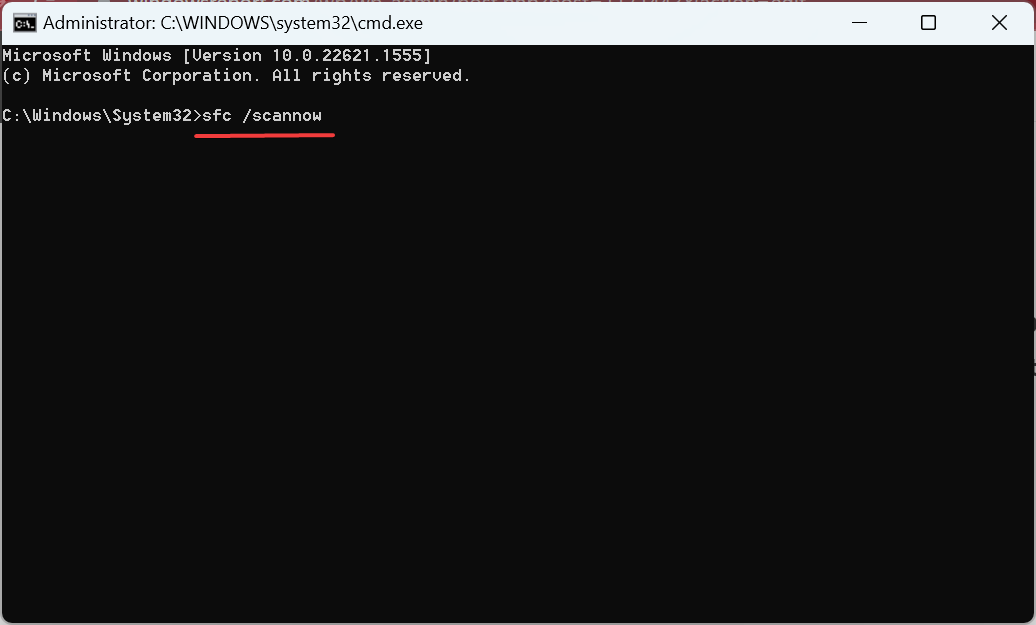
DISM /Online /Cleanup-Image /CheckHealthDISM /Online /Cleanup-Image /ScanHealthDISM /Online /Cleanup-Image /RestoreHealth - Once done, execute the following command to run the SFC scan:
sfc /scannow - After running the scans, check whether the corrupt/missing DLL file is available.
Running the DISM tool and SFC (System File Checker) scan are two easy ways to fix corrupt system files on Windows and get back the missing DLLs, including the ncsi.dll file.
3. Perform an in-place upgrade
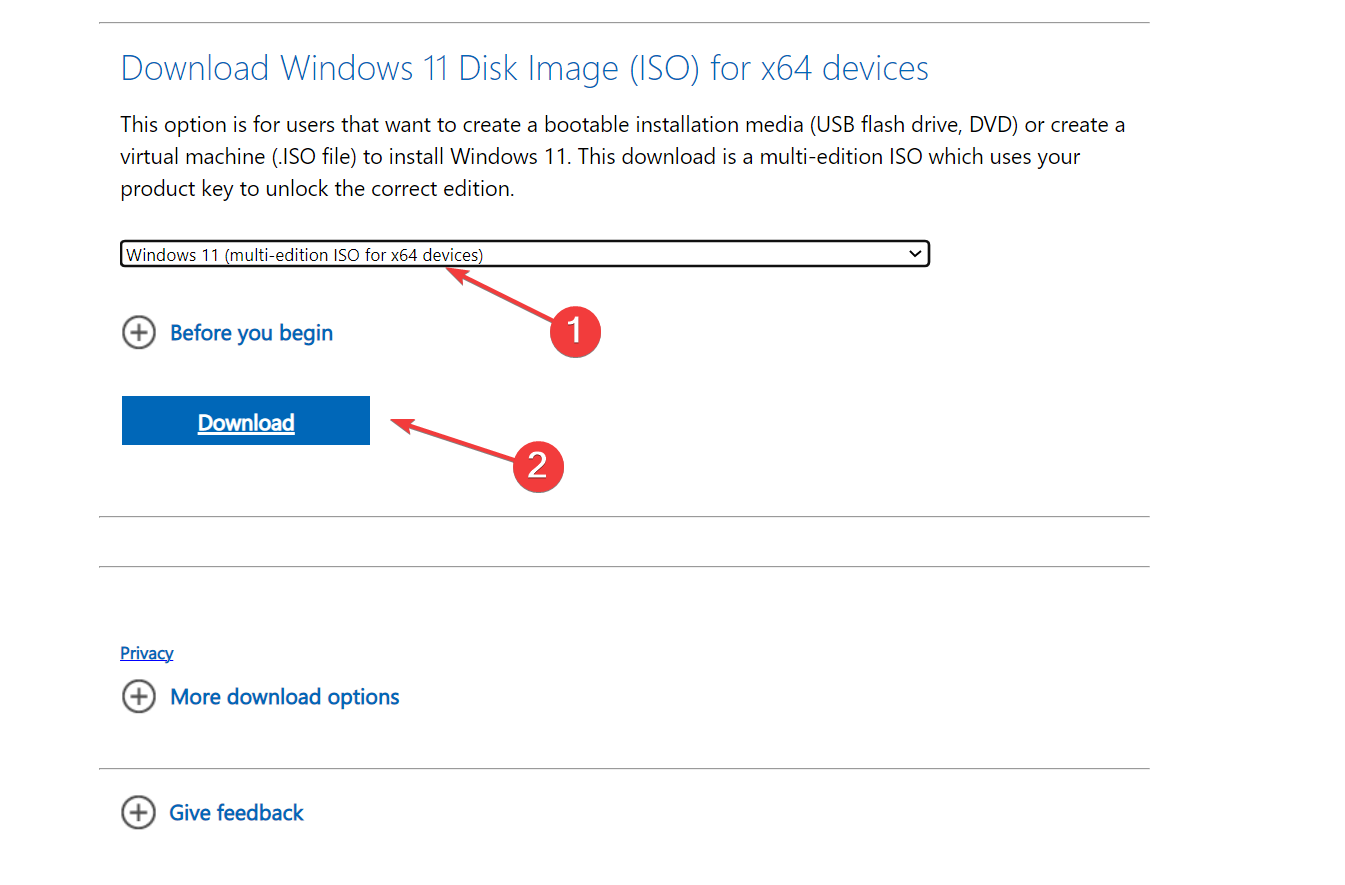
- Go to Microsoft’s official website, select your edition of Windows 11 from the dropdown menu, and click Download.
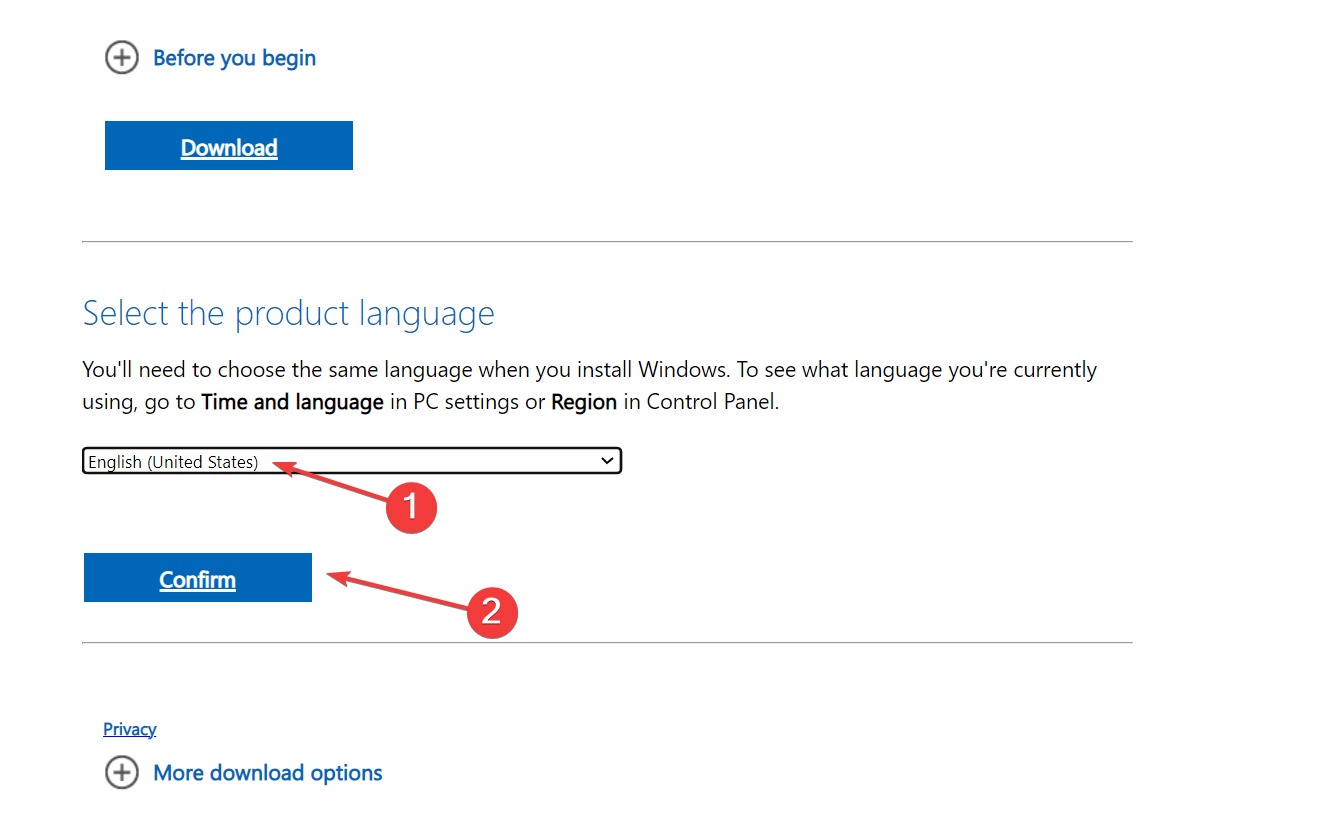
- Choose the preferred language and click Confirm.
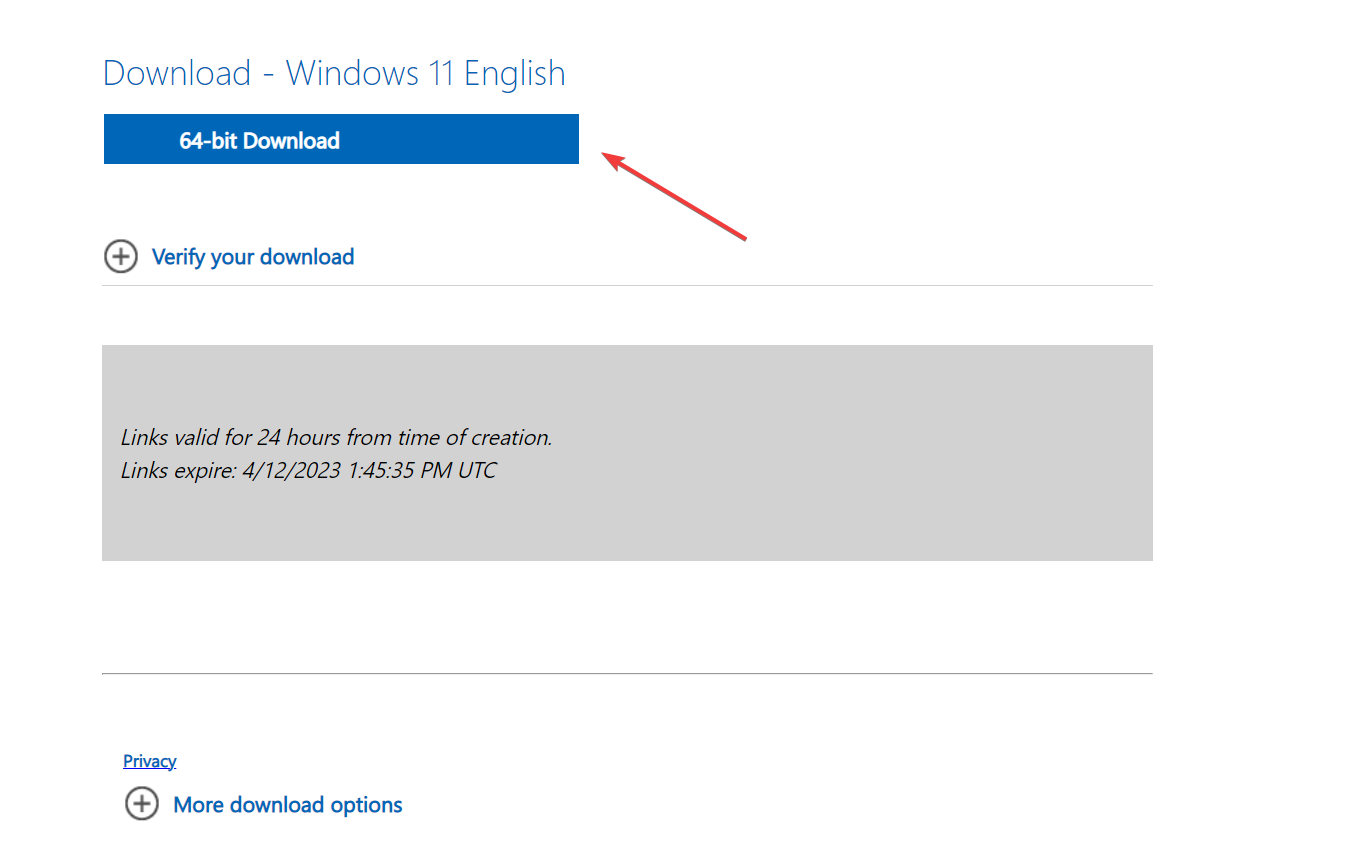
- Click on the provided link to start the download.
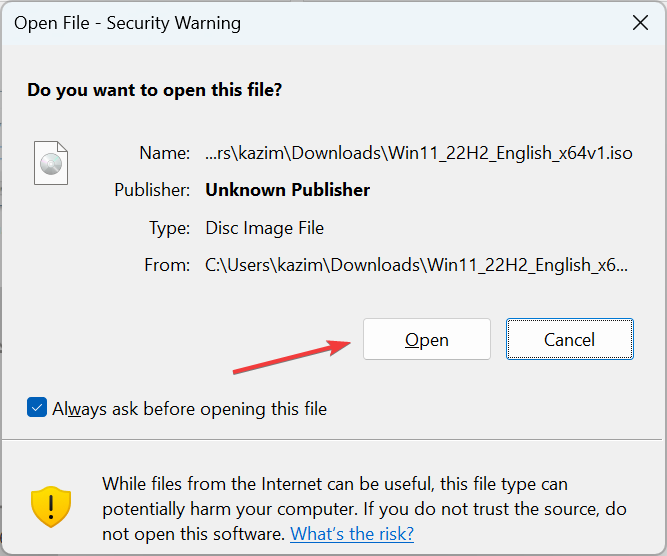
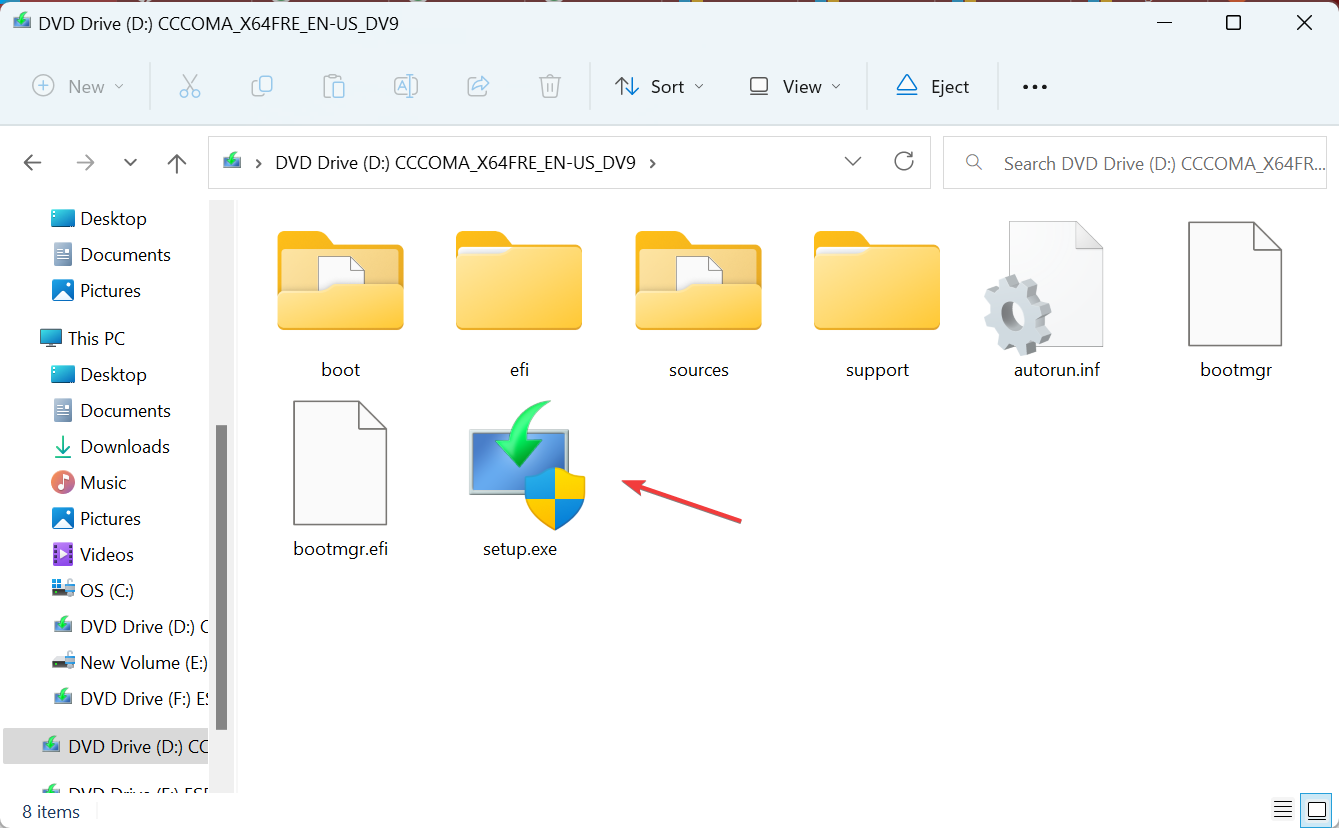
- Once done, double-click the ISO file, and click Open in the confirmation prompt.
- Launch the setup.exe file.
- Now, click on Next in the Windows 11 Setup to proceed.
- Click Accept to agree to Microsoft’s license terms.
- Finally, verify that the setup reads Keep personal files and apps, and click Install to start the in-place upgrade.
When it comes to troubleshooting issues with Windows, an in-place upgrade helps eliminate all kinds of software-related problems. Though the process may take a few hours, you won’t lose any apps or personal files. Besides, generally, the PC performs faster after an in-place upgrade.
These are all the ways you can get the missing ncsi.dll file in Windows, be it any iteration. Also, to troubleshoot things seamlessly, check our curated list of the best DLL repair tools.
Before you leave, we have a similar guide that explains what is NcsiUwpApp, so don’t miss it.
For any queries or to share the solution that worked for you, use the comments section below.




User forum
0 messages