5 Simple Ways to Fix Nvwdmcpl.dll Could Not Be Found
Reinstall the affected app
![]() 5 min. read
5 min. read
![]() Updated on
Updated on
Share this article
Improve this guide
Read our disclosure page to find out how can you help Windows Report sustain the editorial team. Read more
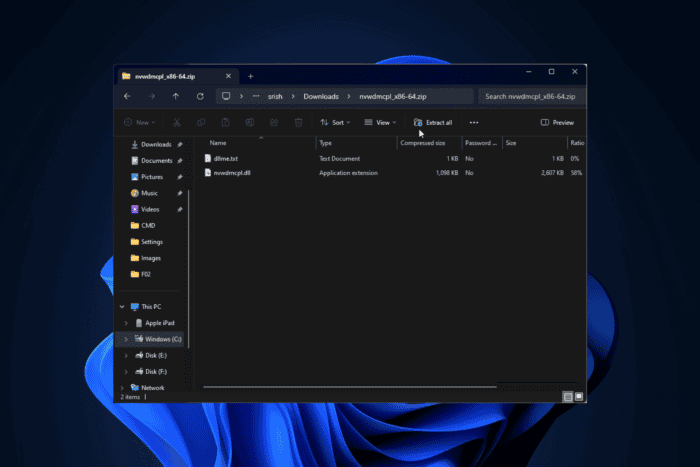
Many users have encountered the Nvwdmcpl.dll could not be found error, which prevented them from launching the NVIDIA nView Control Panel, Version 52.16. The Nvwdmcpl.dll is a third-party DLL file associated with the NVIDIA nView Control Panel.
The error occurs if the DLL file is corrupted or damaged. You can also see this problem if your device’s system files are missing. To begin with, you must ensure your Windows version is up to date.
How can I fix the Nvwdmcpl.dll could not be found error?
1. Use a third-party DLL fixer
Nvwdmcpl.dll is a third-party DLL file used by NVIDIA nView Control Panel, Version 52.16. If the DLL file is missing or damaged, the associated app will not launch. You can manually restore it by copying it from another computer.
This approach has its risks and may cause further issues with your device. Therefore, it is recommended that a third-party DLL fixer tool be used.
These software are designed to resolve compatibility issues and common problems associated with third-party and system DLL files.
2. Reinstall the affected app
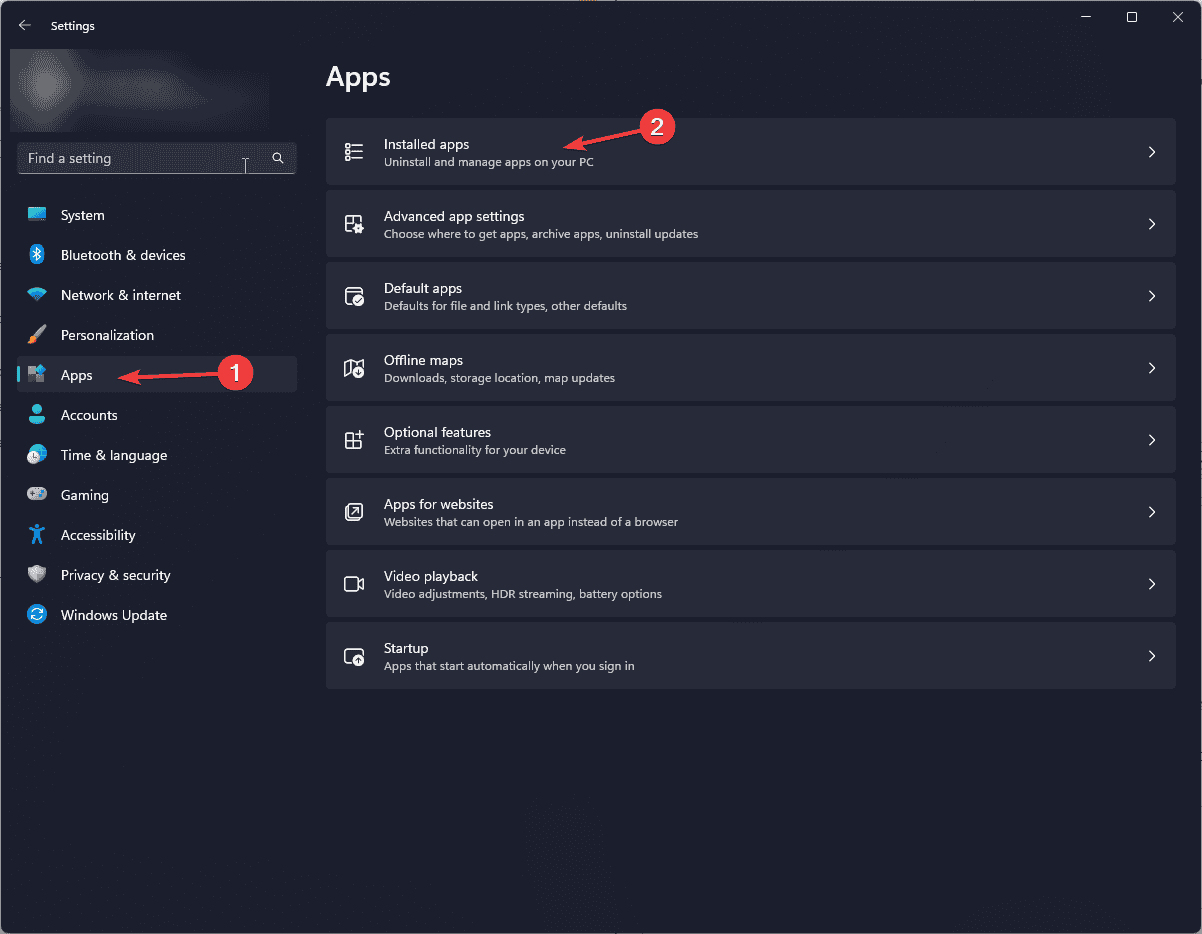
- Press Windows + I to open the Settings app.
- Navigate to Apps, then click Installed apps.

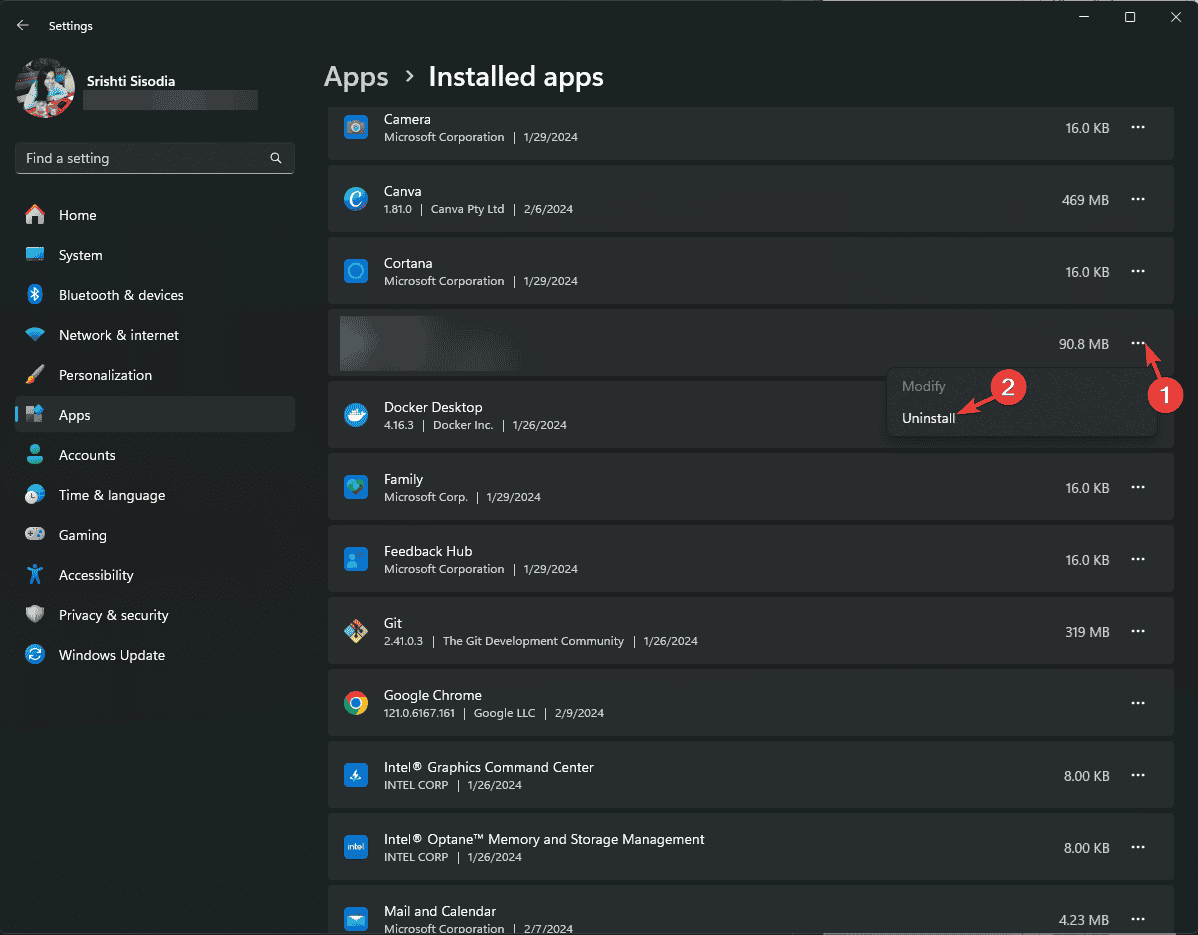
- Locate the app, click the three-dot icon, and choose Uninstall.

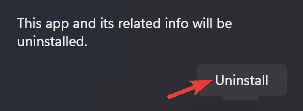
- Click Uninstall again.

- Go to this NVIDIA official website and look for NVIDIA nView Control Panel. Click Download.
- Double-click the downloaded file to initiate the installation.
- Follow the on-screen steps to complete the process.
3. Update/reinstall the graphics driver
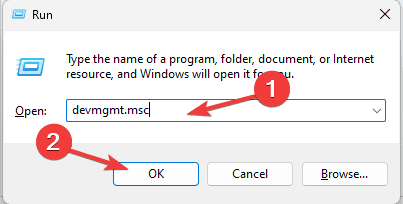
- Press Windows + R to open the Run console.

- Type devmgmt.msc and click OK to open the Device Manager app.
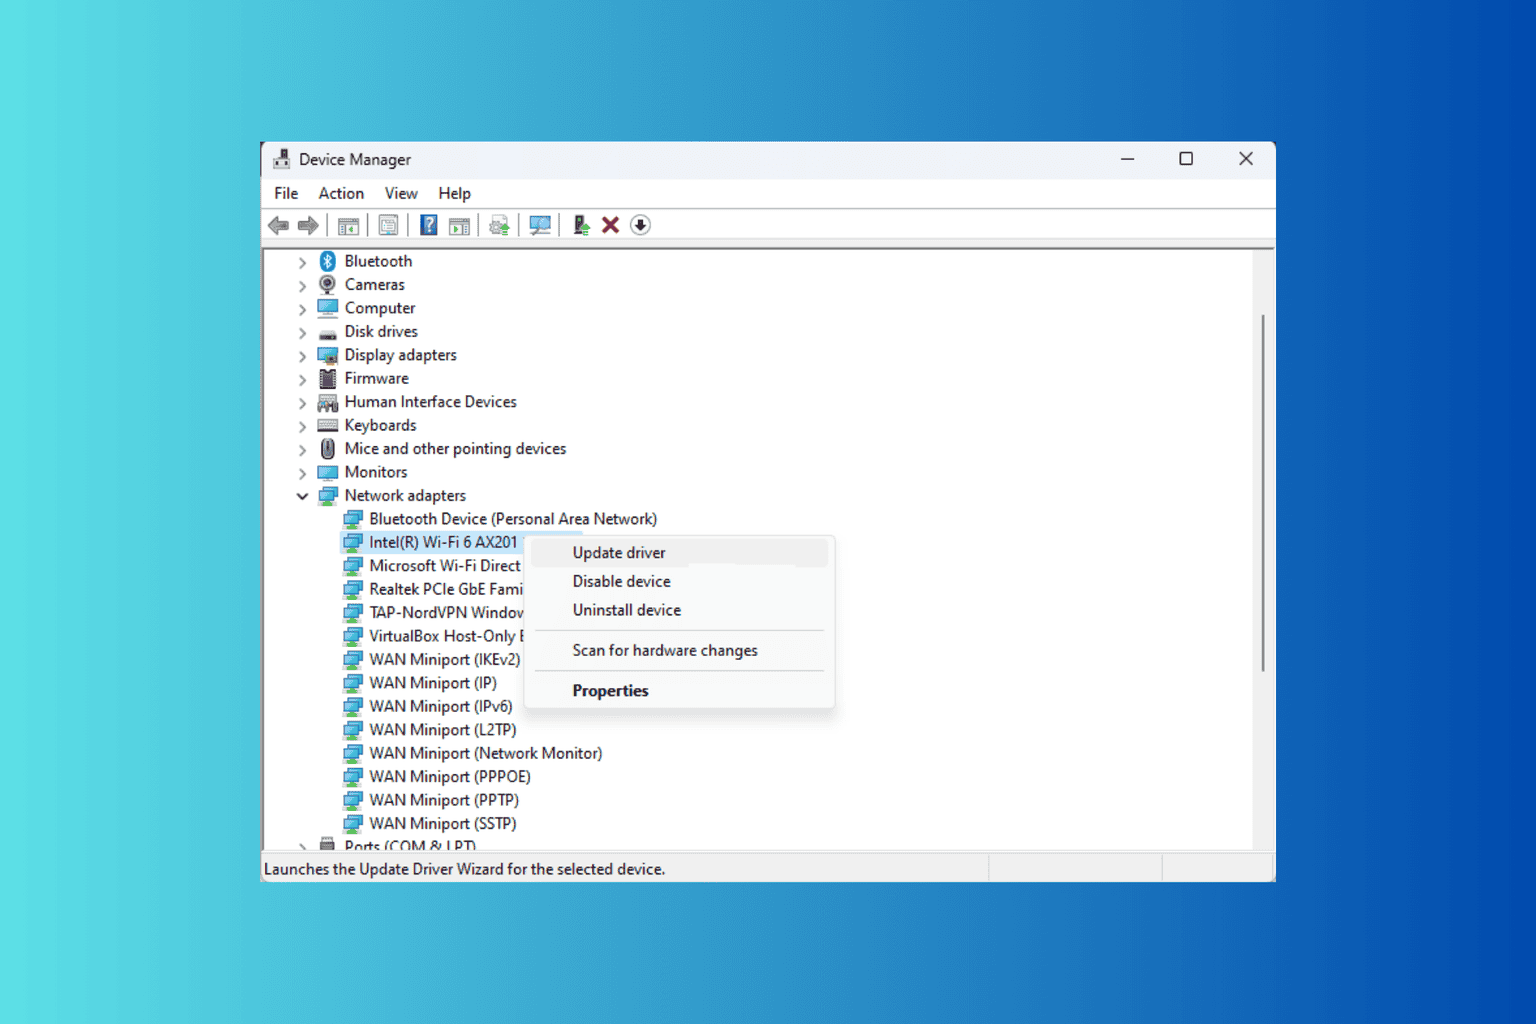
- Locate Display adapters, click it to expand, right-click the graphics driver, and choose Update driver from the context menu.

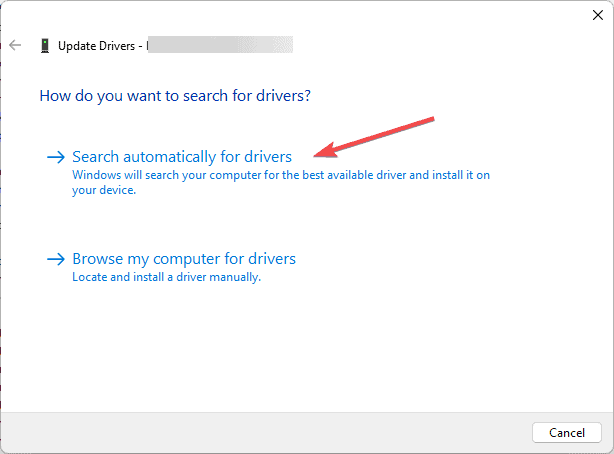
- On the following page, select Search automatically for drivers.

- Windows will now find and install the best driver for your device. Follow the on-screen instructions to complete.

If Windows cannot find a better driver version, you can also head to the manufacturer’s official website and manually install the driver, or you can use a third-party driver updater tool to update the drivers on your PC safely. You can also try reinstalling the driver; for that, follow these steps:
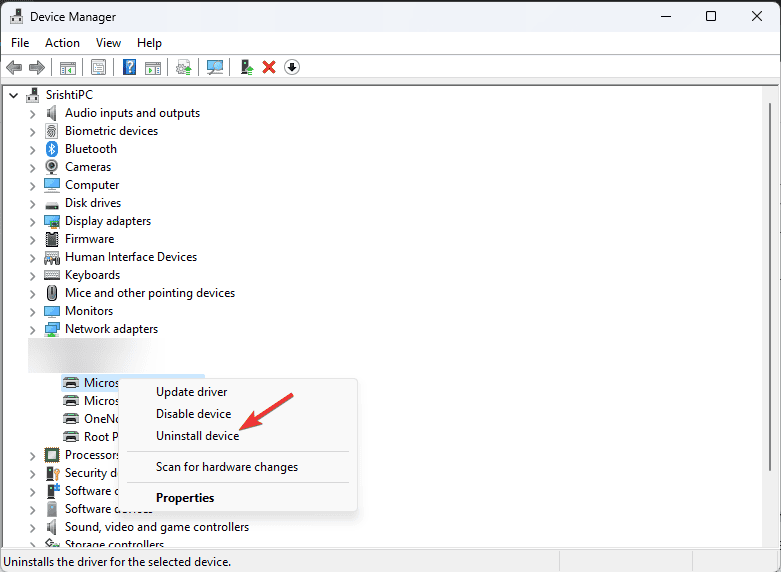
- Open Device Manager again, go to the Display adapters category, expand it, right-click the graphics driver, and select the Uninstall device option.

- If available, place a checkmark next to Attempt to remove the driver for this device and click Uninstall.
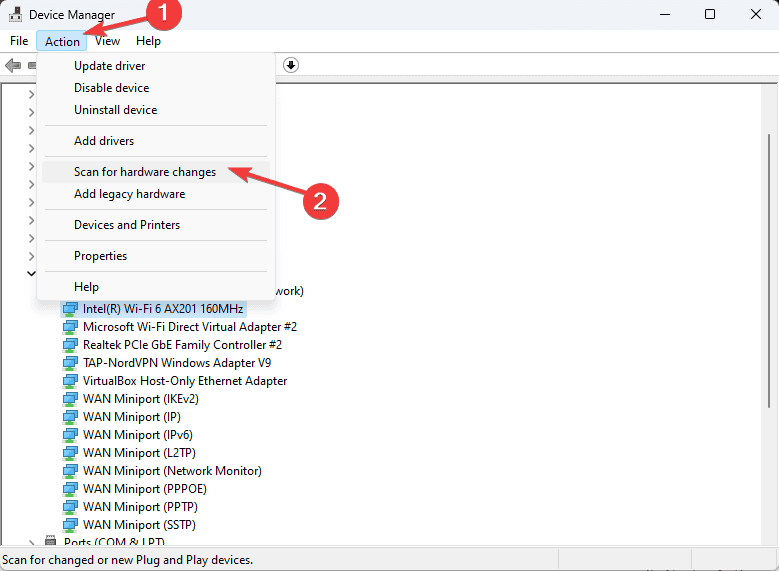
- Once done, go to Action and choose Scan for hardware changes from the context menu to reinstall the driver.
- Reboot your computer to let the changes take effect.
4. Perform a system restore
 NOTE
NOTE
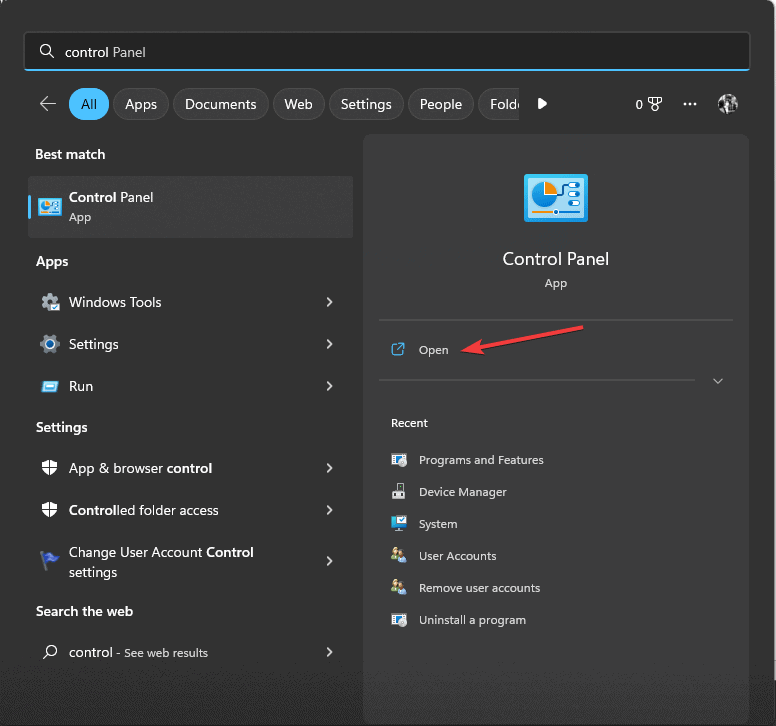
- Press the Windows key, type control panel in the search box, and click Open.

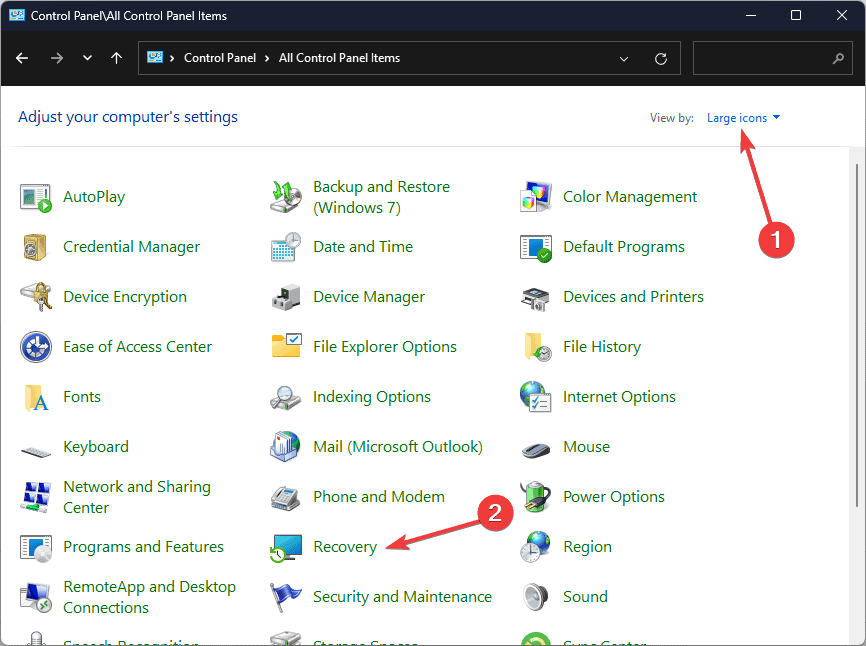
- Choose Large icons for View by, then select Recovery.

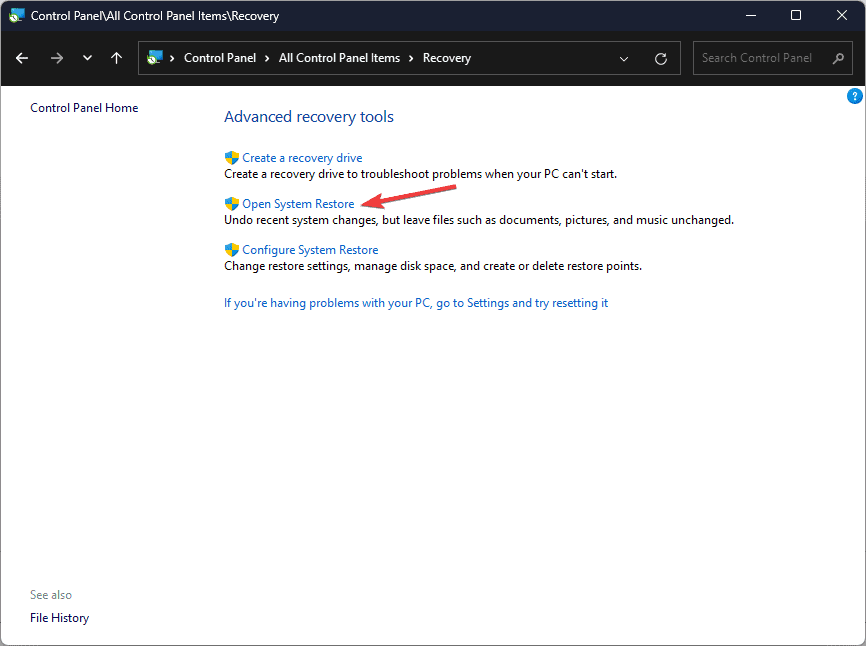
- On the following screen, click Open System Restore.
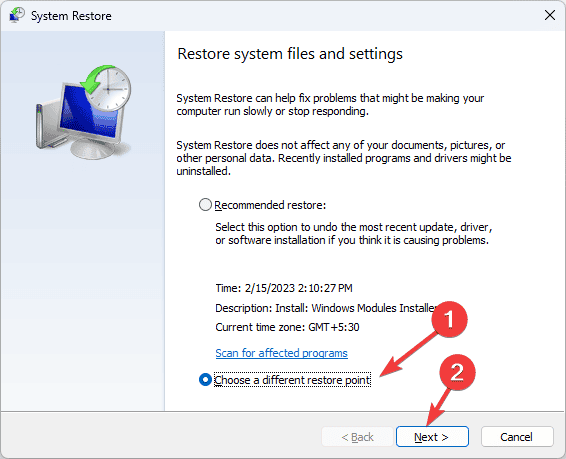
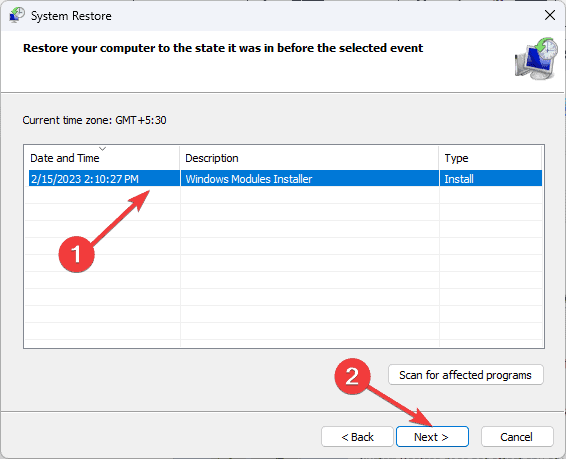
- Select Choose a different restore point in the System Restore window and click Next.

- You will see the list of available restore points. Click to select the oldest or most recent restore point from when your computer was functioning correctly, then click Next.
- Click Finish to start the restoring process.
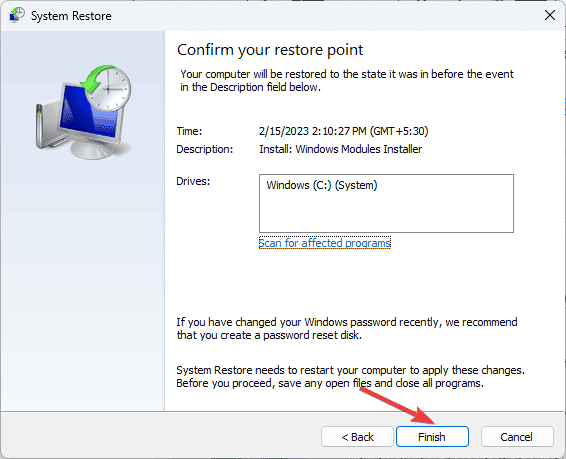
Windows will restart and restore the system settings to the version you selected. This process may take some time, so don’t turn off your computer. Once your computer restarts, head to Settings, click Windows Update, and then Check for Updates. If an update is available, Click Download & Install to install the latest Windows updates.
If you see the System Restore message wasn’t completed successfully after the restart, we recommend you check out this informative guide for solutions.
5. Download the DLL file from a reliable website
NOTE
- Go to the DLLME website, search Nvwdmcpl.dll, choose an appropriate option, and click Download.
- Double-click the downloaded folder to open, locate, and copy the .dll file.
- Go to this path and paste the DLL file. Don’t forget to replace C with your system drive letter if it is not C for you:
C:\Windows\System32 - Restart your computer to save the changes.
In conclusion, to fix any issues related to Nvwdmcpl.dll, you should reinstall the affected app, reinstall the update driver, perform a system restore, or use a third-party DLL fixer to restore the missing DLL file.
If you often encounter missing DLL issues on your Windows 10 computer, we have a guide to help you understand the causes and the solutions.
We also have a guide on missing jsonrpcserver.dll, so don’t miss it for more useful information. Our latest guides covers what to do if nvtt.dll is missing, so feel free to visit it for more information.
If you have any suggestions or questions about the Nvwdmcpl.dll could not be found issue, feel free to mention them in the comments section below.
User forum
0 messages