Full Guide: PANIC STACK SWITCH error in Windows 10/11
Key notes
- The PANIC_STACK_SWITCH error in Windows 10 is usually caused by outdated drivers or corrupted files.
- So to fix it, the first step would be to get all the necessary updates.
- A dedicated updater can help to easily get this job done and get rid of the panic_stack_switch blue screen.
- Additionally, check for faulty hardware. It sometimes gives a lot of trouble.

BSoD errors are a major concern since they are usually caused by a hardware problem.
A number of Windows 10 users reported PANIC STACK SWITCH BSoD error on their computers.
And since these types of errors can be such a problem, today we’re going to show you how to fix this particular error.
How do I fix PANIC_STACK_SWITCH blue screen in Windows 10?
- Check for Windows updates and update your drivers
- Run the BSOD Troubleshooter
- Run the SFC scan
- Run DISM
- Check the hard drive
- Check your screensaver
- Remove your antivirus / problematic software
- Check your hardware
- Reset your PC
1. Check for Windows updates and update your drivers
Downloading Windows 10 updates is mandatory if you wish your PC to run without any problems.
Many updates bring new features, but most importantly Windows updates often fix many hardware and software problems that can cause a wide range of errors, such as PANIC STACK SWITCH.
If you wish to prevent these types of errors from occurring, we strongly advise you to download system updates regularly and keep Windows 10 up to date.
In addition to downloading updates, it’s also important to keep your drivers up to date.
Outdated or incompatible drivers can often cause BSoD error, therefore it’s crucial to update your drivers as often as you can.
According to users, outdated graphics cards, network card or audio drivers can cause PANIC STACK SWITCH error, so we urge you to update these drivers as soon as you can.
Another good practice is to update all the drivers on your PC, but that can sometimes be a long and tedious process.
If you wish to update a specific driver, you can do that simply by visiting your hardware manufacturer’s website and downloading the latest drivers for your device.
Alternatively, you can also download all the necessary files right from the Device Manager simply by following these steps:
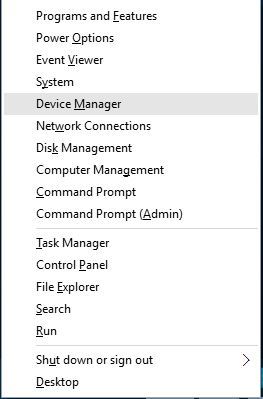
- Open Power User Menu by pressing Windows Key + X and select Device Manager from the list.
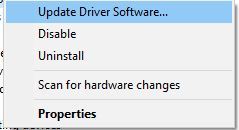
- Find the driver you wish to update, right-click it and choose Update driver software from the menu.
- Click on Search automatically for updated driver software.
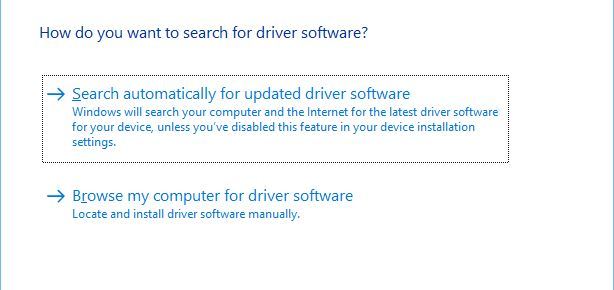
- Follow the instructions on screen and Windows 10 should automatically download the appropriate driver.
Update drivers automatically
Searching for drivers on your own can be time-consuming. So, we advise you to use a tool that will do this for you automatically.
Using an automatic driver updater will certainly save you from the hassle of searching for drivers manually, and it will always keep your system up to date with the latest drivers.
Along with that, it will take care of any damaged or missing drivers, and it will remove the risks associated with installing a mismatched driver.
We recommend you to use Outbyte Driver Updater because it is light and simple. The tool scans your device and detects whether your drivers need updates or repairs.
It downloads and installs the best driver versions available for your hardware. You can set it up to regularly scan your PC and keep your drivers in check at all times.
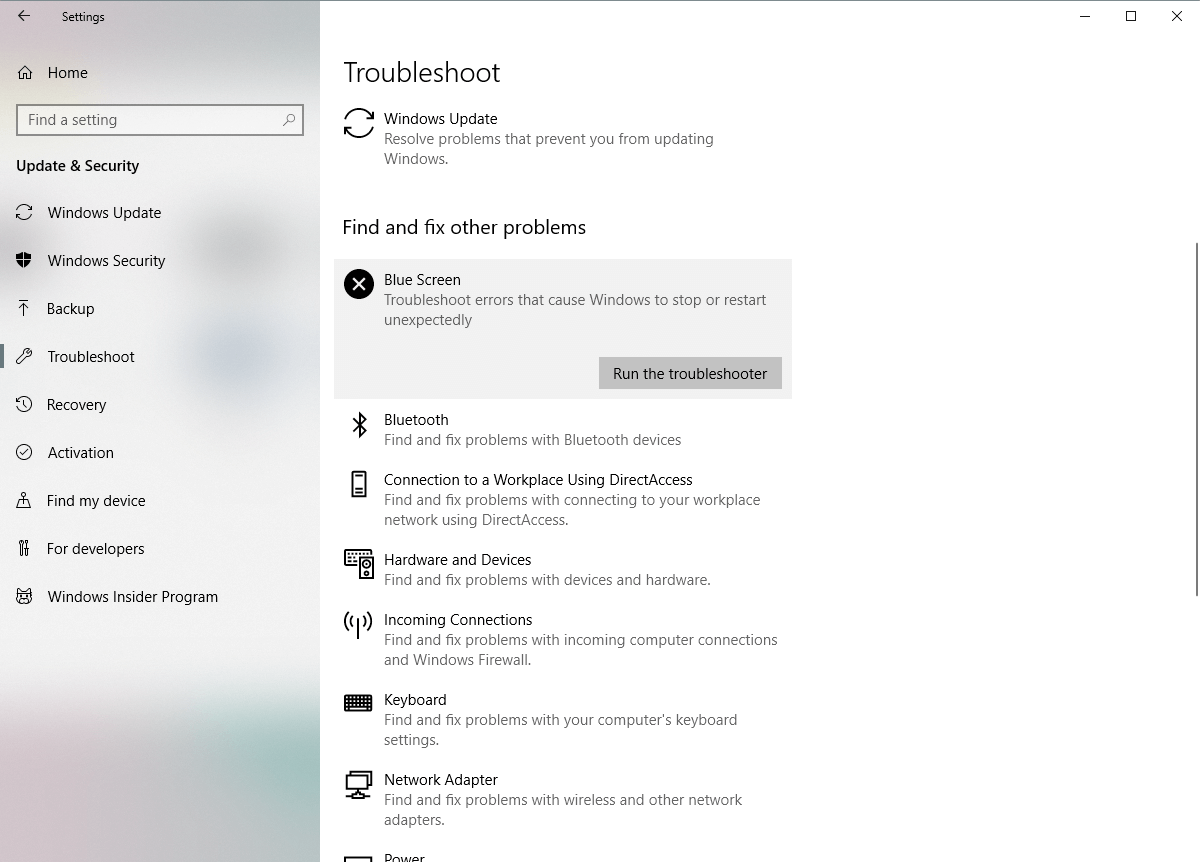
2. Run the BSOD troubleshooter
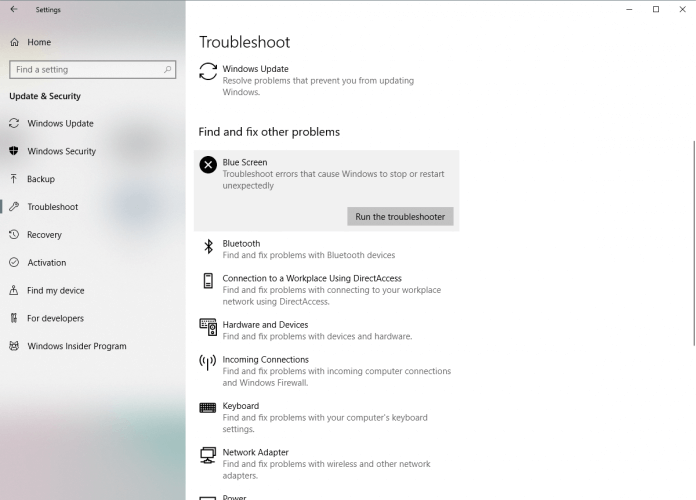
- Open the Settings app and go to Update & Security section.
- Select Troubleshoot from the menu on the left.
- Select BSOD from the right pane and click Run the troubleshooter.
- Follow the instructions on the screen to complete the troubleshooter.
3. Run the SFC scan
- Right-click on the Start Menu button, and open Command Prompt (Admin).
- Enter the following line and press Enter: sfc/scannow

- Wait until the process is done (it may take a while).
- If the solution is found, it will automatically be applied.
- Now, close the Command Prompt and restart your computer.
4. Run DISM
- The standard way
- Right-click Start and open Command Prompt (Admin).
- Paste the following command and press Enter:
DISM /Online /Cleanup-Image /RestoreHealth
- Wait until the scan is finished.
- Restart your computer and try updating again.
- With the Windows installation media
- Insert your Windows installation media.
- Right-click the Start menu and, from the menu, choose the Command Prompt (Admin).
- In the command line, type the following commands and press Enter after each:
dism /online /cleanup-image /scanhealthdism /online /cleanup-image /restorehealth
- Now, type the following command and press Enter:
DISM /Online /Cleanup-Image /RestoreHealth /source:WIM:X:SourcesInstall.wim:1 /LimitAccess
- Make sure to change an X value with the letter of the mounted drive with Windows 10 installation.
- After the procedure is finished, restart your computer.
5. Check the hard drive
- Enter the Advanced Startup (Restart your computer while holding the Shift key).
- Choose Troubleshoot > Advanced Options.
- Select Command Prompt from the list of options.
- When Command Prompt appears, enter the following lines and press Enter after each line in order to run it:
bootrec.exe /rebuildbcd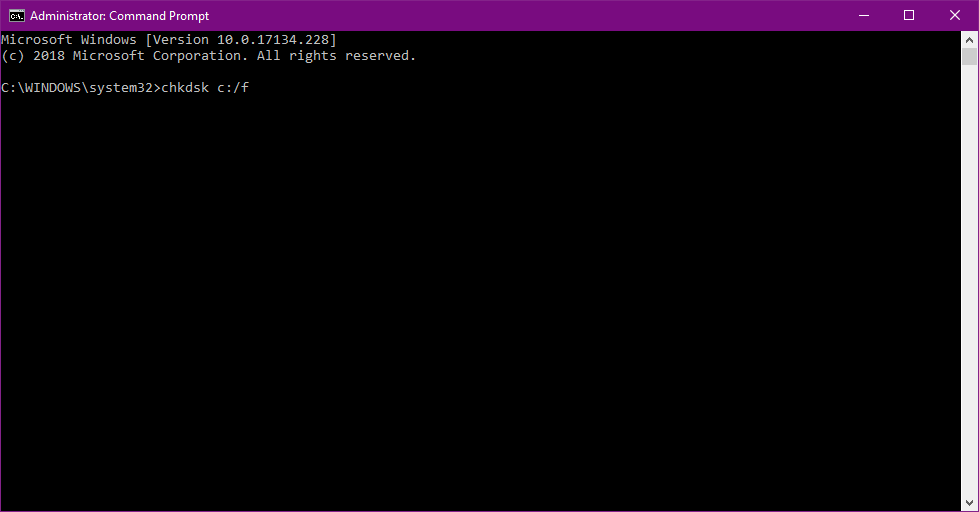
bootrec.exe /fixmbrbootrec.exe /fixboot
- Some users are also suggesting that you need to run additional chkdsk commands as well. To perform these commands, you need to know drive letters for all your hard drive partitions. In Command Prompt you should enter the following (but remember to use the letters that match your hard drive partitions on your PC):
chkdsk /r c:chkdsk /r d:
This is just our example, so keep in mind that you have to perform chkdsk command for every hard drive partition that you have.
- Restart your computer and check if the issue is resolved.
If there’s a problem with your hard drive, BSOD issues are quite possible. To check if that’s the case, run the chkdsk command.
This command will scan all your partitions for potential problems. If the solution is available, this tool will also apply it.
6. Check your screensaver
- Press Windows Key + S and enter screen saver. Choose Change screen saver from the list of options.

- When Screen Saver Settings window opens, check your screen saver. Choose the screen saver that you want to use from the list and click on Apply and OK to save changes.


It’s uncommon for malware to change your screensaver, but a number of users confirmed that malware is the cause for PANIC STACK SWITCH error message, so we urge you to check your screensaver just in case.
In addition to checking your screensaver manually, many users are suggesting using tools such as Malwarebytes to completely delete the malware.
7. Remove your antivirus / problematic software
Certain software, such as VPN clients, for example, isn’t fully compatible with Windows 10.
And if you installed any new software in the last few days before the PANIC STACK SWITCH error started appearing, we advise you to remove that software.
It’s worth mentioning that antivirus software can also be the cause of many BSoD errors, so you might want to temporarily uninstall your antivirus.
Common antivirus tools that can cause BSoD errors are Norton, Avast, AVG, and in some cases Kaspersky.
Therefore if you’re using any of these tools, we advise you to temporarily uninstall them and check if that fixes the problem.
It’s also worth mentioning that almost any antivirus software can cause PANIC STACK SWITCH error.
So even if you don’t use any of the aforementioned antivirus tools, we still urge you to uninstall any antivirus program that you have installed.
When removing antivirus software you should know that certain files and registry keys are left on your computer, and even those files can cause BSoD error to manifest.
To completely remove the antivirus program from your PC, we advise you to use the dedicated uninstaller tool.
Many security companies have these tools available on their websites and you can download them for free.
8. Check your hardware
Sometimes recently installed hardware can cause BSoD error to appear, especially if it’s not compatible with your PC.
If the PANIC_STACK_SWITCH error started appearing recently, we advise you to replace or remove any recently installed hardware and check if your PC works well without it.
If the problem still persists, it’s most likely that the issue is caused by faulty hardware.
BSoD errors are commonly caused by faulty RAM, so in order to test your RAM, we suggest that you download and run MemTest86+ for a couple of hours.
If there are no memory errors, BSoD is probably caused by your motherboard or any other faulty hardware.
9. Reset your PC
- Restart your computer while it boots. Repeat this step until you enter Automatic Repair mode.
- Choose Troubleshoot > Reset this PC.
- Select Remove everything > Only the drive where Windows is installed. Keep in mind that choosing this option will delete all files and folders from your C drive.
- Follow the instructions and wait for the process to finish.
We have to mention that this solution only works if the PANIC_STACK_SWITCH error is caused by a certain software problem.
Before you reset your PC, you should back up all your files from your C drive.
BSoD errors such as PANIC STACK SWITCH can be troublesome, but we hope that you managed to fix this problem by following one of our solutions.
Read our disclosure page to find out how can you help Windows Report sustain the editorial team. Read more


Improve this guide


User forum
0 messages