My Printer Prints Red Instead of Black: Why & How to Fix
3 min. read
Updated on
Read our disclosure page to find out how can you help Windows Report sustain the editorial team. Read more
Key notes
- The most common cause of printer printing red instead of black is an ink cartridge that has run out of ink.
- Resetting your printer is the main preliminary check to be performed before verifying if the cartridge needs to be replaced.
At times your printer may start printing in red even if you want to print a black and white document. This issue mostly occurs if the color cartridge has run out of ink and needs replacement. Several users took the Microsoft community forum and Reddit community to explain the issue.
Why is my printing coming out RED instead of BLACK or BLUE??????????? I have an Epsom C88 printer, and have
neverhad this kind of problem before. I changed my black cartridge and that did not make any difference.
Follow the below-given steps to fix this printer issue.
Why is my printer printing red and how to fix it?
1. Reset the Printer
- Make sure the printer is turned on.
- With the printer turned on, disconnect the power cord from the printer.
- Now remove the power cord from the wall outlet as well.
- Wait for a minute or two.
- Plug the power cord back to the wall outlet.
- Plug the power cord back to your printer.
- Start the printer and print a test page. Check if the issue is resolved. Make sure you wait until the printer is silent to proceed with the print job.
2. Replace the Ink Cartridge
- If your printer cartridge is low on ink, it will create issues with the print quality.
- For some users replacing the Cyan ink cartridge has helped them resolve the red printing issue.
- So, open the printer toner and check if any of the cartridges are running low on ink. You can also check Low Ink from the Control Panel of the printer.
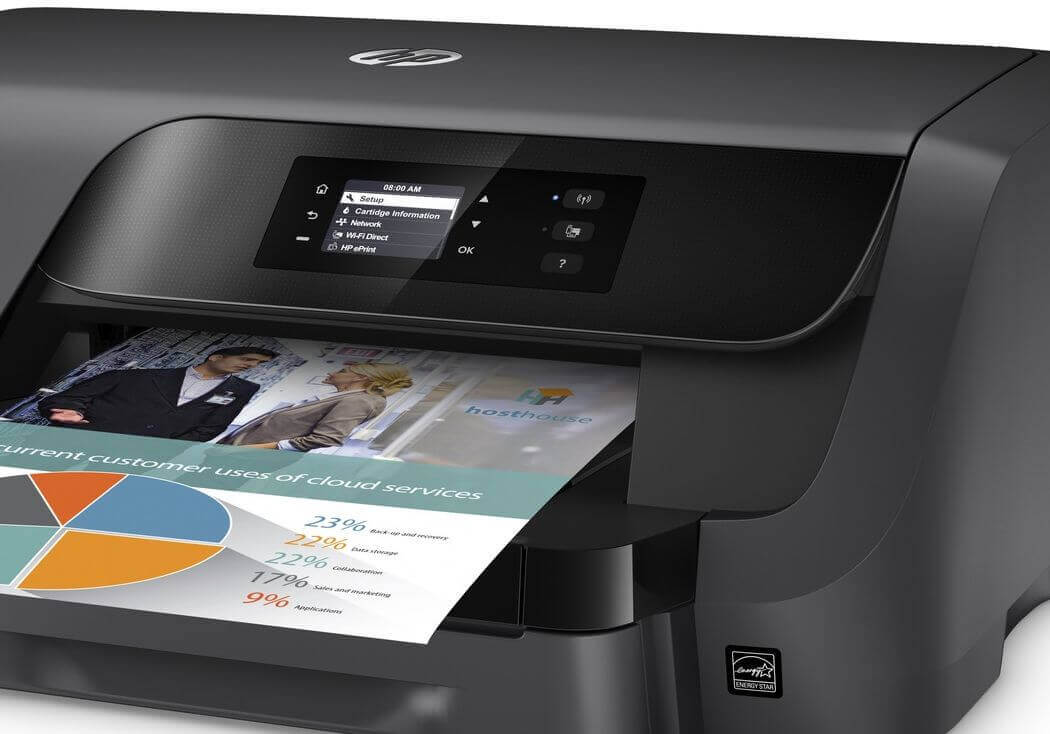
- Press the Setup button (wrench icon) on the Printer.
- In the Setup Menu, press the down arrow button to select the Tools option.
- Press the OK button to select the option.
- Press the down arrow button and select “Display Estimated Ink Levels“. Press OK.
- The printer will now display the ink level on the control panel. If any of the cartridges are low on ink, you may need to replace them to fix the problem.
3. Clean the Printheads
- Load a clean white paper in the input tray. Make sure it is loaded properly.
- On the Control Panel of your printer, press the Setup key (wrench icon) and select Tools using the down arrow button. Press OK to select the option.
- Press the arrow down button again and select “Clean Printhead” option. Use the OK button to select the option.
- Now the printer will initiate the printhead cleaning process. Wait for the process to complete. The printer will print a test page report to check if the issue is resolved.
4. Clean All the Cartridges
- Remove all the cartridges from the printer one by one and clean the head a couple of times.
- Reinsert the cartridges and try to print again. Check if the issue is resolved and you are able to print in Black again.


User forum
4 messages