7 Ways to Fix Projecting to This PC if It Keeps Disconnecting
Solve frequent disconnecting problems in no time
Key notes
- Windows 11 allow users to mirror the display from a supported device to Windows PC.
- Due to poor wireless connectivity or any other reasons, it may often disconnect or may not work.
- Though updating the network driver may help, you also should try other methods mentioned in this article to solve this problem.

If Projecting to This PC keeps disconnecting, don’t worry. This article will give you a clear insight into why it is happening and will also show you the ways to resolve this problem.
Basically, this feature allows another Windows or supported device to cast a screen to a Windows PC via a wireless network. If there is any problem, it can create a very annoying situation.
Why the Miracast on Windows 11 keeps disconnecting?
Miracast or Projecting to This PC may go through frequent disconnect issues due to the following reasons:
- Poor Wi-Fi signal – If the Wi-Fi signal in your home is very weak, the host and remote PC will have difficulties in proper data exchange.
- Outdated network components – If the network components you are using are extremely old or outdated, they may not work with many modern features like Miracast properly.
- Outdated drivers – Outdated network and display drivers also can cause Projecting to This PC disconnecting issue.
- PC’s internal problem – Frequent disconnecting issues also may indicate that your computer has some internal problems which need to be sorted out.
What can I do if Projecting to This PC keeps disconnecting on Windows 11?
Before trying the actual troubleshooting methods to solve frequent disconnect issues with the Projecting to This PC feature, do the following things:
- Update Windows to the latest version.
- Use a 5GHz Wi-Fi band if your router and PC support it.
- Make sure you are not using a metered connection. Disable it if necessary.
- If it is a laptop, make sure you are using high-performance mode.
After ensuring the above things, you can proceed to the methods featured below.
1. Update the network and display driver
- Open the Start Menu.
- Type Device Manager and press Enter.

- Right-click on the Network driver and click on Update driver.

- Choose the preferred method to update.
- Do the same for Display Adapter and other chipset drivers.
The Device Manager often fails to detect the latest update. Else, it is also a bit tricky and lengthy process to update using this built-in tool, especially when you want to update multiple drivers.
So, we suggest you use Outbyte Driver Updater. It can scan outdated and missing drivers and update or install them with just a single click. If configured, it also can do it automatically according to your own schedule.
Updating these drivers should solve the disconnecting problem with the Projecting to This PC feature. If not, follow the next methods.

Outbyte Driver Updater
Solve multiple occurring errors by letting Outbyte Driver Updater automatically update your device drivers.2. Change power management
- Open the Device Manager like before.
- Right-click on the Network adapter and go to its Properties.

- Go to the Power Management tab and uncheck Allow the computer to turn off this device to save power.

- Click on OK.
Now, your network device will work properly, and Windows won’t interfere to save power. As a result, some problems related to it may get fixed.
3. Run the network troubleshooter
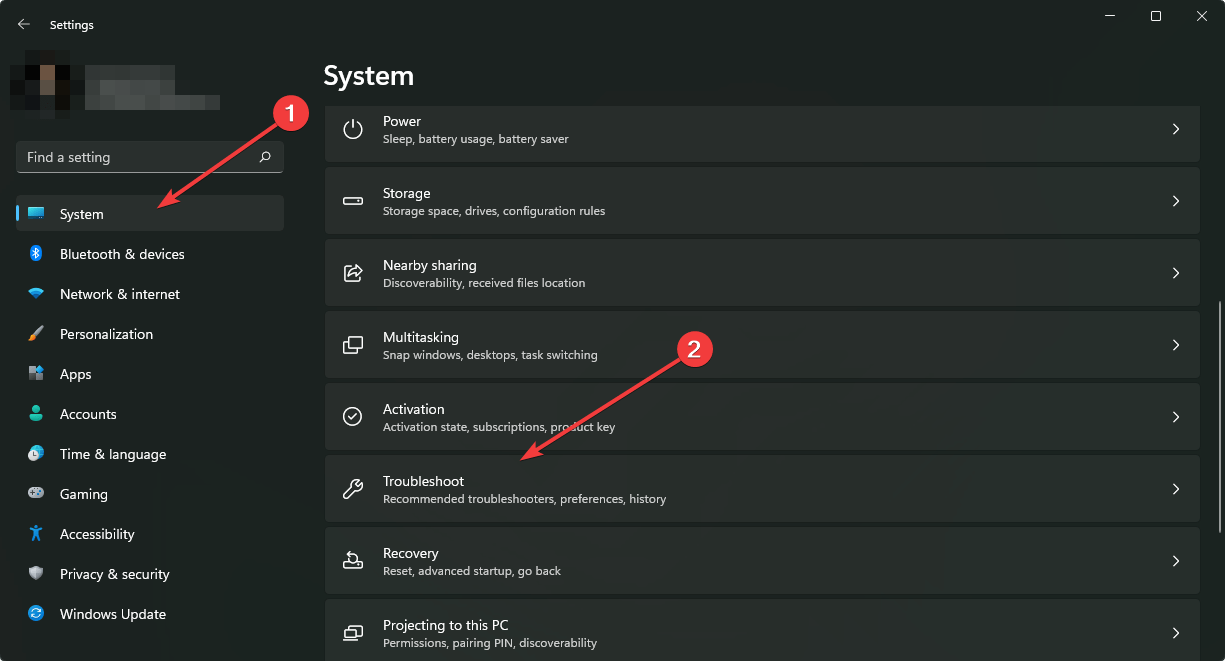
- Press Win + I on the keyboard to open Settings.
- Go to System and click on Troubleshoot.
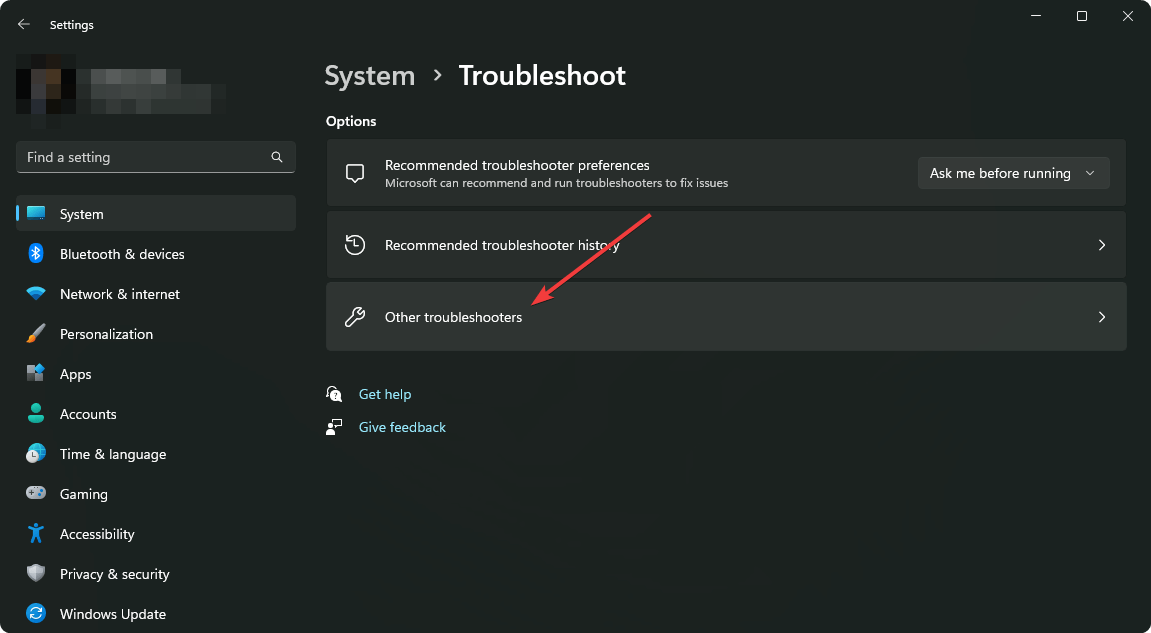
- Go to Other troubleshooters.
- Click on Run next to the Network adapter.

- Go forward and finish the steps.
If necessary, restart your PC. Then, see if it has fixed the Projecting to This PC disconnecting problem or not.
4. Reset the network
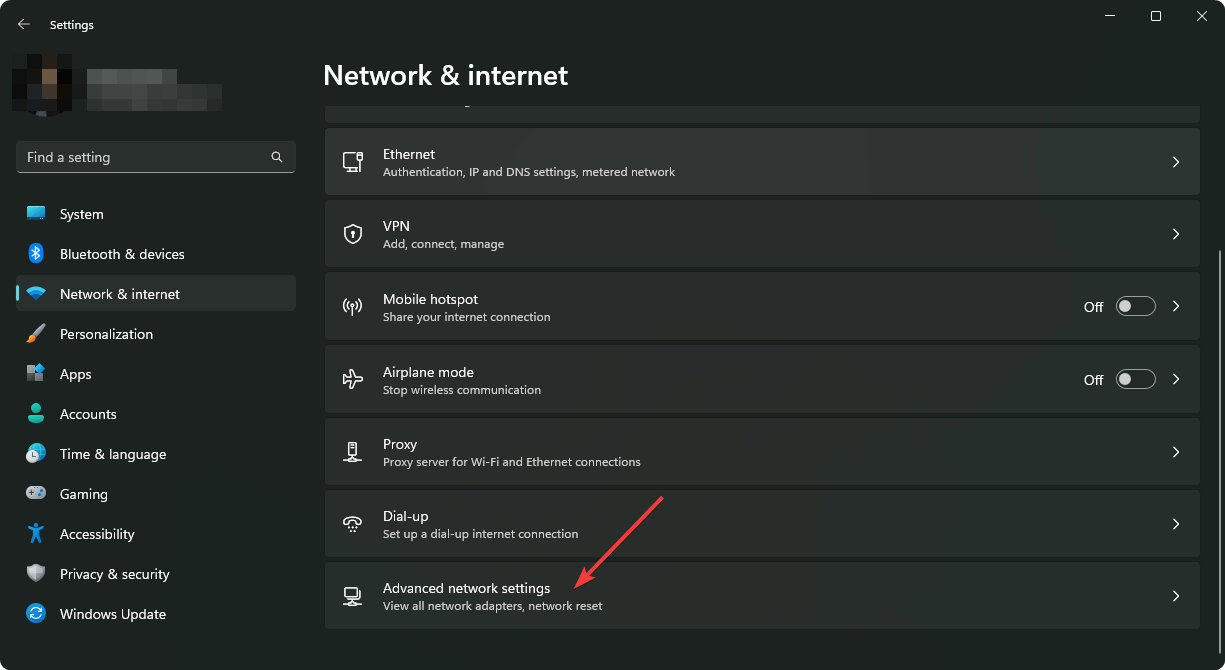
- Open Windows Settings like before.
- Go to Network & Internet and click on Advanced network settings.
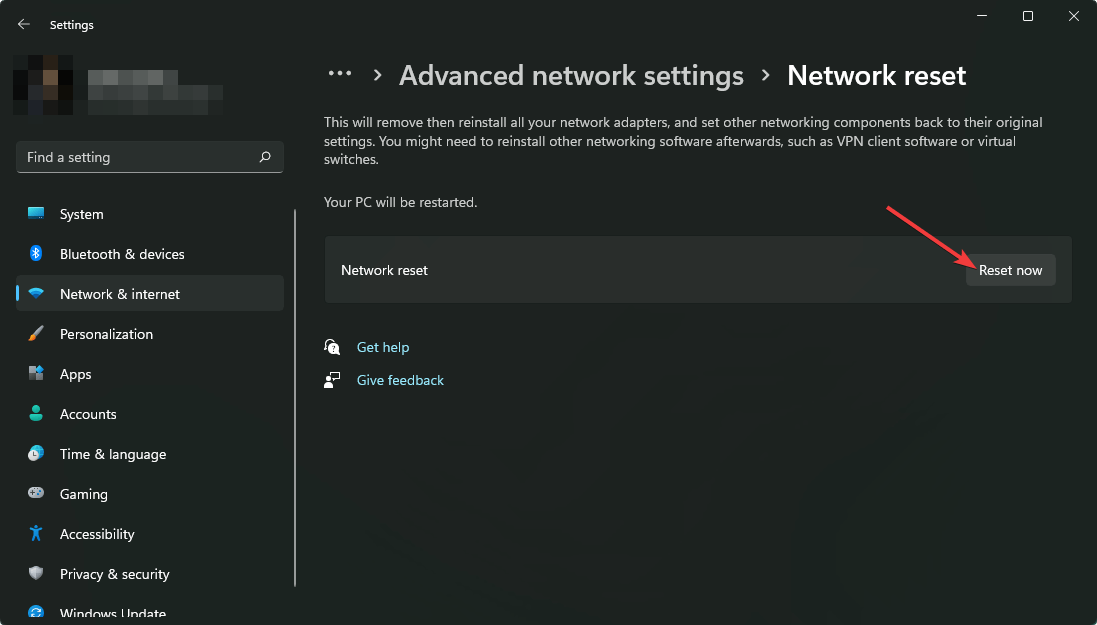
- Go to Network Reset.
- Click on Reset now.
- Follow the on-screen steps to complete the process.
5. Tweak Unicast response
- Open the Start Menu, type local security policy, and hit Enter.
- Expand Windows Defender Firewall with Advanced Security and find Windows Defender Firewall with Advanced Security – Local Group Policy Object.
- Right-click on it and go to Properties.

- Go to the Public Domain tab.
- Click on Customize next to Settings.

- Set Display Notification and Allow unicast response option to Yes.

- Click on OK.
- Restart your PC.
6. Change network profile to private
- Go to Network & Internet from Windows Settings, as shown before.
- Go to WiFi or Ethernet, depending on the connection type you are using.
- Click on the connection you are using.
- Change it to Private if it is set to Public.

- Restart your PC.
7. Run the hardware troubleshooter
- Open the Start Menu, type cmd, and hit Enter.
- Type the following command and press Enter to open the Hardware troubleshooter:
msdt.exe -id DeviceDiagnostic
- Go forward and run it to solve your problem.
Hardware troubleshooter is not available in settings on modern Windows. So, that command prompt method is the only way right now. It is very helpful to fix problems with Miracast.
Ensuring a better Wi-Fi connection is also necessary in order to solve our problem. So, we suggest you check out these Wi-Fi routers if your current one is not that powerful.
These above methods will help you to get rid of Projecting to This PC keeps disconnecting issue on Windows. You will need to apply these methods on both the host and remote PC.
This isn’t the only issue you can encounter, and many reported that projecting to this PC is greyed out, but we tackled this issue in another guide.
If you have any other suggestions to solve this problem, you can let us know in the comment box.
Read our disclosure page to find out how can you help Windows Report sustain the editorial team. Read more


Improve this guide

User forum
0 messages