Pulse Secure for Windows 11: How to Download & Install
3 min. read
Updated on
Read our disclosure page to find out how can you help Windows Report sustain the editorial team. Read more
Key notes
- Pulse VPN Windows 11 is available to download on two platforms, so users can choose their favorite.
- If you are downloading from the official page, you are required to create an account to gain access to the download page.
- To avoid unnecessary disconnections, ensure that you enter the correct login details when configuring the app.

Pulse Secure VPN is now available for Windows 11 and there are two ways to download this software to your PC. You can either download it through the official website or the Microsoft store.
Downloading from the official page requires you to create an account before proceeding. If you don’t have the patience for that, you can simply visit the Microsoft store and download the VPN.
It is easier to download Secure VPN Windows 11 from the Microsoft store. The process is straightforward and hassle-free. Also, bear in mind that VPNs can get overloaded. This mostly happens when a lot of people are connected to one server. Your internet speed slows down which can be quite frustrating.
To solve this issue, you can either switch the server you are currently on or change your location or use a different protocol.
That said, let’s go ahead and look at the step-by-step procedure to download Pulse VPN on Windows 11.
How can I download and configure Pulse Secure VPN on Windows 11?
1. Download from the web
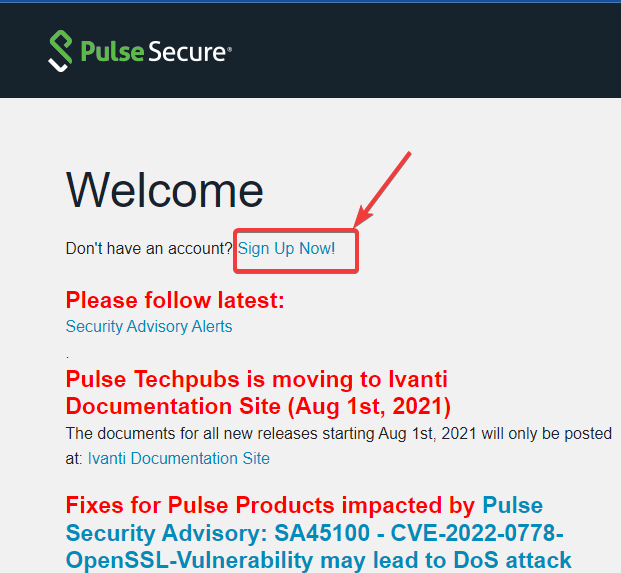
- Visit Pulse Secure official website and click on sign up now.
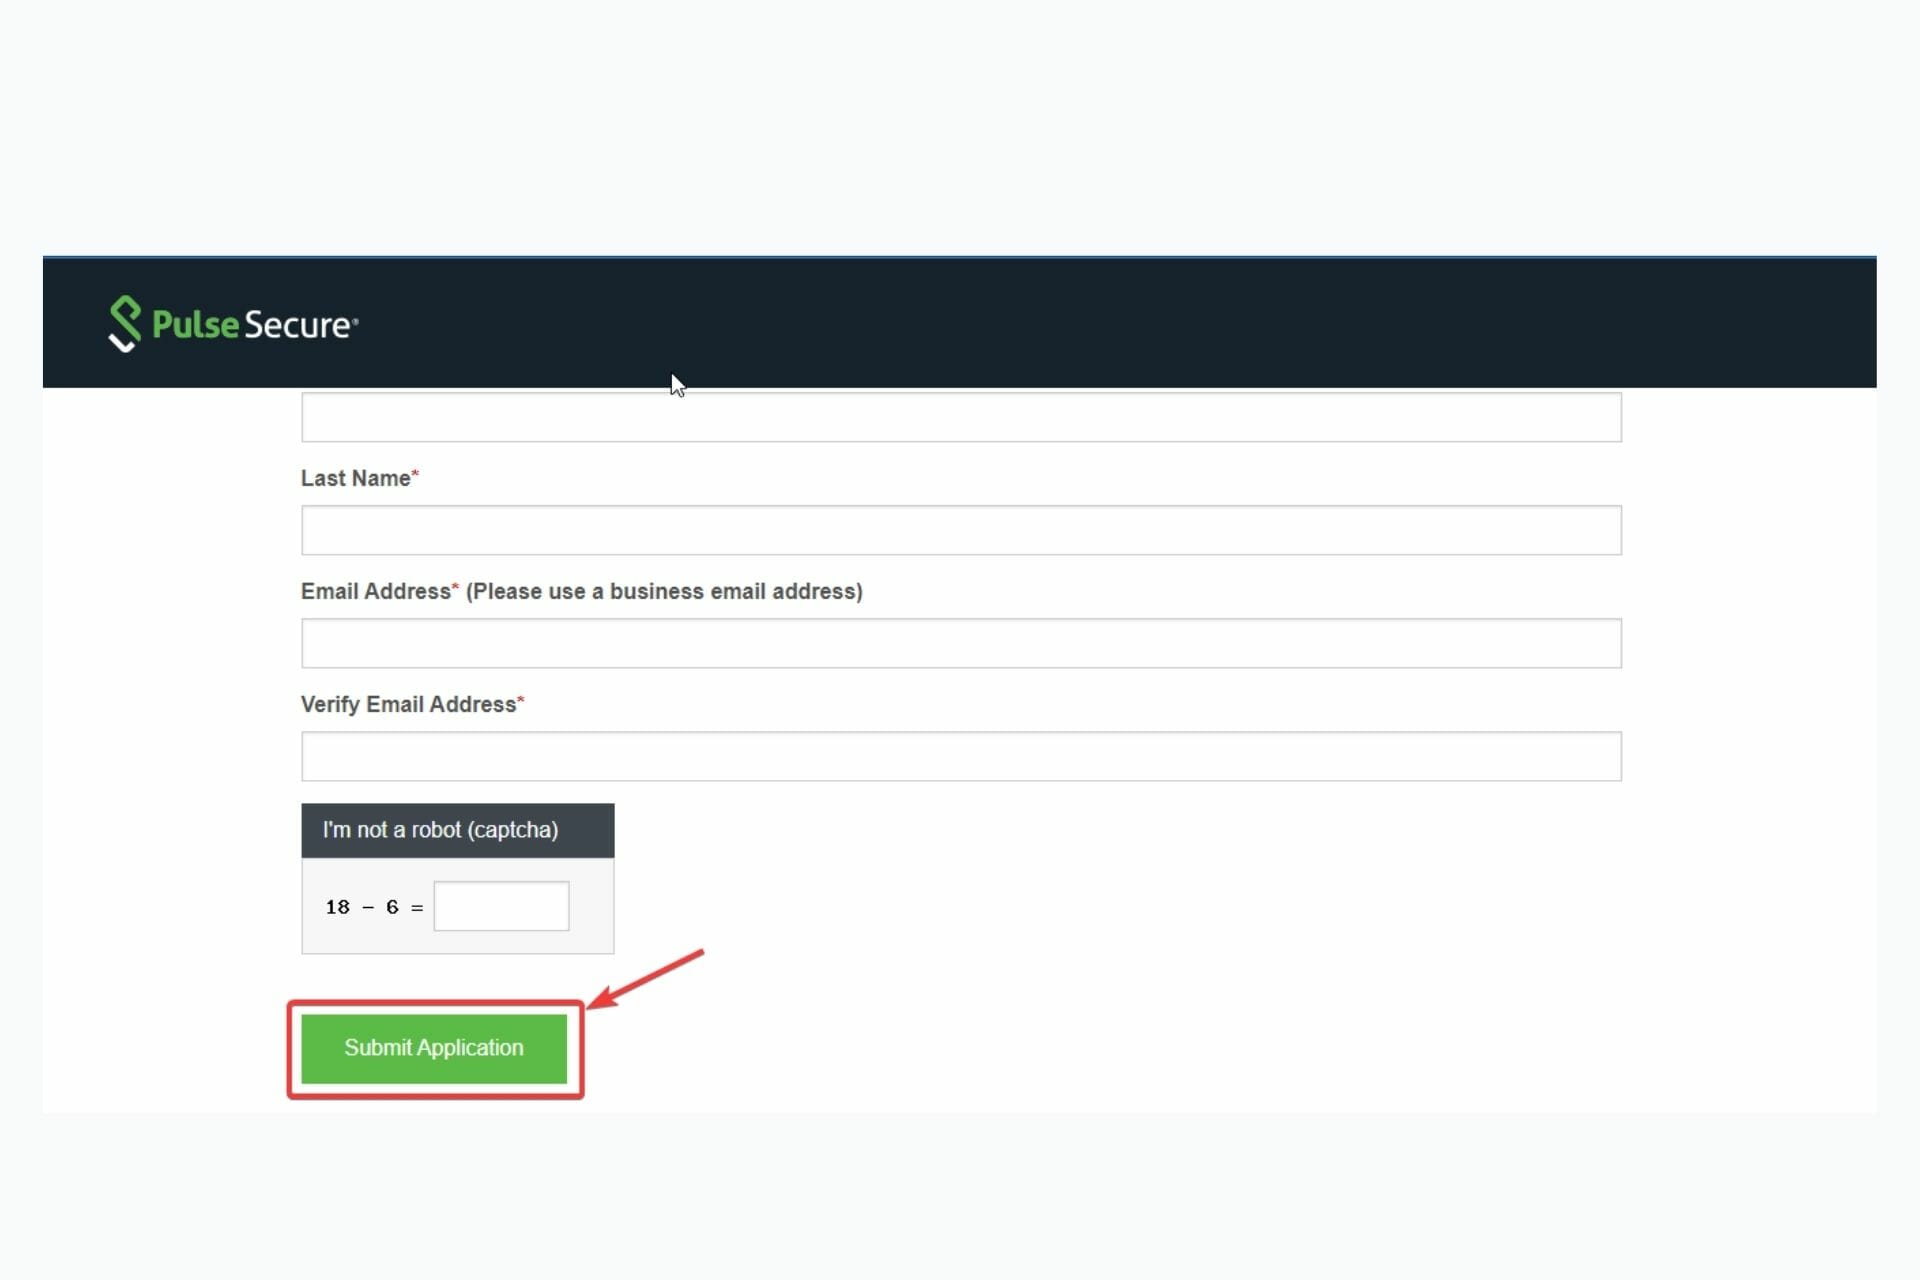
- After entering the required information, click on the Submit Application button.
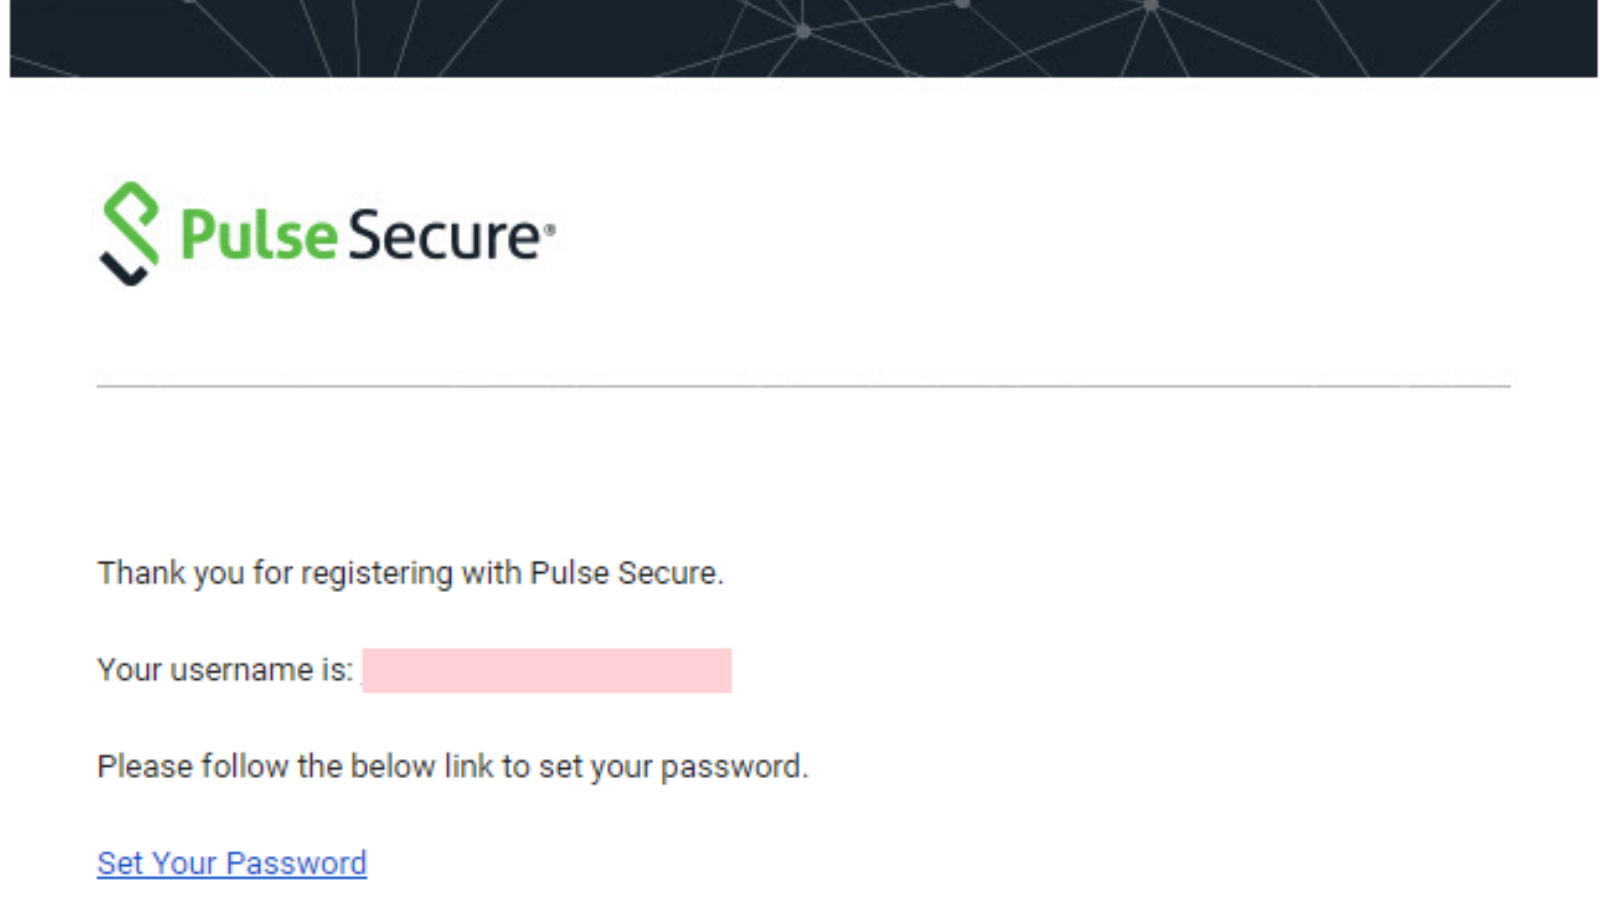
- You will receive a confirmation email. Follow the link to set your password.
- Then log in from the website, scroll down and enter the required details to onboard your account.
- On the Pulse Secure Center page, select licensing and download center and choose the account you want to use.
- You will be redirected to Licensing and Download Center page, click on the downloads tab.
- Scroll down to browse my software and documentation tab and click on Pulse Secure.
Your download automatically starts.
2. Use the Microsoft Store
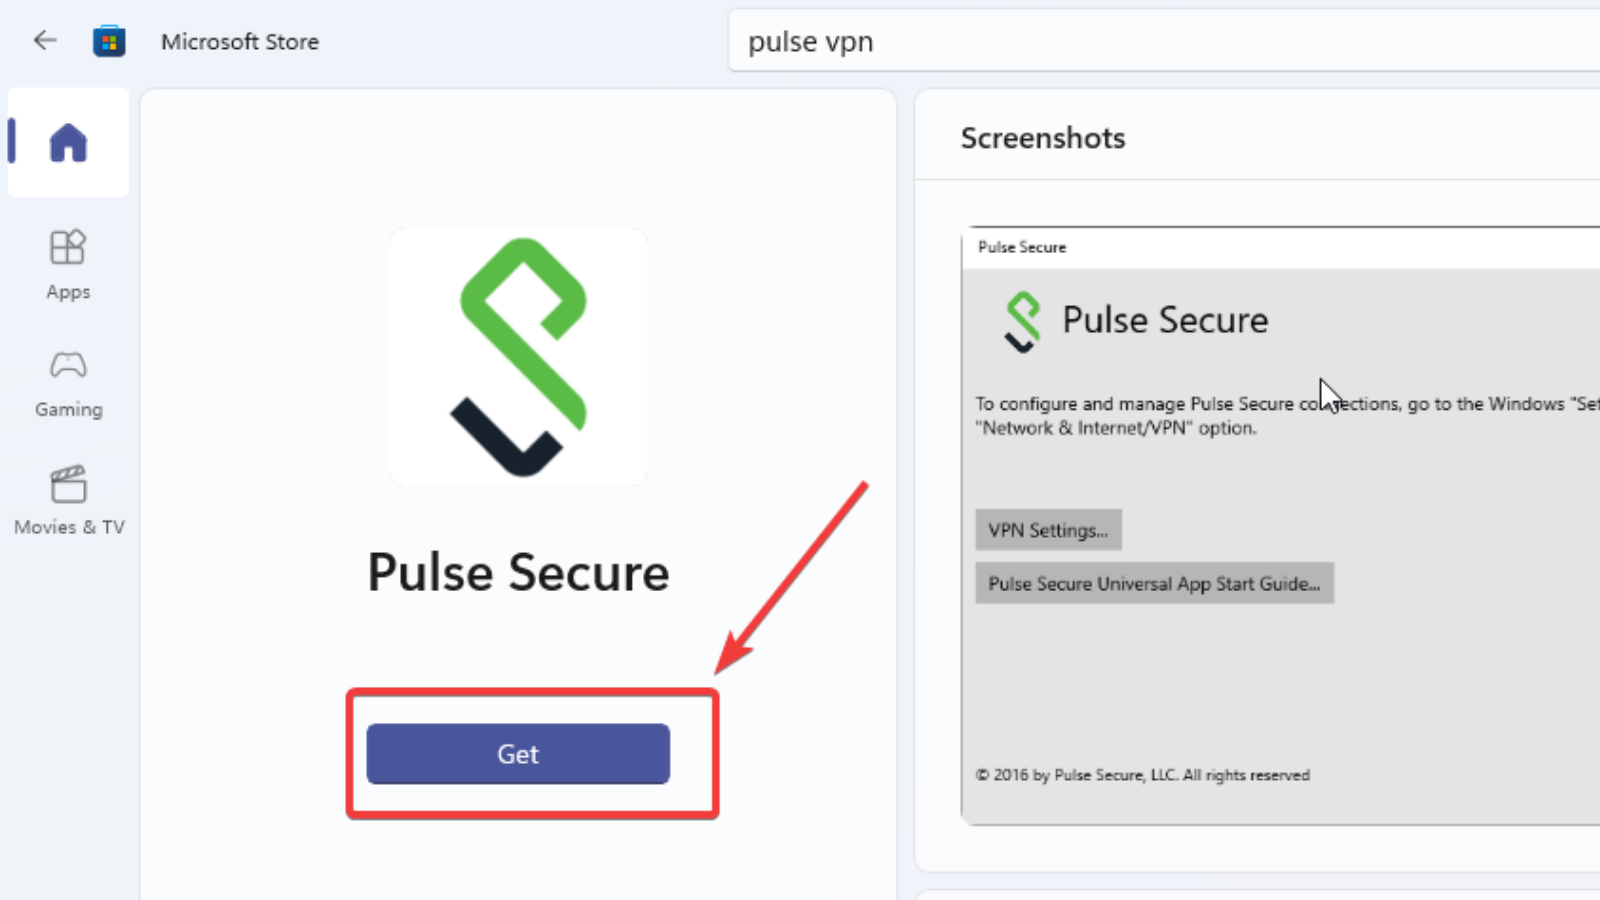
- From the windows tab on your PC, click on Microsoft Store.
- Use the search button to search for Pulse Secure. And click on the Get button.
3. Configure the app
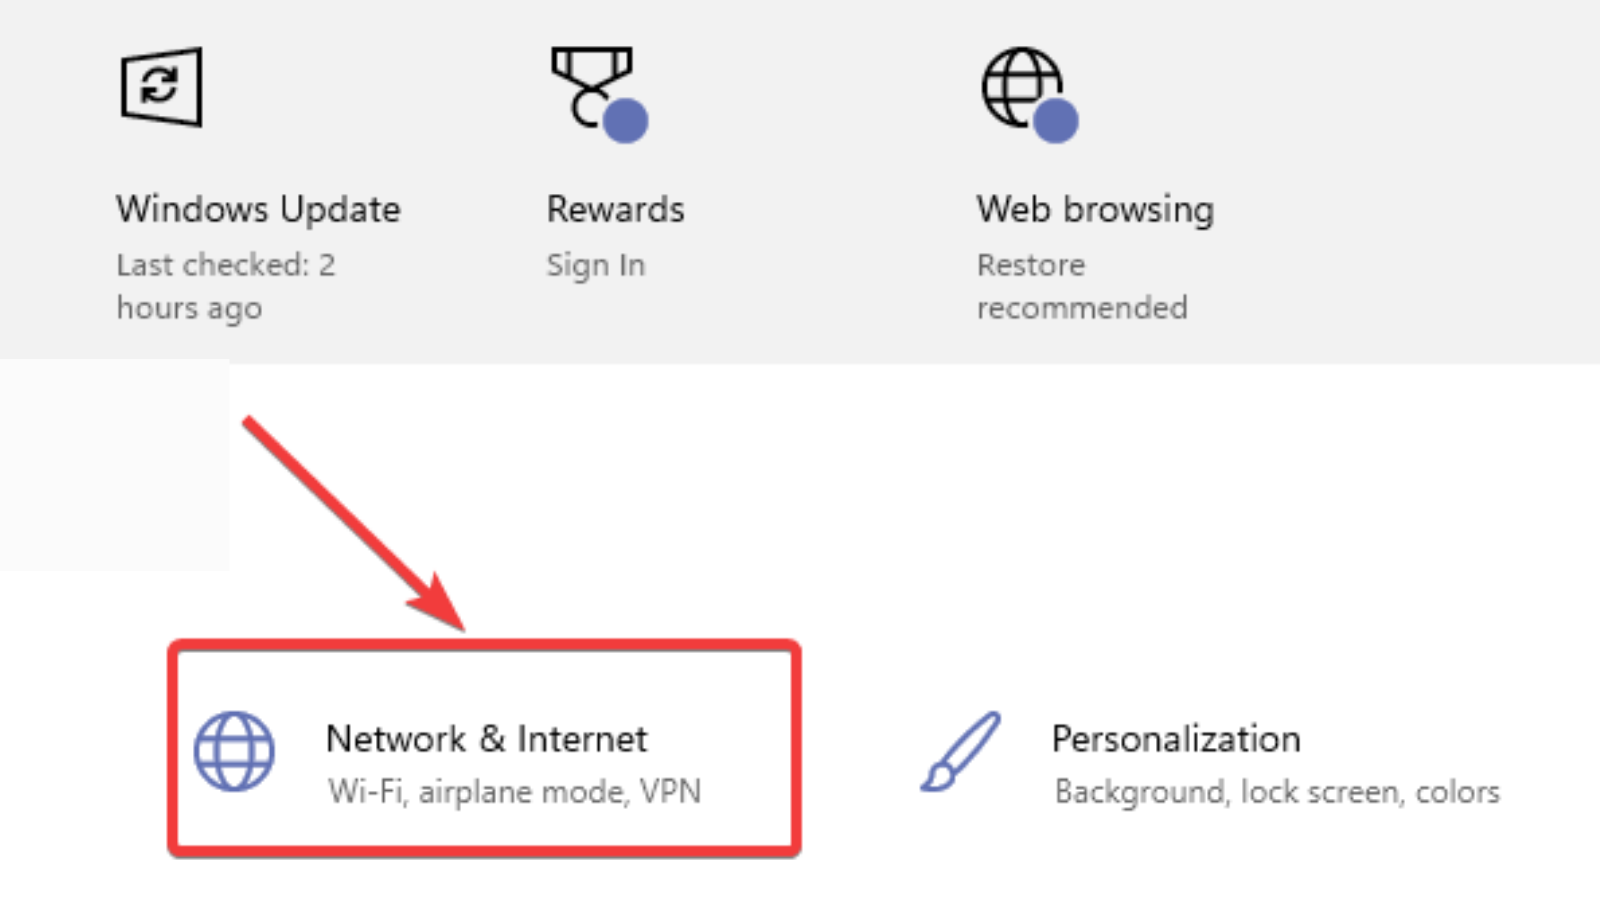
- Go to your settings and click on Network and Internet.
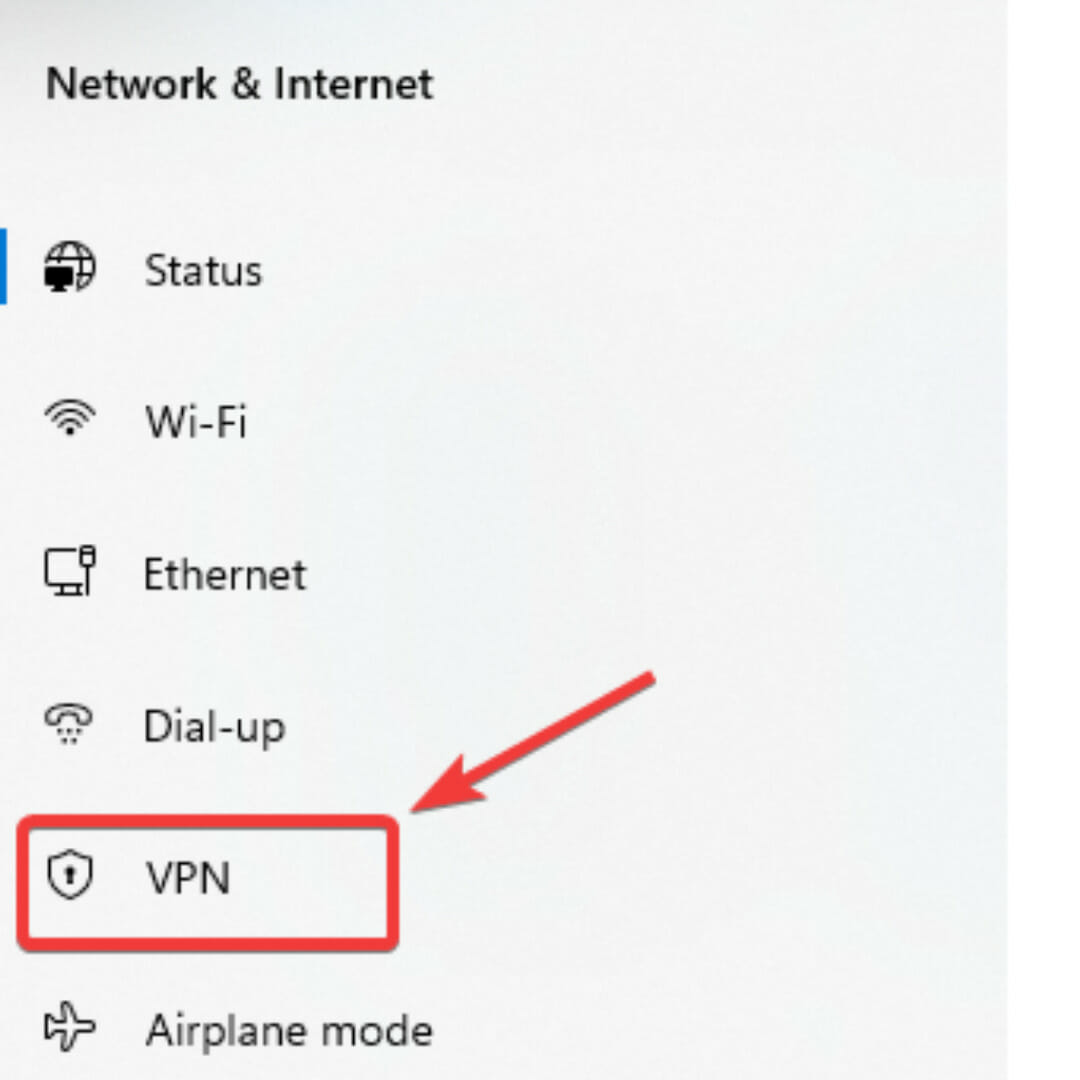
- Click on VPN on the left sidebar.
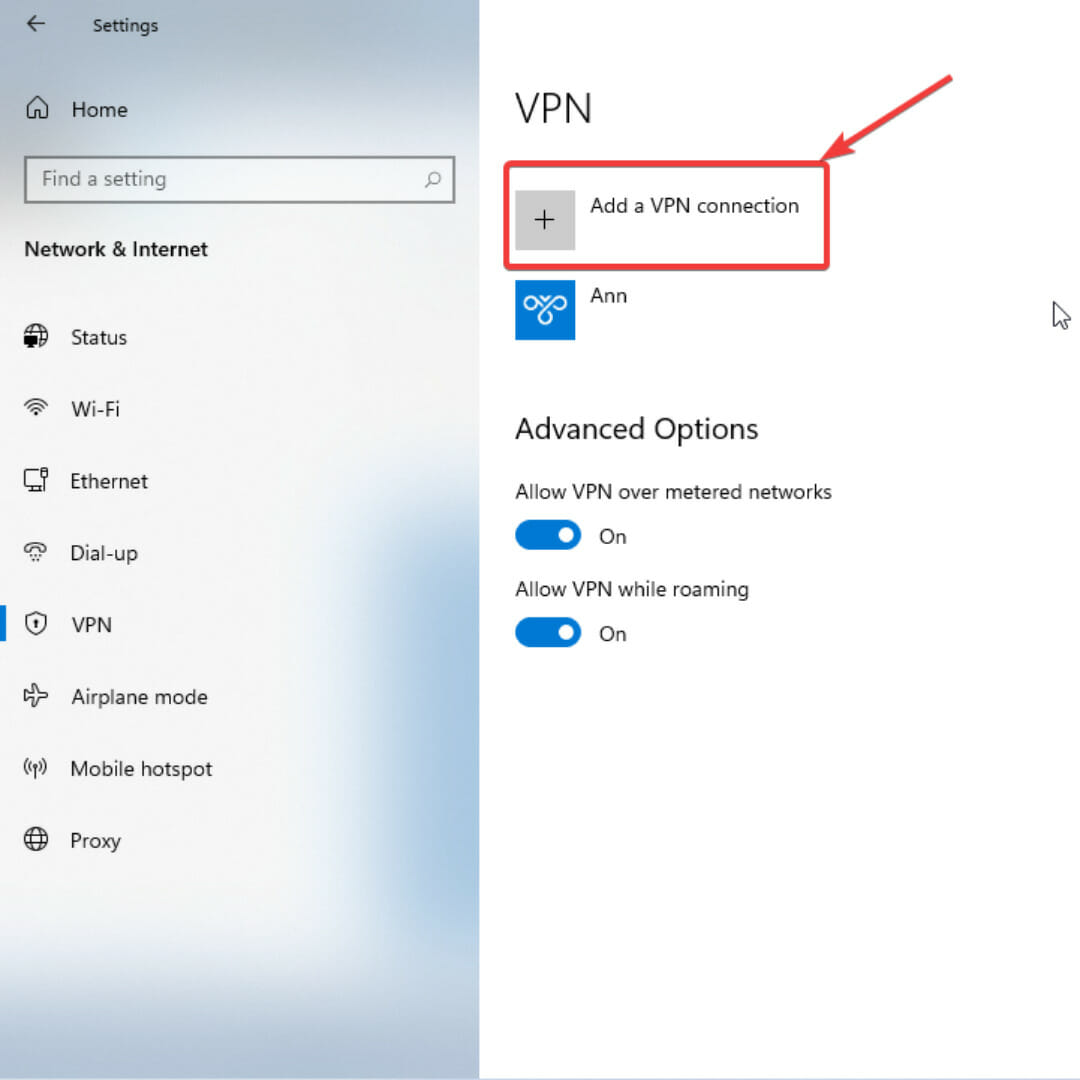
- Click on Add a VPN connection.
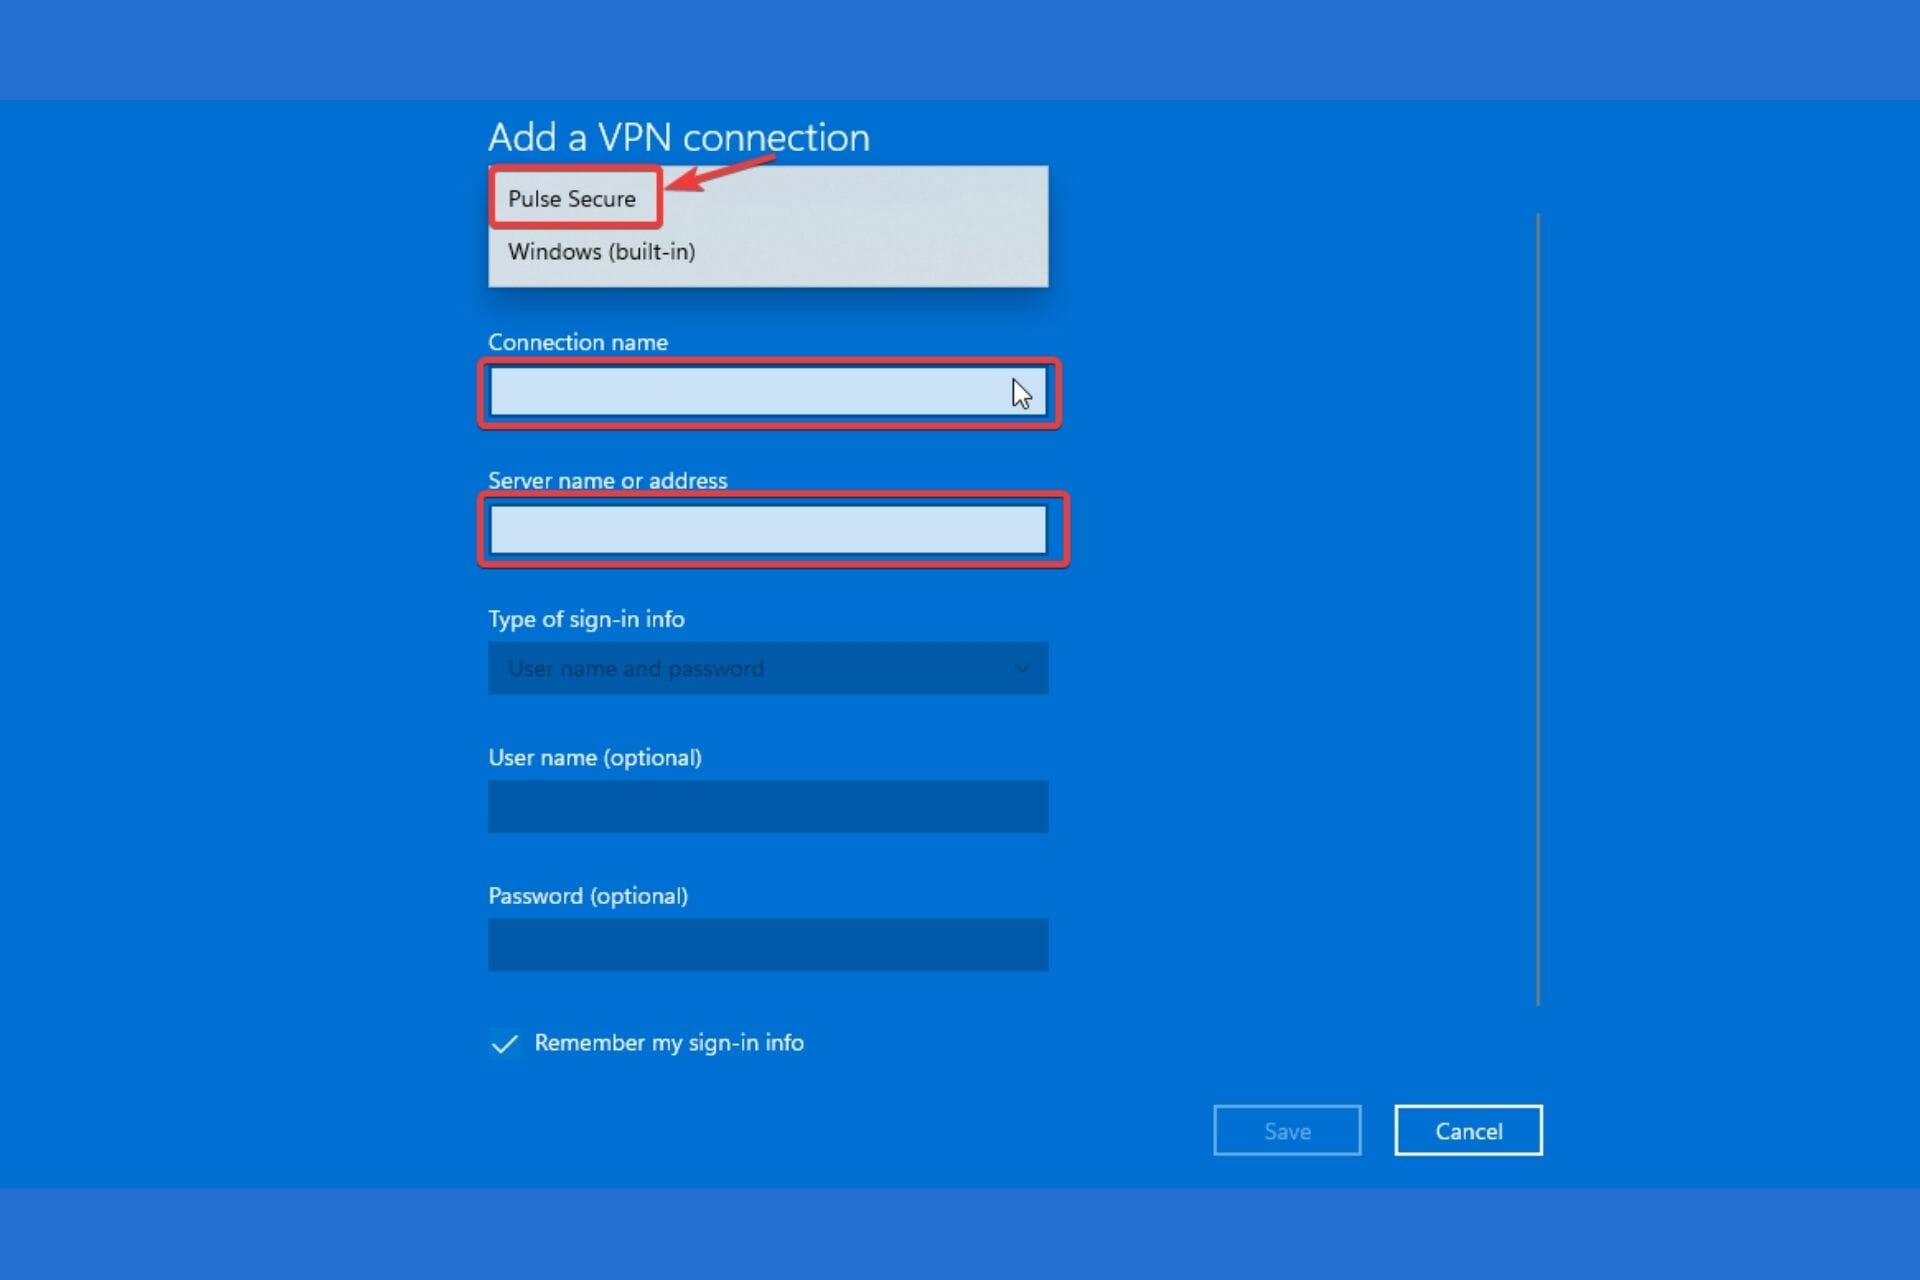
- Under the VPN provider option, choose Pulse Secure. Then, enter your configuration settings – connection name and server name/address. Tick the remember my sign-in info, box, and click save.
While having a safe and user-friendly VPN on your computer is great, don’t forget that it is common for software including VPNs to crash. It is an unavoidable occurrence that might lead to unrecoverable damage such as leakage of sensitive information.
The best way to avoid issues like this is to get a VPN with a kill switch. Private Internet Access is such a VPN. This software automatically disconnects your PC from the internet whenever there is a break in your VPN connection. That way, your private data is safe.
If you notice that your internet speed is getting slower while using a VPN, don’t freak out. It is a normal occurrence caused by poor quality VPN servers, bandwidth limitation, and even distance.
Using a trustworthy VPN, choosing a wired connection instead of a wireless connection, and closer and faster servers will help to hasten your internet speed.







User forum
0 messages