How to Recover Deleted Chats in Microsoft Teams
Having a Compliance Retention Policy will make chat recovery easy
5 min. read
Updated on
Read our disclosure page to find out how can you help Windows Report sustain the editorial team Read more
Key notes
- It is not easy to recover deleted chats in Teams, and you will need a Compliance Retention Policy first.
- This can be achieved by using a dedicated tool such as the one mentioned below.
- It’s more efficient to search for deleted messages using the Date query.
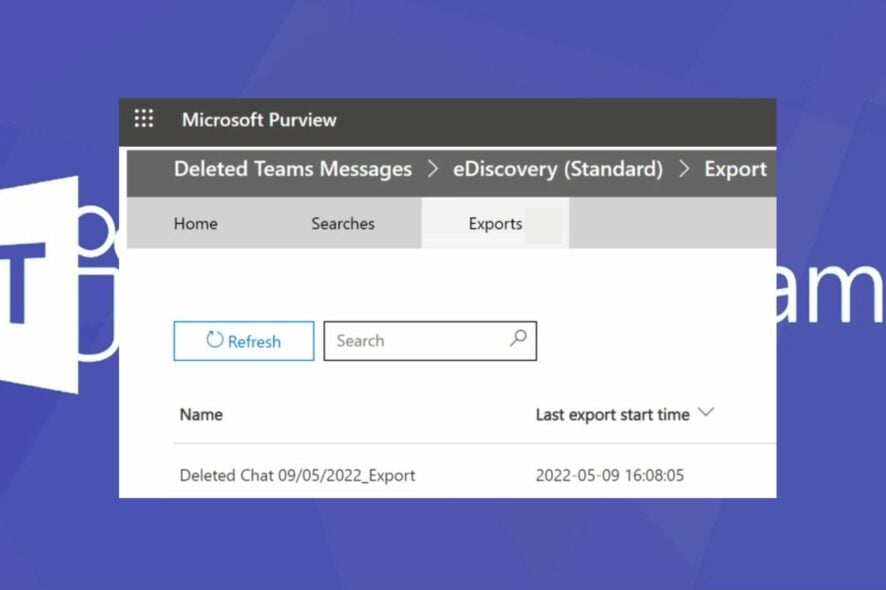
While using Microsoft Teams, users often delete messages. Usually, if these messages are important, you’d have to find a way to recover the message. If you’re looking for a way to recover deleted chats, this article will provide you with the best methods to recover deleted messages in Microsoft Teams.
Is it possible to recover deleted chats in Teams?
The short answer is yes; restoring deleted chats in Teams is entirely possible. However, what makes it a challenge is the complexities that come with it.
Recovering deleted chats in Teams requires you to utilize a tool called eDiscovery. Traditionally, Microsoft Teams isn’t built to recover deleted chats, unlike other applications.
However, with this tool, you should be able to search for deleted messages and restore them to your PC.
How can I recover deleted chats in Teams?
Recovering deleted chats in Teams cannot be done directly. To perform this task, you’d need to have a compliance retention policy or a legal hold in place for Teams messages.
With this in place, you can follow the steps below to help you recover deleted chats in Microsoft Teams.
1. Create an eDiscovery Manager
- Launch your preferred browser and navigate to the Compliance Portal.
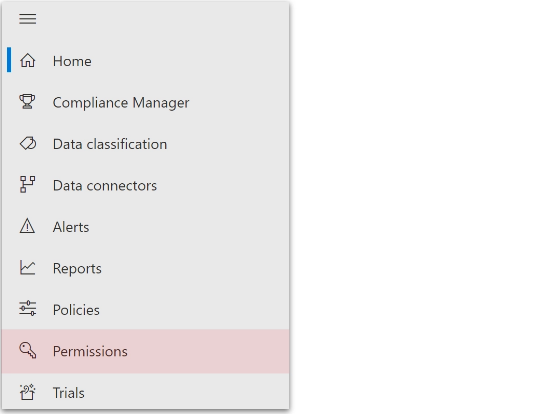
- While in your compliance portal, click on eDiscovery on the left pane, and select Permissions.
- Navigate to Microsoft Purview solutions on the Permissions page and click Roles.
- Scroll down and check the eDiscovery Manager box. A mini-window named eDiscovery Manager will appear on the right pane.
- Click on the Edit Role group option.
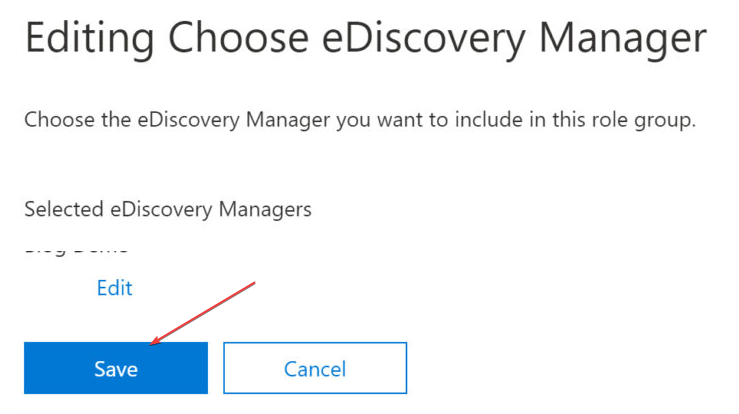
- Navigate to the Choose eDiscovery Manager option on the left pane and click Choose eDiscovery Manager.
- Click the Add button, select your name from the list of users, and click the Add button.
- Scroll down to the bottom of the window and click Done.
- Click the Save button to save your changes.
You need to be an eDiscovery manager to be able to view the results of the eDiscovery search. If you already have access to eDiscovery, move on to the next step.
2. Create a case for recovering deleted messages
- Navigate to your Compliance Portal.
- Click on eDiscovery on the left pane and select User data search from the drop-down menu.
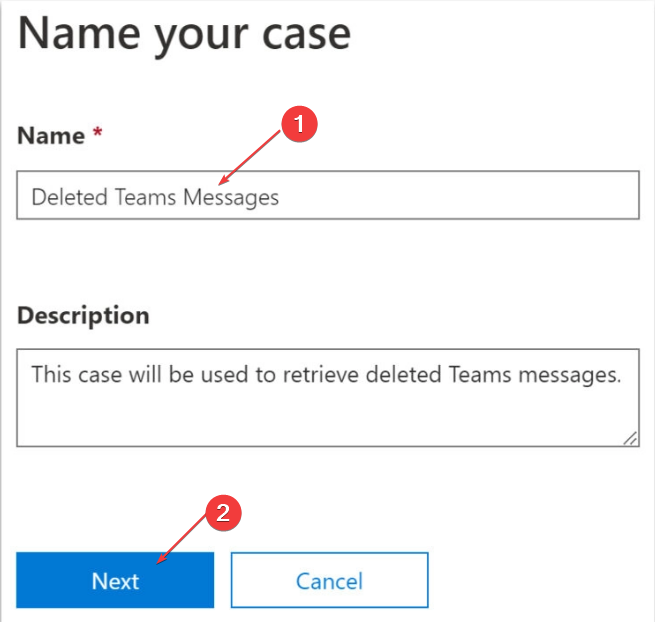
- Click the Create a case button, and name your case. Preferably, you can name it Deleted Teams Messages.
- You can choose to write a description and click the Next button to proceed.
- In the User who filed the request box, click on the box, and select your name from the drop-down list.
- Click the Next button and click Save to save your changes.
- After successfully creating your case, click the Finish or Show me search results buttons.
After creating a message to delete, you’ll need to create a case before running an eDiscovery search.
3. Run an eDiscovery search for deleted messages
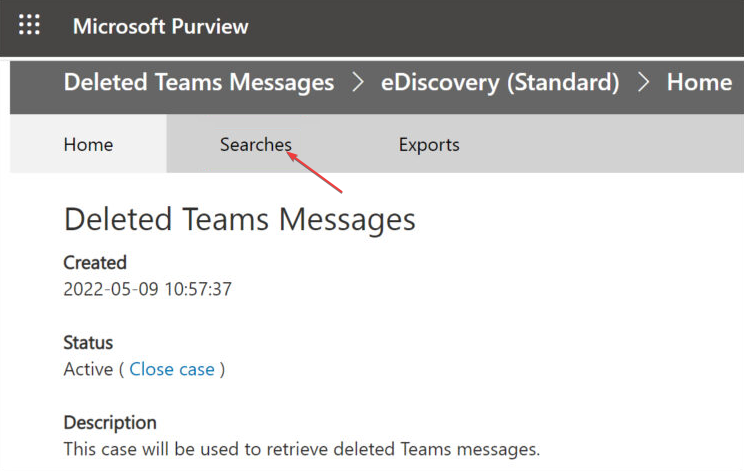
- In the eDiscovery manager, click on the Open Case button. A new browser tab called Microsoft Purview will open.
- In the new tab, click Searches on the Menu bar.
- Click the Guided Search button to open the search query.
- In the next popup window, click the Cancel button in the top-right corner.
- Click Yes when the prompt Cancel this wizard displays.
- Click the Add Conditions button to edit the search query.
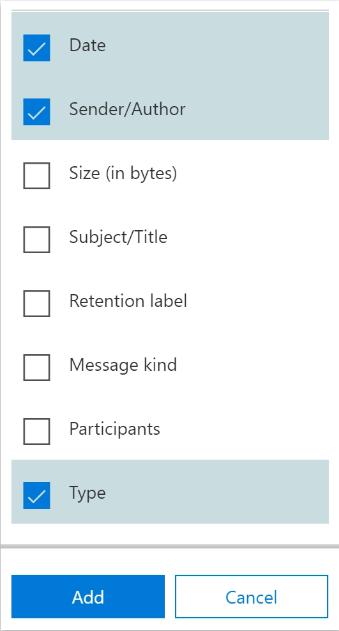
- Check the following boxes: Date, Sender/Author, and Type, and click the Add button at the bottom.
- To search for messages between two dates, you’ll set a Before and After.
- Use Between and set the exact date in each box to search for a specific day,
- To search for messages sent by a specific person, type their name in the Sender/Author box.
- After selecting the search query, check the box next to Instant Messages, and make sure all other options are deselected.
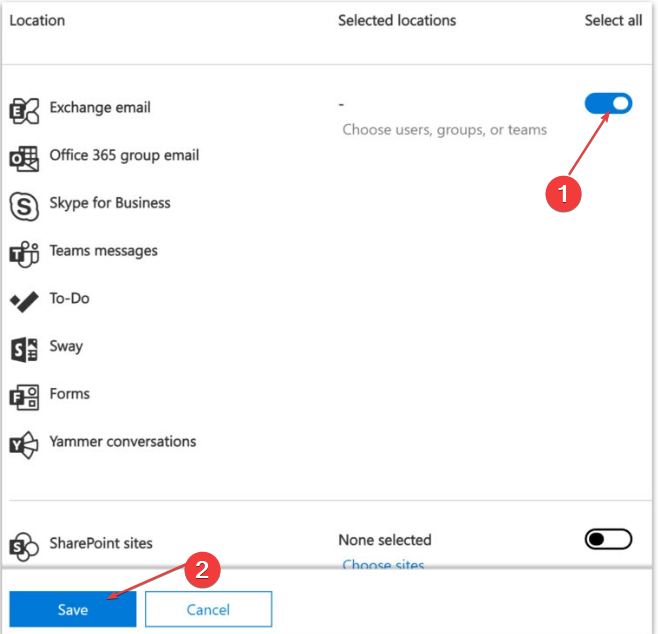
- In the Specific Locations tab, click Modify.
- Click the toggle button next to Teams messages and click the Save button.
- Click the Save and Run button to conclude your changes.
- You’ll have to create a name for the search before it runs. Type your preferred name into the Name box and click Save.
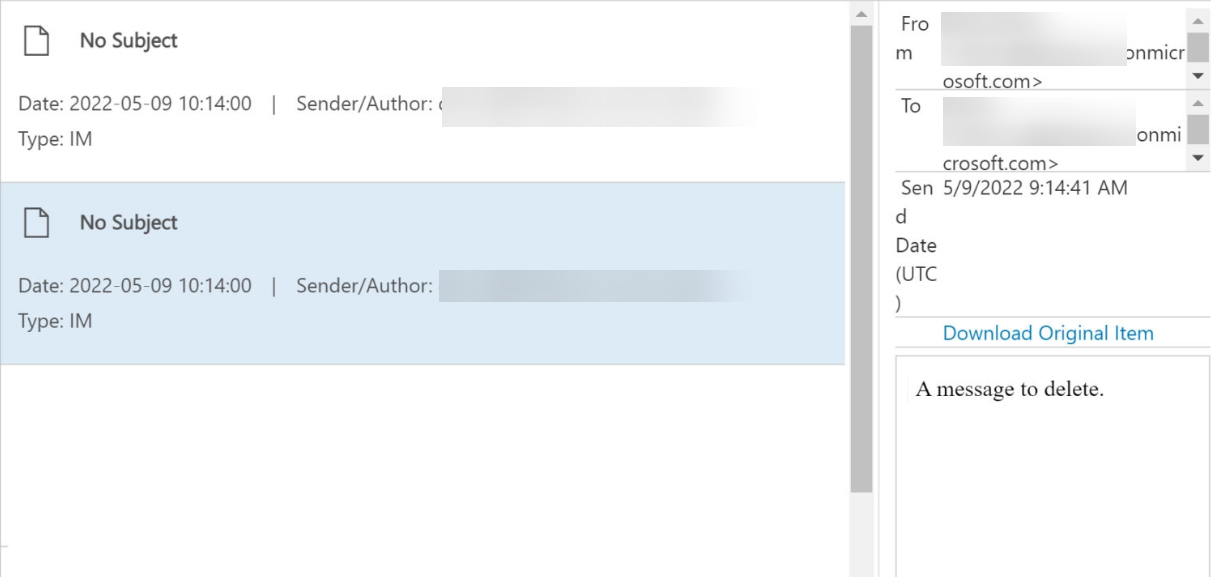
- After the search is completed, click on the results to view the message.
- Deleted messages will appear as duplicate messages.
Before running an eDiscovery search, you’ll need to open your case.
4. Export the search results
- In the Results page, click More, and then select Export result.
- Scroll down and click the Export button.
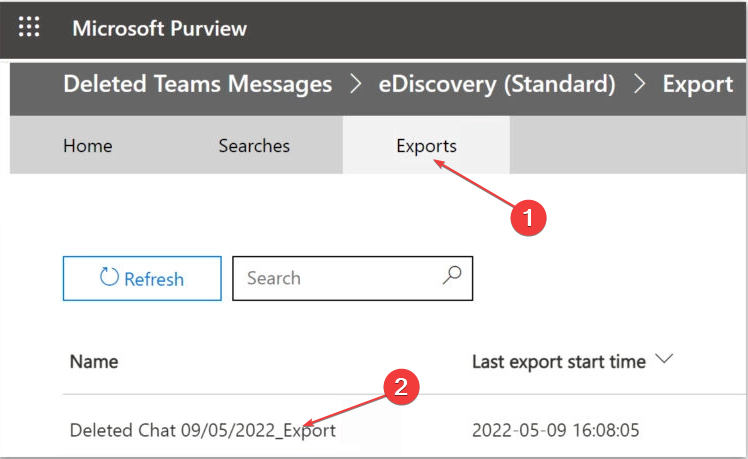
- Navigate to the Exports tab at the top of the menu bar and select your Export.
- Click on the option Download Results at the top of the next window.
- Click Yes when you receive the prompt Open this file?
- Once the download is completed, click on the link next to Export Location.
- The newly created data will be stored in a CSV file named Results.
- You must read the file with Microsoft Excel or a similar application.
Recovering deleted messages in Microsoft Teams is a very hectic procedure that requires following many carefully laid out techniques, but this is how to see deleted messages in Teams. Similarly, you can also recover deleted Skype messages.
If you’re in the contrary situation, and you can’t delete files from Microsoft Teams, this guide will help you with that.
However, with the steps above, you should be able to recover deleted messages in Teams. If you have any questions or suggestions, kindly drop them in the comments section.





User forum
0 messages