Access & Empty Recycle Bin on Windows 10 [How to]
Recycle Bin has a couple of hidden settings that you didn't know
Recycle Bin has been a part of Windows since the earliest versions, and in today’s guide, we’re going to show you how Recycle Bin works on Windows 10.
What is the Recycle Bin?
Recycle Bin is a special hidden directory that temporarily holds all your deleted files.
How can I use the Recycle Bin in Windows 10?
1. Permanently delete files from the Recycle bin
- Open Recycle Bin.
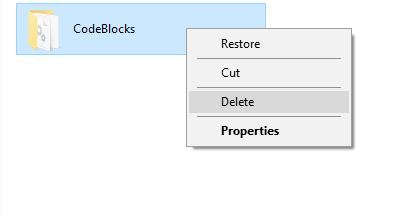
- Locate the file you wish to remove and right-click it. Choose Delete from the menu.
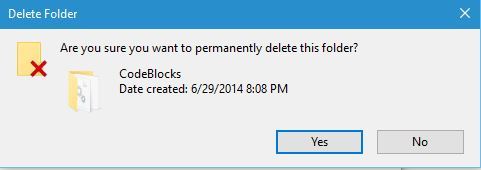
- You should see the confirmation dialog, click Yes to permanently remove that specific file or folder.
If you wish to delete all files and folders permanently from Recycle Bin you can do the following:
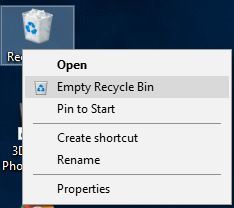
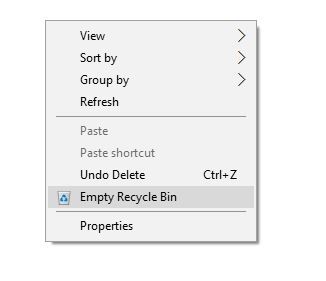
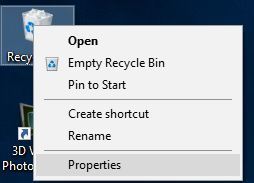
- Right-click Recycle Bin and choose Empty Recycle Bin. When the confirmation dialog appears click Yes.
- Optional: You can also delete all files simply by opening Recycle Bin, right-clicking the empty space, and choosing Empty Recycle Bin from the menu.
We have a guide on how to empty the Recycle Bin for all users, so don’t miss it if you have other users on your PC.
2. Configure Recycle Bin to permanently delete files from the Computer
1. Right click on Recycle Bin and select Properties.
2. Select your hard drive partition.
3. Choose Don’t move files to the Recycle Bin. Remove files immediately when deleted.
4. By default, Windows 10 doesn’t give you a confirmation message when you choose to delete a certain file or folder. To prevent this from happening check the Display delete confirmation dialog option.
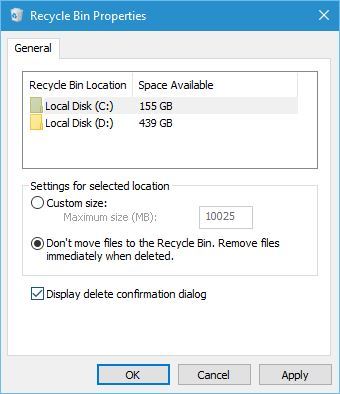
5. Click Apply and OK to save changes.
3. Permanently delete files from your computer
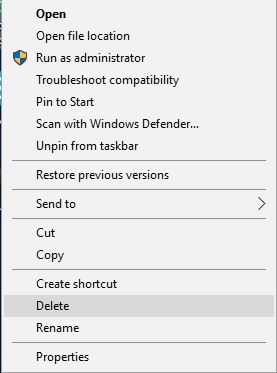
- Locate the file you wish to remove and right-click it.
- Press and hold Shift on your keyboard and choose Delete from the menu.
- You should see a window asking if you want to permanently remove this file or folder.
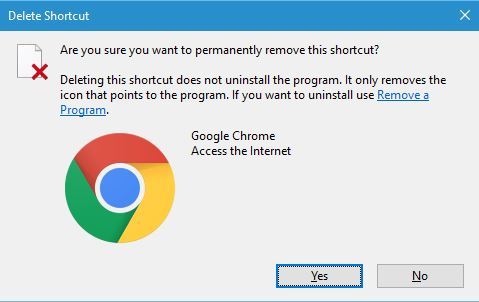
- Click Yes to permanently remove a file.
If you use this method, your files won’t be available in Recycle Bin so you won’t be able to restore them, so keep that in mind.
4. How to increase Recycle Bin’s maximum size for files
- Right click Recycle Bin icon and click on Properties.
- When Properties window opens, you can select how much space will Recycle Bin use from each partition by changing the Maximum size(MB) value.

5. Recover deleted files from Recycle Bin
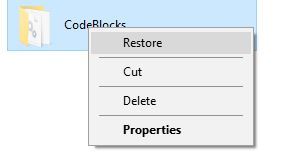
- Open Recycle Bin and locate the file you wish to restore.
- Right click the file and choose Restore from the menu.
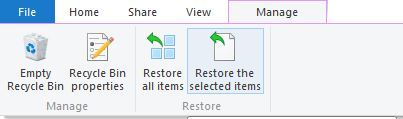
- Optional: You can also select the file you wish to restore, click the Manage menu and choose Restore the selected items. If you wish, you can also restore all the files from the Recycle Bin by selecting the Restore all items from the Manage menu.
To learn more, we have a great guide on how to undo restored files in Recycle Bin, so don’t miss it.
Where is the Recycle Bin in Windows 10?
You can easily find Recycle Bin on your Desktop. If you can’t find it, check our guide on how to hide the Recycle Bin to see how to reveal it again. We also have a guide on how to restore Recycle Bin, so check it out as well.
Recycle Bin is a key component of every Windows operating system, therefore, it’s important that you know how to use it properly. We also have a guide on how to change Recycle Bin settings, so don’t miss it.
Let us know of any additional comments you may have.
Read our disclosure page to find out how can you help Windows Report sustain the editorial team. Read more


Improve this guide


User forum
0 messages