How to Easily Change Recycle Bin Settings on Windows 11
The Recycle Bin is more than a trash can, if you know how to use it
Key notes
- The Recycle Bin is the default storage location for deleted files on your PC.
- But did you know there’s more to it? Like increasing the storage size?
- We discovered a few ways to make your Recycle Bin more efficient, so stay put as we share them in this article.
For most people, the Recycle Bin is just storage for deleted files that can be restored later or get rid of permanently. What you may not realize is that you have the ability to configure it and decide what happens when you delete files from your computer.
Given how easy it is to change these settings, you should be able to adjust them in no time and enjoy a new look, efficiency, and a customized Recycle Bin.
Why should I manage my Recycle Bin settings? If you’re not careful, the Recycle Bin can fill up with files that you don’t need to keep permanently but want to keep just in case. That’s why you need to decide what happens to these files instead of leaving them hanging.
Also, you risk ending up with a slow computer with unnecessary files taking up valuable space on your hard drive. A better solution is to set up rules for what gets stored there and when it gets deleted automatically.
How do I change the Recycle Bin settings on Windows 11?
1. Finding and accessing the Recycle Bin in Windows 11
By default, the Recycle Bin is saved on the Desktop, but if not, you can enable it by:
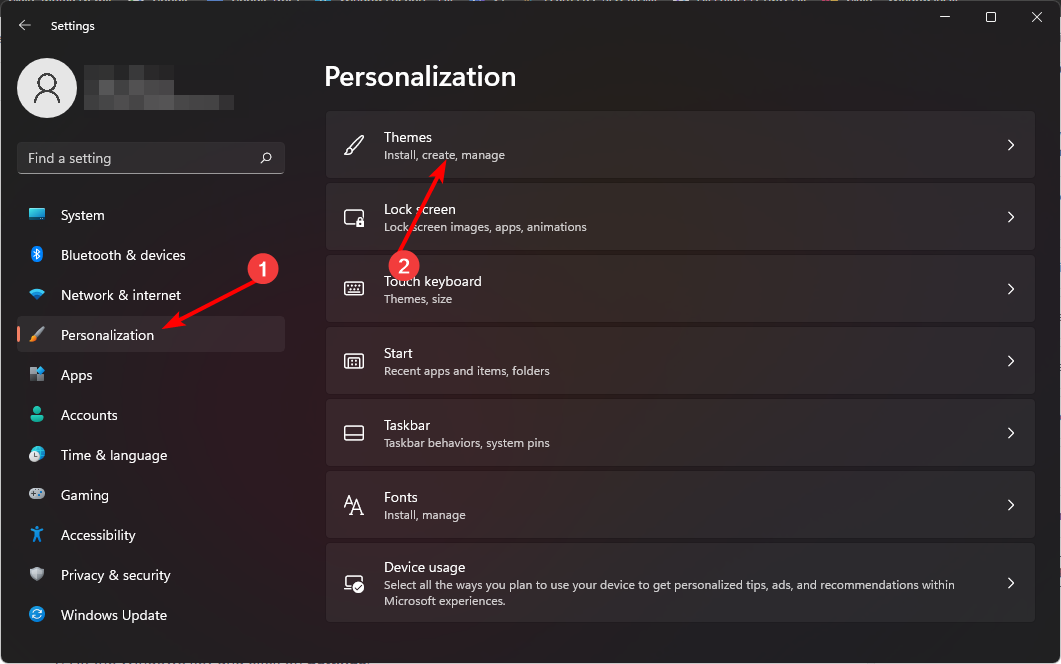
- Hit the Windows key and click on Settings.
- Select Personalization and click on Themes.
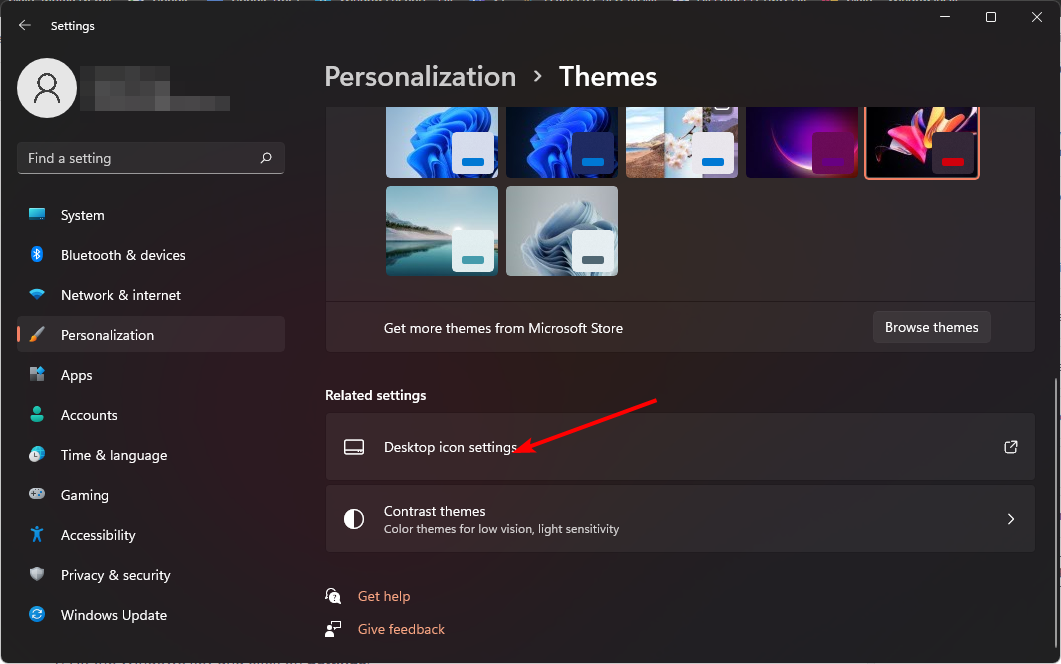
- Click on Desktop icon settings.
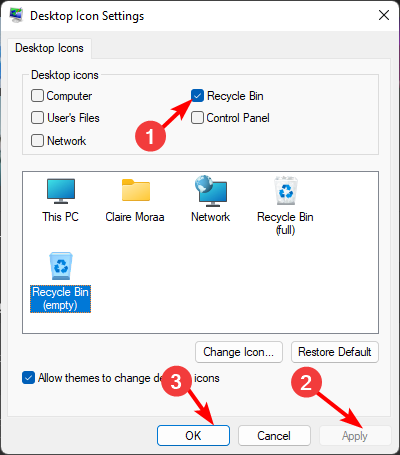
- In the next dialog box, ensure the Recycle Bin check box is ticked to appear on the Desktop then hit Apply and OK.
If you’d like to hide the Recycle Bin from your Desktop, simply reverse-engineer these steps.
2. Adjusting General Settings for Windows 11’s Recycle Bin
1. Pin Recycle Bin to Taskbar
- Right-click on an empty space on your Desktop and select New>Shortcut.
- Type the following as the path directory for the shortcut, then hit Next:
explorer.exe shell:RecycleBinFolder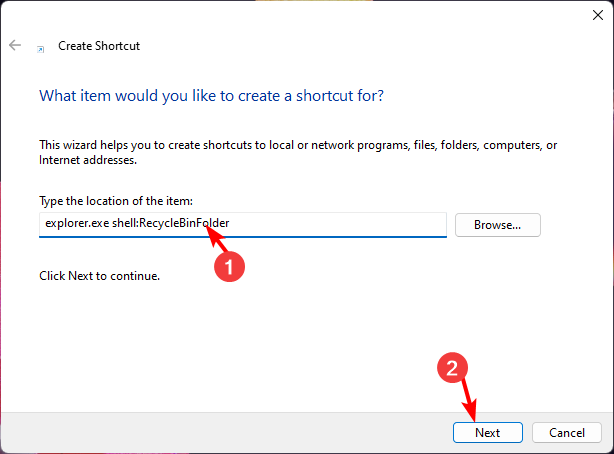
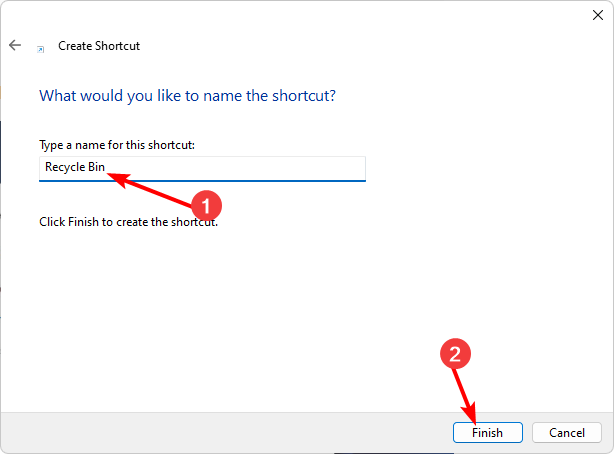
- Set the name as Recycle Bin, then click Finish.
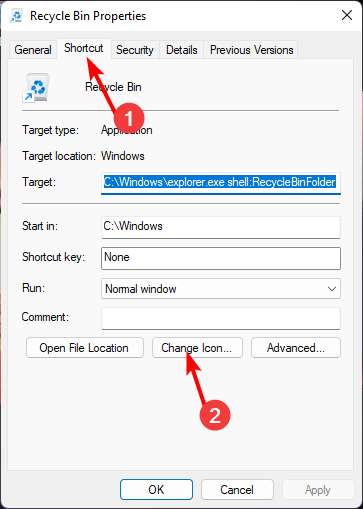
- Right-click on the newly created shortcut and select Properties.
- Navigate to the Shortcut tab and click on Change icon.
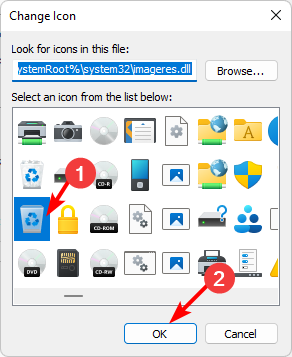
- Select a Bin icon from the list and hit OK.
- Right-click again on the changed icon and click on Pin to taskbar.
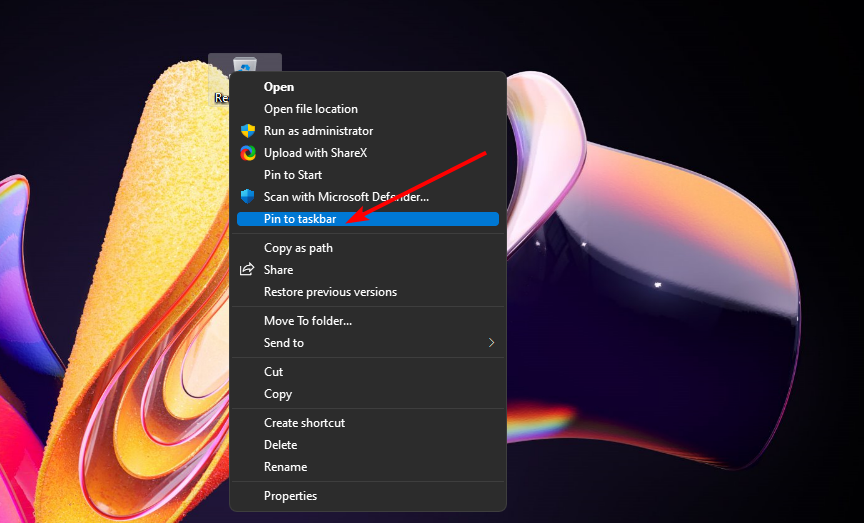
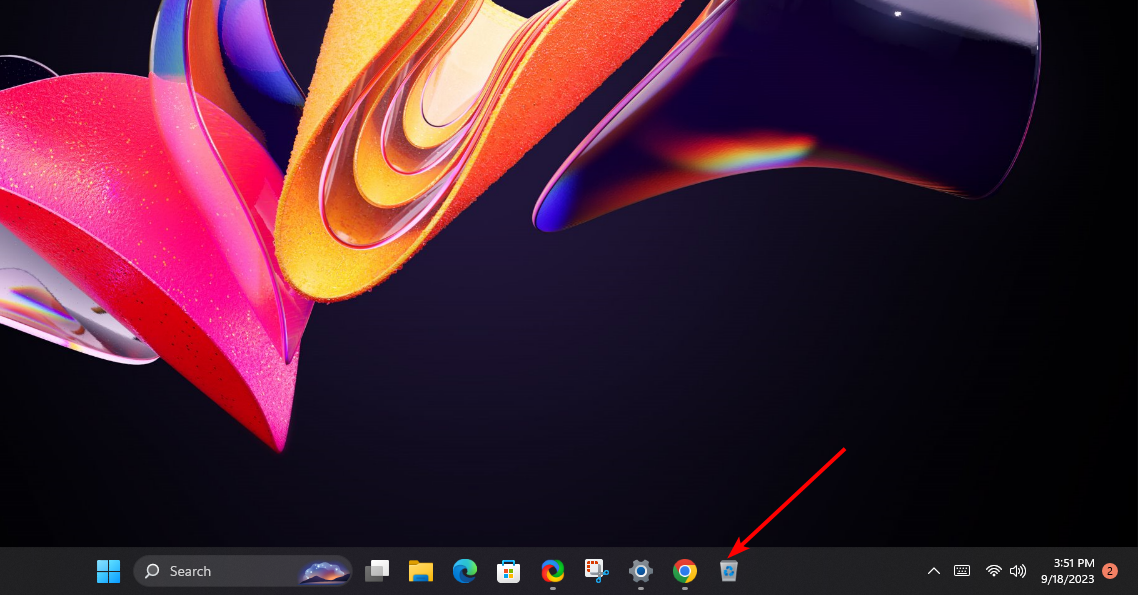
- Your Recycle Bin should appear on your taskbar.
2. Adjust the Recycle Bin storage
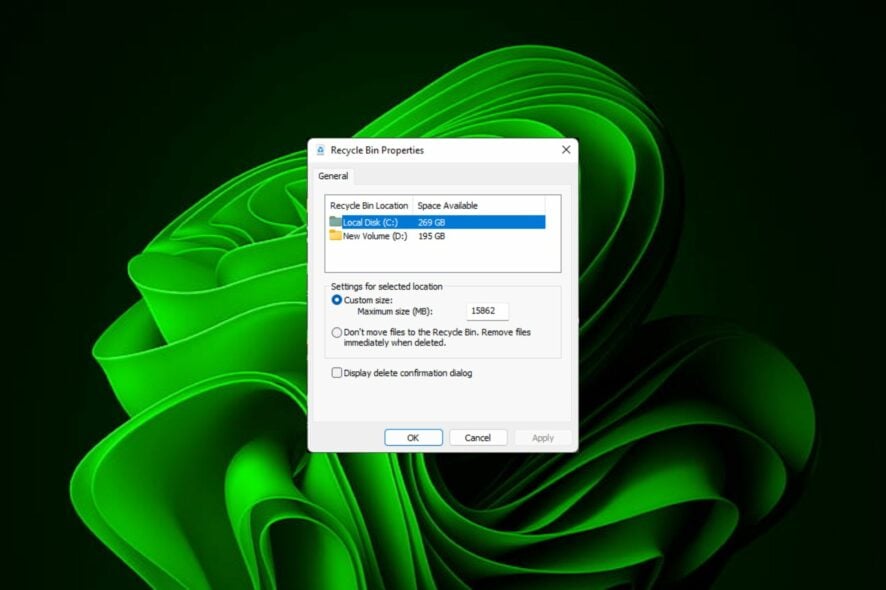
- Locate the Recycle Bin icon on your Desktop, right-click on it, and select Properties.
- Select a drive (preferably one with more space available).
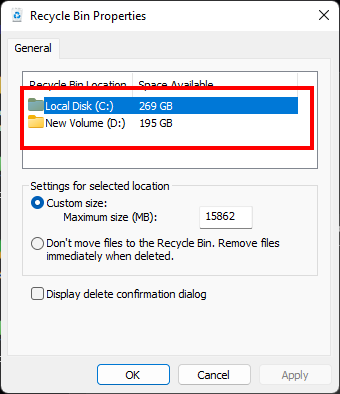
- Under Custom size, enter a figure higher than the one set, then click OK.

3. Managing Folder and File Icons Within Windows 11’s Recycle bin
1. Change the Recycle Bin icon
- Hit the Windows key and click on Settings.
- Select Personalization and click on Themes.
- Click on Desktop icon settings.
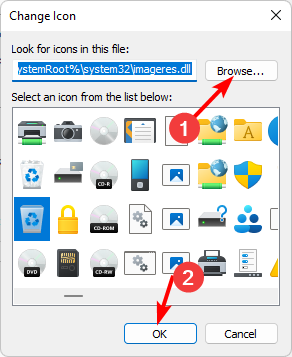
- In the next dialog box, click on Change Icon.
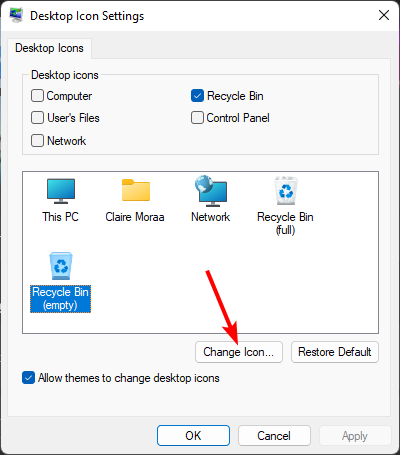
- You can select from the list of built-in icons or download then hit Browse.
For more options on how to change the Recycle bin icon, check out our detailed article.
2. Restore default icons
- Hit the Windows key and click on Settings.
- Select Personalization and click on Themes.
- Click on Desktop icon settings.
- In the next dialog box, click on Restore Default.

4. Deleting Files from Your Windows 11’s Recycle bin
1. Turn on Delete confirmation
- Locate the Recycle Bin icon on your Desktop, right-click on it, and select Properties.
- Check the Display delete confirmation dialog check box, then click Apply and OK.

2. Set up a delete schedule
- Click on the Start Menu icon and click on Settings.
- Select System, then click on Storage.

- Click on Storage Sense.

- In the Delete files in my recycle bin if they have been there for over option, select a time-period you’re comfortable with from the drop-down menu.

Find out how you can also empty your Recycle Bin automatically in Windows 10.
3. Delete files permanently
- Locate the Recycle Bin icon on your Desktop, right-click on it, and select Properties.
- Check the Don’t move files to the Recycle Bin. Remove files immediately when deleted option then click Apply and OK.

It’s important that you have a backup of your files because once files are deleted, you can’t retrieve them.
So, how easy was that? You were able to change your Recycle Bin settings without the need for any third-party software or resources. Once again, the Windows GUI comes through for you. Changing your recycle bin settings can have a big impact on your computing experience, so try it today.
If you want to know how to get the restored files from Recycle Bin if they are missing, then read this guide.
Most of these settings can be applied on previous versions as well, and to learn more, check our guide on how to use Recycle Bin on Windows 10.
What are your thoughts? Are these settings good enough, or doing a good job of enhancing the efficiency of this feature? Let us know in the comment section.
Read our disclosure page to find out how can you help Windows Report sustain the editorial team. Read more


Improve this guide


User forum
0 messages