How to Delete the Removable Storage Devices Folder
Try 3 expert-tested solutions
Key notes
- Usually, the Removable Storage Devices folder appears on your desktop after using certain external storage or after editing photos.
- It’s a ghost folder that can’t be deleted by simply refreshing your personal computer.
- The registry can also be a cause, so you should try to use a Windows 10 built-in tool to fix it.
- Another solution to get rid of the Removable Storage Devices folder is to scan your PC with the best antivirus available.

After editing some photos on their PC or after using an SD card as an additional drive, many users reported that a new folder, called Removable Storage Devices, suddenly appeared on the desktop.
The folder contains the available devices and drives on the computer (sometimes it’s empty), and cannot be removed.
The folder was reported for the first time back in 2018, and it was also related to the same year’s October Windows 10 which caused many issues.
Subsequent cumulative Windows 10 updates don’t seem to have fixed the situation. Actually, the users were reluctant to remove it, fearing that this might affect the entire OS.
Although the exact reason why this folder appears is unknown, users have tried several ways to get rid of it without damaging the system.
How do I delete the Removable Storage Devices folder on Desktop?
1. Refresh your desktop to get rid of the Removable Storage Devices folder

This is the simplest and most commonsensical solution that many users applied to get rid of the folder.
Namely, with a right-click on your desktop and selecting the Refresh option, the temporary files should be deleted. This solution removed the folder, but only for a certain time.
Many users mentioned that the folder reappeared. In this case, you might want to try the next solutions from our guide.
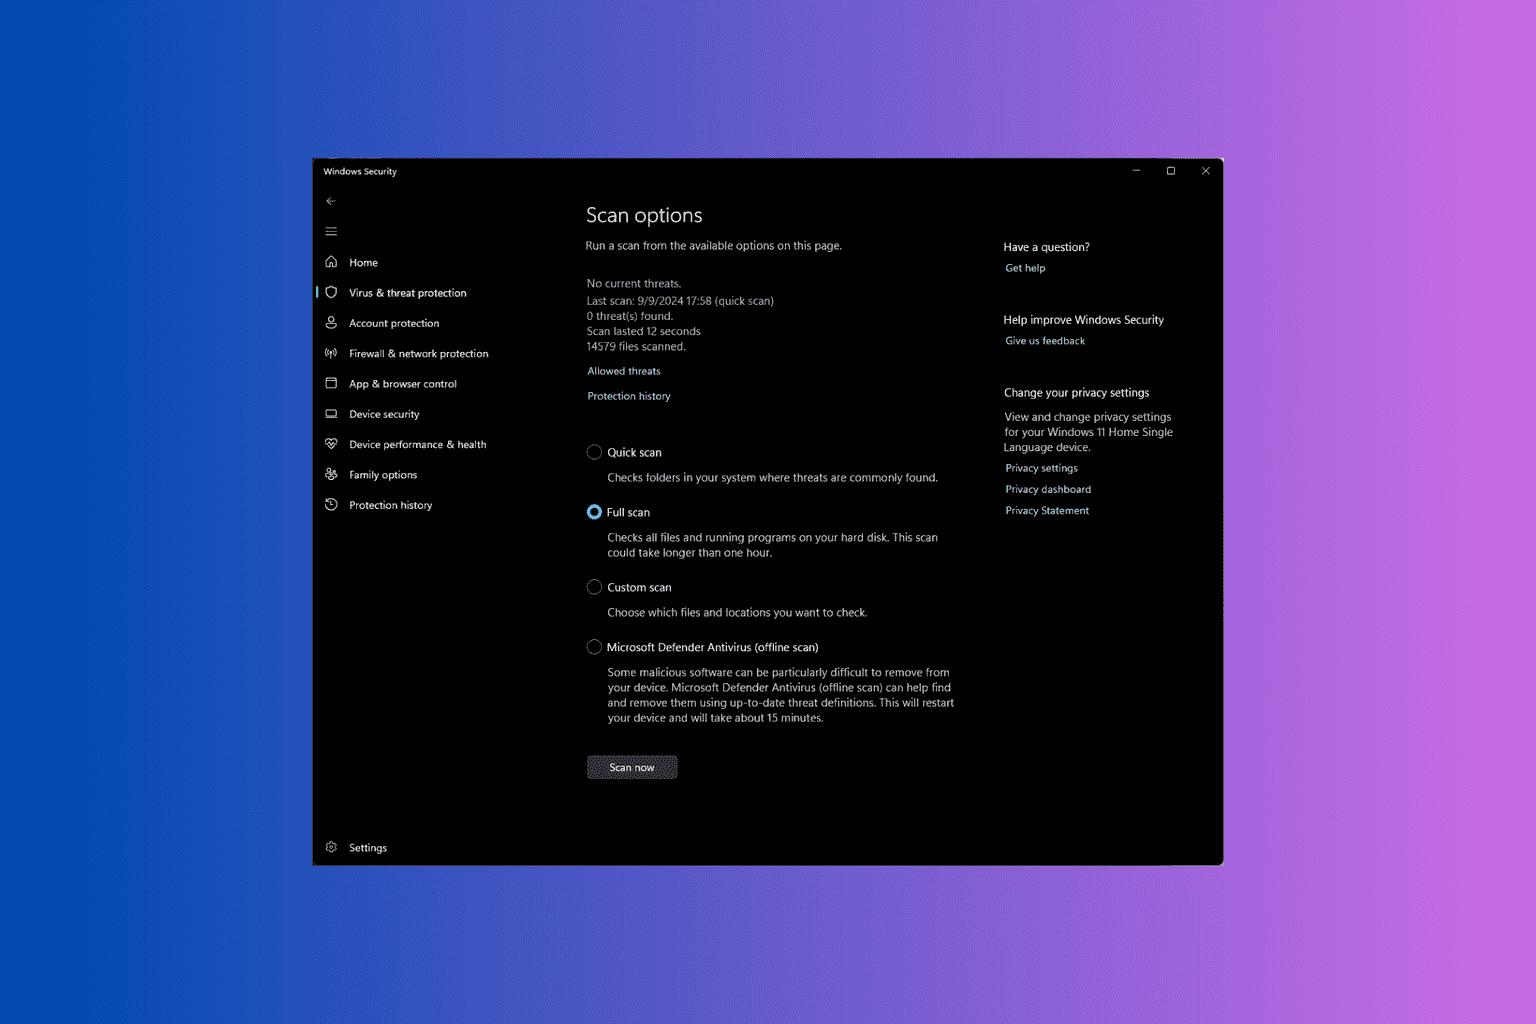
2. Run an antivirus scan to get remove the Removable Storage Devices folder

Your device might be missing important updates or might not work properly because of a virus or some malware.
We recommend an in-depth antivirus scan just to be sure. You can use Windows’ built-in security tool, Windows Defender, or a third-party antivirus tool.
It is best to use a dedicated security tool instead of Windows Defender because the last one offers only basic protection.
To secure and protect your computer, sensitive data, online payments, passwords, smart home devices, and webcam we recommend you to use one of the best cybersecurity tools.

ESET HOME Security Essential
Protect your important computer data files and remove malware that can cause the Removable Storage Devices folder to appear.3. Perform a DISM scan to delete the folder
1. Press the Windows key and type cmd in the search bar.
2. You should see the Command Prompt application in the results.
3. Click on Run as administrator.

4. In the command prompt window, type the following command:
DISM /Online /Cleanup-Image /RestoreHealth5. Press Enter to execute the command.
6. Wait for the DISM scan to complete. The process should take about 10-20 minutes to complete and should correct any faulty registry files.
7. Check whether the Removable Storage Devices folder is gone from your desktop.
Since it is possible that the Removable Storage Devices folder is connected to incorrectly configured system settings or broken entries in the Windows registry, a DISM scan should fix the problem. You can easily perform one through Command Prompt.
Want to discover more about DSIM? Read our article and learn everything there’s to know about the DISM tool.
So these would be the recommended and handy solutions that should help you delete the Removable Storage Devices folder.
We skipped the rebooting step, which is sometimes helpful to remove temporary files, also, we didn’t recommend a fresh install of the OS, because it’s a more difficult job and probably unnecessary.
If you have problems removing other files, icons, or folders, you may want to take a look at our dedicated guide and learn how to easily solve the problem.
If you have any comments related to this topic, please use the dedicated section below.
Read our disclosure page to find out how can you help Windows Report sustain the editorial team. Read more


Improve this guide


User forum
0 messages