Uninstall AVG Antivirus: Step by Step Guide for Windows Users

Uninstall AVG Antivirus when it slows your PC, causes errors, or conflicts with other security apps. This guide walks you through simple removal methods, cleanup steps, and answers to common questions so you keep your system secure and fast.
Table of contents
How to Uninstall AVG Antivirus on Windows?
Use the Settings app
You might want to uninstall AVG Antivirus when you switch to another security suite or run into repeated problems. To remove AVG through Windows Settings:
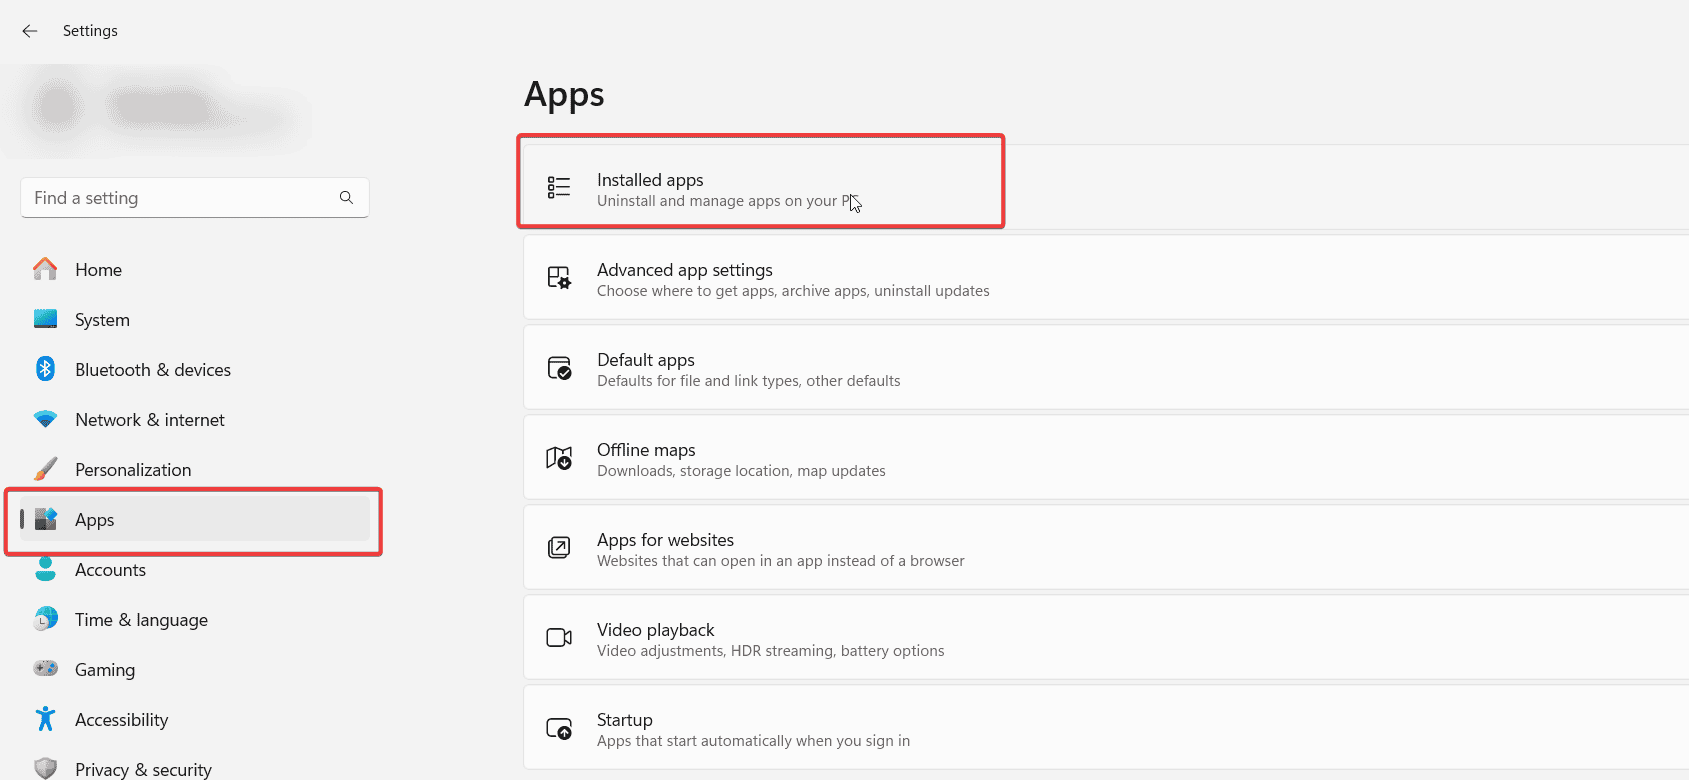
- Open Start and select Settings.
- Click Apps and open Installed apps.
- Scroll to AVG Antivirus.
- Select the menu button next to the app and click Uninstall.

- Confirm the prompt and follow the on screen removal steps.
- Restart your PC.
Windows removes the main AVG program files and frees most of the resources it used before. Many users see installation failures, and you can learn more about those in this AVG install error guide.
Use the AVG Clear Tool for stubborn removals
To wipe AVG completely with the Clear Tool:
- Download the AVG Clear Tool from the official AVG website.

- Close every AVG window on your desktop.
- Run the tool and select Restart in Safe Mode when prompted.
- Choose Uninstall AVG after the tool loads in Safe Mode.
- Wait until the cleanup finishes and the tool reports completion.
- Restart your PC again.
The Clear Tool removes locked services, hidden drivers, and corrupted definition files that a standard uninstall leaves behind.
Some AVG modules lock into the system and block a normal uninstall. Users who deal with update problems often hit this situation, and the AVG update issues guide explains typical symptoms.
Remove AVG from system startup
To clear leftover AVG startup items:
- Press Ctrl + Shift + Esc to open Task Manager.
- Click the Startup tab.
- Look for any entries that reference AVG.
- Select each AVG entry and click Disable.

- Close Task Manager and restart your PC.
After this change, Windows starts faster and no longer loads AVG components in the background.
AVG often leaves startup entries that keep background services running after you uninstall the main app. These entries slow your boot time and sometimes cause CPU spikes similar to issues covered in the AVG Secure Browser high CPU guide.
Delete remaining AVG folders
AVG can leave folders and data files even after a successful uninstall. Cleaning these leftovers frees storage and prevents conflicts when you install a different antivirus.
To remove remaining AVG folders:
- Open File Explorer.
- Go to C:\Program Files and delete the AVG folder if it still exists.
- Open C:\ProgramData and delete the AVG folder there.
- Check any other drive where you installed apps and remove extra AVG folders.
- Empty your Recycle Bin.
These steps leave your system clean and ready for a new security solution.
FAQs
A corrupted update or a running background service often blocks the removal. The AVG Clear Tool stops those services and deletes the broken files that cause trouble.
Yes. Windows Defender activates automatically after you remove AVG and continues to protect your PC.
Most removals through Settings finish in a few minutes. The Clear Tool might need extra time because it scans deeper system locations.
You only need Safe Mode when the regular uninstall fails or hangs. In that case, the Clear Tool in Safe Mode gives you the best chance to complete the process.
When you uninstall AVG Antivirus with a clear plan, you avoid leftover files and stubborn services. Start with the standard uninstall in Windows Settings, then move to the AVG Clear Tool if you still see errors or update problems. Disable any remaining startup entries and delete leftover folders so your PC runs smoother and stays ready for a new antivirus. After you finish these steps, you keep strong protection through Windows Defender or any replacement security app you decide to install next.
Read our disclosure page to find out how can you help Windows Report sustain the editorial team. Read more


Improve this guide


User forum
0 messages