Windows 11 Reset PC Not Working: How to Force It
Installing the latest updates is often the fastest solution

Windows 11 PC reset not working? We’re here to help. Everything from bugs to a damaged OS and corrupted system files can cause this issue.
The good news is that if you get the error message “There was a problem resetting your PC” on Windows 11, you should be able to fix it using the solutions recommended below.
What can I do if Windows 11’s Reset PC option is not working?
Here are quick steps explained in video format. If you want more details and further info, keep reading. We explain everything in simple steps down below.
1. Install the latest updates
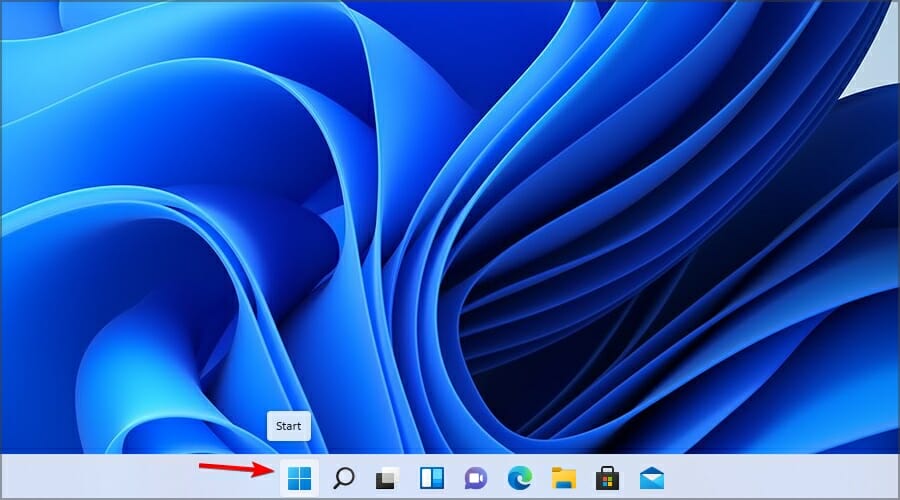
- Click the Start button.
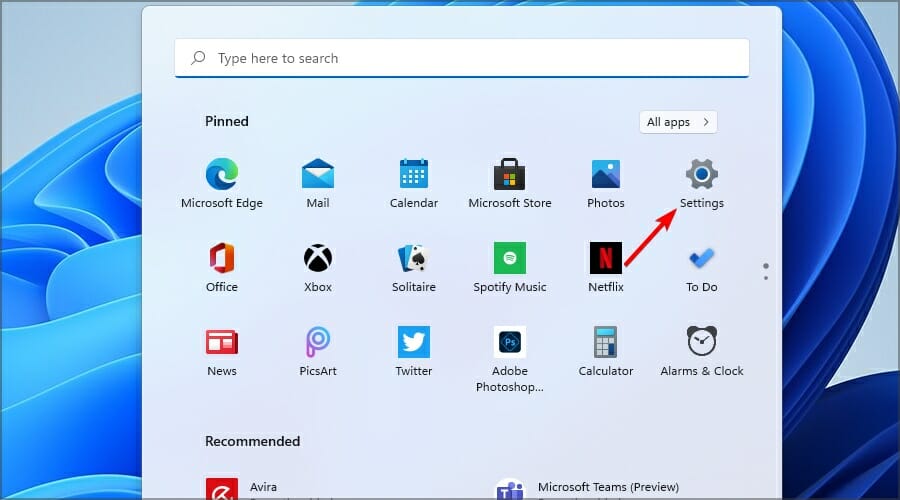
- Now select Settings.
- Navigate to the Update & Security section in the left pane.

- Download and install any available updates.
- Once your system is updated, check if the Reset option is available.
2. Use System Restore
- Press Windows + R and enter rstrui. Press Enter.

- Click Next to proceed.
- Select the desired restore point and click Next.

- Click on Finish to confirm your selection.

- Follow the instructions on the screen to complete the process.
- After restoring your system, check if the problem is still there.
Remember that to use this feature, you need to create a system restore point beforehand or use one created by your system.
Restoring your system to a previous state can fix a number of system issues. A simpler way to safely restore your system is by using a specialized repair tool that can do all the work for you.

Fortect takes the hassle out of troubleshooting by scanning automatically and restoring your PC to peak condition. With just a few clicks, you get a smoother, more reliable system.
This is how you can fix PC errors using Fortect:
- Install and launch Fortect.
- Let the tool scan your system for issues.
- Press Start Repair.
- Restart your PC to finish the process.
Disclaimer: In order to perform some operations, this software must be updated to the premium plan.
3. Use the Uninstall feature update option
- Click the Start button.
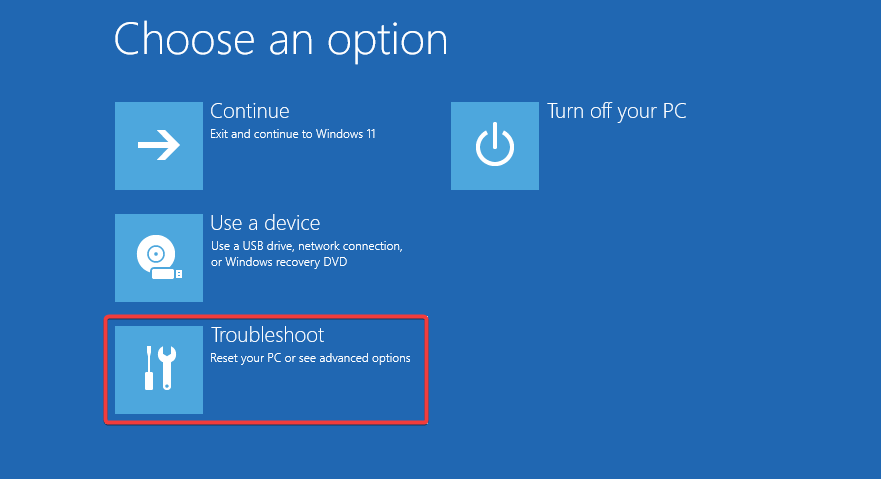
- Now click the Power button, hold Shift, and select Restart.

- Select Troubleshoot.
- Navigate to Advanced options.

- Now go to Uninstall Updates.

- Select Uninstall latest feature update.

- Click the Uninstall feature update button to confirm.

- Follow the instructions on the screen to complete the process.
4. Reinstall Windows 11
- Download Windows 11 ISO by clicking the 64-bit Download button.

- Double-click the ISO file to mount it.

- Now run the setup.exe file.

- Click Next and wait for the updates to download.

- Now accept the terms of service.

- Select what data to keep. We suggest using the Keep personal files and apps option. Click Next to proceed.

- Follow the instructions on the screen to continue.
If the reset PC option is not working on your PC, updating your system or using the System Restore usually helps.
In case the issue is still here, you might have to reinstall Windows 11 to fix this problem. Just be sure to back up your files with proper backup software before doing so.
Did you find a way to fix this problem on your own? If so, feel free to share it with us in the comments section below.
Read our disclosure page to find out how can you help Windows Report sustain the editorial team. Read more


Improve this guide


User forum
1 messages