How to Resize a Picture for the Desktop Background [2026]
Key notes
- Learn how to resize desktop backgrounds in Windows 10 by using dedicated image editing tools.
- You can also try using some of Windows 10’s native image editors.

We all know that when surfing the web we come across some cool images that we’d like to keep as desktop background or just add to the collection and use later. It can be very useful to know how to trim and resize the pictures so they’ll fit your desktop just right
Users have discussed how to resize images to desktop size in the Microsoft forum:
We have compiled a few efficient solutions that will allow you to resize images to desktop size. Read the following section and learn how to modify the size of an image to fit your desktop background.
What can I do if I want to resize an image to desktop size?
1. Use a dedicated software

If you need to increase the size of an image using the programs already encompassed in Windows might not always provide the desired effect.
The more efficient way to do this is to use professional software dedicated to image manipulation.
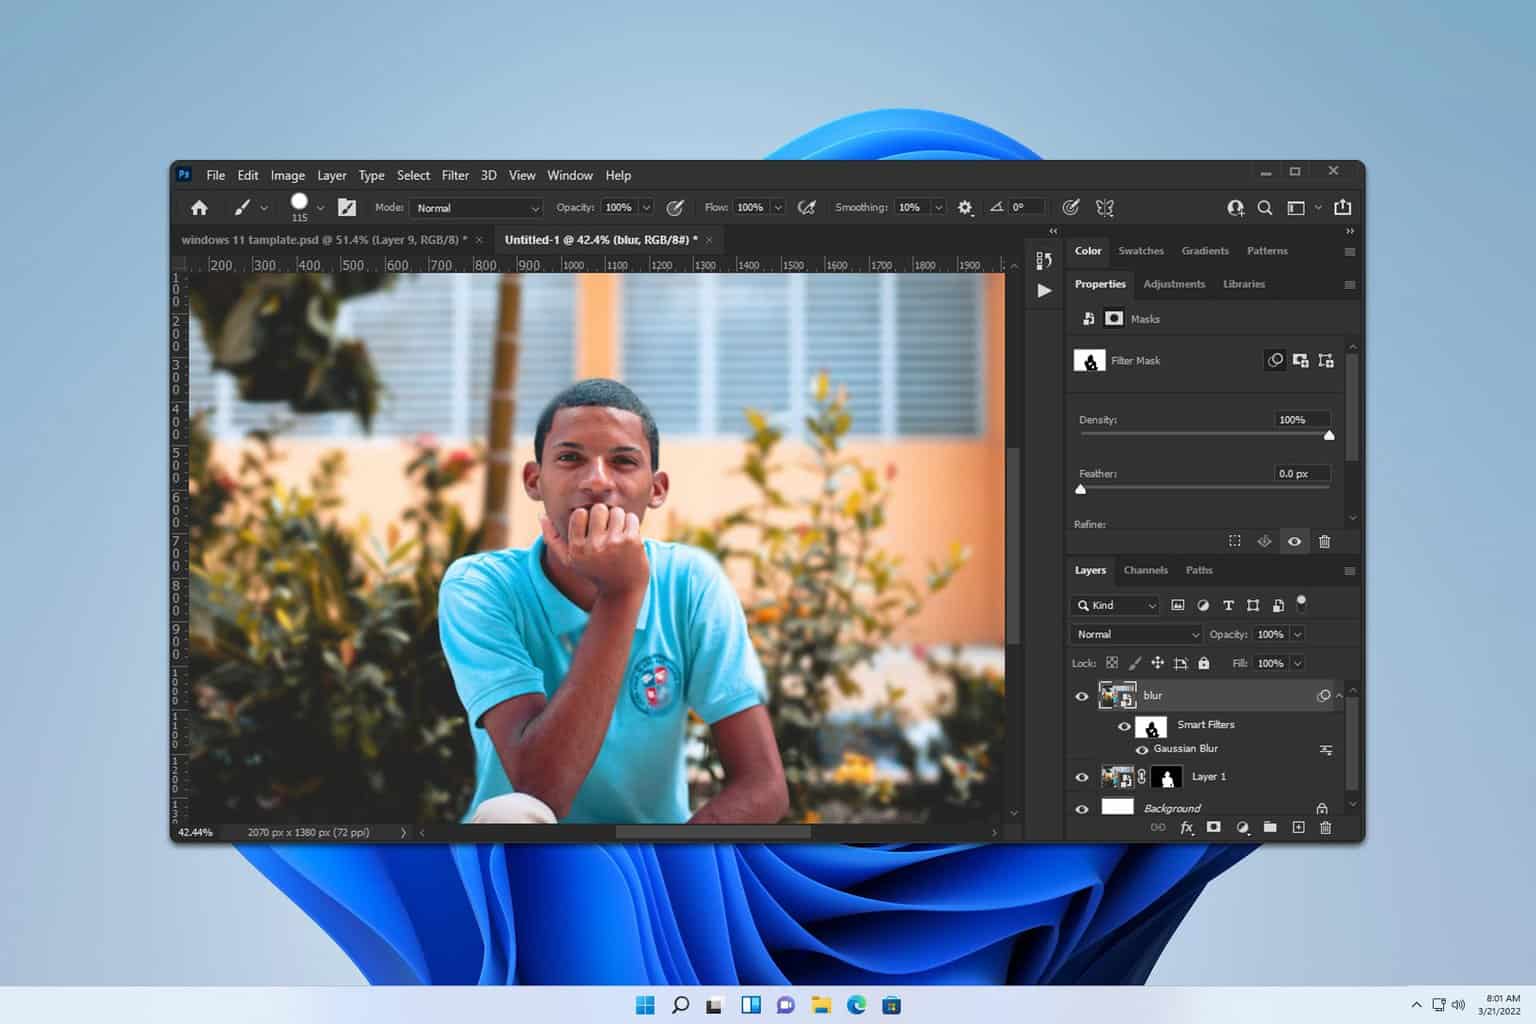
We recommend you use Adobe Photoshop, dedicated software that is useful for a great variety of editing activities. It allows users to perfect their skills in photo editing, animation, digital painting, and graphic design.
Your ideas will be brought to life on various devices and you can use the AI to transform images just how you want them to look.
If you use Livestream, you will also learn new skills and discover a fast way to share your projects.
Adobe Photoshop
Change the size of images and transform them in any way you want with the use of Photoshop’s powerful editing tools!2. Use the Photos app
- Double-click on your image to open it in Photos.
- Click the three dots icon in the top right corner and select Resize.

- Select one of the three preset sizes or click Define custom dimensions.

- Select your desired dimensions and click Save resized copy.
Windows 10 has a useful application that allows you to modify your pictures. When you use Photos, it will be easy to resize images to desktop size.
If you opt for the custom dimensions mentioned in step three, then you will have access to the size of your image. Another great thing is that you can also choose the quality of your resized image.
Keep in mind that when you choose a higher quality for your picture, this will also increase the size of the image file.
Also, if you have checked Maintain aspect ratio, you must change only height or width, and the other criteria will change automatically to match your choice.
You can also follow a complete guide that explains more ways to resize pictures with the Photos app by visiting our dedicated guide.
3. Use Microsoft Paint
- Type in Paint in the search box near the Start button.

- Click on File, select Open and choose your image.

- From the Home tab, click Resize and navigate to Resize and Skew.

- Set the size for your future resized image.
- Click OK to implement changes, select File and Save As to save the new image.
After you have selected the desired image for resizing from your computer files, verify the Resize and Skew section in Paint. To resize the image to the desktop size or to add other values in terms of height and width, there are two variants.
The first one is to choose setting image size by percentage, making it X% bigger or smaller. The second one is to adjust the image by Pixels and input the dimensions you want for the new image.
When you have chosen to resize the image to desktop size by Pixels, you can check the Maintain aspect ratio. In this case, you must only specify the desired height or width for your future resized image.
The program will automatically set the other dimension.
You can try different solutions to resize images to desktop size. In our previous section, we have prepared the best and most efficient ones.
Use professional software that offers lots of possibilities in terms of image editing. The best tool in this regard is Adobe Photoshop, and we highly recommend it to create an image just how you desire it.
The other two programs you can use are Photos and Paint, available to use in your operating system.
Let us know in a comment how everything worked out.
Read our disclosure page to find out how can you help Windows Report sustain the editorial team. Read more


Improve this guide
User forum
1 messages