Rtwlane02.sys BSoD: 5 Ways to Fix It on Windows 10 & 11
The rtwlane.sys BSoD is connected to the Realtek wireless driver
Key notes
- The rtwlane.sys blue screen error is strictly related to the Realtek wireless driver.
- You may update the driver manually or get the file from the manufacturer's website.
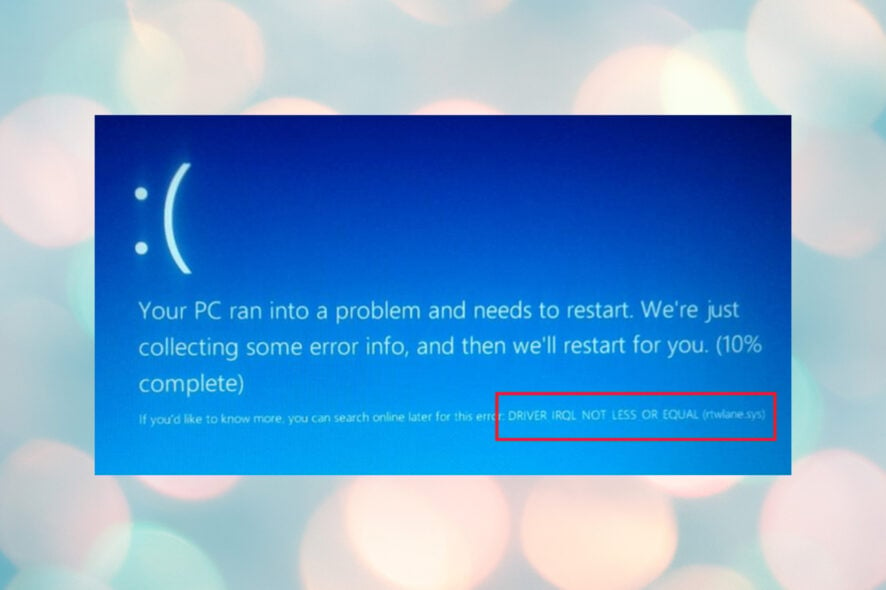
Some of our readers experienced the rtwlane02.sys BSoD error with the message PAGE_FAULT_IN_NONPAGED_AREA while playing games. It is a bit frustrating because, in some cases, you can’t even boot Windows normally. However, we have the right solutions to fix the rtwlane02.sys blue screen error.
Why do I get the rtwlane.sys BSoD in Windows 10 & 11?
Here are some of the reasons why you may experience the rtwlane02.sys BSoD on your device:
- Old or damaged drivers – Usually, this problem is caused by incorrectly configured, old, or damaged Windows device drivers. Our readers have especially pointed to the Realtek wireless adapter driver.
- Corrupted Registry – If you recently installed an app that is/was using the rtwlane.sys file, this error may appear. Luckily, we have a complete guide on how to fix the Windows 11 Registry.
- Hard disk damage – Unfortunately, Windows disk errors may be at the core of this BSoD error. The highlighted guide will help you.
- RAM corruption – The rtwlane.sys stop code may also be due to memory corruption. A RAM test would be more than recommended in this case.
- Virus or malware infection – It is well known that malware and viruses can mess up the system files and rtwlane.sys may be one of the victims. Running a reputable antivirus may solve this issue.
Now that we know the possible causes of this issue, let’s apply the solutions below to fix it.
How do I fix the rtwlane.sys BSoD on Windows 11?
1. Disable the wireless adapter
- Click the Start button, type cmd, and select Run as administrator from the results.
- Type or paste the following command and press Enter to see which one is the wireless adapter:
netsh interface show interface
- Now that we know the name of the interface, paste the following command and press Enter to run it (Replace Wi-Fi with the actual name of your wireless interface:
netsh interface set interface Wi-Fi disable
The rtwlane.sys file is connected to the Realtek wireless adapter; disabling it will allow you to boot your PC normally.
2. Update the wireless driver
- Right-click the Start button and select Device Manager from the list.
- Extend the Network adapters section, then right-click on the wireless adapter and select Update driver.

- Now, click on Search automatically for drivers.

- If there is an updated version of the driver, the system will install it.
There’s also the option of visiting the Realtek drivers page and looking for the correct one for your system. However, the most effective and time-saving alternative is to update the wireless driver with dedicated tools.
With such software, you can initiate a full scan on your Windows OS to detect any outdated drivers, thus updating them automatically with the latest official version.

Outbyte Driver Updater
Take the chance to update all the PC drivers with one click and avoid various system errors.3. Run an SFC scan
- Click the Windows button, type cmd, and select Run as administrator from the results.
- Now, type the following command and press Enter to run it:
sfc /scannow
- System File Checker will look for any system issues and repair them automatically. Wait patiently for the scan to finish.
4. Check the drive for errors
- Click the Windows Start button, type cmd, and select Run as administrator to start Command Prompt with full privileges.
- Next, type or paste the following command and press Enter:
chkdsk / f
- If there are any errors on your hard drive, the tool will help you fix them. The scan will take a few minutes, depending on the size of your drive.
If this solution solves the problem, you might also think about replacing your drive with an SSD for Windows 11.
5. Check your RAM
- Click the Start button, type memory diagnostic, and click on Windows Memory Diagnostic.
- Select Restart now and check for problems.

- After restarting, the system will look for any problems with your RAM modules.
Unfortunately, one of the RAM modules may be causing this BSoD. If Windows Memory Diagnostic finds any problems with one of the modules, try removing and placing it again in its slot.
If you still have the same problem, you may need to replace the damaged component.
How do I fix the rtwlane.sys BSoD on Windows 10?
Fortunately, Windows 10 and 11 are not so different after all, and all the solutions we outlined above will work seamlessly on Windows 10 as well.
These are the best methods of fixing the rtwlane.sys BSoD, and we hope that now, your problem has been solved.
We also recommend reading our complete guide on the causes of BSoD and how to fix them.
Read our disclosure page to find out how can you help Windows Report sustain the editorial team. Read more


Improve this guide


User forum
0 messages