Nvgpucomp64.dll Keeps Crashing Games: 5 Ways to Fix it
The problem is widespread and affects several games
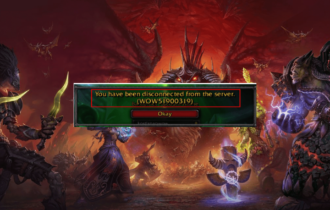
In the past few days, we have seen multiple reports of games crashing and nvgpucomp64.dll appearing as the faulting module name. The DLL (Dynamic Link Library) file is linked to the NVIDIA graphics driver.
Games affected by nvgpucomp64.dll include Palworld, Lords of the Fallen, Lies of P, Rocket League, Apex Legends, and FiveM, amongst others.
To start with, use an effective DLL repair tool which will automatically identify any problematic DLLs, delete the existing copy, and register a new one on the PC. Though, if the problem is not linked to the DLL but to the system, head to the solutions listed below.
What can I do if nvgpucomp64.dll is the faulting module?
1. Change the CPU multiplier
 NOTE
NOTE
- Turn off the computer, then power it on, and repeatedly hit the F1, F10, F12, Esc, or Del key to access the BIOS, depending on the manufacturer.
- In the BIOS, look for the CPU Settings, and then go to Advanced frequency setting (or its equivalent in your case).
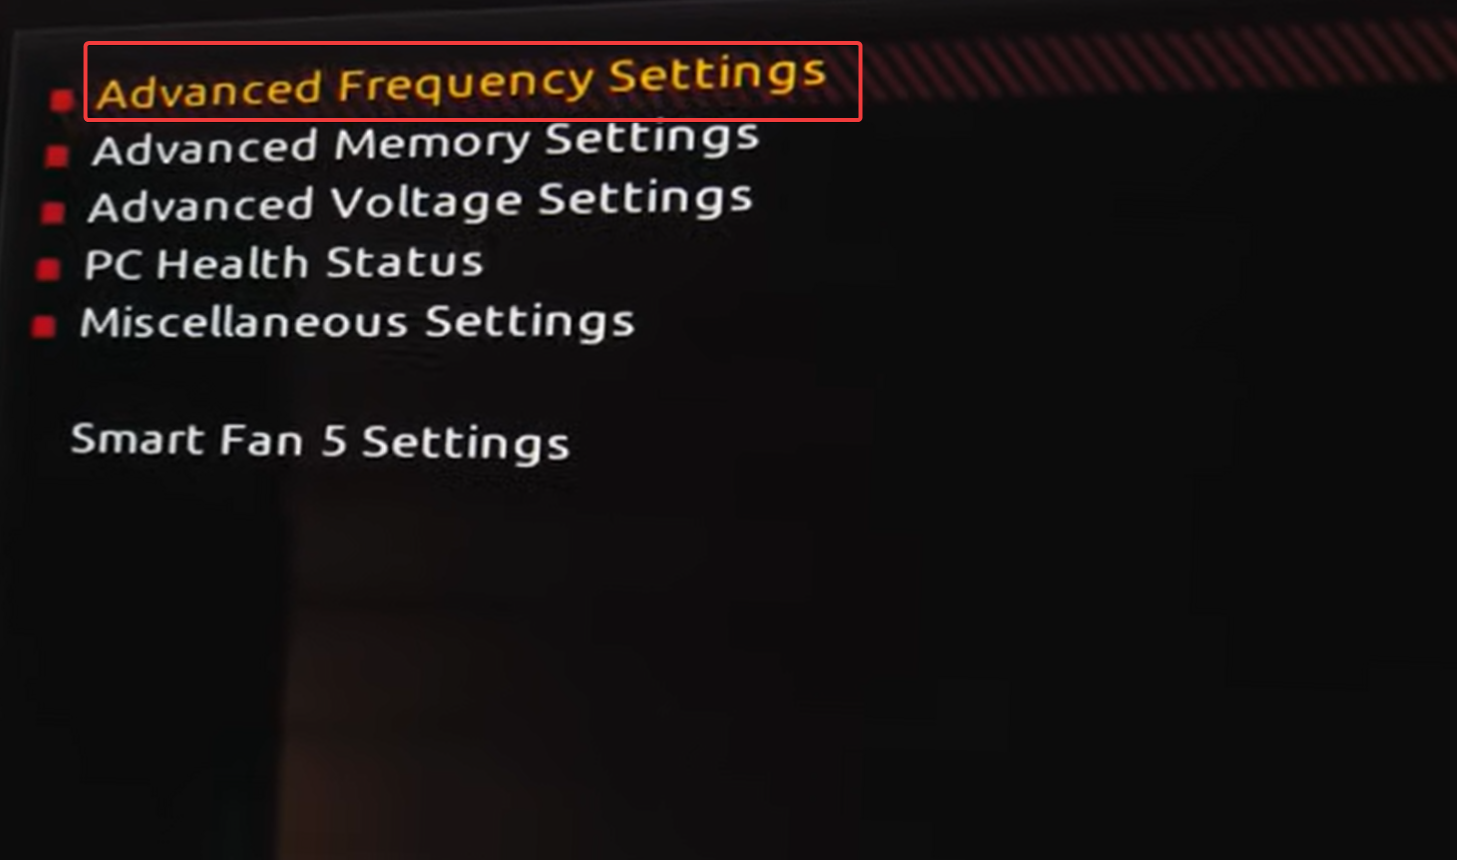
- Now, locate the CPU clock ratio or CPU multiplier option, and decrease it by 1.
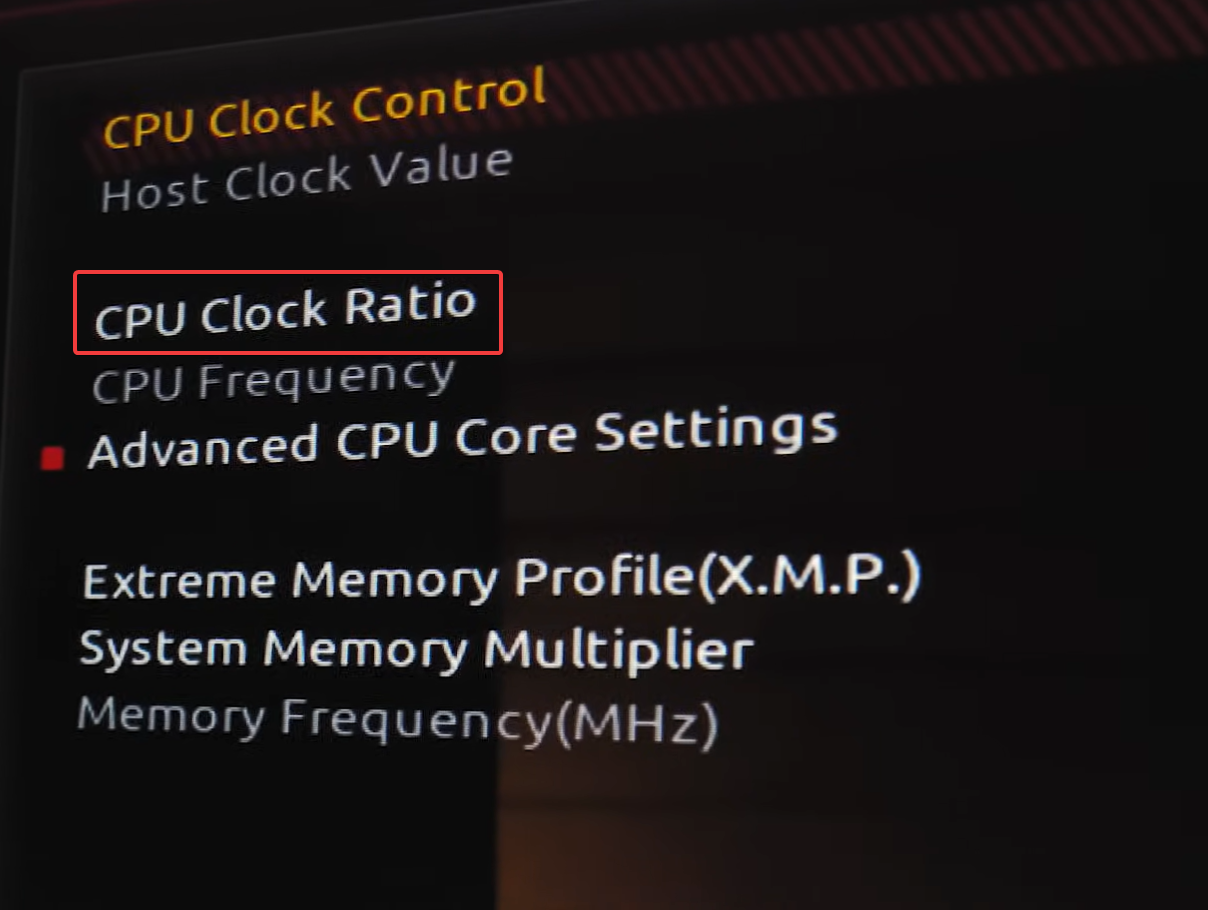
- Reboot the PC and check whether nvgpucomp64.dll still crashes your games.
- If yes, further decrease the CPU multiplier until things work out.
For some, decreasing the CPU multiplier from 56 to 54 or 53 to 51 did the trick. So, you will have to experiment with the different settings!
Also, do not make any other changes while in the BIOS, as it could affect the PC’s stability.
2. Reset BIOS to defaults
- Access the BIOS on your PC.
- Now, look for the Default or Load Optimized Default option, and click on it.
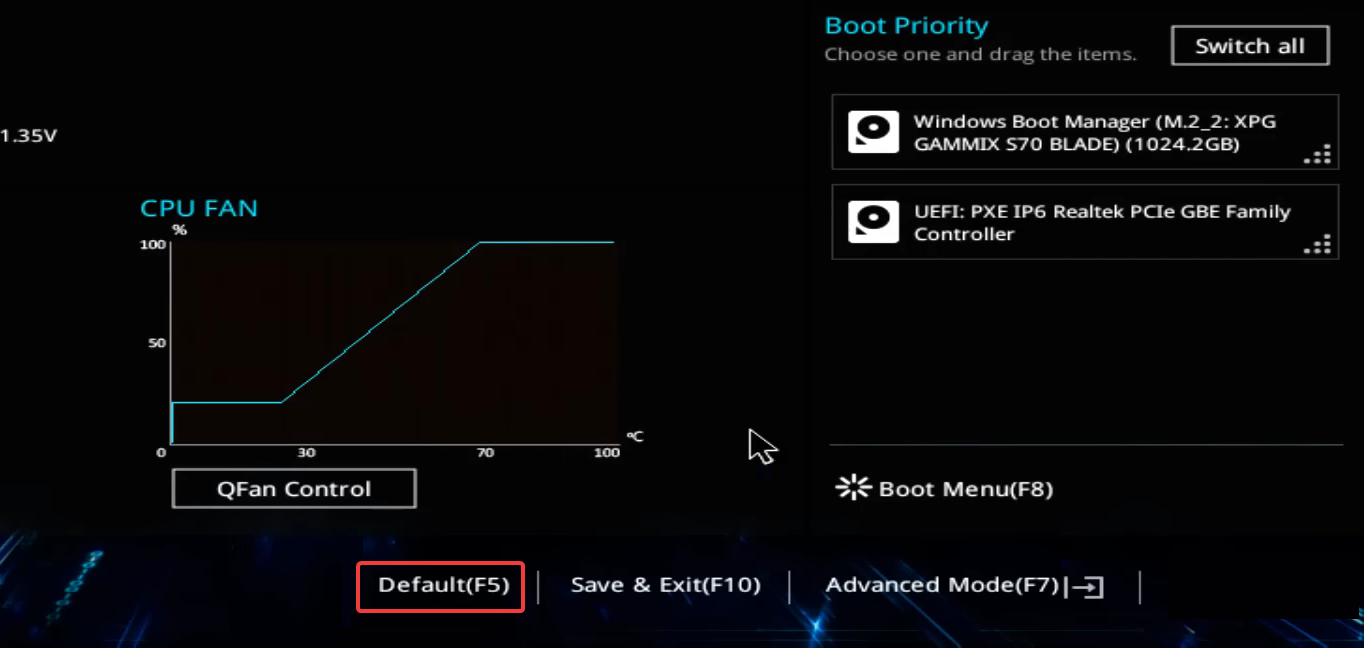
- Click OK in the confirmation prompt to confirm.
If you have a fair understanding of the hardware components, removing the CMOS battery and plugging it back in will also reset the BIOS. This method is applicable across manufacturers!
3. Clear the NVIDIA Shader cache
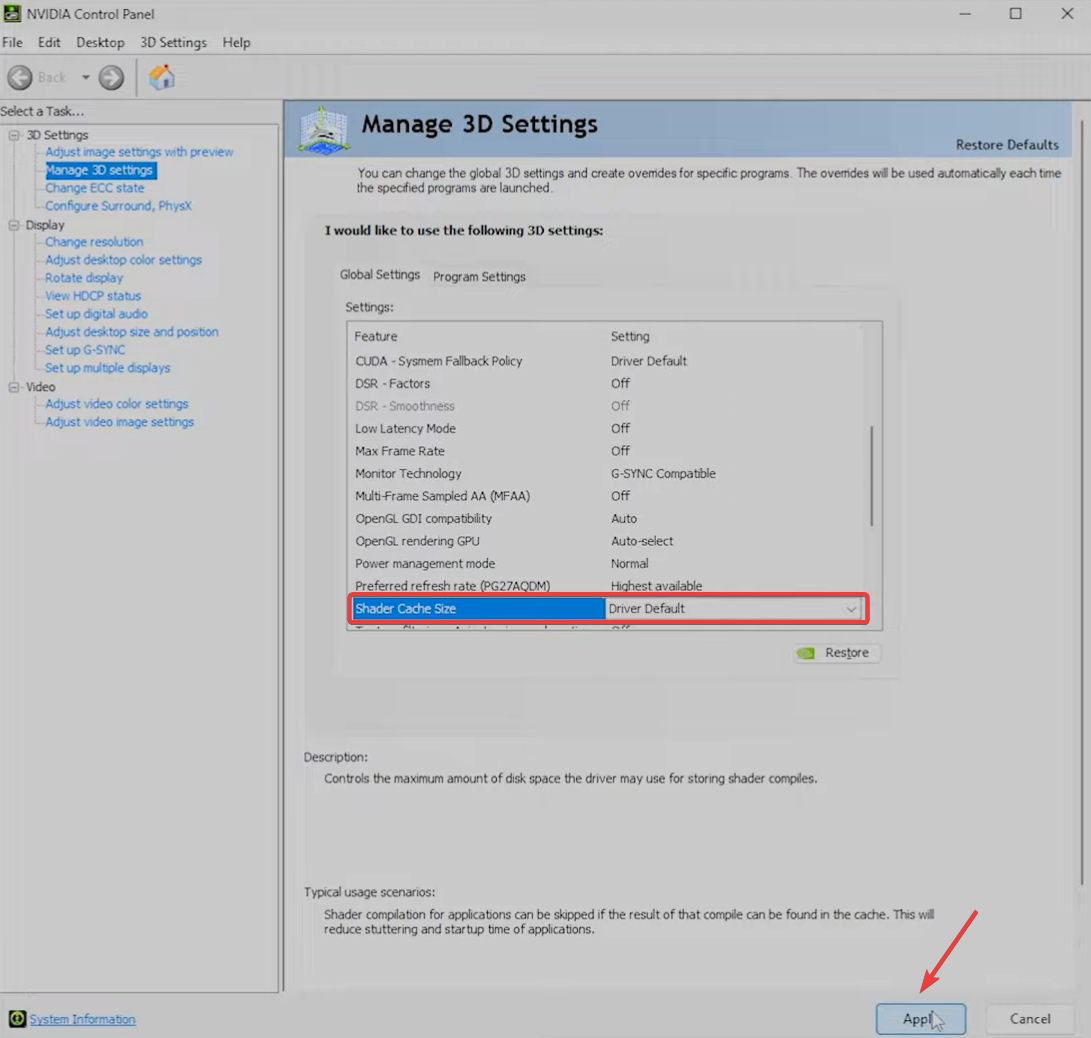
3.1. Disabling Shader Cache Size
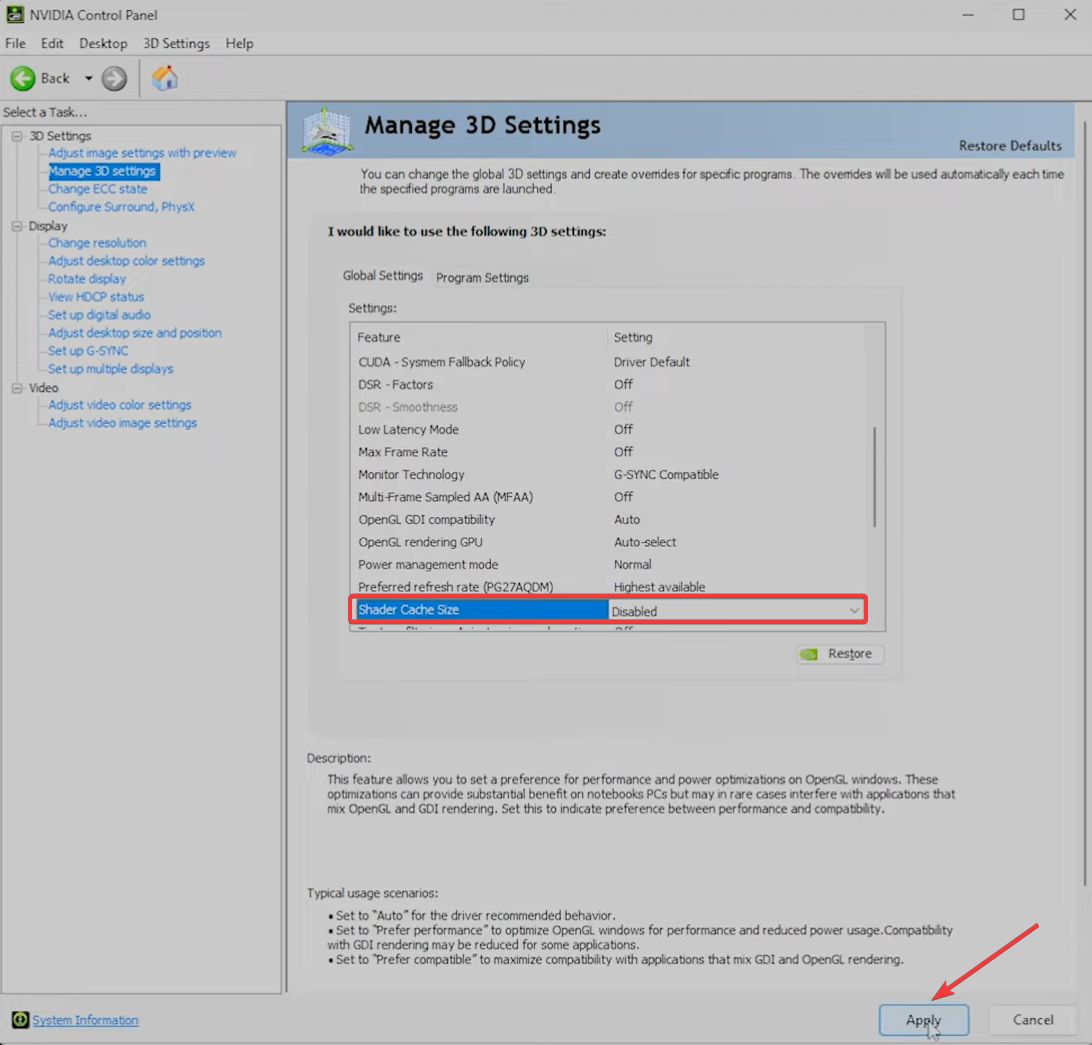
- Launch the NVIDIA Control Panel, and go to Manage 3D settings from the left pane.
- Select Disabled from the Shader Cache Size dropdown menu, and click Apply to save the changes.
3.2. Clearing leftover files with Disk Cleanup
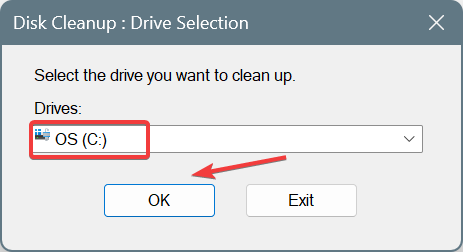
- Press Windows + S to open Search, type Disk Cleanup in the text field, and click the relevant search result.
- Select the system drive (where Windows is installed) from the dropdown menu, and click OK. For most of you, it would be the C: drive.
- Make sure only the checkbox for DirectX Shader Cache is ticked, and click OK.
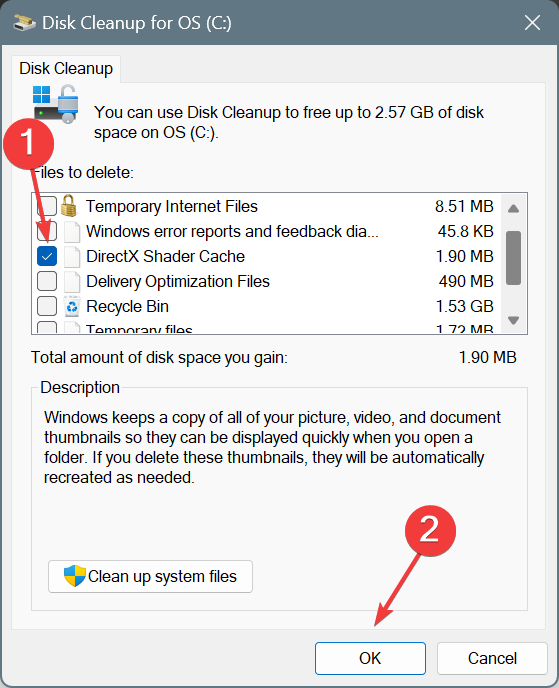
- Click on Delete Files in the confirmation prompt.
3.3. Deleting the NVIDIA Shader Cache
- Press Windows + E to open File Explorer, paste the following path in the address bar and hit Enter:
%localappdata%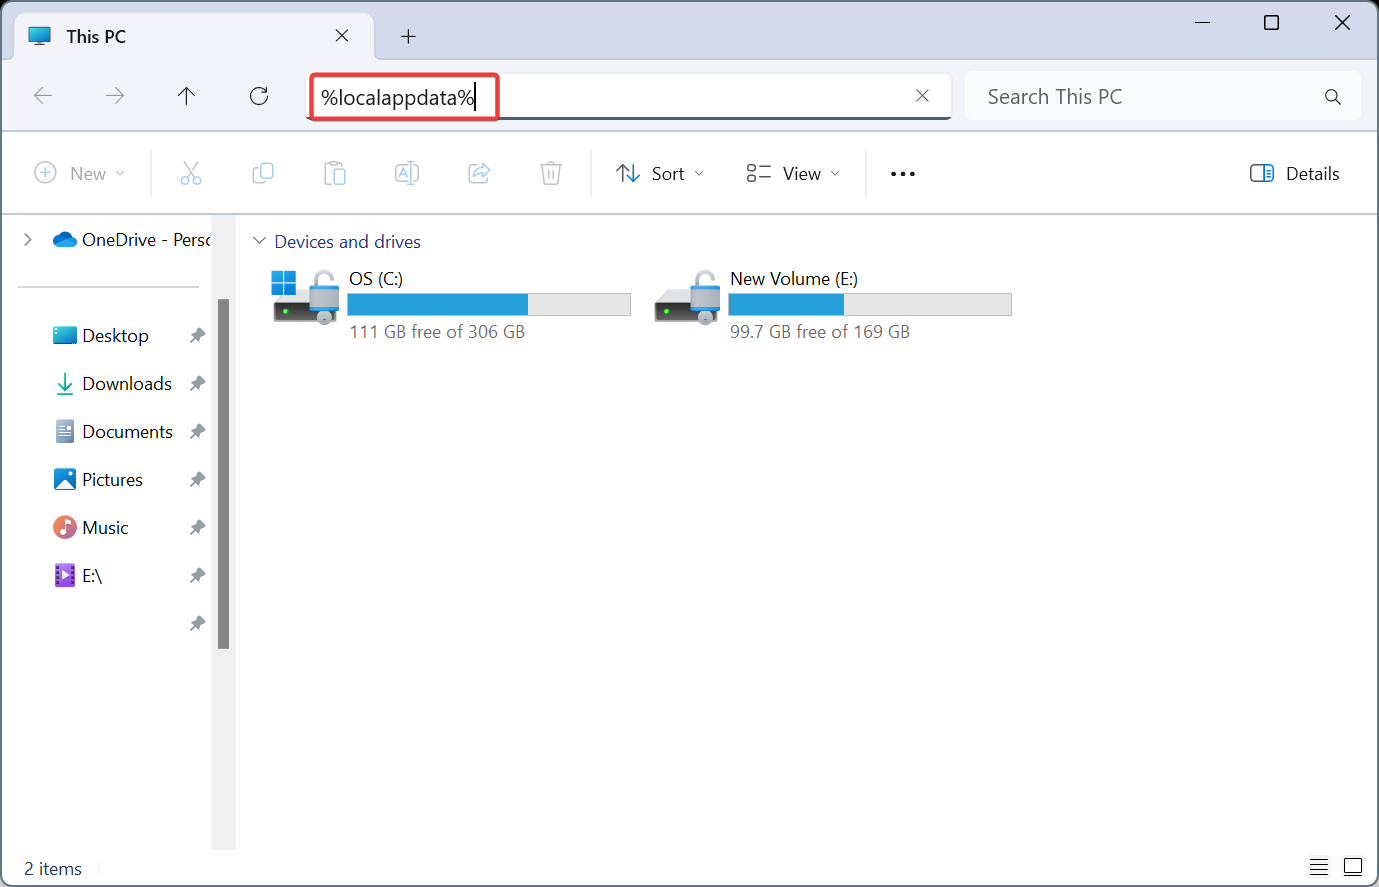
- Open the NVIDIA folder here and then go to the GLCache folder.
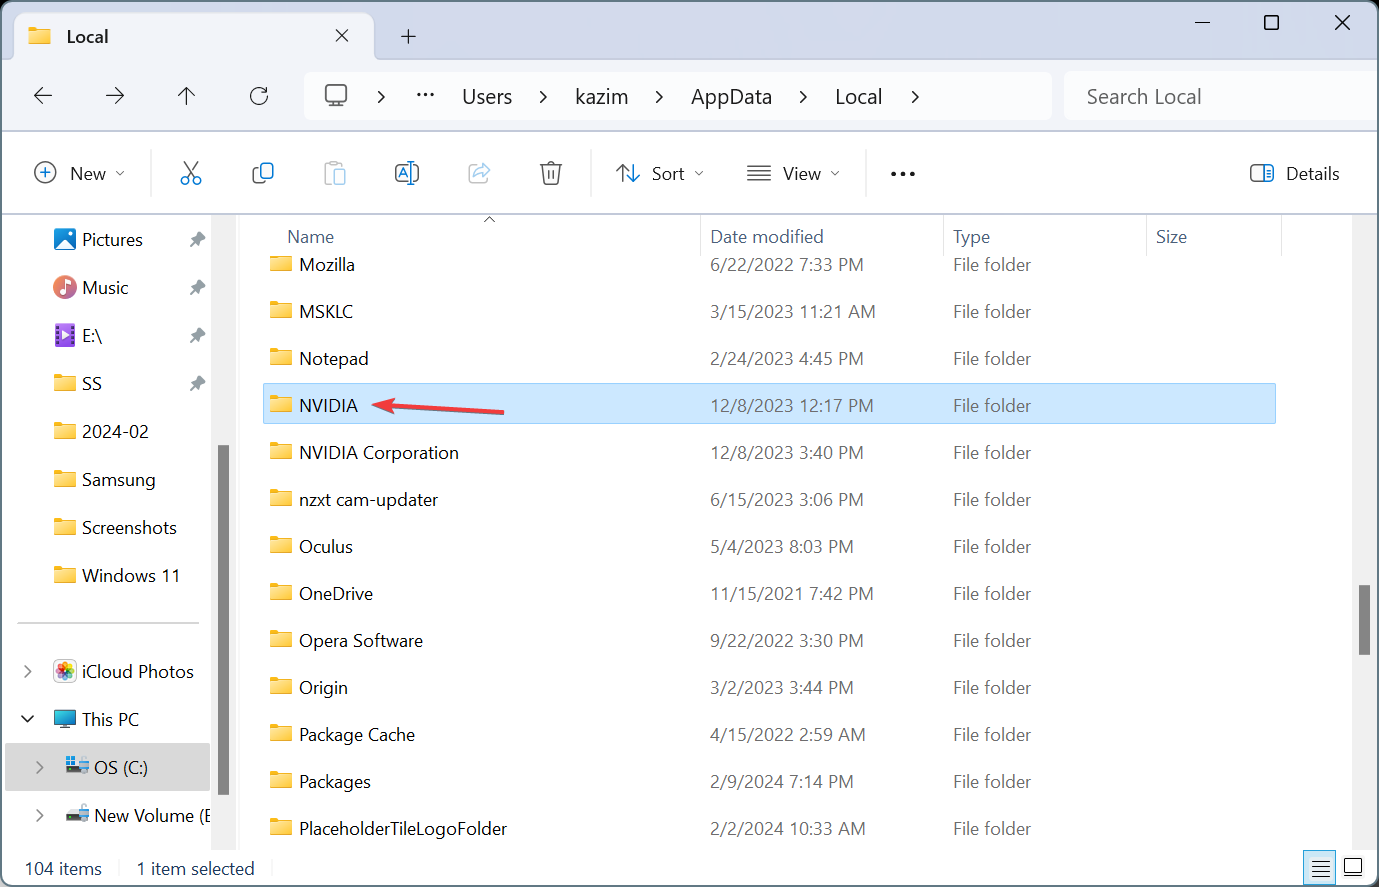
- Press Ctrl + A to select all the files/folders, and then hit Delete to clear them.
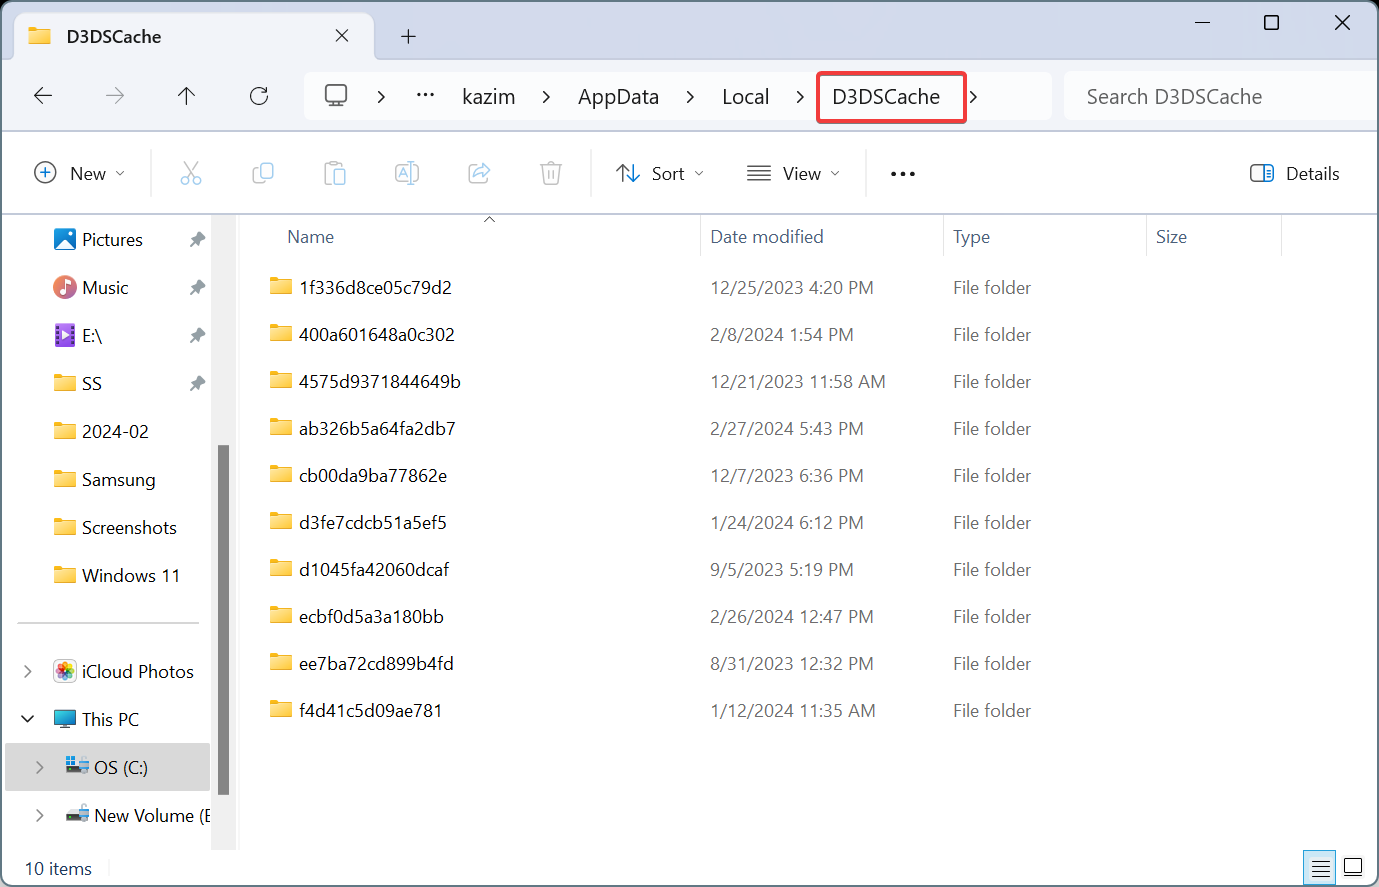
- Similarly, delete all the files in the D3DSCache folder.
- Now, go the following path while replacing Username with the actual profile name:
C:\Users\Username\AppData\LocalLow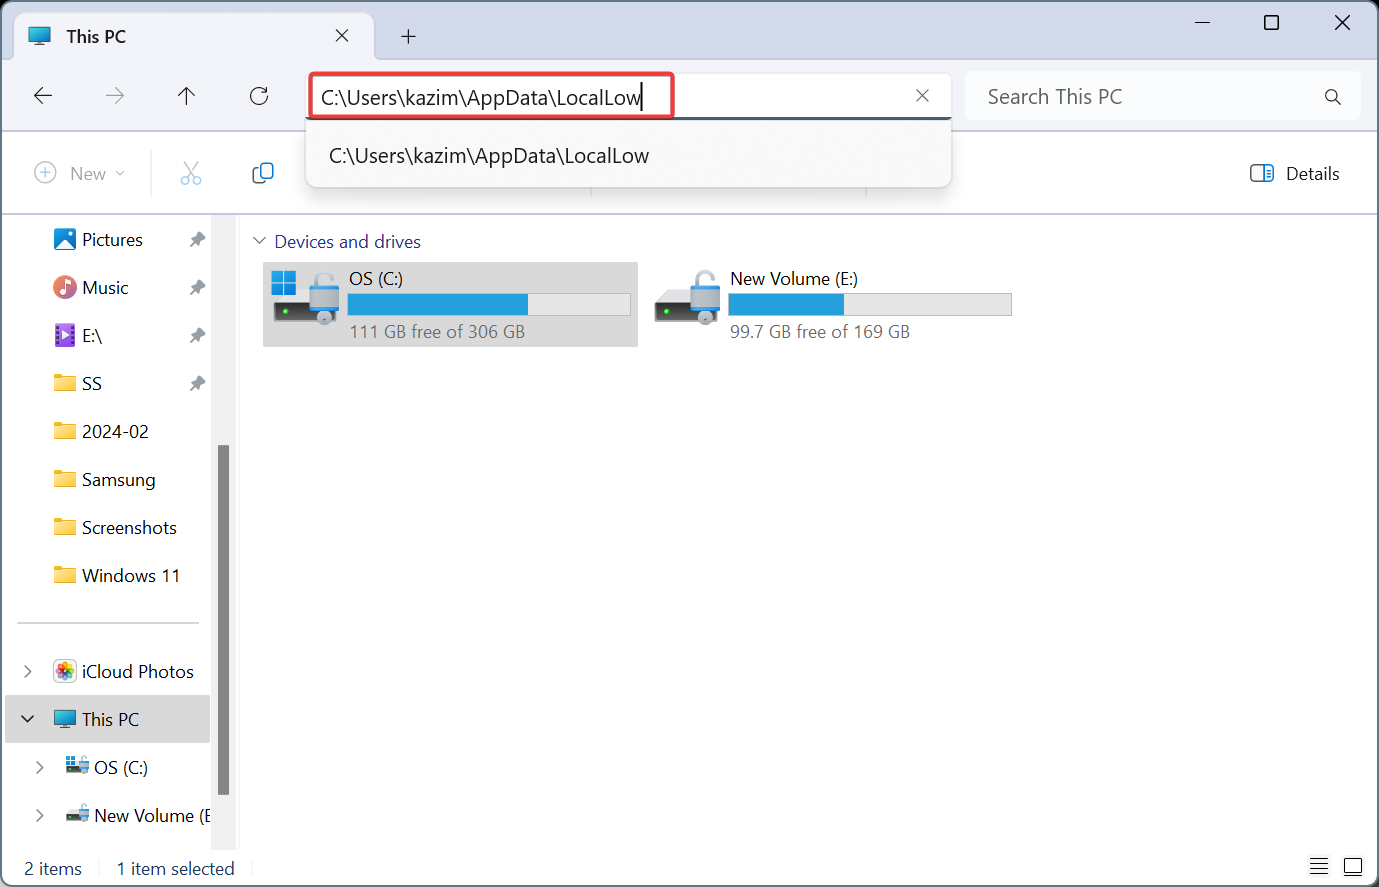
- Select the NVIDIA folder, choose PerDriverVersion, double-click on DXCache, and delete all the files here.
3.4. Re-enabling Shader Cache Size
- Launch the NVIDIA Control Panel, and go to Manage 3D settings.
- Select Driver Default from the Shader Cache Size, and click Apply at the bottom to save the changes.
Deleting the Shader Cache also helps when Metal Gear Solid 5 keeps crashing on the PC.
4. Reinstall the NVIDIA driver
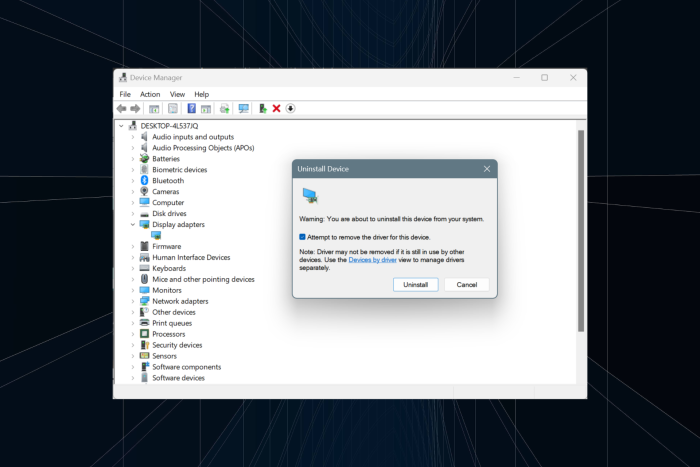
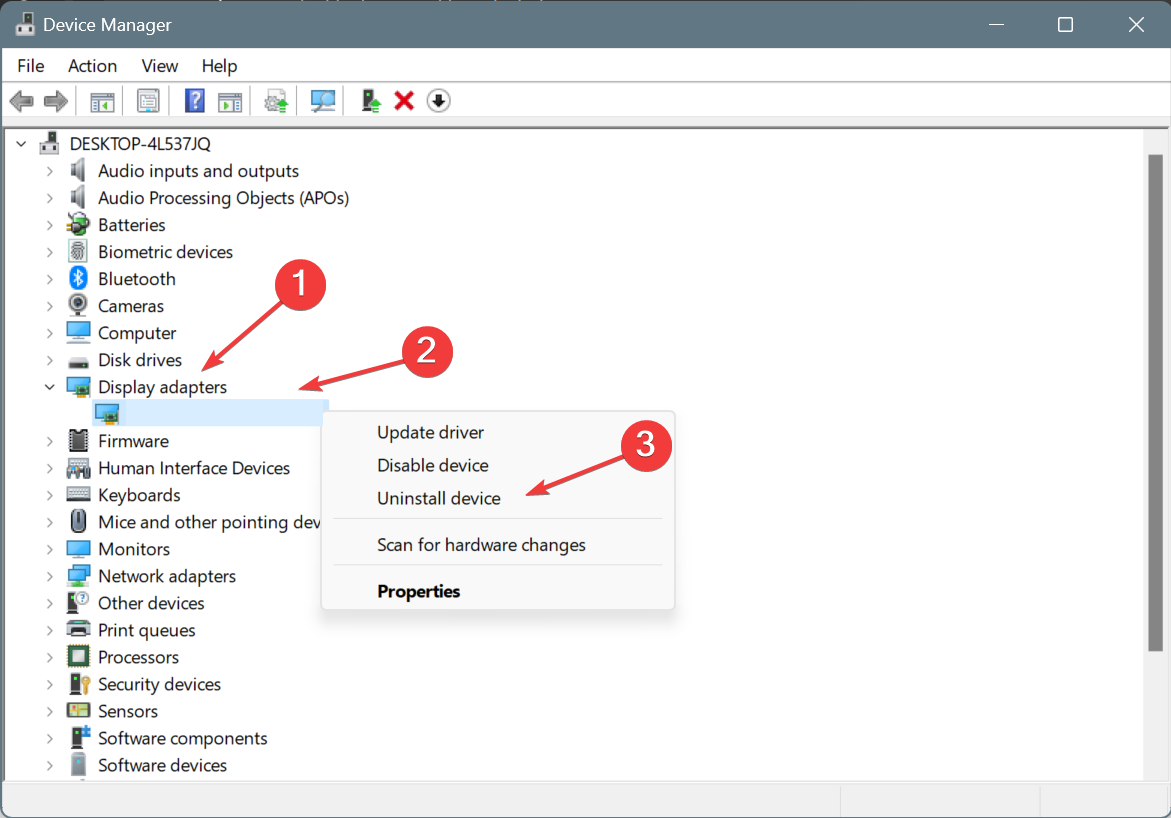
- Press Windows + X to open the Power User menu, and select Device Manager from the list of options.
- Expand the Display adapters entry, right-click on NVIDIA adapter, and select Uninstall device.
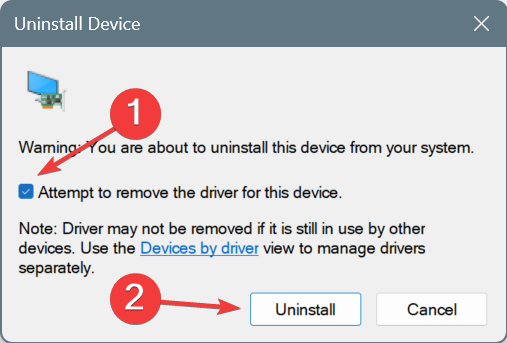
- Tick the checkbox for Attempt to remove the driver for this device, and click on Uninstall.
- Once done, reboot the computer, let Windows automatically install a fresh copy of the driver, and check for improvements.
If this doesn’t work, boot Windows into Safe Mode, then run DDU to uninstall the NVIDIA graphics driver, and finally, reinstall the driver using NVCleanstall instead of the GeForce Experience app. This will get you just the required components without any additional software.
Besides, update the NVIDIA graphics driver to fix nvgpucomp64.dll crashes in Windows. The problem is widespread, and a patch may be underway!
An out-of-date driver can cause serious issues to your system. An automated driver updater, such as PC HelpSoft Driver Updater, can effectively reduce the risk of running into this kind of problem. You can scan for and download new drivers in just a few minutes, plus you can use this software for long-term maintenance of your drivers.
5. Reinstall the affected game(s)
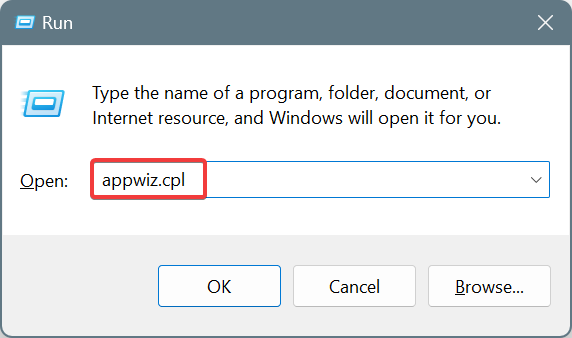
- Press Windows + R to open Run, type appwiz.cpl in the text field, and hit Enter.
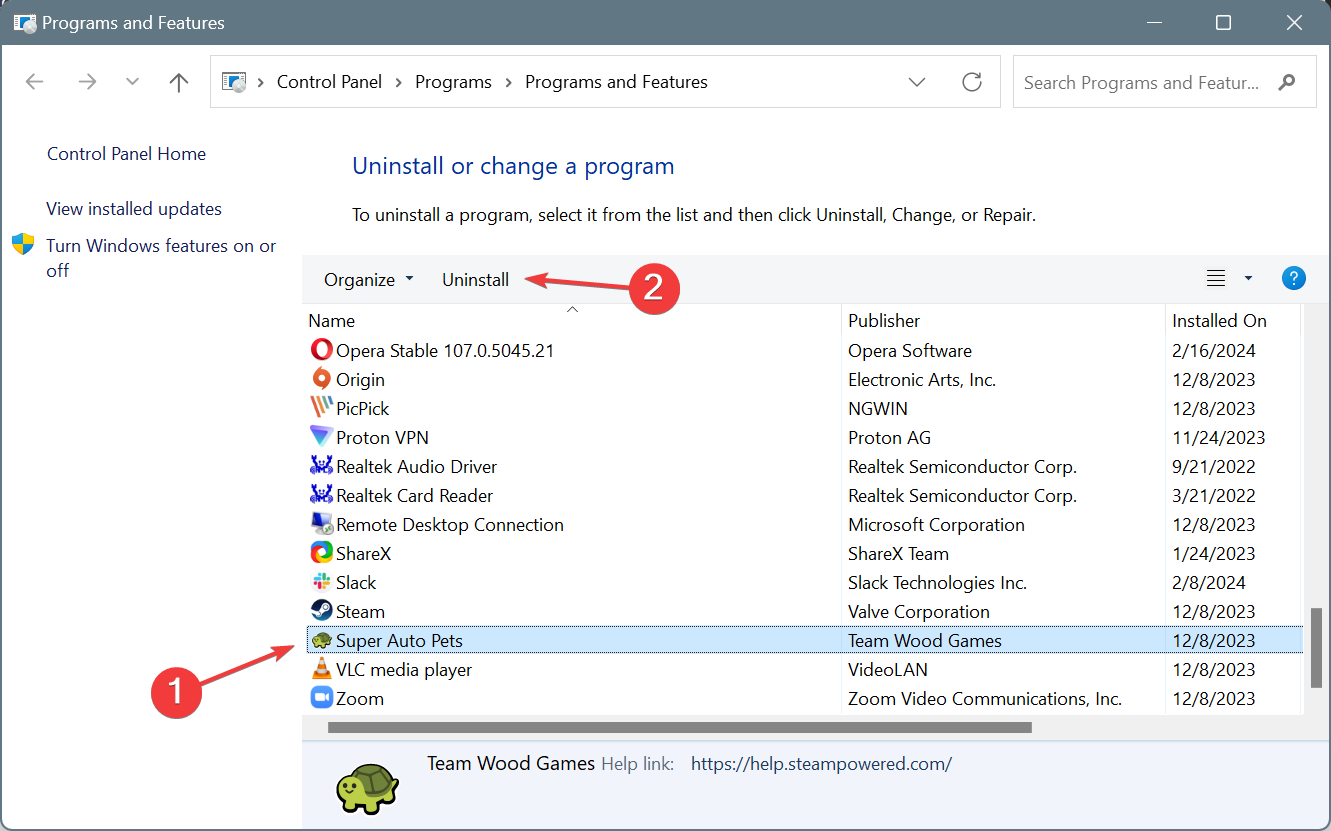
- Select the game that’s crashing due to the nvgpucomp64.dll faulting module, and click on Uninstall.
- Follow the on-screen instructions to complete the process.
- Once done, reboot the PC, and then reinstall the game from the official source.
If this doesn’t work, use an effective software uninstaller tool to get rid of any leftover files and Registry entries that might still be conflicting with the NVIDIA driver components.
In all likelihood, you shouldn’t find nvgpucomp64.dll as the faulting module name for game crashes anymore.
Before you leave, discover the best Windows 11 gaming settings that are guaranteed to deliver a superior experience!
For any queries or to share which fix worked for you, drop a comment below.
Read our disclosure page to find out how can you help Windows Report sustain the editorial team. Read more


Improve this guide


User forum
0 messages