Metadata Staging Failed: Here's How to Fix it
Switch out server URLs for complete updates

Windows Updates don’t always go well, and a Metadata staging failed error message is proof of such instances.
Usually, when this error occurs, it indicates that the particular Windows Update package has issues. However, incorrect registry entries, software/OS compatibility issues, and damaged system files may also contribute to this problem.
How do I fix the metadata staging failed error?
Follow the steps below to fix a failed metadata generation:
1. Disable device installation restrictions
 Tip
Tip
- Press the Windows + R key to open the Run dialog box, type gpedit.msc, and press Enter to open Group Policy Editor.

- Navigate to the following path:
Computer Configuration\Administrative Templates\System\Device Installation - Then click Device Installation Restrictions. Double-click the Prevent installation of devices not described by other policy settings option on the right pane.

- Click to select Disabled, and then click OK to save the changes.

- Restart the computer and see if the metadata staging failed error persists.
In some unique situations, your Windows device may need to install device drivers that have not passed the digital signature requirements, especially if it involves proprietary software.
If your system policies blocks this installation, you may encounter the metadata staging failed error.
2. Uninstall the most recent Windows update
- Press the Windows + I keys simultaneously to open Settings.

- Navigate to Windows Update, then go to Update history.
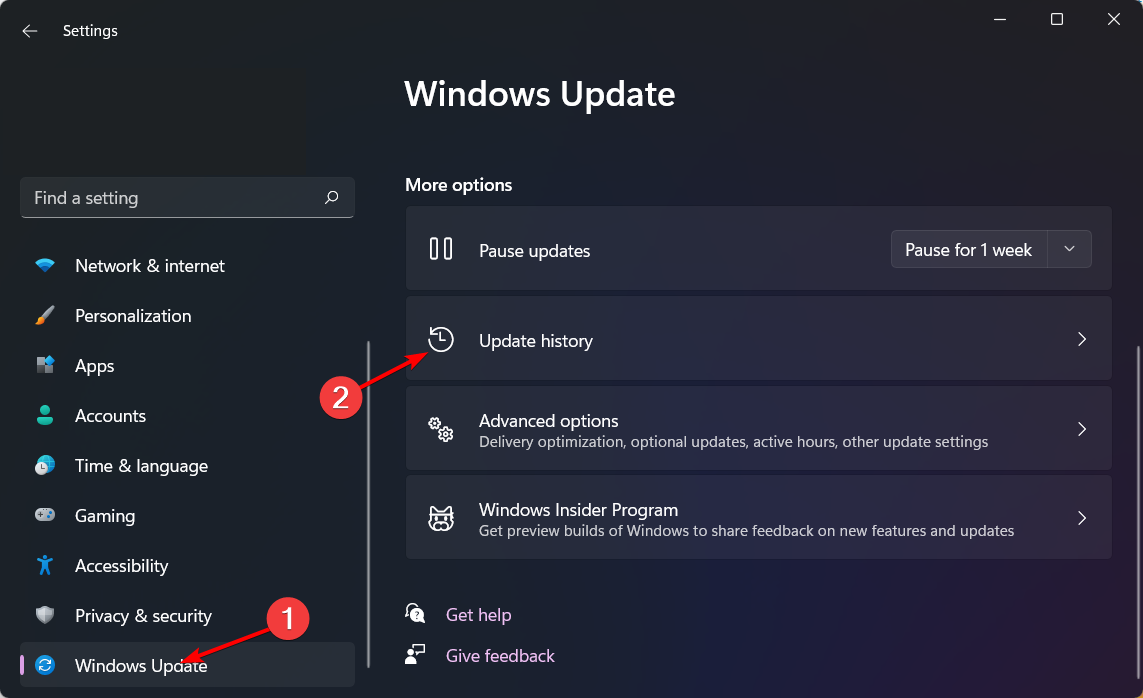
- Click on Uninstall updates.
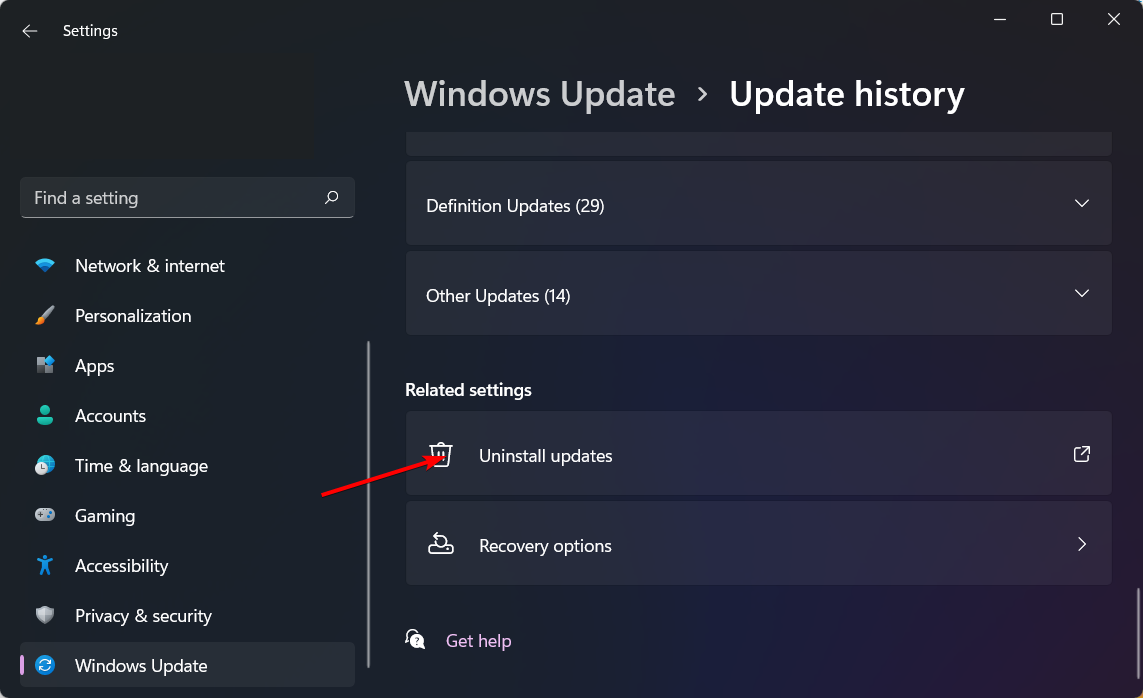
- Select the most recent update, then click Uninstall.
While you’re uninstalling a buggy update, examine other previous updates and check for any failed or blank updates.
If you find any, you can manually delete the failed updates, then go to the Microsoft Update Catalog, download that specific update, and see if it resolves the metadata staging failed error.
3. Change the Device Metadata Service URL
- Before you start making any changes, ensure you back up your Registry or create a restore point, as some changes can make your PC unstable.
- Press the Windows + R keys and type regedit. Click OK or press Enter to start Registry Editor.
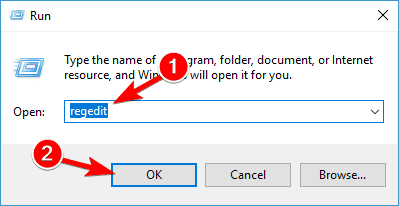
- When Registry Editor starts, navigate to the following key in the left pane:
HKEY_LOCAL_MACHINE\SOFTWARE\Microsoft\Windows\CurrentVersion\Device Metadata - Replace the current URL with:
https://dmd.metaservices.microsoft.com/dms/metadata.svc
Changing the metadata URL means you’re changing the source of Windows updates to a different server. This can be a workaround to determine if it’s a server issue or when Windows cannot connect to the update service.
If the metadata staging failed error message disappears, it means the previous source had problems.
4. Perform a clean install
- Create a bootable USB drive and connect the bootable installation media USB flash drive to your PC.
- Restart your PC and enter BIOS by pressing Del or F2 during the boot.
- Set your flash drive as the default boot device and save changes.
- Press any key to enter setup when asked and click Next.

- Click on Install now to proceed.

- Enter your product key or choose I don’t have a product key.
- Select the version that you want to install and click Next.

- Accept the terms of service and click Next.

- Select the Custom install option.

- Select the Primary drive and click Next. Double-check to make sure that you’ve selected the correct drive.

- Follow the on-screen prompts to complete the installation.
The steps listed above are pretty bold, so ensure you back up your system and take any other measures that guarantee a safe point of return in case anything goes wrong.
A good one is to install Windows updates in Safe Mode to help isolate any issues.
Have you experienced this error before? What solution would you say worked best for you? Let us know in the comment section below.
Read our disclosure page to find out how can you help Windows Report sustain the editorial team. Read more


Improve this guide


User forum
2 messages