FIX: The sample rate for your microphone isn't supported
3 min. read
Updated on
Read our disclosure page to find out how can you help Windows Report sustain the editorial team. Read more
Some Xbox app (now Xbox Console Companion) users have started threads on Microsoft’s forum about a microphone error that arises for that app.
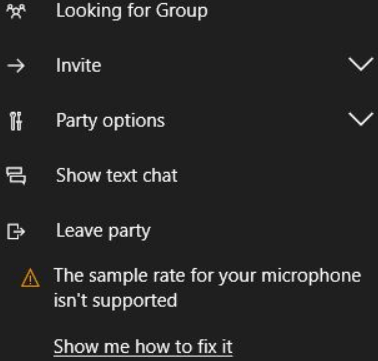
When those users try to set up a party within the Xbox app, it displays an error message that states:
The sample rate for your microphone isn’t supported. Here are some potential resolutions for users who need to fix the Xbox app’s microphone isn’t supported error.
How do I fix the microphone sample rate error?
1. Open the Recording Audio troubleshooter
- First, try fixing the microphone isn’t supported error with the Recording Audio troubleshooter.
- Click Windows 10’s Type here to search taskbar button to open its search tool.
- Input troubleshoot in the search utility’s text box, which finds Troubleshoot settings.
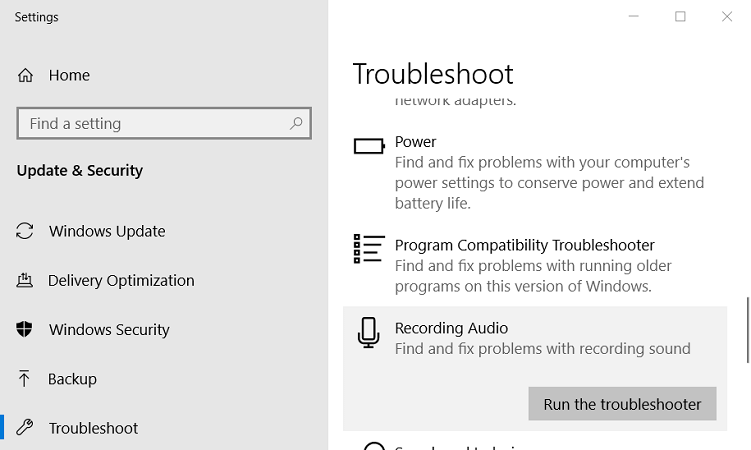
- Select Recording Audio on the Troubleshoot tab.
- Press the Run the troubleshooter button for Recording Audio.
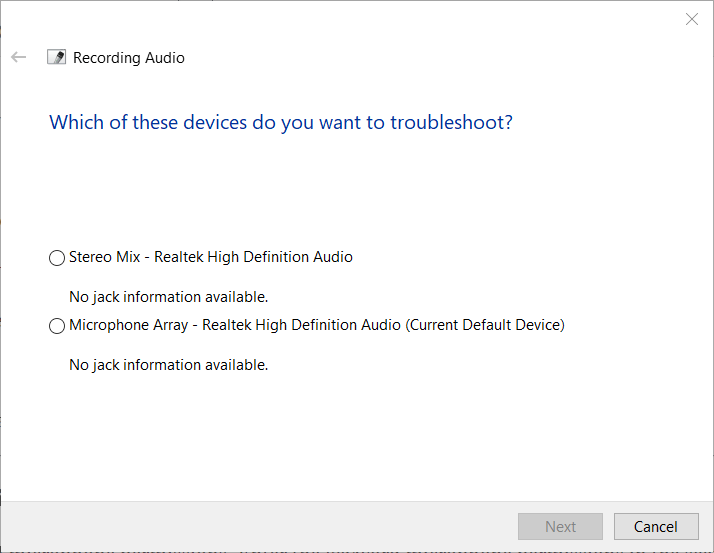
- Select the microphone you need to fix the issue for.
- Thereafter, the troubleshooter will open and might provide a potential fix. If so, click the Apply this fix option.
2. Check microphone permissions for the Xbox app
- Check that the Xbox app has the required microphone permissions.
- Enter the keyword microphone permissions in the search utility.
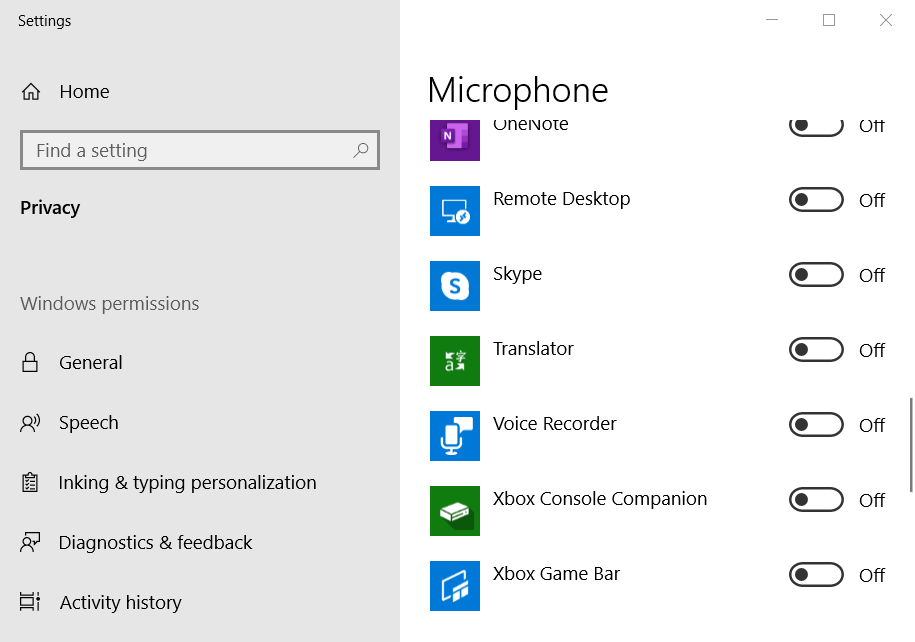
- Select Choose which apps can access the microphone to open Settings as in the snapshot directly below.
- Toggle the Xbox Console Companion’s microphone permission on if it’s off.
3. Reinstall the microphone’s drivers
Try reinstalling your microphone’s drivers.
- To do so, launch Run with the Windows key + S keyboard shortcut for it.
- Input mmsys.cpl in the Open text box and click OK.
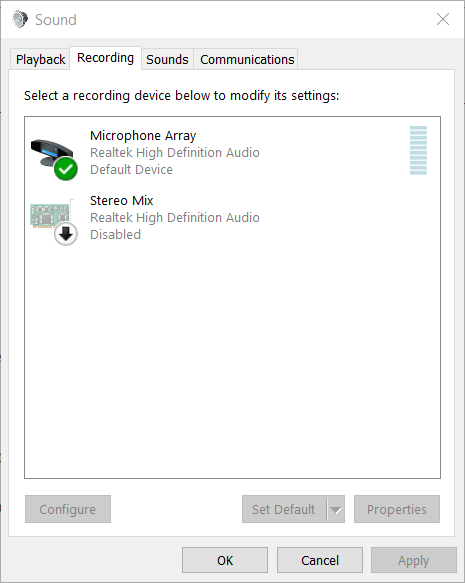
- Click the Recording tab on the Sound window that opens.
- Select your microphone on that tab.
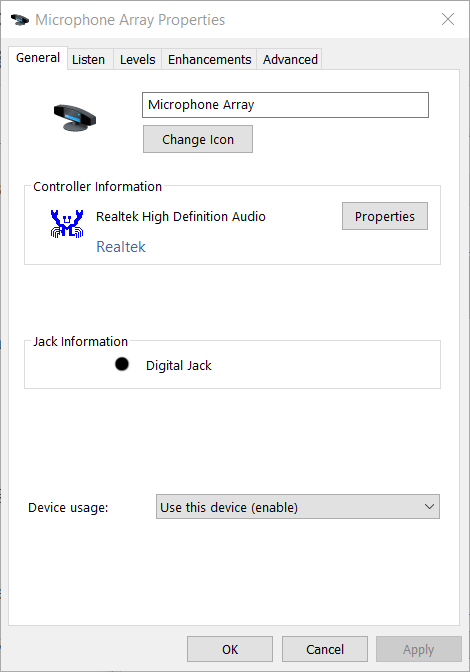
- Click Properties to open the window in the image directly below.
- Press the Properties button within the Controller Information box on the General tab.
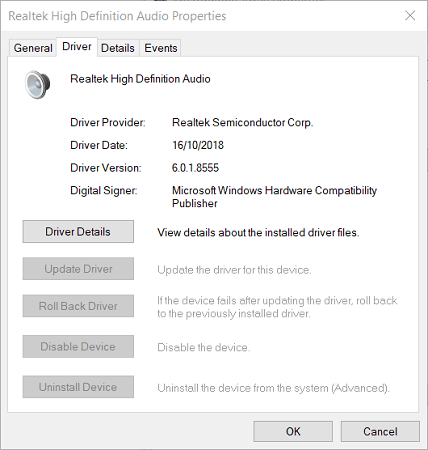
- Then click the Driver tab on the next properties window that opens.
- Click the Uninstall Device option.
- Press the Uninstall button on the dialog box that opens.
- Thereafter, click the Restart option on your Start menu.
- Then Windows will install a generic microphone driver.
4. Reset the Xbox app
- Some users might need to reset Xbox Console Companion to fix your microphone isn’t supported error.
- Open the Type here to search box.
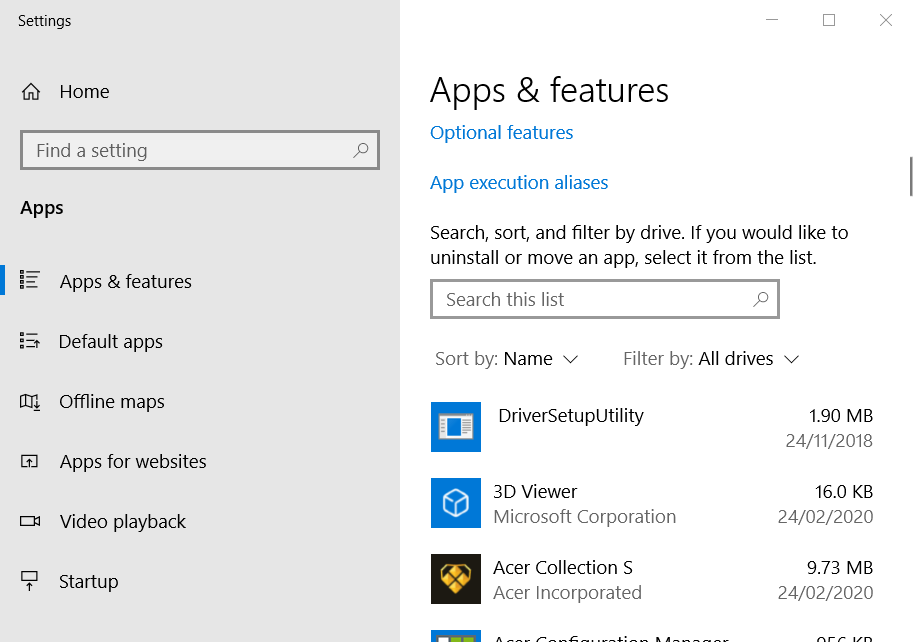
- Enter apps & features in the search utility.
- Click Apps & features to open the Settings apps as shown directly below.
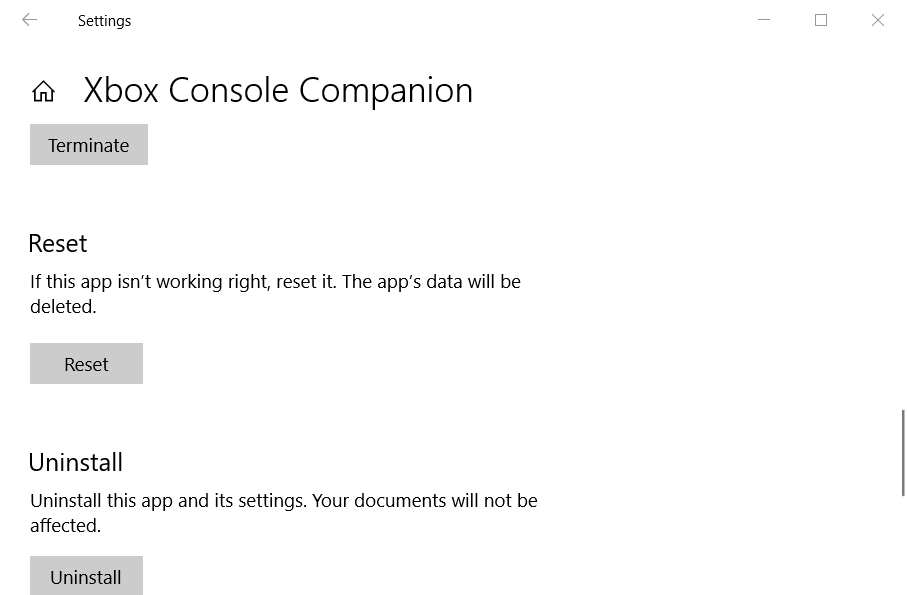
- Click Advanced options for the Xbox Console Companion app.
- Click the Reset button, and click Reset again to confirm.
- Restart Windows after resetting the app.
5. Fix Xbox networking
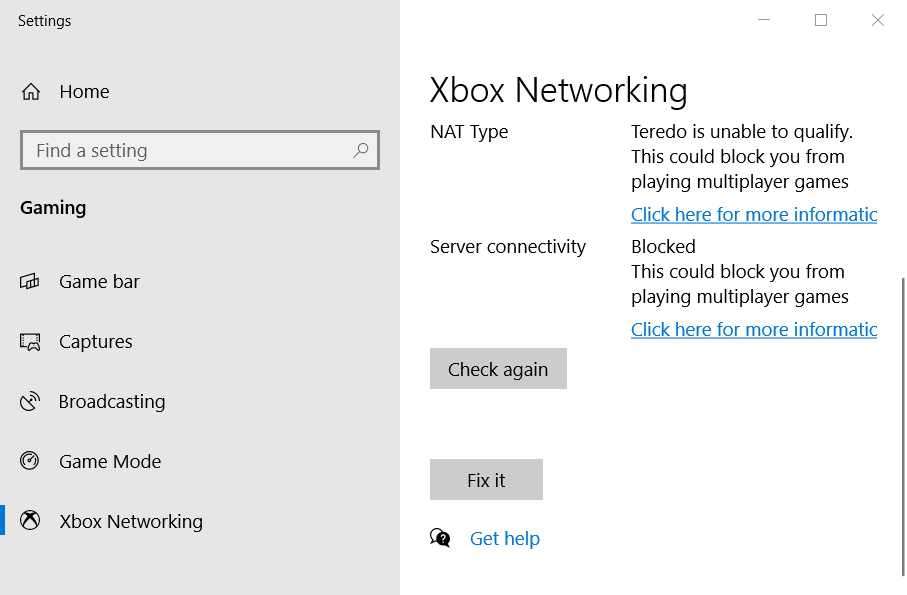
- To do so, enter Xbox networking in Windows 10’s search box.
- Then click Xbox Live Settings to open the window shown directly below.
- Click the Fix it button.
6. Update Windows 10 to latest version
Some users have also confirmed they fixed the microphone isn’t supported error by updating Windows 10 to the latest build version. T
- o do that, open the search utility.
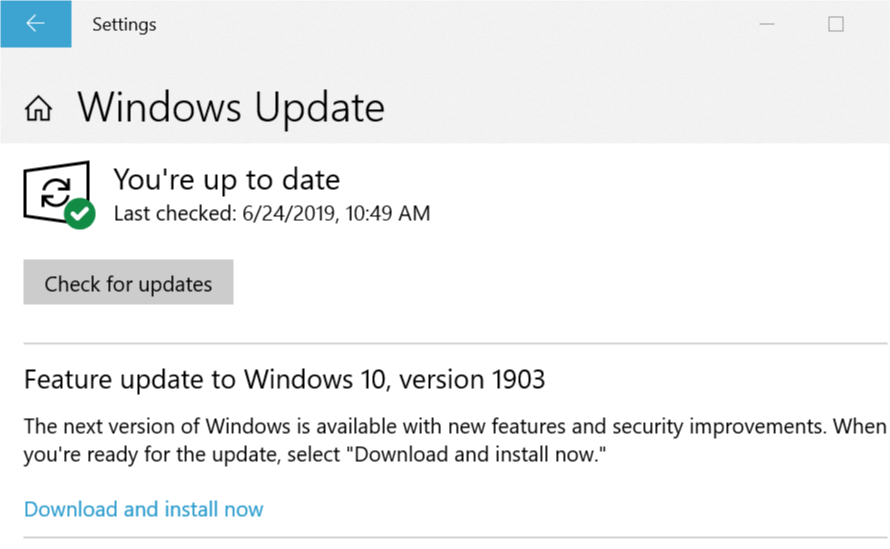
- Enter update as the search keyword, and click Check for updates.
- You might see a Download and install now option on the Windows Update tab for the latest available build update.
- If so, click the Download and install now option.
- If a Download and install now option isn’t there, click the Check for updates button.
So, that’s how you can fix the microphone isn’t supported error in Windows 10 and 8.1.
The above resolutions aren’t 100 percent guaranteed, but there’s a good chance they’ll fix the issue for most users.
[wl_navigator]


User forum
0 messages