Shlwapi.dll Missing or Not Found: How to Fix It
Perform a System Restore to reinstate the missing DLL file
![]() 4 min. read
4 min. read
![]() Updated on
Updated on
Share this article

Improve this guide
Read our disclosure page to find out how can you help Windows Report sustain the editorial team Read more
Key notes
- If a program is failing to start, it’s possible that a required DLL is missing or corrupted.
- To fix this problem, you’ll need to restore the missing or damaged file manually or use a third-party tool to restore it.
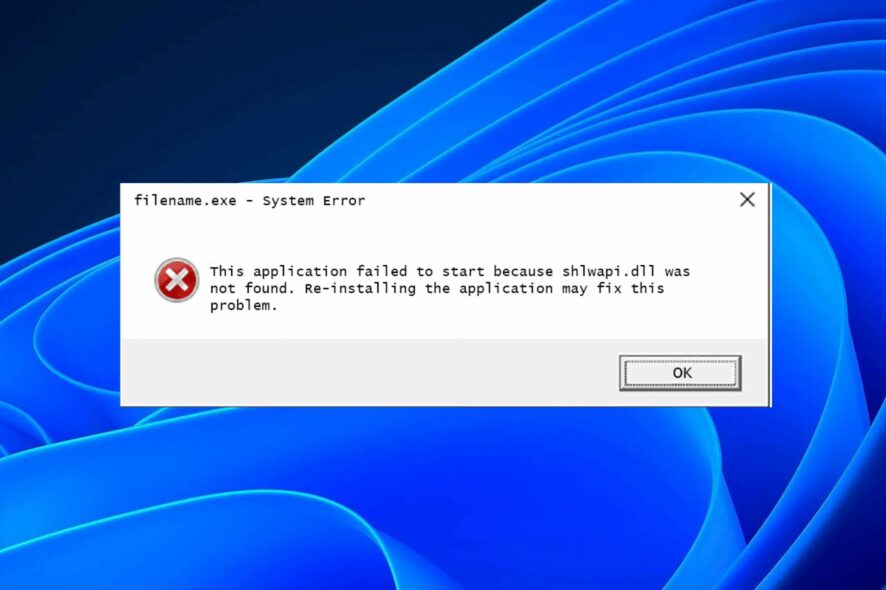
The file name Shlwapi stands for Shell Light-weight Application Programming Interface. It is a critical DLL file required for the proper functioning of the Windows operating system. When things go wrong with your computer, it’s not uncommon for the DLLs to become damaged or corrupted.
As such, Windows may not be able to find the correct versions of these files needed to run programs. Just as you guessed, we’re going to look at various solutions if you find out that shlwapi.dll is missing from your PC.
What is the use of Shlwapi DLL?
Shlwapi is a dynamic-link library (DLL) that enables programs to use some of the features provided by Microsoft Windows. The name Shlwapi stands for Shell API, and it is used by applications that require support for the Windows shell functionality.
Shlwapi.dll is a critical component of the operating system, and it must be present for many applications to work correctly.
Therefore, if it is missing, you must address this issue to prevent random crashes and instability on your PC.
How do I fix the Shlwapi DLL not found error?
1. Use a DLL-fixer tool
The Shlwapi.dll file is one of the many files required to run programs on a computer. When DLL files are missing or corrupted, your computer will not be able to load its programs properly. This can lead to random crashes or even BSoD errors.
To address this issue, you’ll need a DLL-fixer tool. This software can help you fix a myriad of DLL problems. Even better, since this is a Windows-related DLL file, the fix will be 100%.
It does this by checking your system for the presence or absence of a particular file, and if it finds one, it will download it for you so that you can use it again.
2. Run DISM and SFC scans
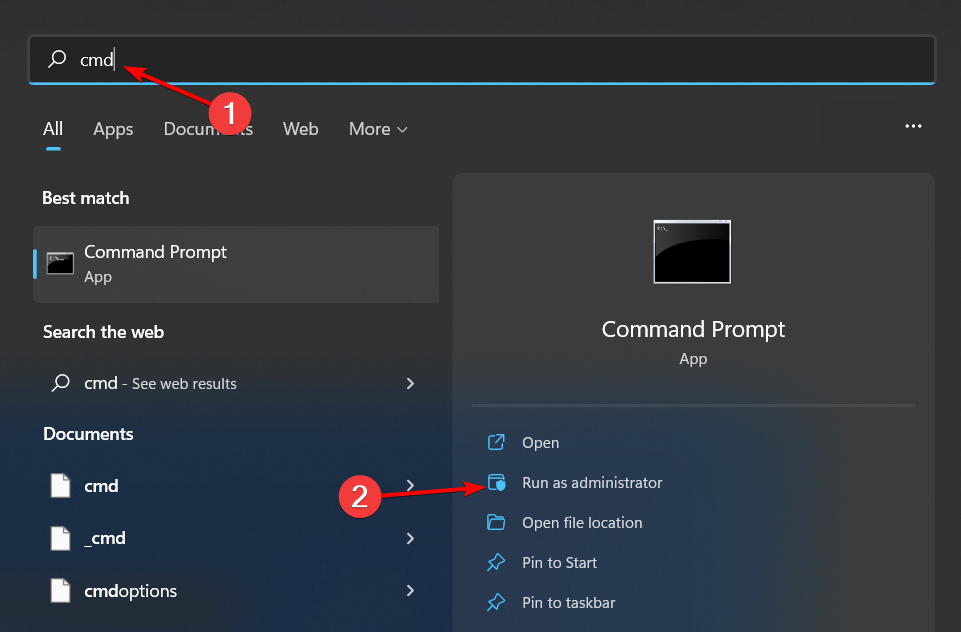
- Hit the Start Menu icon, type cmd in the search bar, and click Run as administrator.

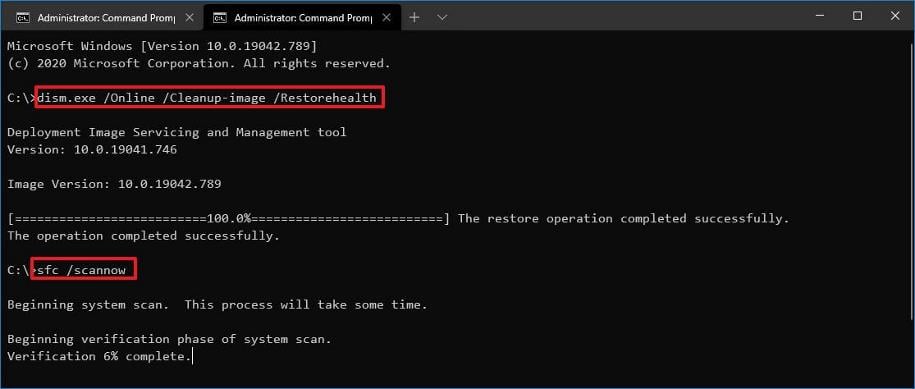
- Type the following commands and press Enter after each one:
DISM.exe /Online /Cleanup-Image /Restorehealthsfc /scannow
3. Scan for viruses
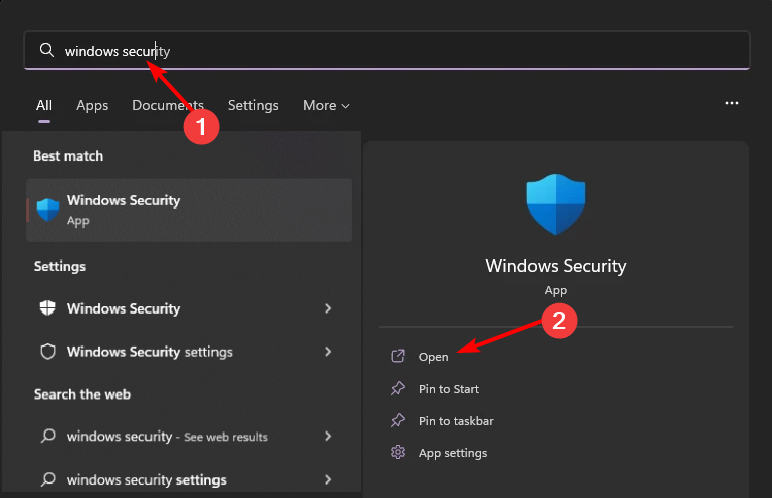
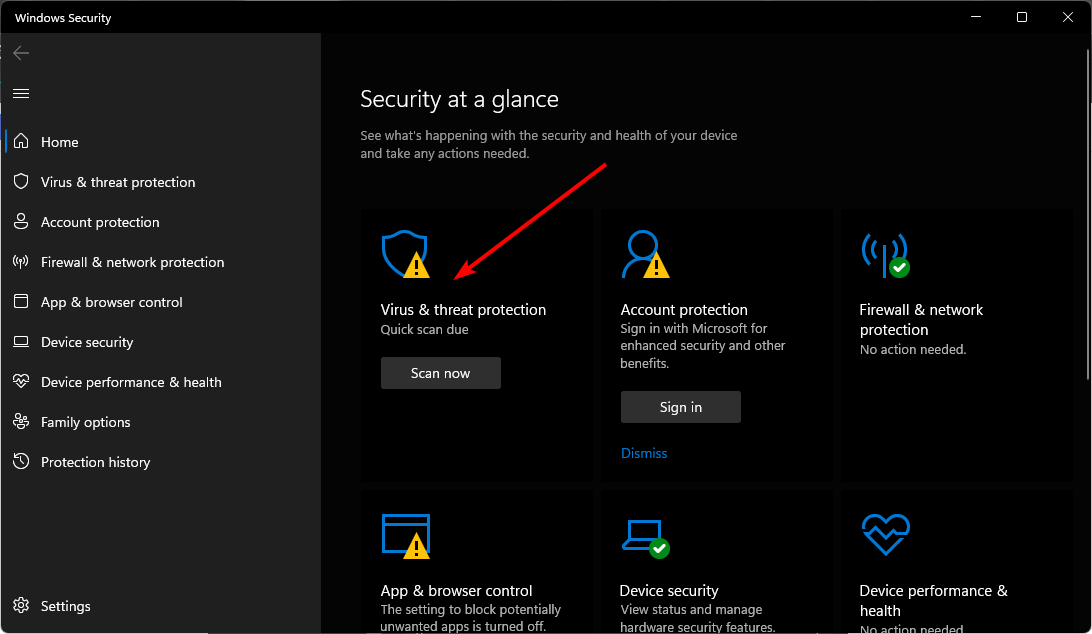
- Press the Windows key, search Windows Security, and click Open.

- Select Virus & threat protection.

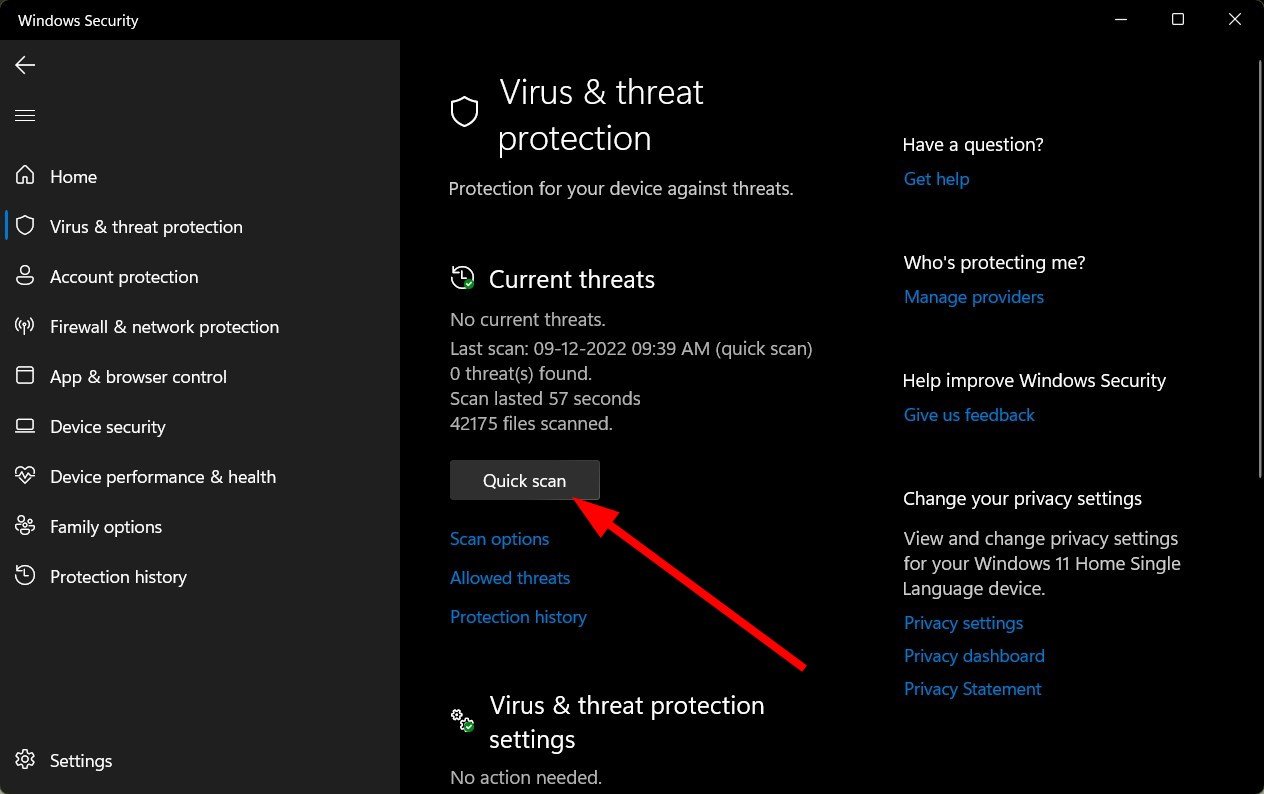
- Next, press Quick scan under Current threats.

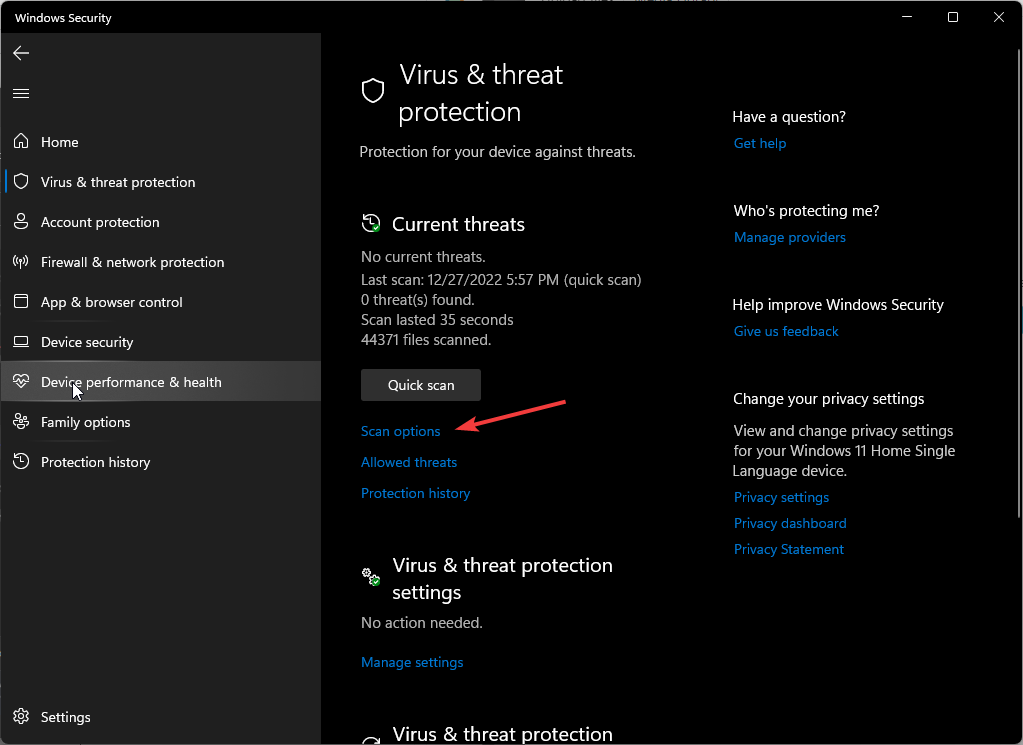
- If you don’t find any threats, proceed to perform a full scan by clicking on Scan options just below Quick scan.

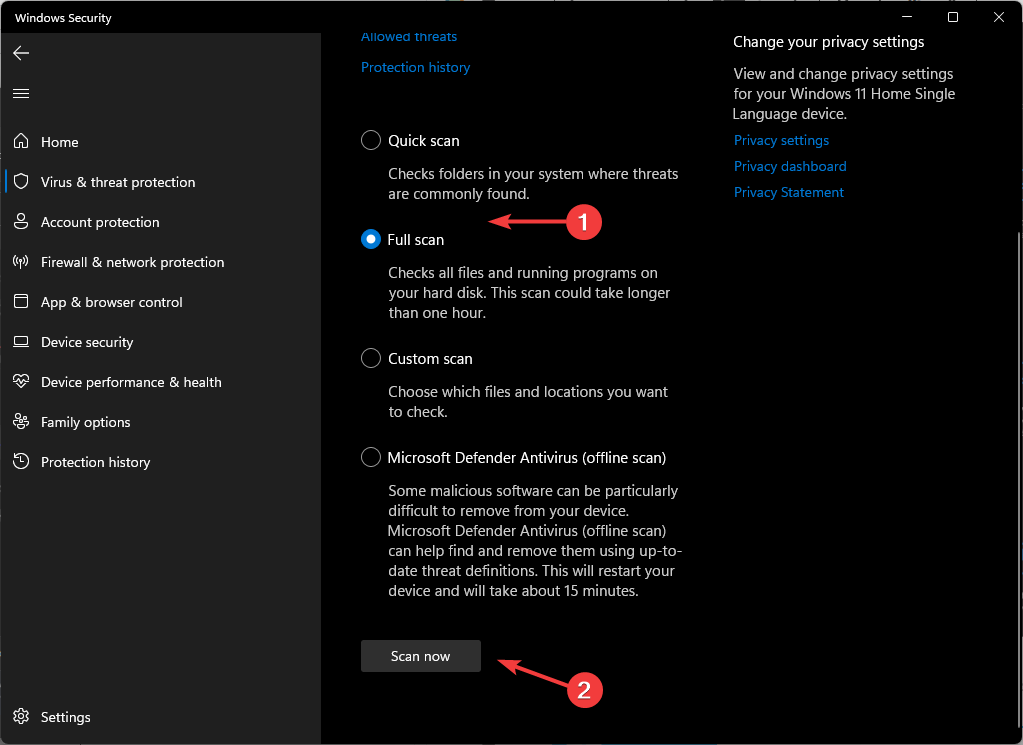
- Click on Full scan, then Scan now to perform a deep scan of your PC.
- Wait for the process to finish and restart your system.
As good as Microsoft’s Windows Defender is, there are better options available. Windows Defender is designed to run alongside third-party antivirus software.
You, therefore, need a tool that is more comprehensive in its features and provides better protection to your system.
There are many good antivirus software available in the market to choose from, but our top pick has to be ESET NOD32. It is a powerful antivirus software that provides top-notch protection against viruses and other malware.
4. Download the DLL file manually
- Navigate to your browser and visit a trusted third-party website like DLL files.com.
- Click the Download button.

- After the download has completed, open File Explorer and navigate to where you saved the file on your computer (it should be in your Downloads folder).
- Right-click on Shlwapi DLL and select Copy from the menu that appears.
- Depending on whether you have a 32-bit or 64-bit, copy it to either of the following locations:
C:\Windows\System32C:\Windows\SysWOW64
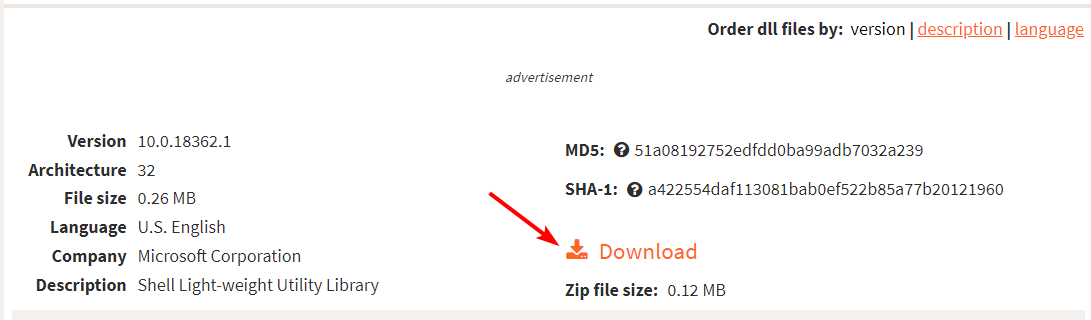
If you’re experiencing this issue on your computer, you may be able to fix it by downloading the appropriate DLL file from a trusted website and installing it manually.
It’s important that you download the correct version of the file for your operating system. If you are using a 32-bit version of Windows, you need to download the 32-bit version of the DLL and vice versa.
Installing an incorrect version may cause problems like Windows crashes or errors when running certain programs. You should also have a reliable antivirus in place in case the file comes bundled with malware.
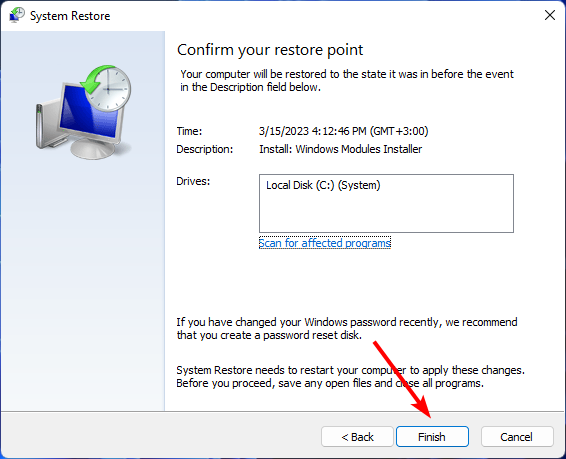
5. Perform a System Restore
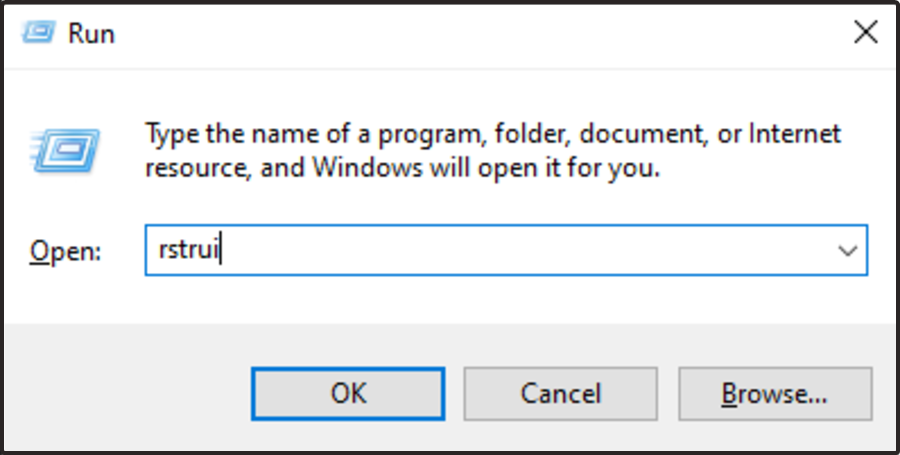
- Press the Windows + R keys, type rstui, and hit Enter.

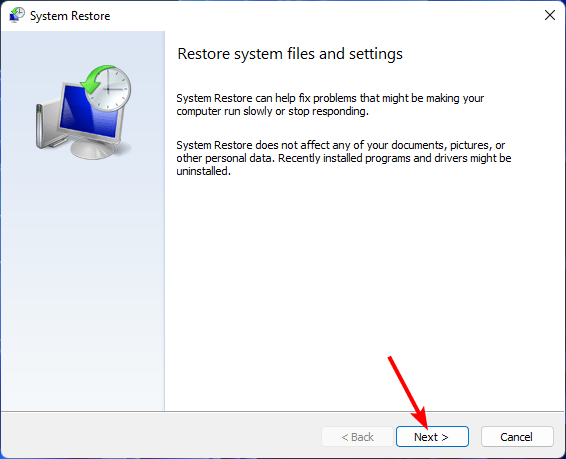
- The System Restore window will open. Click on Next.

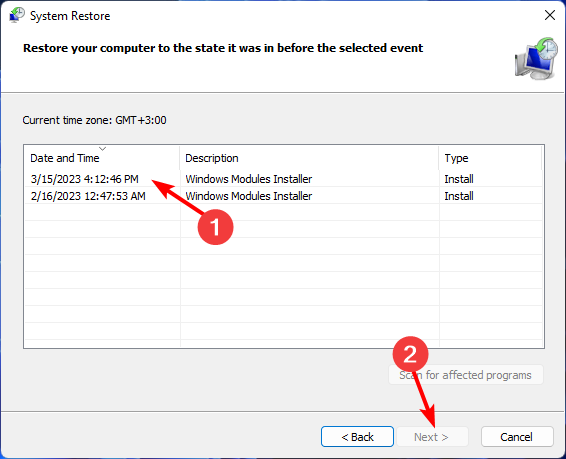
- Select the restore point you wish to revert to and click on Next.
- Now click on Finish.
Find out how to navigate a similar issue with missing DLL files in Windows 10. Hopefully, one of these solutions has resolved the schwapi.dll not found error.
Feel free to leave a comment below for further suggestions or additional solutions.