SFC Scannow Unable to Fix Corrupt Files? Here's What to Do
Reinstall your system to restore this important tool
Key notes
- The SFC Scan is one of the most important tools on Windows 11 as it can clear up corruption on a hard drive.
- However, sometimes the SFC scan can malfunction which usually happens because of corrupt files caused by malware.
- To fix this issue, it's recommended that you reset your PC to revert things can back to an earlier state.

The SFC scan is a pretty handy tool as it alone can fix most problems on Windows 11. But it isn’t foolproof. Sometimes the SFC Scannow command suddenly stops working.
Why is SFC scannow not repairing corrupt files?
The repair tools on Windows 11 rarely break down. But when they do, it can be difficult to figure out why.
- It could be a false positive – Sometimes, your SFC scan might think certain files are corrupt. If this happens, you can ignore the notice.
- Malware is infecting your computer – Computer viruses can stop basic functions from operating correctly. Be sure to install some antivirus software to clean up your system.
- Corrupted files are stopping important computer functions – Use a third-party cleaner to clean up any lingering corruption caused by malware.
- There’s a problem with the Windows 11 Utilities – Utility software are tools that users can use to maintain their computer. If these fail, you will have to reinstall Windows 11.
How can I repair my computer’s SFC scan?
There are many different ways to fix a malfunctioning SFC scan tool, but before you do anything, there are some things you’ll need to do first:
- Restart your computer.
- Ensure your internet connection is working properly
- Double-check if there are any pending updates
1. Install Windows Update
- Press the Windows key. Search for Settings.

- Select Windows Update.

- Click Check for updates.
- Windows 11 will locate any pending updates. Once found, click Download & Install.

- Restart your machine when done to fully implement the changes.
2. Perform a system restore
- In Windows 11 Search, type in restore point and click Create a restore point.

- Click System Restore in the System Properties window.

- The System Restore wizard will highlight a recommended restore point. Click Next.

- On the following page, select Finish. Your computer will then revert the system back to an earlier point.

3. Run DISM commands
- In Windows 11 Search, type cmd to bring up the Command Prompt.

- Select Run as administrator to launch with admin-level permissions.

- Run the following command:
DISM /Online /Cleanup-Image /CheckHealth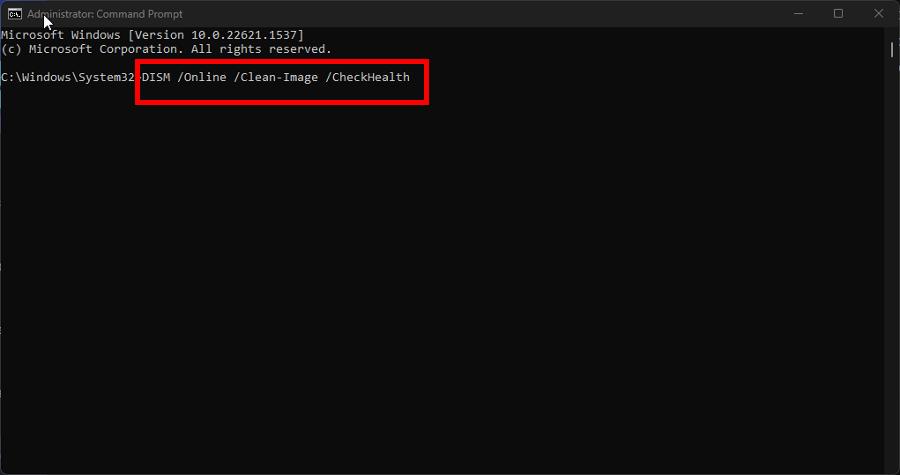
- Once done, run the following commands:
DISM /Online /Cleanup-Image /ScanHealthDISM /Online /Cleanup-Image /RestoreHealth
- Restart your computer finish repairing.
4. Rollback Windows 11 update
- Launch the Settings menu and go to Windows Update
- Click Update history.

- Scroll to the bottom. Under Related Settings, click Uninstall Updates.

- Choose which update you want to remove, then select Uninstall.

- Allow your computer to finish the process.
5. Run the SFC scan in Safe Mode
- Launch the Settings menu and stay on the System section. Scroll down until you locate Recovery. Click it.

- Click Restart Now next to Advanced Startup. On the following page, select Restart Now again.

- After rebooting, click Troubleshoot.

- Click Advanced Options. Afterward, select Startup Settings.

- On the Startup Settings page, click Restart.
- After restarting, press the F6 key to Enable Safe Mode with Command Prompt.

- Sign into your account when the login page appears.
- In the new Command Prompt window, run the SFC scan command.
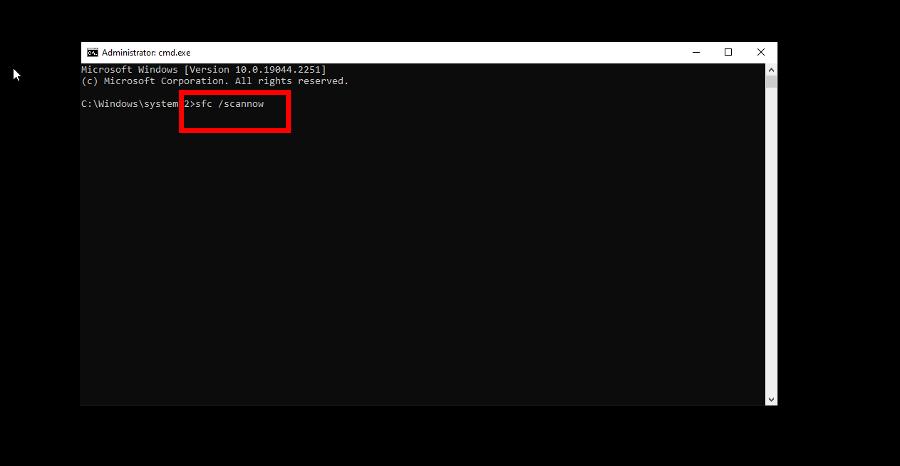
- Wait for the scan to finish. Then, run
shutdown /rto restart your computer.
6. Run Startup Repair
- Launch the Settings menu and go to the Recovery tab in the System section.

- Click Restart Now on the following page.
- After rebooting, click Troubleshoot, then Advanced Options, and Startup Repair.

- Wait for your computer to finish the process.
- Select Administrator. Enter the account password and log in as normal.

7. Run CHKDSK
- Bring up the Command Prompt in the Windows 11 Search bar. Select Run as administrator.
- Enter and run the following command:
CHKDSK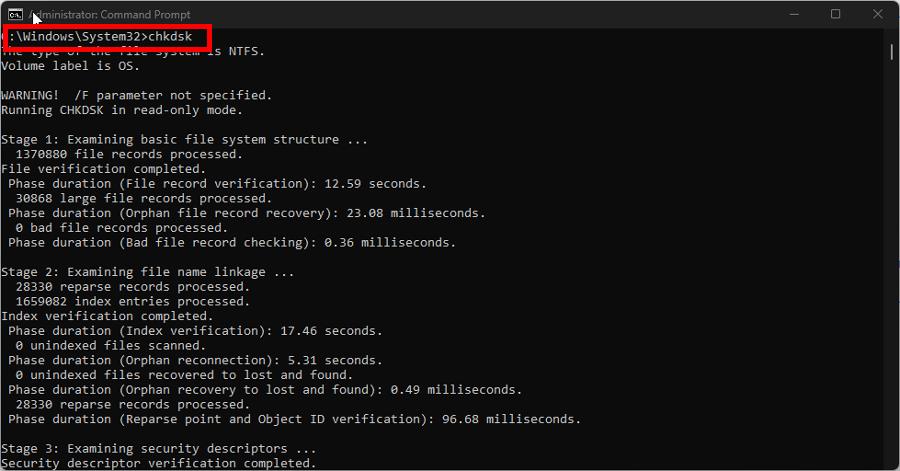
- Wait for Command Prompt to finish. Afterward, run the following:
CHKDSK C: /F /R
- It’s possible the disk drive is in use. Hit the Y key to schedule the scan for the next time you restart your computer.
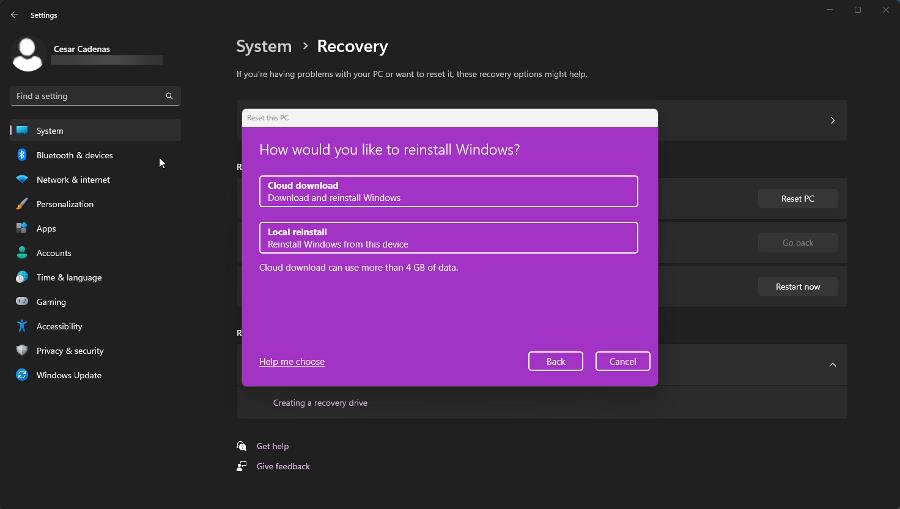
8. Reset your PC
- Open the Settings app and click the Recovery option in the right pane.
- Click the Reset PC button next to Reset this PC.

- In the window that appears, you can choose to keep your files and apps or delete everything. We recommend choosing the former.

- Select how you want to reinstall Windows 11; either a cloud download or a local reinstall.
That’s pretty much it when it comes to fixing a malfunctioning SFC scan tool. You may also be interested in learning how to fix the DISM tool if and when it also begins to malfunction.
And if the SFC scan still doesn’t work, install some third-party repair software. If you have any suggestions on guides you’d like to see, please drop them in the comments.
Read our disclosure page to find out how can you help Windows Report sustain the editorial team. Read more


Improve this guide


User forum
0 messages