Grey Screen in Snipping Tool: 4 Ways to Get it to Work
Keep your drivers up to date to prevent this issue from occurring
3 min. read
Updated on
Read our disclosure page to find out how can you help Windows Report sustain the editorial team. Read more
Key notes
- A grey screen in the Snipping Tool can appear due to conflicts with third-party applications.
- Repairing corrupted system files can also help with this problem.
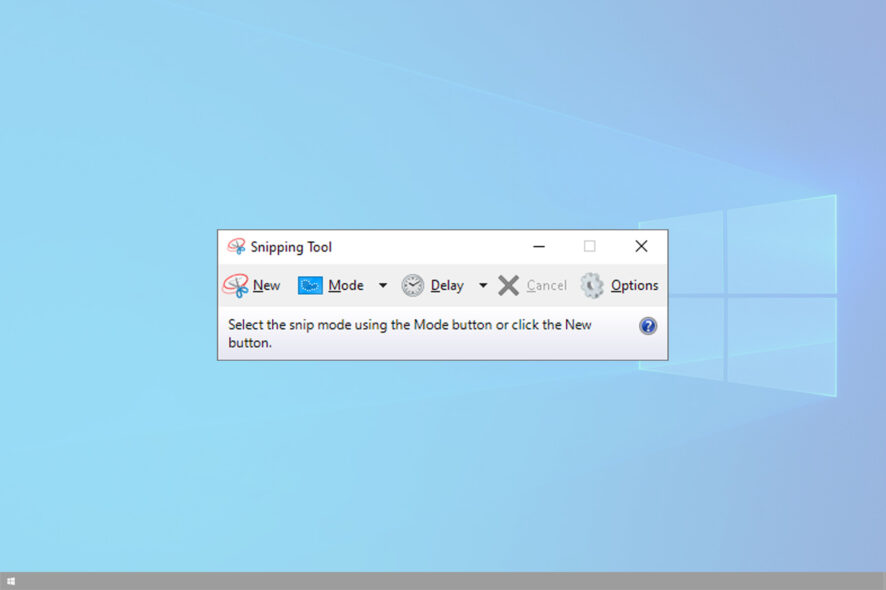
Sometimes, you may get a grey screen while opening the Snipping tool in Windows 10. This can be a problem and prevent you from creating screenshots.
This isn’t a major issue, but if you tend to rely on this tool for your screenshot needs, it’s important to know how to fix it, and this guide will show you the best ways to do it.
Why does a grey screen appear in the Snipping Tool?
- Corrupted system files can affect this software and cause this problem.
- In some instances, third-party applications or processes can interfere with the Snipping Tool.
- Outdated graphics card drivers can sometimes cause this and many other problems.
How can I fix the grey screen of Snipping Tool in Windows 10?
1. Update the display driver
- Press the Windows key + R to open Run.
- Type devmgmt.msc, and click OK to open the Device Manager.
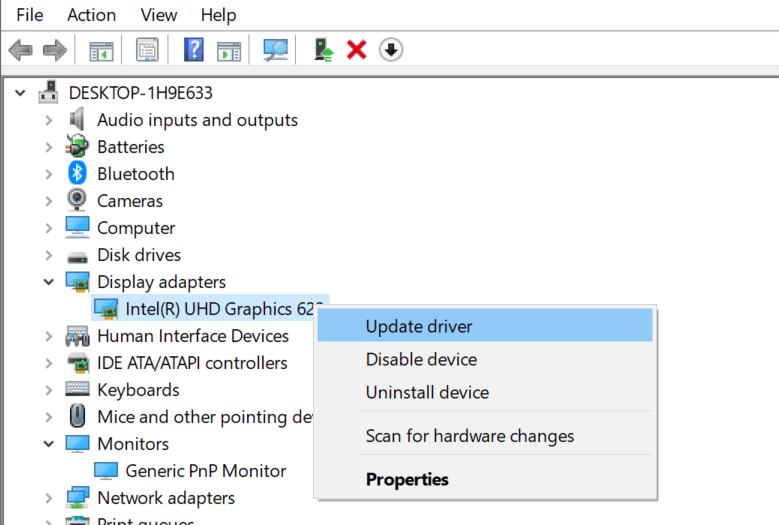
- In the Device Manager, expand the Display adapters section.
- Right-click on the Display Adapter installed on your PC (Intel or AMD) and select Update driver.
- In the next screen, select Search automatically for the updated driver software.
- Wait for Windows to look for new driver update. If found, download and install the updates.
Restart the computer after the driver is updated. For more information about driver updates, check our guide on how to update outdated drivers. Launch the snipping tool, and check if the grey screen error still exists.
Sometimes Windows has difficulty installing the latest drivers available on the market, and downloading and updating them manually also can be quite an arduous task.
That’s why we recommend using a tool that automatically updates drivers for you every time a new version is released.
You can prevent these problems by using an automatic tool that will search and install the correct drivers on your computer with just a few clicks. That's why we recommend you use Outbyte Driver Updater. Here's how to do it:
- Download and install the Outbyte Driver Updater app.
- Launch the software.
- Wait for the app to detect all incompatible drivers.
- Afterward, it will show you a list of the drivers found to select the ones to Update or Ignore.
- Click on Update & Apply Selected to download and install the newest versions.
- Restart your PC to ensure the applied changes.

Outbyte Driver Updater
Use this software and solve all driver-related issues from your PC.2. Perform System File Check
- Type cmd in the search bar.
- Right-click on the Command Prompt option, and select Run as administrator.
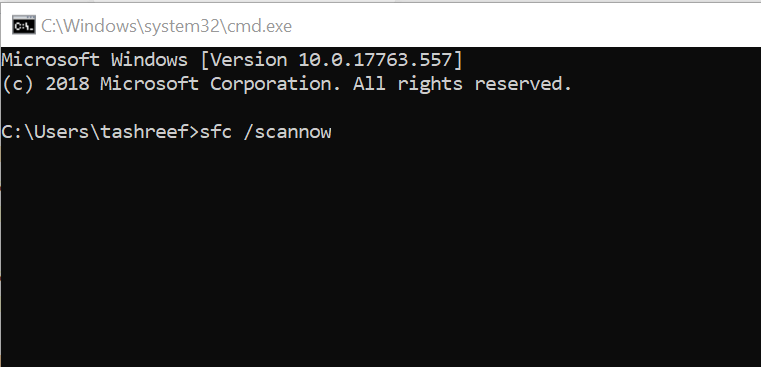
- In the Command Prompt, type the following command and press Enter:
Sfc /scannow - The System File Checker tool will scan the system for any issue with the system files and repair them.
- Reboot the system and check for any improvements.
If after updating the drivers the issue persists, use the System File Checker utility to scan and fix corrupted system files.
3. Diagnose in Safe boot mode
- Press the Windows key + R to open Run.
- Type msconfig, and click OK to open the MS Configuration.
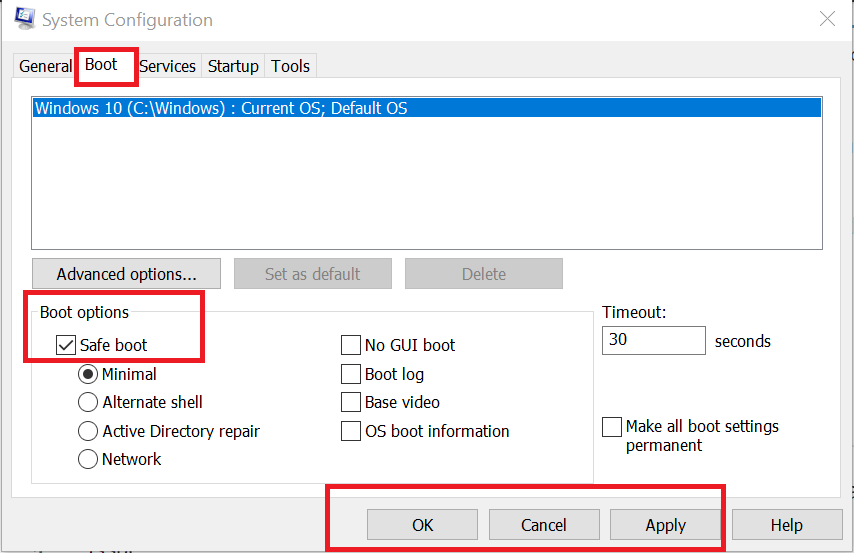
- Open the Boot tab.
- Under Boot Options, check the Safe Boot box.
- Click Apply and OK to save the changes.
- Restart the system when prompted by Windows.
Open Snipping Tool, and if the app opens without the grey screen, it means one of the third-party software, hardware or driver is causing the issue with the app.
In this case, start by removing any newly installed external hardware and uninstall newly installed software. Check again until you find the conflicting software.
4. Other solutions to try
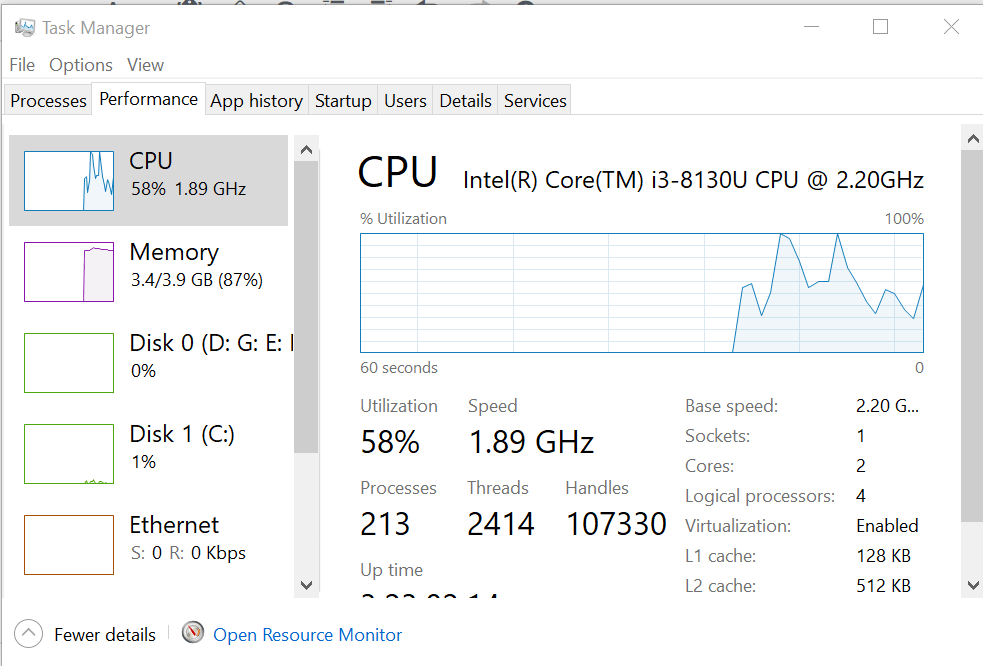
- Press Ctrl + Shift + Esc, to open the Task Manager.
- Close all the programs that are running on your system.
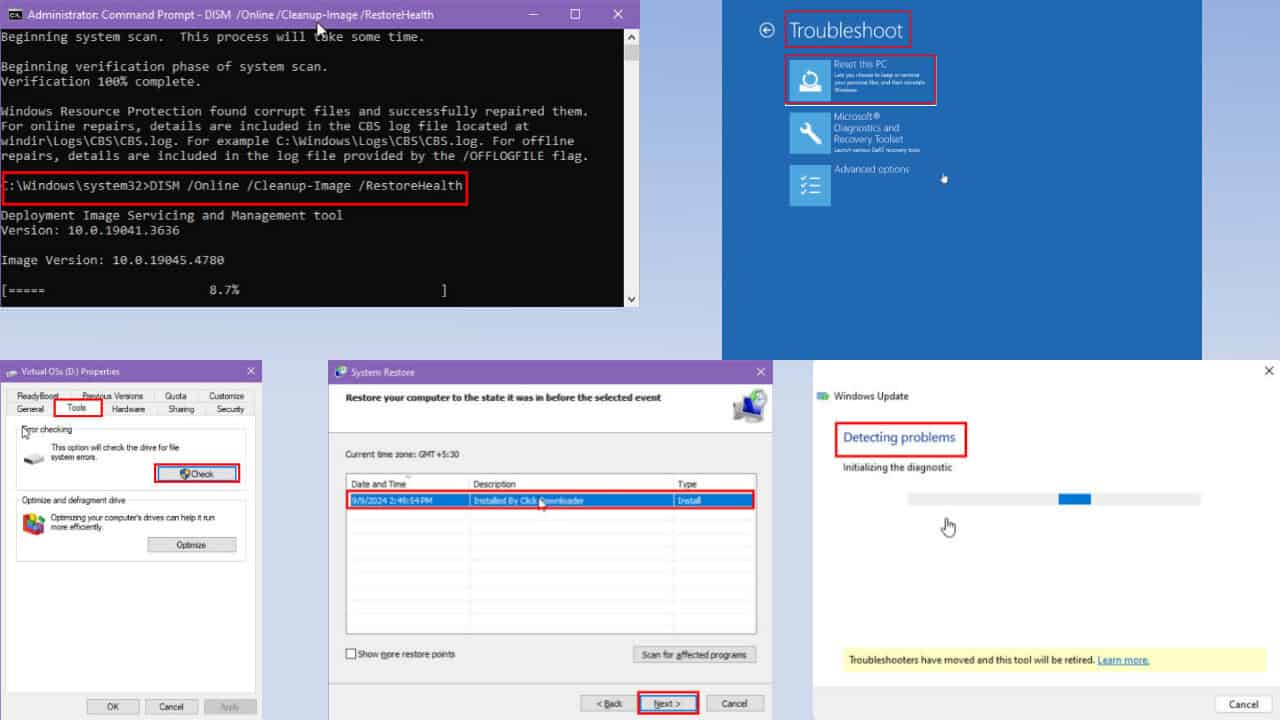
If the issue persists, try the following troubleshooting tips to fix the issue. You should reboot the system and check if the Snipping tool is now accessible.
Also, if you want an alternative to the built-in snipping tool, check out our comprehensive guide with the best snipping tools for Windows 10.
We hope our solutions helped you fix the Snipping tool grey screen issue in Windows 10. For more suggestions or questions, please access the comments section below.




User forum
0 messages